

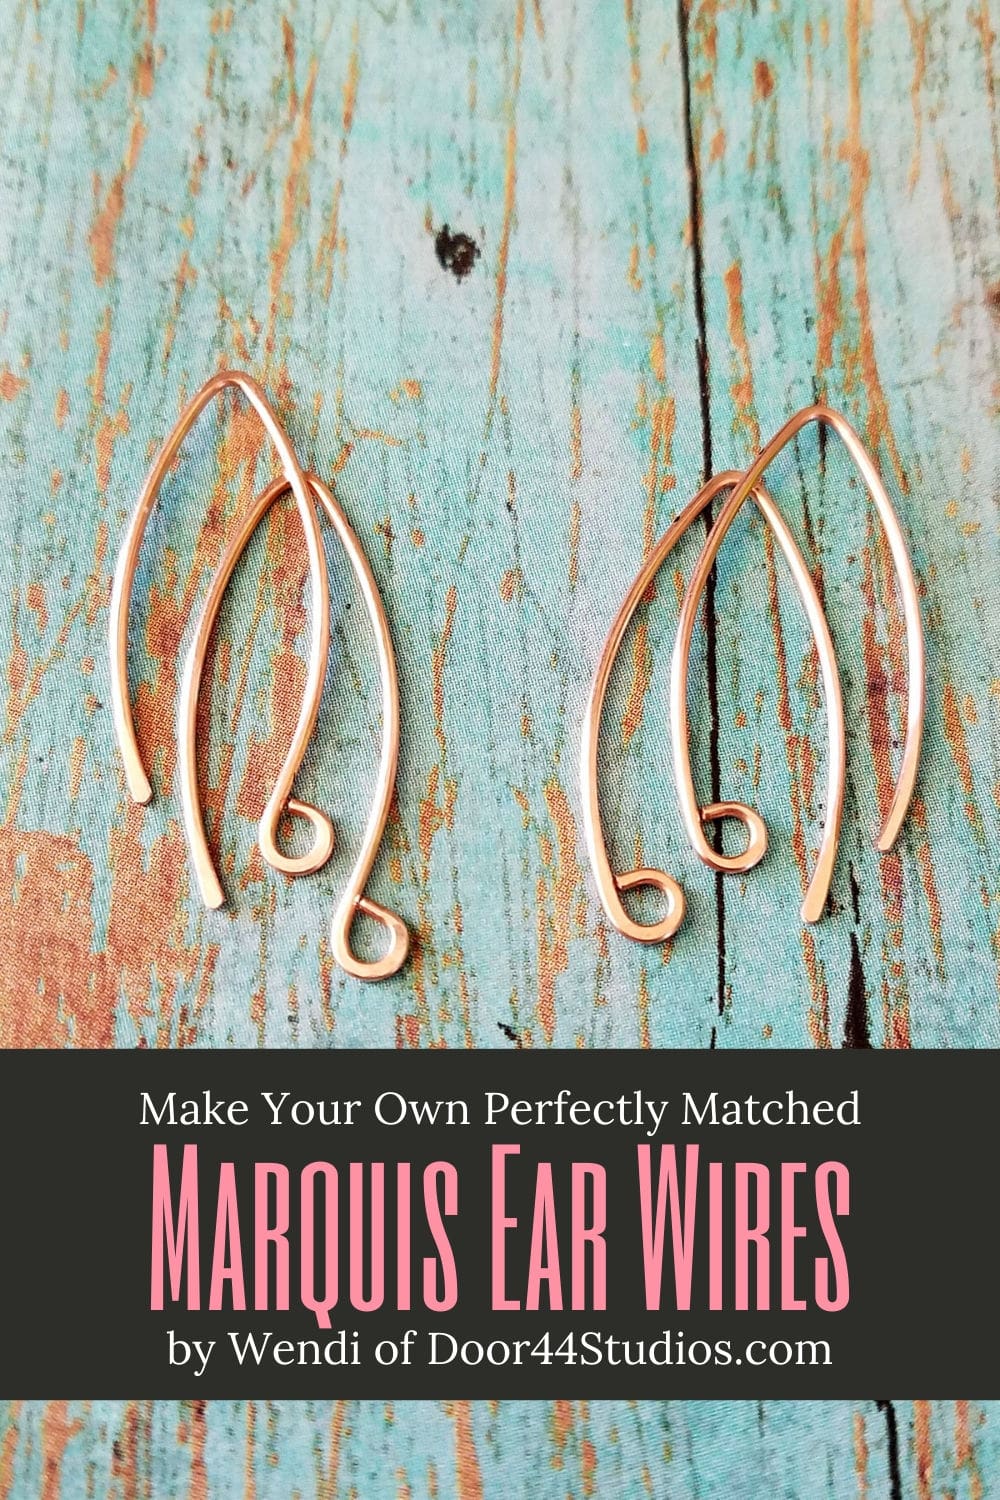
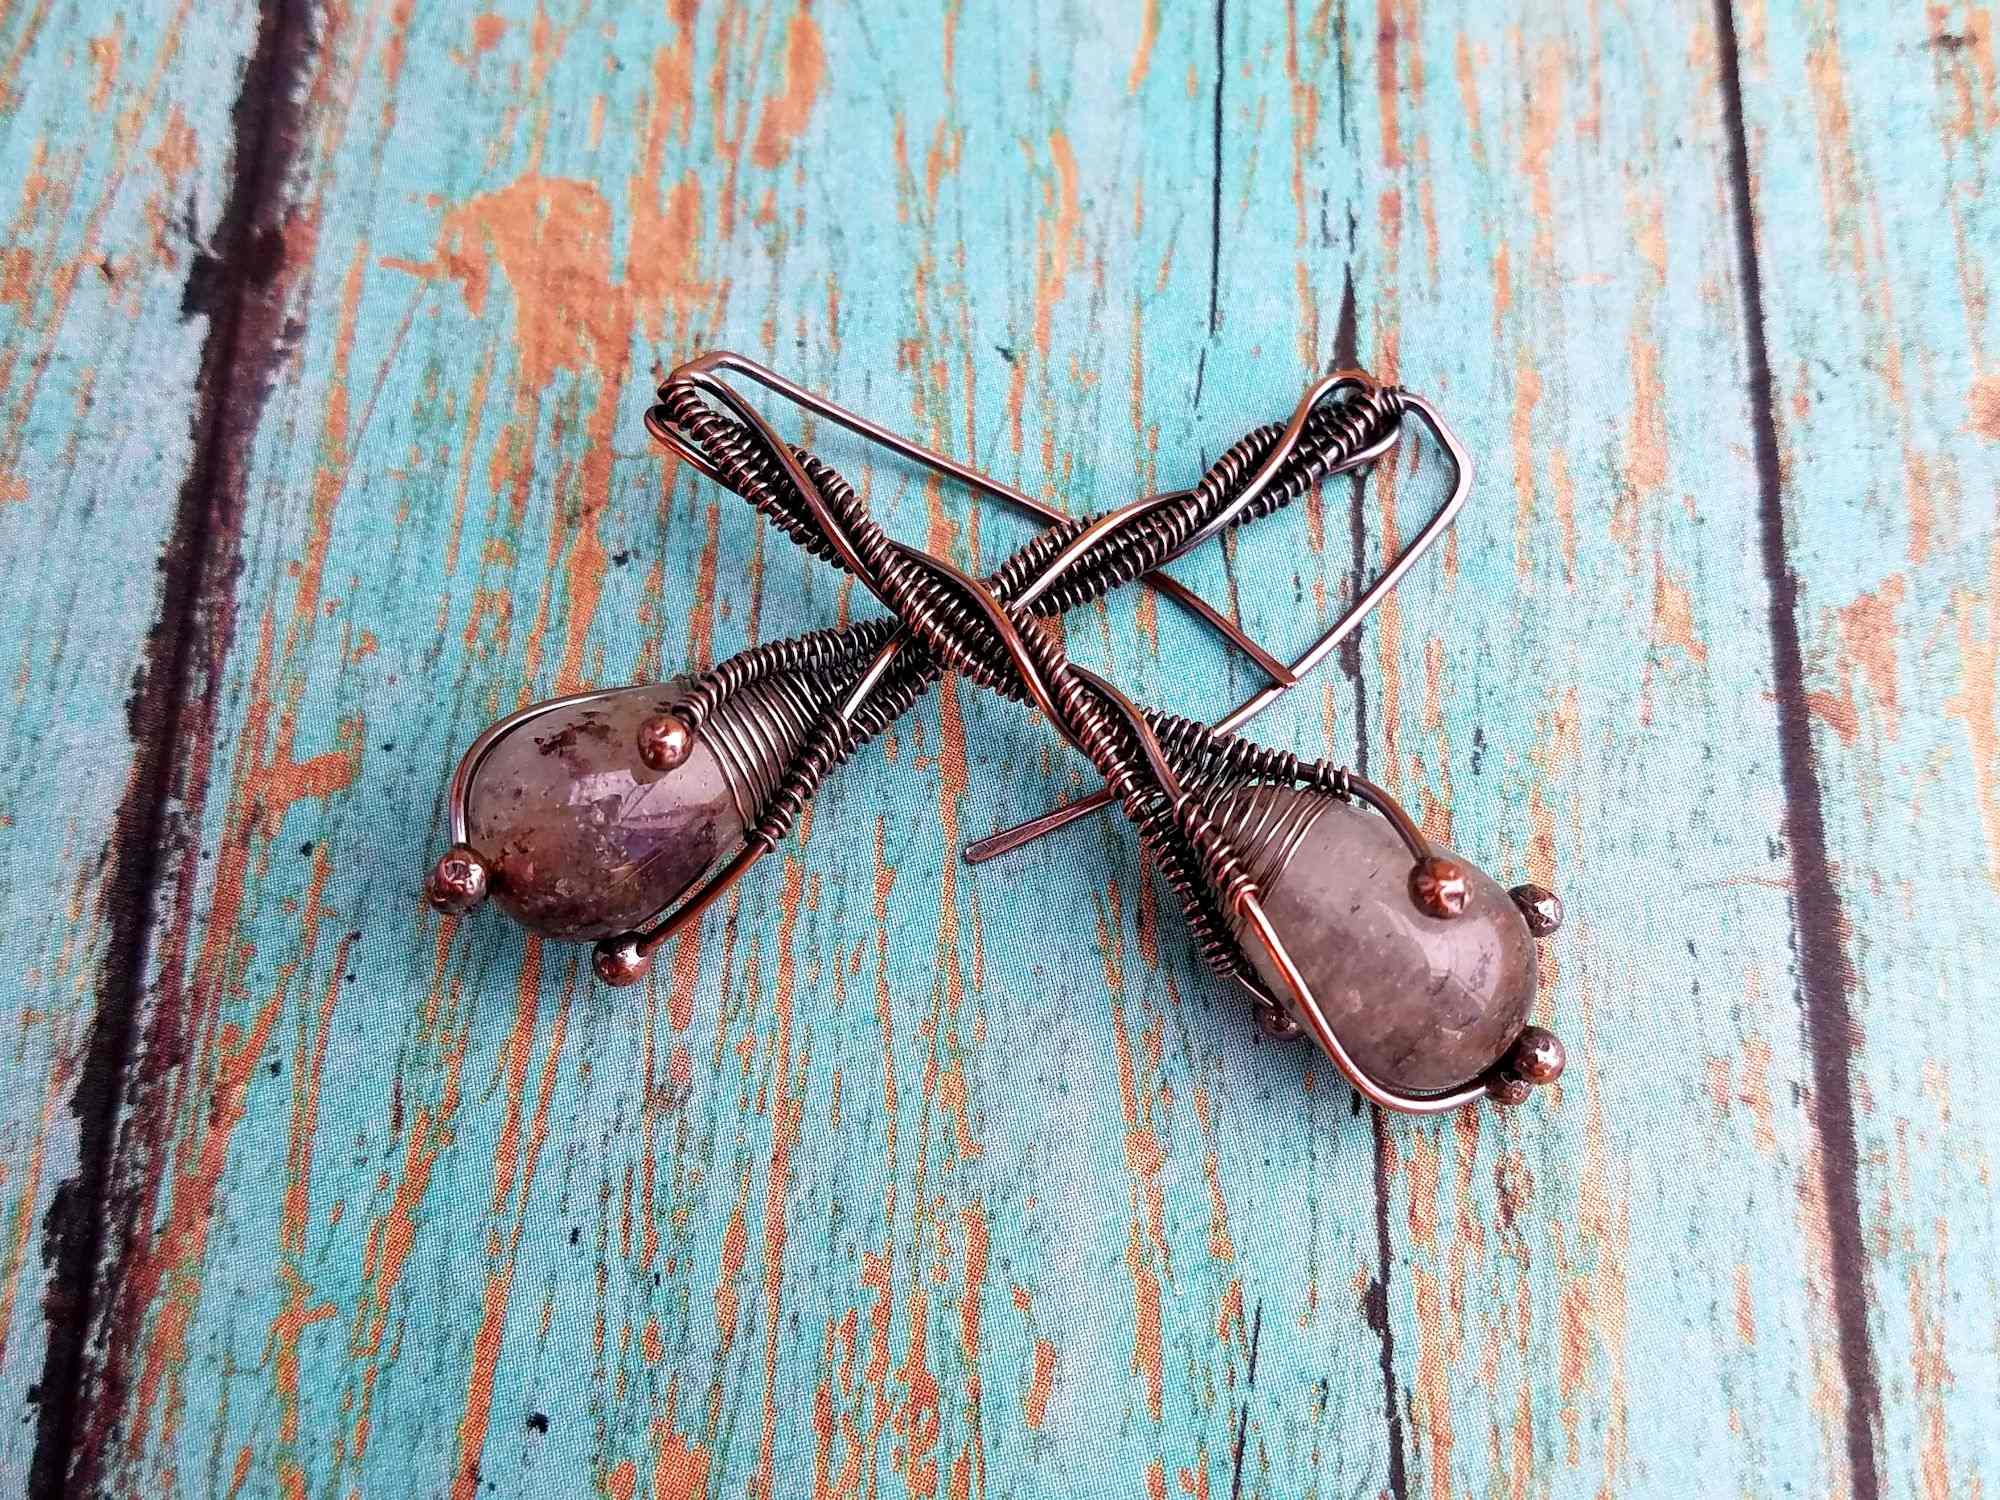
Marquis Ear Wires: How to make matched pairs
Today I’m going to show you how to make two different styles of perfectly matched Marquis ear wires. I polled my Instagram followers recently about the kinds of wirework skills they’d like to learn. And I was pleasantly surprised to learn that many of you want to know how to make your own findings. That made my heart so happy because I’m a firm believer that handmade jewelry should be finished with handmade findings.
This post is Part 1 of a 3-part series. Here’s what we’ll cover in this series:
- How to make perfectly matched Marquis ear wire in two different styles – Part 1 (you’re here)
- Make quick and easy head pins to create fun and flirty beaded earring dangles – Part 2
- Embellish your ear wires with a beaded wrap – Part 3
Copyright & Disclosure
You’re welcome to make and sell products from this tutorial. These ear wires are a common design that’s been around for eons, so I claim no exclusive rights to the design itself.
When it comes to my written tutorials, however, I do reserve exclusive rights to all images and written content. You may not reproduce or redistribute any portion of the Perfectly Matched Marquis Ear Wires tutorial in any way, shape, or form.
This copyright applies to the printable PDF version of the Perfectly Matched Marquis Ear Wire tutorial as well, and it’s included therein. You may share the free version of this tutorial only by linking directly to this page.
This post may contain affiliate links. If you click on a link and then make a purchase, I may earn a small commission (at no cost to you). As an Amazon Associate I earn from qualifying purchases. To learn more, please see my full disclaimer.
Getting Started
In her first book, Fine Art Wire Weaving, Sarah Thompson says, “Making your own findings adds a personal touch to your finished jewelry; it shows that you have thought about every detail.”
I couldn’t agree more. I also highly recommend that book, by the way. And if you want to turn your wire weaving hobby into a business, one way to set yourself apart from the competition is to make your own jewelry findings. Because, believe me, not everyone out there thinks about every detail of their presentation.
Since we’re talking specifically about earrings and earring components, another book that I highly recommend is The Earring Style Book by Stephanie A. Wells. Stephanie is the founder of Double Happiness Jewelry, and her book contains timeless earring designs that are fun and easy to make.
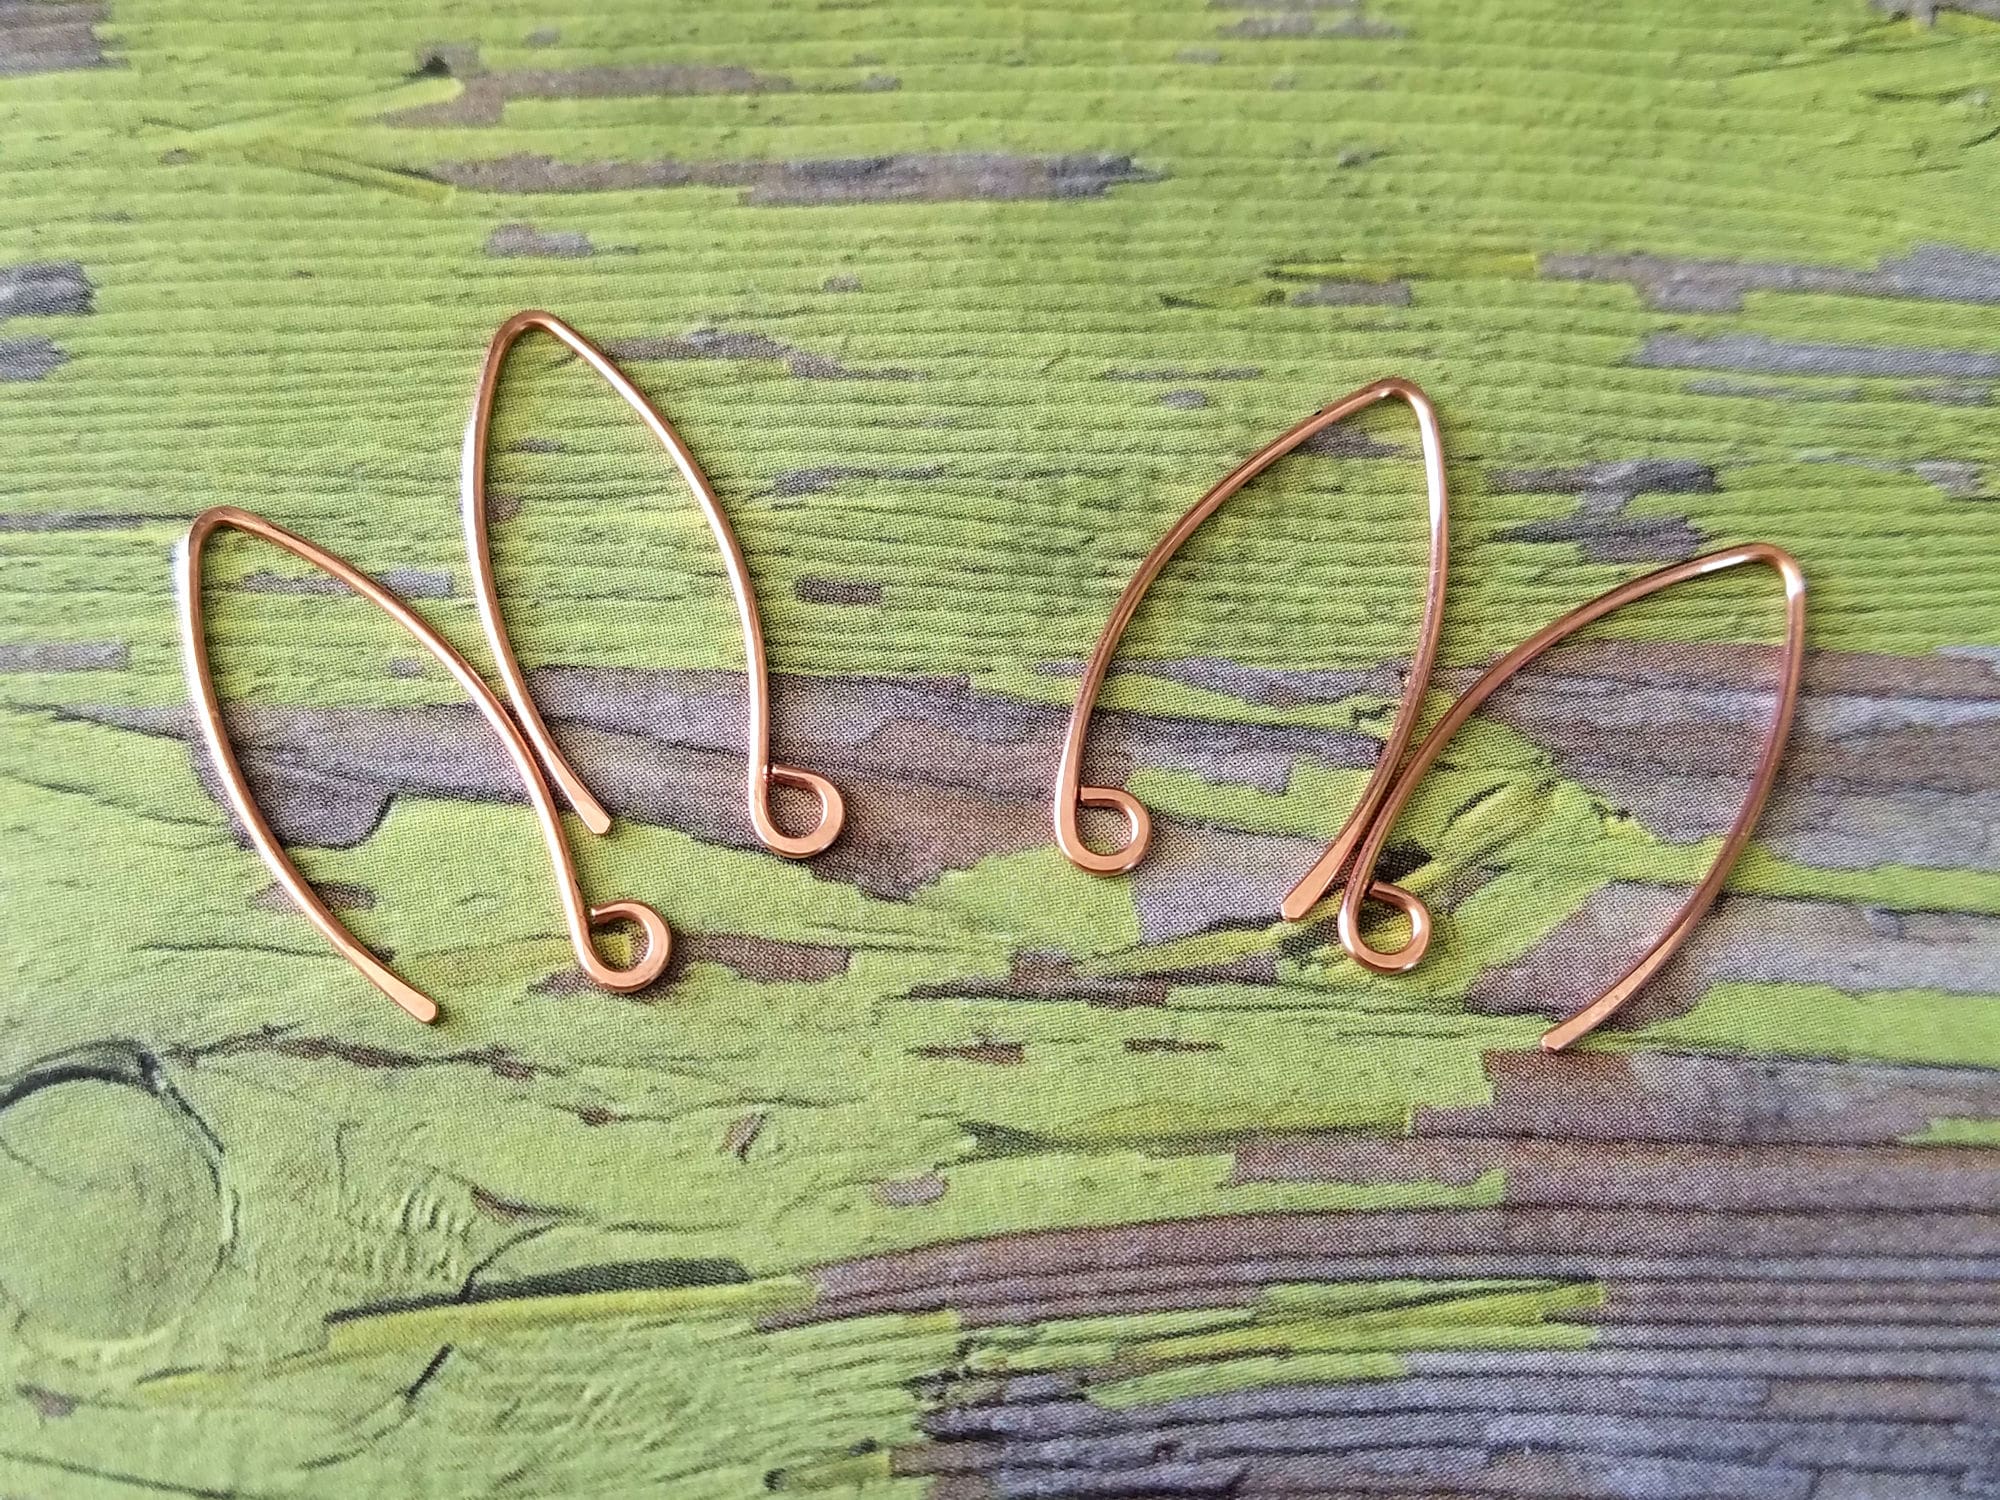
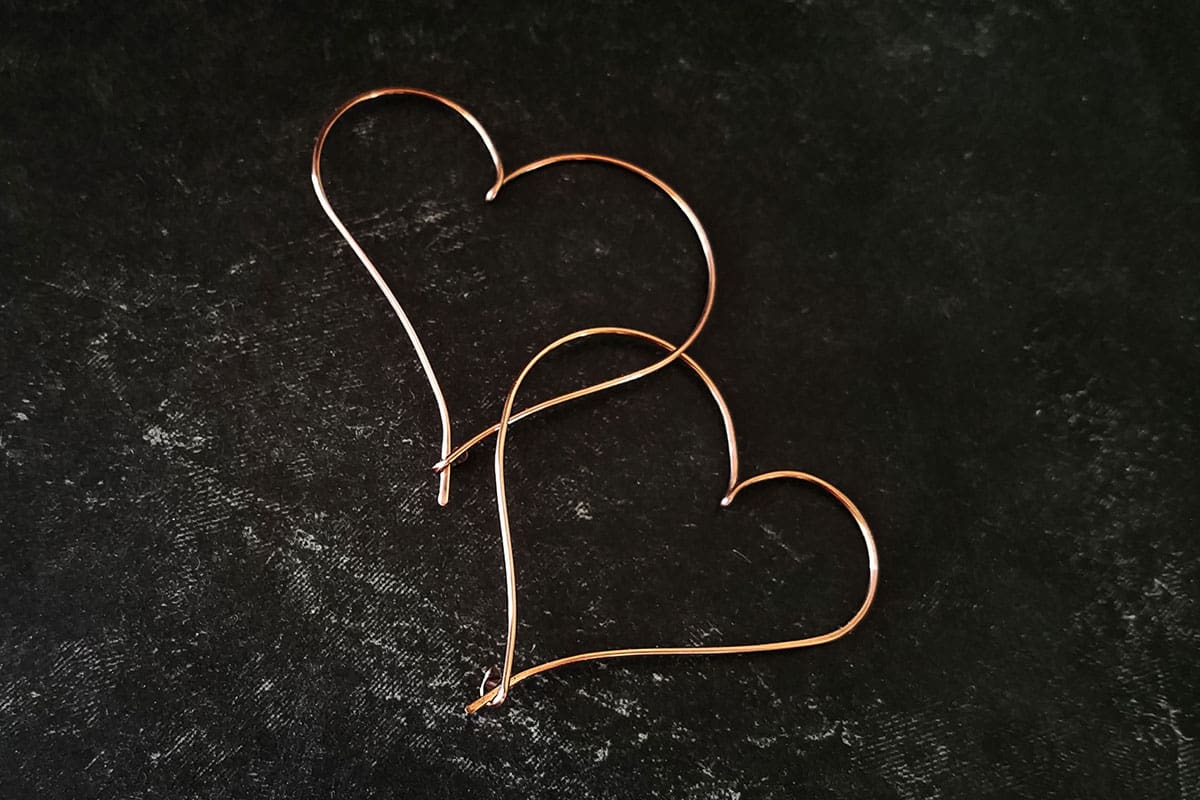
In this wirework basics tutorial, I’m going to show you how to make perfectly matched Marquis ear wires, every time. These pretty ear wires are so quick, easy, and affordable to make that you’ll never want to buy commercial ear wires again.
Skill Level: Beginner
This is a very basic wirework project that can be achieved by someone who has never worked with wire before.
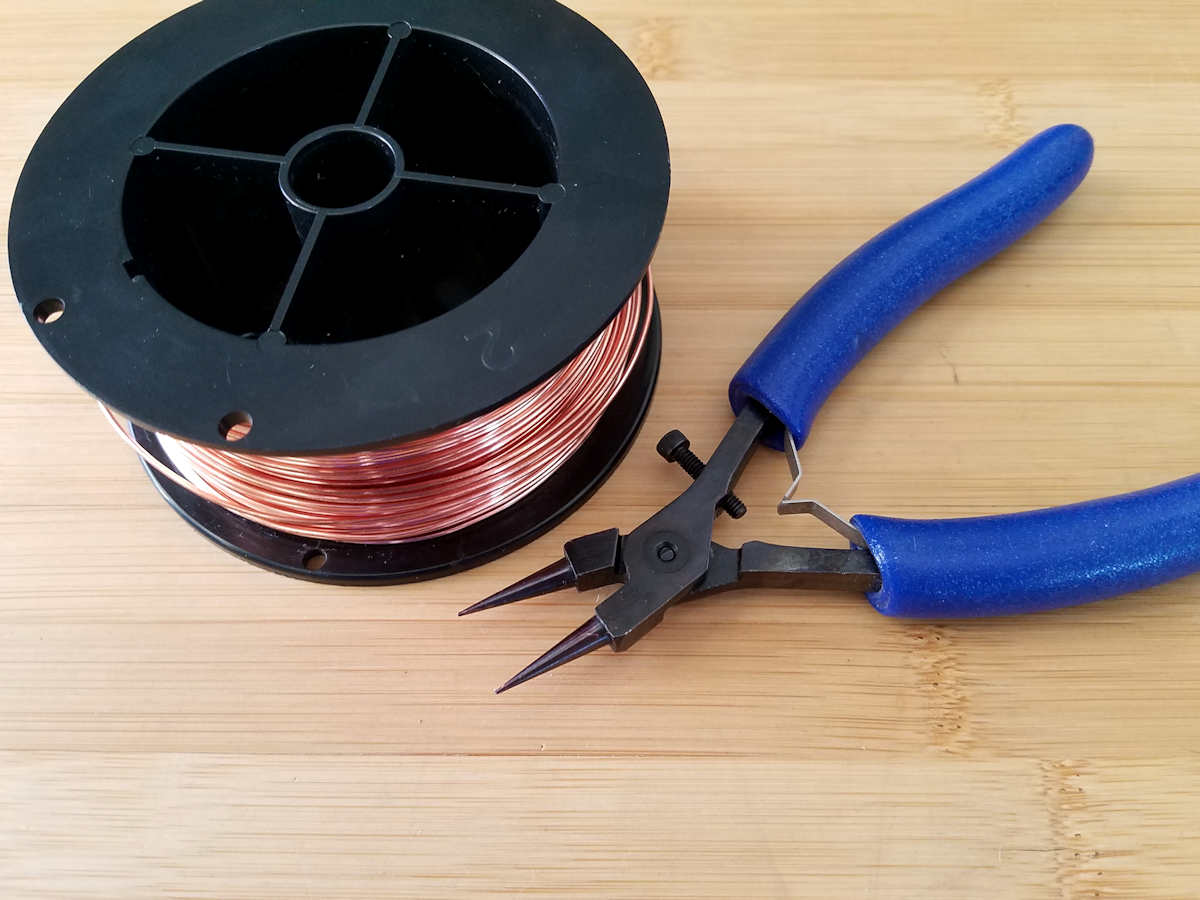
Choosing Wire for your Marquis Ear Wires
For best results, use half-hard or dead soft solid copper or sterling silver wire. Half-hard wire will save you time when it comes to making ear wires, but dead soft works well, too. You’ll just have to spend a bit of extra time work hardening the ear wires that you make with dead soft wire. I used dead soft wire for this tutorial because I’m currently out of half-hard 20ga wire.
If you choose to use a filled wire, be advised that these ear wires are finished and hardened by hammering the wire. Even light hammering can expose the base metal core in filled wires, which can negatively affect your final finish. I don’t recommend plated or anodized craft wire for these earrings as those coatings will be ruined with this construction process.

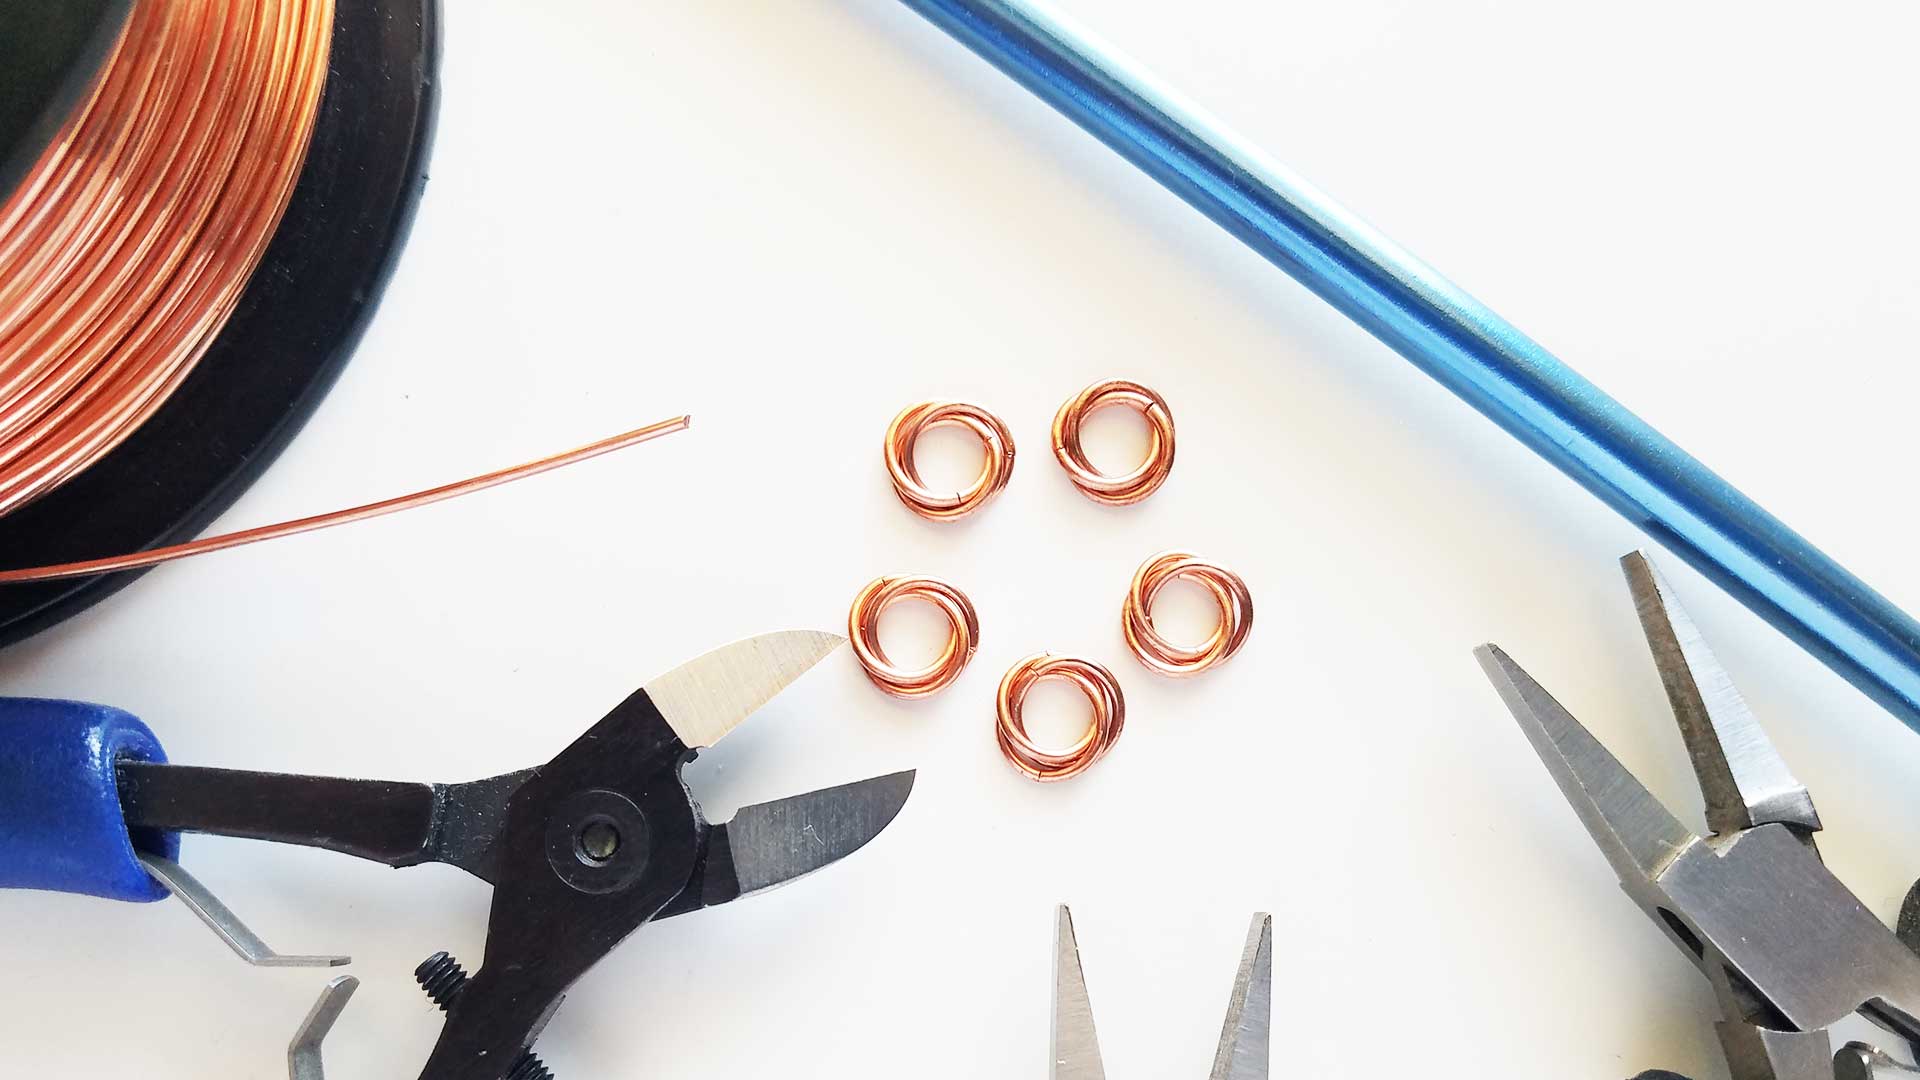
Tools & Materials
- 20ga half-hard wire – 5 inches (13 cm) per pair
- Wire Cutters
- Flat Nose Pliers
- Stepped Bail-Making Pliers
- Needle File
- Nylon Mallet or Rawhide Mallet
- Chasing Hammer
- Bench Block
- Ruler
- Fine Point Permanent Marker
- 1-1/2-inch Mandrel (Any round object will do. Pill bottles work great for this purpose.)
- Cup Burr Tool (optional)
- Sunshine® polishing cloths (optional)

Finished Size
- WIDTH: About 1/2 inch (1.25 cm)
- LENGTH: About 1 inch (2.54 cm)
20g wire is my preference for pierced ear wires. It’s the only gauge that I use for ear wires unless someone specifically asks for a smaller or larger gauge. Commercial ear wires typically range between 18g and 22g. So 20g is a comfortable size for almost everyone with pierced ears.
Let’s Make Some Perfectly Matched Marquis Ear Wires
The instructions for the Marquis ear wires are written for the 1-inch ear wires shown in this post. However, you can easily extend the length of your hooks by simply increasing the length of the wire cut in Step 1.
Some people prefer longer hooks. I personally prefer a shorter hook because they’re less likely to get caught in my hair.
Also, be sure to check out Part 2 and Part 3 of this series for some fun ideas for embellishing your Marquis ear wires using beads that you already have on hand. We’ll make some fun and flirty earrings that I think you’re going to love.
Step 1
Straighten a length of 20ga wire by running it between your fingers or the jaws of your Nylon jaw pliers a few times.
Once the wire is straight, measure and cut one 5-inch piece of 20ga wire. Use your fine-point permanent marker to mark the center point of your wire, as shown.
Step 2
The key to making matched sets of ear wires is to create both wires at the same time, and that’s exactly what we’re going to do here.
Use your flat nose pliers to form a sharp 90-degree bend at the center mark of your 5-inch wire. Then gradually fold the wire in half by tightening the bend until the two ends of your wire are parallel.
Step 3
Finish the fold by gently squeezing it closed with the tips of your flat-nose pliers, as shown.
Step 4
Check the ends of your wire to make sure they’re even.
If not, trim the wire so that both ends are exactly the same length.
Step 5
Measure your folded wire and mark the center point with your permanent marker.
The folded wire should be about 2-1/2-inches long at this point. So you’ll mark it at 1-1/4-inch, as shown.
Step 6
Form your folded wire into a soft continuous curve by shaping it around your 1-1/2-inch mandrel.
Set that curve by gently tapping the full length of the folded wire on the mandrel with your soft nylon or rawhide mallet.
Step 7A
At this point, you need to decide if you want the simple loops on your ear wires to face outward or inward. This is purely personal preference. I use both options to make slightly different styles of earrings.
To make the simple loops face outward, position the 2mm step (the smallest step) of your stepped bail-making pliers on the convex side of the curve on your folded wire, as shown here. To make the simple loops face inward, skip ahead to Step 7B.
Then roll the wire around the mandrel until the cut ends of the wire touch the long length of the wire, as shown.
You just created a small outward-facing simple loop for each of the two ear wires. These are the loops that will attach to your earring dangles.
Step 7B
To make the simple loops face inward, position the 2mm step of your bail-making pliers on the concave side of the curve, as shown in the next image.
Then roll the wire around the mandrel until the cut ends of the wire touch the long length of the wire, as shown.
You just created a small inward-facing simple loop for each of the two ear wires. These are the loops that will attach to your earring dangles.
Step 8
Now place one edge of your flat nose pliers at the center mark that you made in Step 5. Then use your thumb to firmly bend the wire against the other side of the jaws of your flat nose pliers (the side that is not on the center line).
Depending on the width of your flat nose pliers, this will result in bend that is roughly in the center of the folded wires. Keep folding your wires into a sharp “V” until you have a shape that you like. This completes the distinctive Marquis shape for your ear wires.
Step 9
Use your wire cutters to trim off the folded end. You should now have two perfectly matched Marquis ear wires.
Step 10
Use your needle file to smooth the cut ends of the wires and round off the edges. The goal here is to make sure there are no sharp points that might make the earrings uncomfortable to put on and take off.
If you have a cup burr, you can also use that to smooth and round the cut ends of your Marquis ear wires.
Step 11
Now that your ear wires are fully formed, we need to work harden them so they’ll retain their shape. I like to flatten certain points on my ear wires because it gives them more of a hand-forged look. If you prefer your wires to remain round, skip ahead to Step 12.
Otherwise, use your chasing hammer and bench block to slightly flatten the small loops, the ends, and the top point. Don’t use too much force or the wire will spread to a width greater than 20g, which could make the wires uncomfortable to wear.
Step 12
Once you’re satisfied with the look of your wires, use a nylon or rawhide hammer and your bench block to further harden the wire.
Just tap lightly and evenly on the wires several times. Then check to see how sturdy your wires are by giving them the slightest twist. If the wire bends easily, harden it some more with your soft hammer and bench block. Continue this process until the ear wires are stiff and springy.
That’s it. Your perfectly matched Marquis ear wires are now complete and ready to use. You can patina them now if you like. Or just leave them bright and patina along with whatever you decide to attach them to. I like to make these ear wires in small batches of about a dozen pairs, so I always have some perfectly matched ear wires on hand.
It’s not easy to make copper or sterling silver ear wires as hard as the base metals used in commercially manufactured ear wires. But being able to make wires that match your jewelry perfectly is totally worth the effort. And with proper care, these pretty Marquis ear wires will last a lifetime. They also look better and cost significantly less than commercially manufactured ear wires.
Parts 2 and 3 of the Marquis Earring Series
Are you ready to embellish your Marquis ear wires? Be sure to check out Part 2 of this series where you’ll learn to make your own headpins to create some fun and flirty Beaded Tassel Marquis Earrings. And in Part 3 of this series, you’ll learn to add a pretty beaded wrap to your Marquis Ear Wires.
Would you rather have these tutorials in a printable format so you can refer back to them again and again? If so, be sure to download my Marquis Earring Tutorial Bundle today. Just click the button below to grab your bundle now.
3 tutorials 1 great price
The Beaded Marquis Earrings Tutorial Bundle
These full-color printable PDF tutorials are great references for several basic wirework techniques. Save 20% when you buy the bundle today.
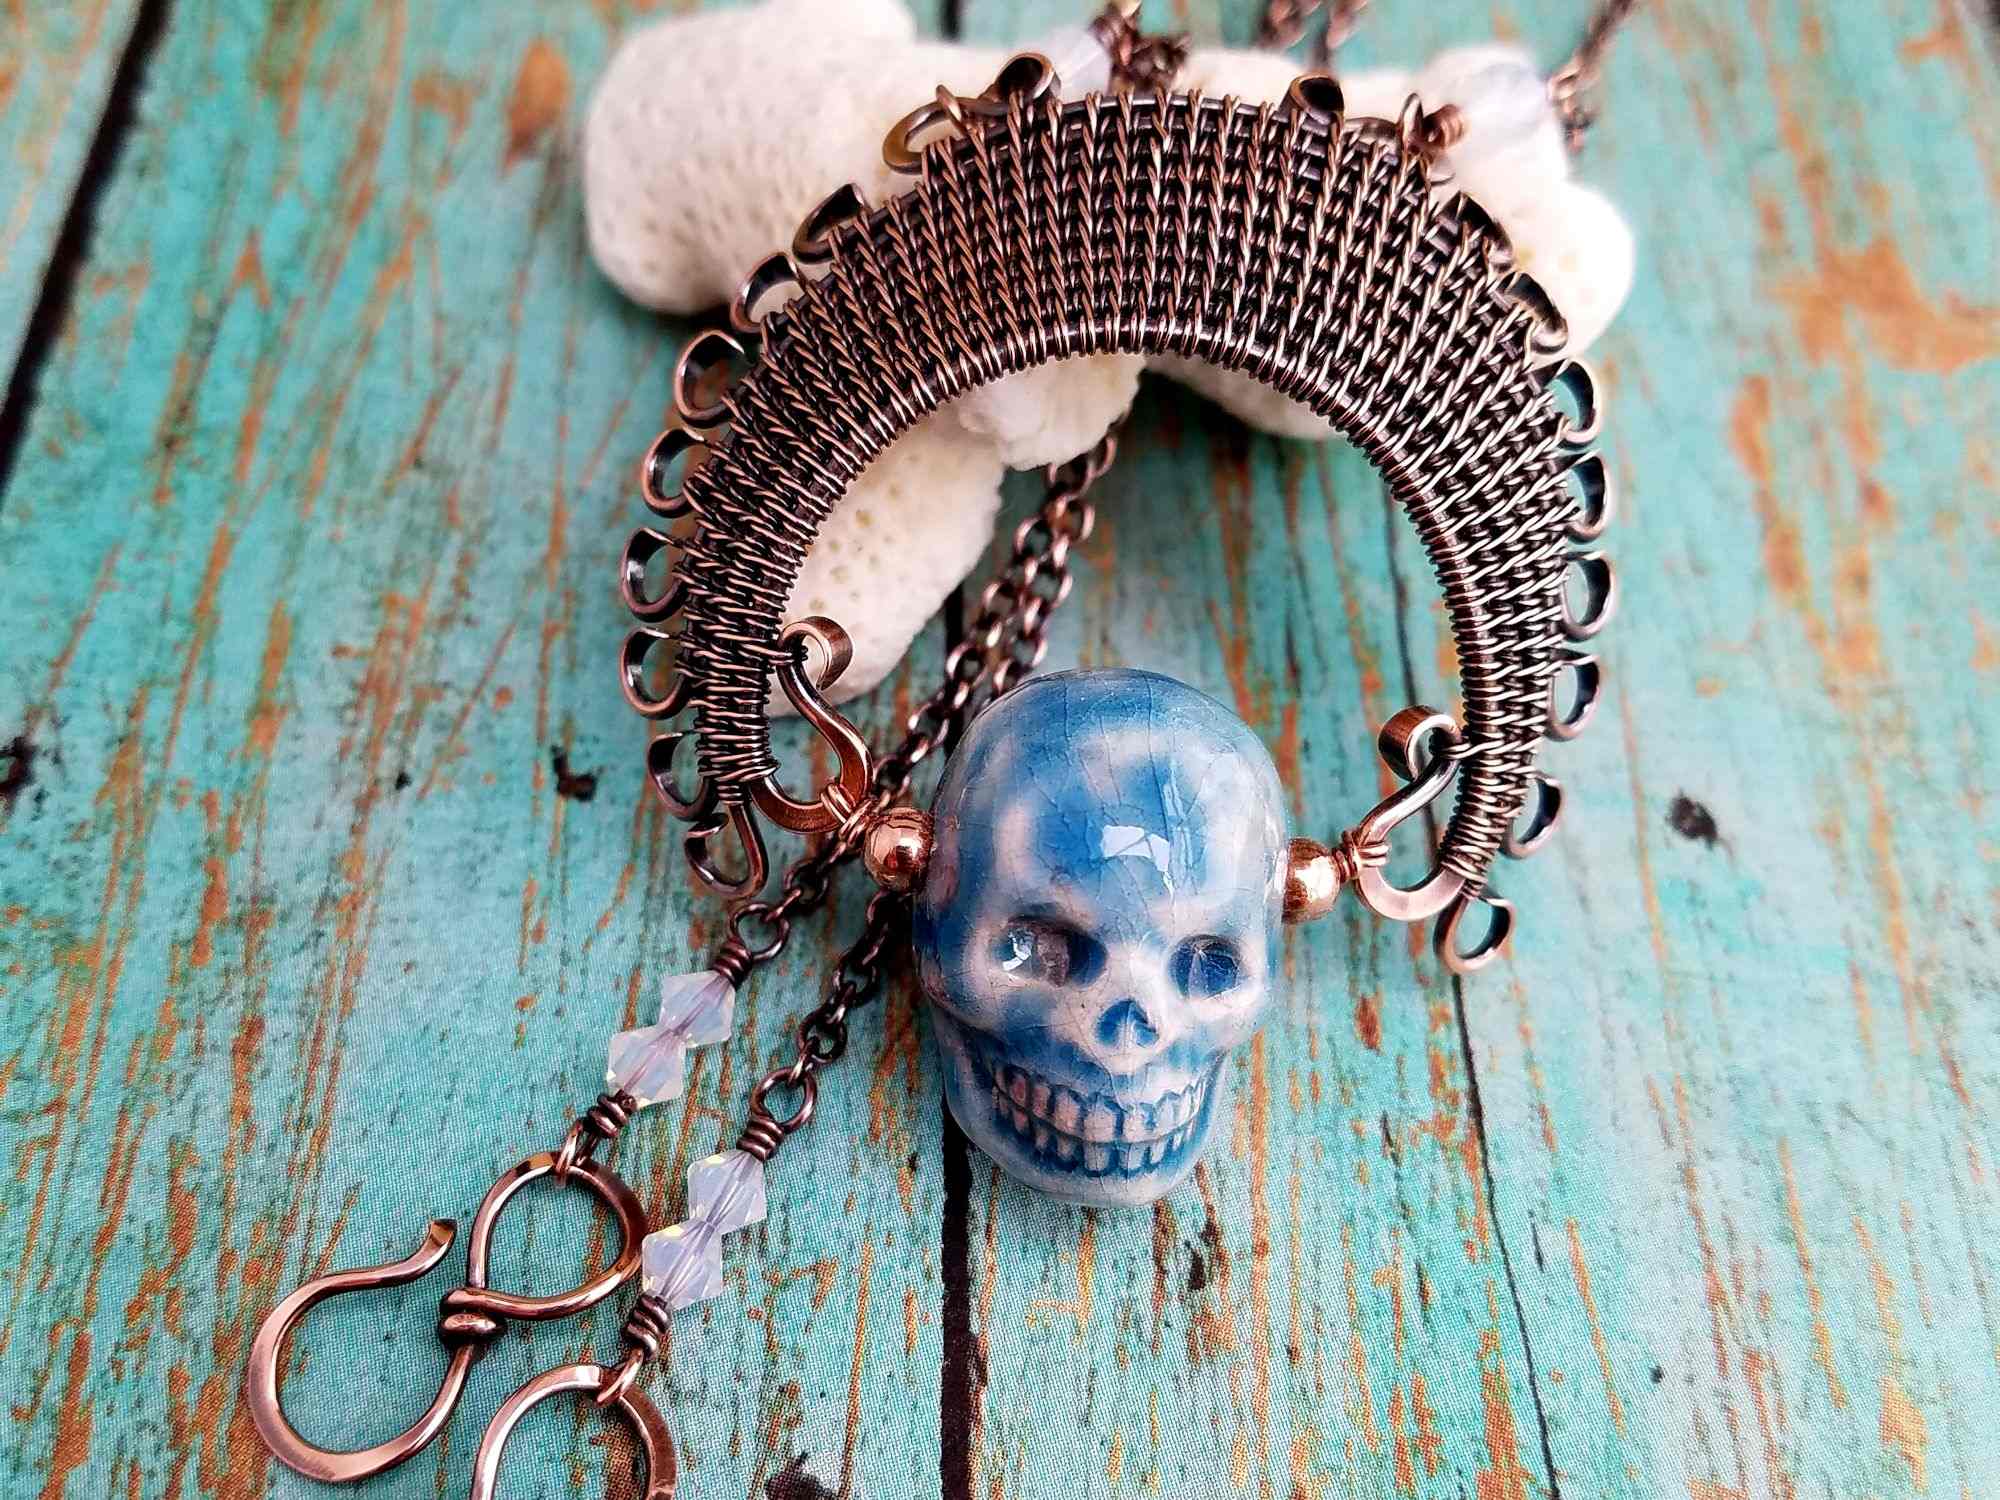
More Ear Wire Styles
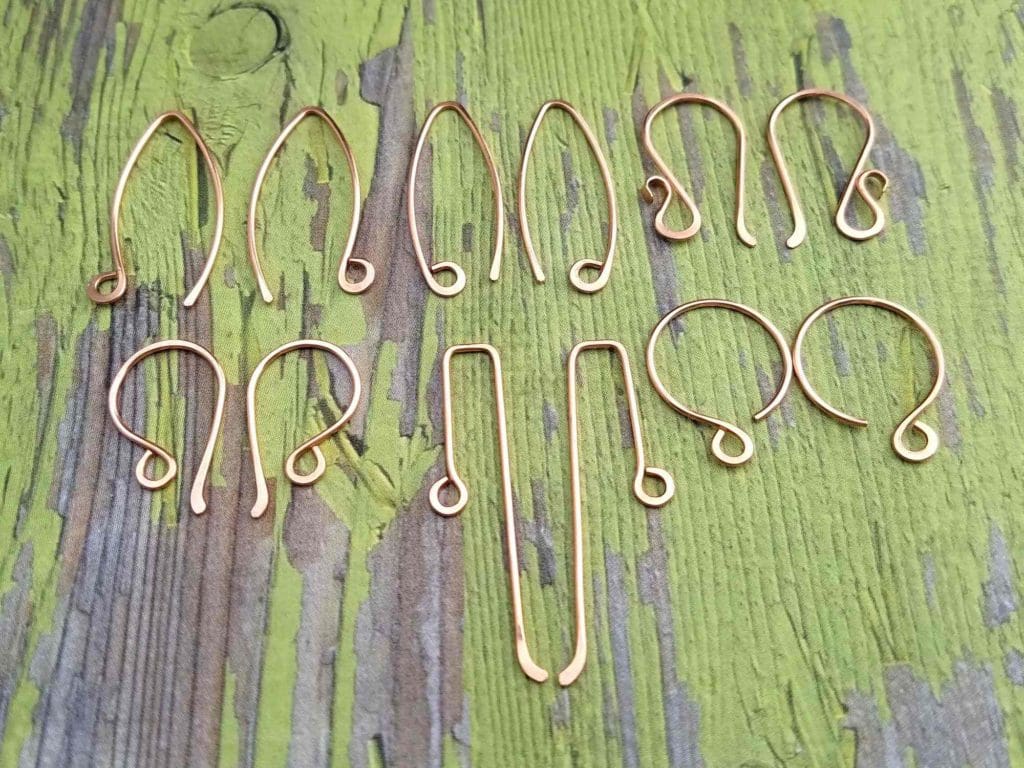
The Marquis Ear Wires are also included in my 5-part series of ear wire tutorials. The other ear wire shapes that we covered in the series are pictured above and the free tutorials are linked below.
All of these ear wires are formed using the same basic principal of shaping both wires at the same time. This allows you to create perfectly matched pairs of ear wires. In any shape. Every time.
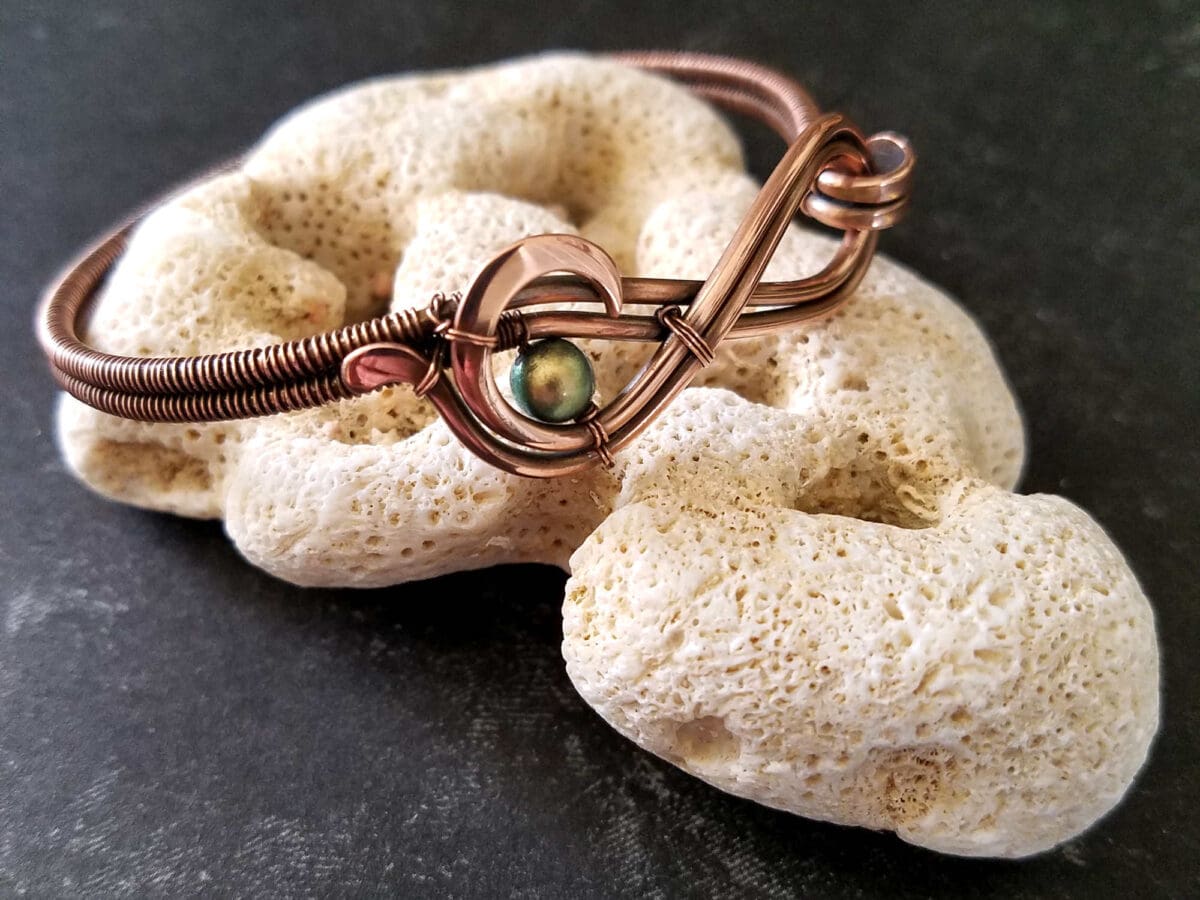
Experiment with this technique. See if you can come up with an ear wire design that is uniquely your own. As with my Easy Infinity Clasp, it’s often those extra personal touches that ultimately become your signature – that unique little detail that clearly sets your work apart from the competition.
ear wire tutorial bundle
Buy now and save 25%!
Get five full-color ad-free PDF tutorials for all of the ear wires pictured here. This bundle normally sells for $20 in my Etsy shop, but you can get it today for $15. Just click the button below to have all five printable tutorials delivered straight to your inbox.
Finishing Suggestions
I patina all of my copper and silver jewelry with Liver of Sulfur (LOS), and then I burnish the patinated pieces with super fine steel wool (Grade #0000) in a warm bath of water and original Blue Dawn dish soap. The steel wool brings back the bright copper highlights on the high spots.
Once that’s done, I rinse the jewelry thoroughly to remove any particles of steel wool. Then I put the jewelry in a tumbler barrel filled with warm water and a generous squirt of Blue Dawn. I tumble all of my finished jewelry for a minimum of two hours.
Tumbler Tip
There’s a lot of debate about whether tumbling will work harden wire. My experience is that you can achieve some hardening, but only by tumbling for extended periods of time. So, two hours on the tumbler won’t make a noticeable difference. Twenty-four hours of tumbling does seem to noticeably increase hardness, however.
I never recommend tumbling wire jewelry with beads or gemstones for extended periods. However, there’s no risk in tumbling plain wire findings for several hours. Tumblers are designed to run for days at a time because that’s how long it takes to polish rough stones. So, if you don’t mind listening to the rustle of a tumbler for a full day, give it a try. And let me know if your ear wires came out of the tumbler noticeably harder than when they went in.
If you’re new to wirework, read this detailed tutorial that walks you through my 7-step patina process. And if you’re wondering why I recommend tumble polishing specifically, check out this post. Also, be sure to clean your stainless steel shot regularly. Because clean shot gives you the best possible final finish on your jewelry.
Discover More Behind Door 44
Thanks so much for joining me today. I hope you enjoyed creating your own Perfectly Matched Marquis Ear Wires from scratch. If you’d like a printable PDF version of this tutorial, you can find it here.
Want more helpful wire jewelry content?
I like to share useful wire weaving tips and tricks on my social media channels, and we have some great conversations about wire jewelry in my private Facebook Group. Also, be sure to connect with me @door44studios on Instagram, and Facebook to keep up with everything that’s happening behind Door 44. And if you haven’t already done so, be sure to subscribe to my YouTube channel where you’ll find new wire jewelry videos weekly.
Until next time, go make something beautiful!

Pin the Perfectly Matched Marquis Ear Wire Tutorial for Later
These earrings are great I just made 2 pair in no time I love your work so pretty and very clear instructions, thank you so much for sharing your talents.
Thanks, Sandi! I’m so glad you’re enjoying my tutorials. Be sure to stay tuned for Parts 2 and 3 of this series. We’re going to make some fun and amazingly simple earrings with these easy Marquis ear wires.
Wendi,
This was a other fantastic tutorial. Thank you for sharing. I was wondering if you could possibly share how you get your paddles so perfect on the ends of wire. It seems to be an area I have trouble in.
That’s a great question, Joanne! I do plan to write up some tips and tricks for using a hammer and bench block. I’m also trying to set up a functional video station on my workbench so I can make tutorial videos for that sort of skill. One quick tip that I can give you now is to use a lot less force than you think you’ll need. Start with some light taps on a piece of scrap wire and see how each tap changes your wire. Then gradually increase the force that you use. It takes surprisingly little force to shape dead soft (or even half-hard) wire. Another tip is to think of the surface of your chasing hammer as a rolling pin and your wire as dough. The slightly rounded surface of the hammer will push the wire into shape, much like a rolling pin will push dough as you roll it. So the key is to make sure you’re moving the wire in the right direction. Be aware of the angle of your hammer as you make contact with the wire.
Wendi,
Thank you so much. I will try those tips for sure as I have to remind myself a lot to not be so forceful with the hammer. I would also love if you started to do videos. You are very talented in your ability to teach. Prior to finding your blog I had only admired wirework pieces as they seemed to difficult. I am learning little by little and I am getting there. These basics are awesome. Thanks for your time and effort to doing these they are a tremendous help to wire newbies. I can’t wait to add some beads to these earrings.
Thank you, Joanne. I needed to hear this today. I’ve been feeling a bit discouraged lately, and I’ve wondered if I should continue building this blog. So your words couldn’t be more timely. I’m so happy to hear that you find my content helpful! I just scheduled Part 2 of this series to be published tomorrow morning. So watch for that post. And thank you again for your support. I really appreciate it!
Thank you for this tutorial Wendi! My question: have you had any comments on allergies with copper findings? I started making them, and have no problems myself though i have nickel allergies. I cant wait to try your next tutorials!
I’m so glad you enjoyed this tutorial, Carsie! That’s a great question. I’ve only known one person with a metal allergy in all the years that I’ve been making jewelry, and that was my sister-in-law. She only wears gold ear wires. Outside of that one anomaly, I’ve not heard of anyone who is allergic to copper specifically. That said, copper will discolor skin on people who have a more acidic body chemistry, and those people typically won’t wear copper jewelry for that reason. I do offer sterling silver ear wires as an alternative upon request, but I can’t remember the last time someone asked me to do that.
Awesome!
Thank you!!!
Lisa
My pleasure! 🙂