

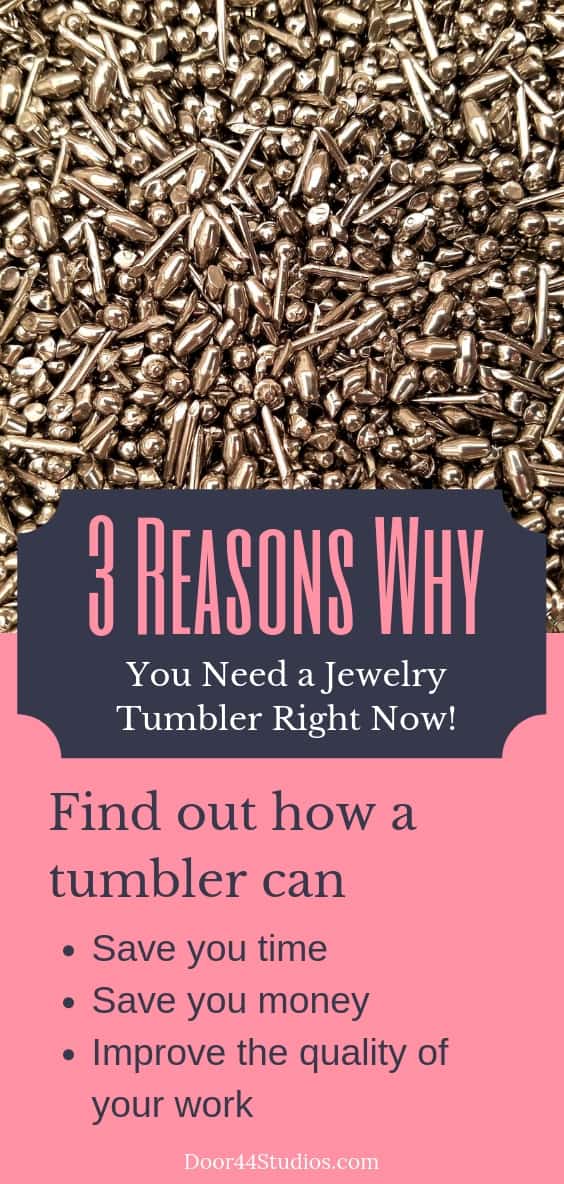
3 Reasons Why You Need a Jewelry Tumbler Today
I’ve talked a lot about how I use a jewelry tumbler to polish my wire jewelry. You’ll find that discussion in each of my wire weaving tutorials as well as in my 7-step patina tutorial. I’ve even shared how I clean my stainless steel tumbling media. But I haven’t yet explained why I chose a tumbler over polishing tools in the first place.
Today I’m going to give you three good reasons why I believe every wire weaver needs a jewelry tumbler. I’ll also share everything you need to know before buying your first tumbler. And I’ll give you some useful tips for choosing the right tumbler for your needs.
This post may contain affiliate links. If you click on a link and then make a purchase, I may earn a small commission (at no cost to you). As an Amazon Associate I earn from qualifying purchases. To learn more, please see my full disclaimer.
Okay. Let’s talk tumblers!
1. A Jewelry Tumbler Will Save You Time
Whether making jewelry is your hobby or your business, your time is valuable. And time is not a renewable resource. When I first started, I used to think that I had all the time in the world to invest in my business. I’d tell my husband, “What I lack in investment capital, I can make up with time.” Boy, was I wrong!
You can recoup the money you invest in materials (and even tools) when you sell a finished piece of jewelry. But that’s simply not true when it comes to the time that you invested in creating that piece. That time is gone, and there’s no getting it back.
The Truth About Running a Jewelry Business
One of the most difficult lessons I learned is that making jewelry was the least pressing job that I had. There were bookkeeping and sales and marketing and purchasing and networking… All the things that made it possible for me to get my jewelry in front of buyers. When I launched Door 44 Jewelry, I envisioned myself happily creating jewelry every day. The reality? I spent about 20% of my time making jewelry. And I spent the other 80% actually running my business.
I realized pretty quickly that I needed to be super efficient with my limited creative time. It was around that same time that my first tumbler died of sheer exhaustion. So I replaced it with this dual barrel tumbler, which immediately doubled my polishing capacity.
Cleaning and polishing jewelry is a tedious and time-consuming process when done by hand. Particularly because you can only polish one piece at a time. With a tumbler, however, you can polish multiple pieces at once. And that saves you precious time.
2. A Jewelry Tumbler Will Save You Money, and Help You Earn More Too
This one applies more if you’re looking to make money by selling your work. If you’re strictly a hobbyist, and you don’t mind polishing by hand, this argument may not really resonate with you. If you’re looking to make money, though, repeat after me: Time is a non-renewable resource!
Time is Money
This is why you need to make the most efficient use of your production time. Create as much jewelry as you can in the limited number of hours that you’ve budgeted for production. The more efficient you are with your time, the more money you’ll save. You’ll also increase your potential revenue by increasing your production output. And here’s where a tumbler really starts to pay off.
Maximize Efficiency with a Jewelry Tumbler
A jewelry tumbler allows you to batch your production. I used to make about a half dozen pieces at one time. When staged production line style, I could make six Twig Pendants or three pairs of Chalice Earrings from start to finish in about the same amount of time that it took to make just one of those pieces without staging. And once I finished two batches of jewelry, I’d toss them in the tumbler and make more jewelry while my trusty tumbler polished the first two batches.
Whether you want to sell complex one-of-a-kind pieces or easily repeatable designs like my Twig Earrings and Lyonesse Pendant, a tumbler makes it possible for you to make the most of your production time. And that will save (and make!) you money.
3. A Jewelry Tumbler Will Improve the Quality of Your Work
Your jewelry tumbler improves the quality of your work by stress testing your finished jewelry. Maybe there’s a small fracture in a bead that you didn’t notice, or perhaps there’s a weak mechanical connection that you didn’t catch. The tumbler will often reveal these kinds of flaws, which can, in turn, reduce the number of pieces returned for repairs or refunds. That’s a big win for customer satisfaction.
Here’s where a tumbler really shines, though, particularly if you sell your work. Tumble polishing leaves a mirror-like finish on your jewelry, and that raises the perceived value of your work in your customer’s eyes. The finish on your pieces can either make or break a customer’s decision to buy. People want to feel confident that what they’re buying is worth the asking price, and a top-notch finish is one way to bolster that confidence. That’s why you never see dirty cars on a dealer’s lot.
Alternatives to a Jewelry Tumbler
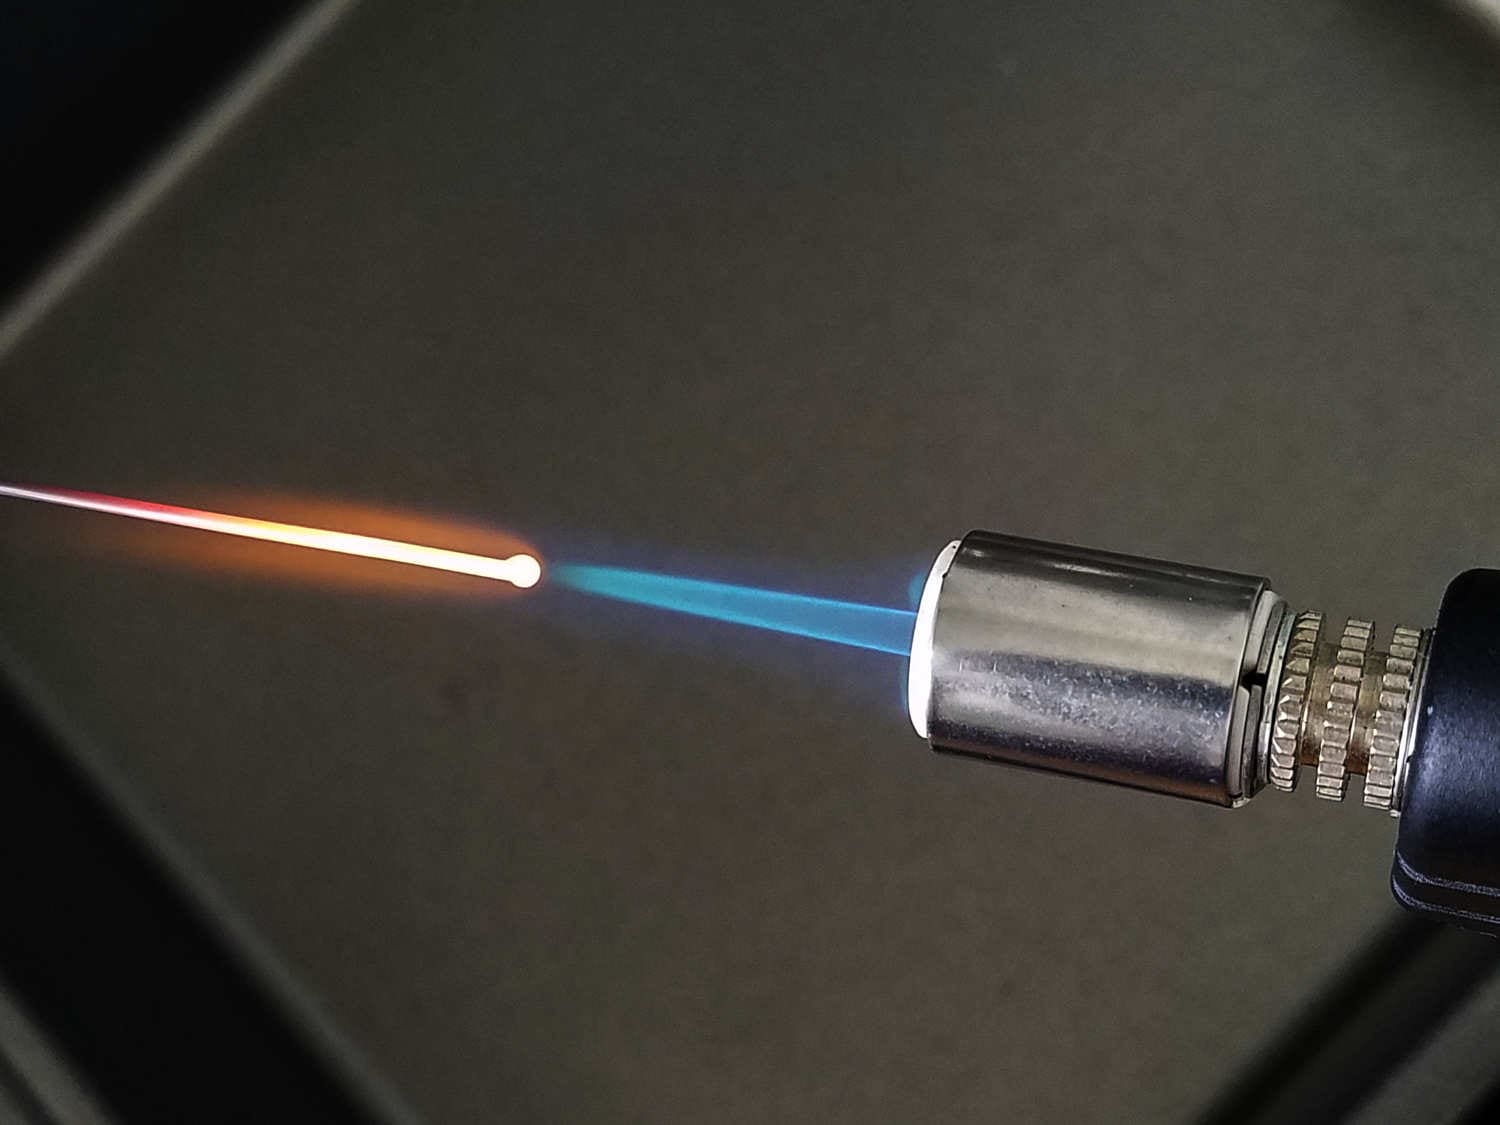
You may be the most careful and meticulous wire weaver around. Maybe you never leave so much as the slightest tool mark on your work (if that’s you, please share your secret!). But if you don’t polish your finished pieces, they’re still going to look tired and worn. The oils from your skin and tools will attract dust and grime. If you used a torch during the fabrication process, your wire may have a dull matte finish. You can clean up some of these issues by hand with a polishing cloth, but you’ll never get into all the nooks and crannies of a piece that way. And the result will be an uneven finish.
Another alternative is to polish with a flex shaft rotary tool, but you’ll spend more on a rotary tool and all of its associated tool attachments than you’ll spend on a tumbler. Rotary tools are also messy, which is the main reason I don’t own one. My current “studio” consists of a small work table in one corner of our main bedroom. So, a rotary tool simply isn’t practical for me right now. As soon as I have a dedicated studio space, I’ll invest in one. But until then, my tumbler is the one finishing tool I can’t live without.
Two Types of Jewelry Tumblers
Tumblers are used in several industries, and different types of tumblers are suited for different applications. The two main types of tumblers that are used specifically for polishing jewelry are Vibratory and Rotary Tumblers. Magnetic tumblers are also used in the jewelry industry, but they’re less common. I’ve never used a magnetic tumbler, so I have no useful insight to offer there.
Vibratory Tumblers
Vibratory tumblers are typically larger and have more capacity for high volume production. However, they’re noisy and they take up quite a bit of space. They’re also more expensive to own and operate over time because they require more steel shot.
You may have seen a vibratory tumbler at your local jeweler’s shop. They have a large bowl that sits on a pedestal. The pedestal houses a vibrating motor, while the bowl holds several pounds of stainless steel shot and jewelry. The motor vibrates the contents of the bowl, which creates friction between the stainless steel shot and the jewelry. That friction is what cleans and polishes the jewelry.
If you’re producing high volumes of jewelry and you have the space for a vibratory tumbler, I recommend shopping around to find the best price because these tumblers can be quite an investment. Gunsmiths and reloaders use vibratory tumblers frequently, so you may find a good price through a gun dealer. I’ve never owned one, personally, so I can’t make any specific brand recommendations. You can buy either wet or dry vibratory tumblers. Dry tumb
Rotary Tumblers
Rotary tumblers are generally smaller, quieter, and less expensive than their vibratory counterparts. This is why I recommend a rotary tumbler for most jewelry makers. Unless you’re producing very high volumes of jewelry and you have a large workspace, a vibratory tumbler will probably be overkill. On the other hand, if your spouse is a sportsman who wants to do his own shell reloading, you may be able to meet both of your needs with a single vibratory tumbler.
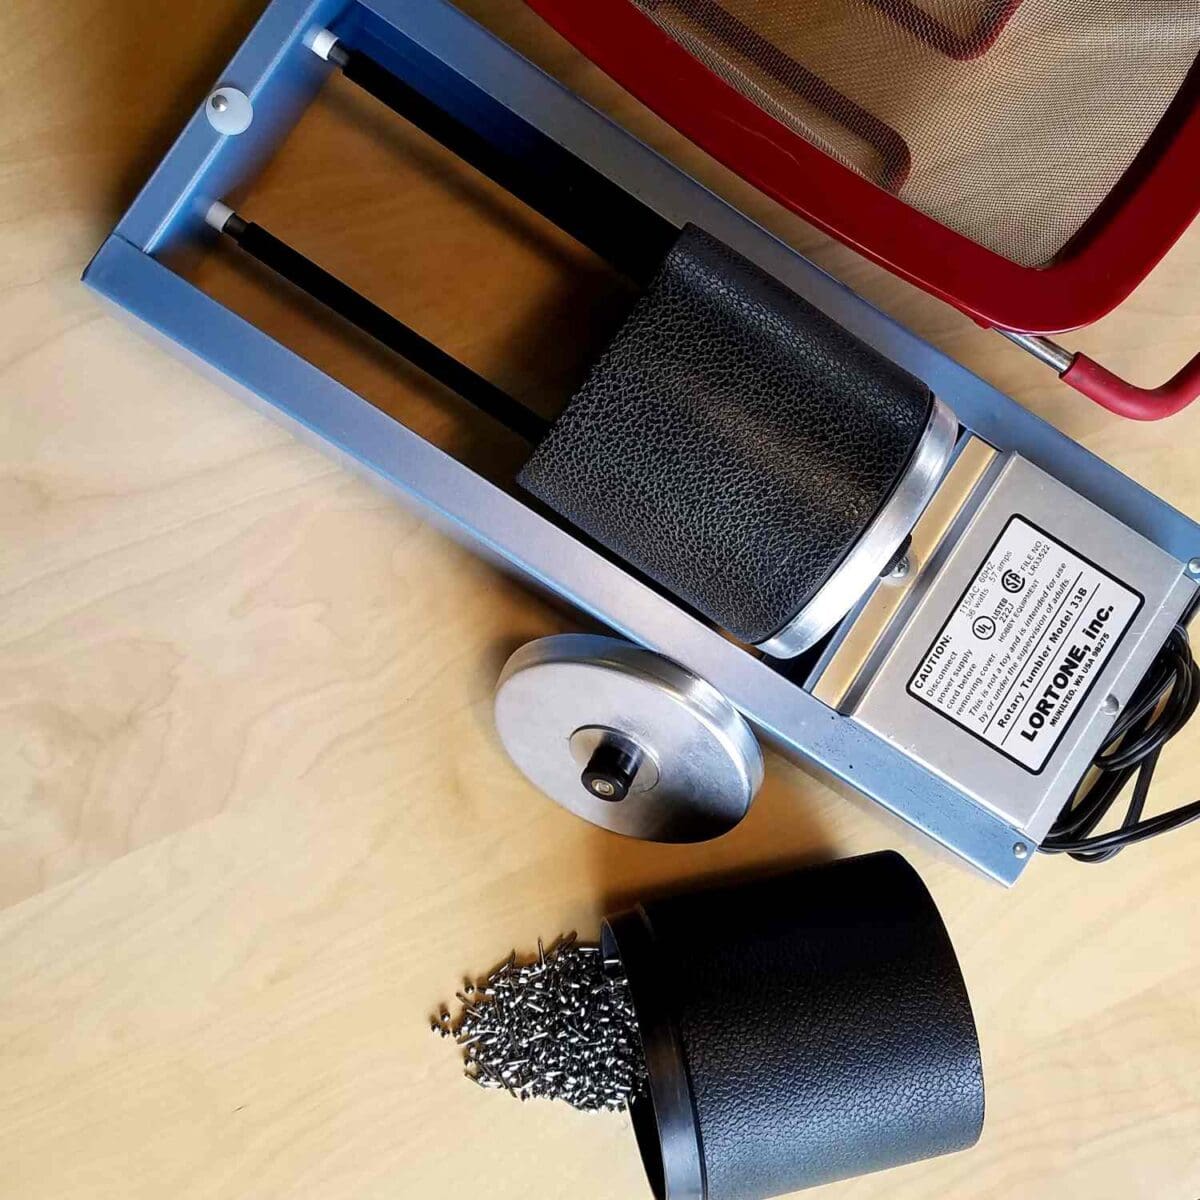
Rotary tumblers come in several different sizes and shapes, but they all have the same basic elements. They consist of one or more leakproof barrels and a base that contains a drive motor that spins one or more drive shafts. As the shafts spin, they cause the barrel(s) to rotate. This, in turn, causes the contents of the barrel(s) to tumble within the barrel chamber.
How a Rotary Tumbler Works
The action of a rotary tumbler sort of mimics ocean waves on a beach. The constant churning of the waves causes sand and seashells to tumble and roll against one another. The friction involved in that tumbling motion causes sand particles to naturally polish seashells, stones, and other solid debris in the water. This is how sea glass is created. So you can use your rotary tumbler to make your own cultured sea glass if you like. I’ll talk more about that when we get to tumbling media in the next section.
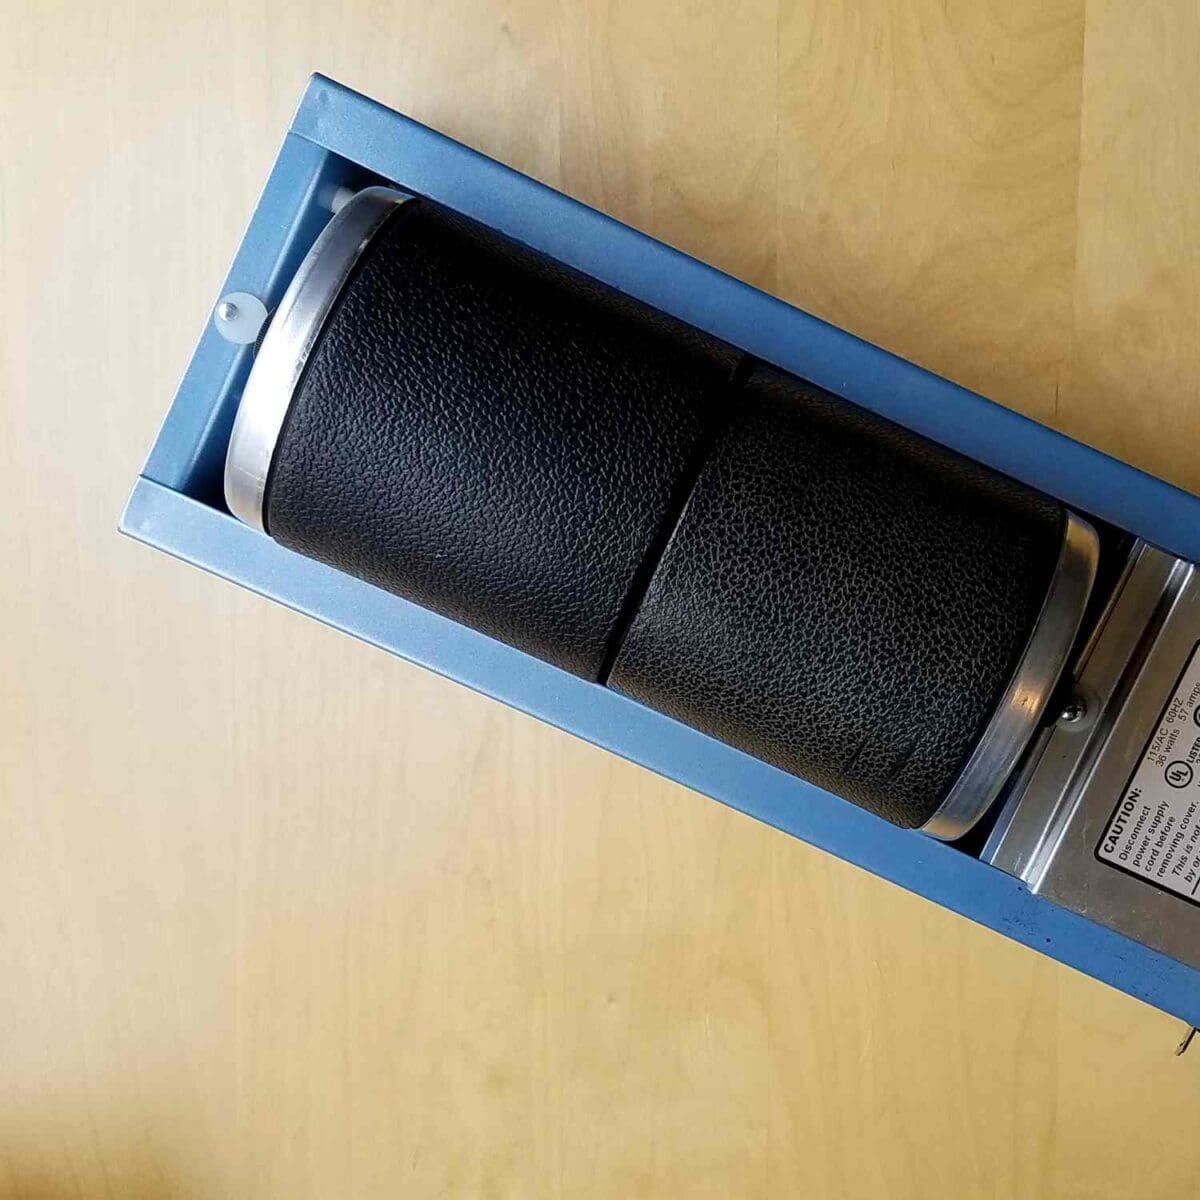
A rotary tumbler even sounds a bit like waves on a beach. So it’s not an unpleasant noise to have in the background while you work. There are lots of different rotary tumblers on the market, but I’m partial to Loretone Tumblers. I’ve owned two of these tumblers. I bought my first one about thirteen years ago. It was a single barrel model just like this one, and I got a ton of use out of that little tumbler. When the motor on my first jewelry tumbler finally gave out about three years ago, I replaced it with this dual barrel model, which I’ve been using ever since.
As I mentioned earlier, the dual barrel model doubled my capacity and allows me to polish two batches of jewelry at one time. I also kept the barrel from my first tumbler, so I always have one barrel of clean dry shot that I can use for my next batch of jewelry. This works extremely well when I have a lot of jewelry to clean and polish. I can easily swap out barrels and process several batches of jewelry at a time without ever having to turn off the drive motor.
Tumbling Media
There are many different kinds of tumbling media on the market, and each kind is used for a very specific purpose. I recommend a jeweler’s blend of stainless steel shot, such as this one, for cleaning wire jewelry. A jeweler’s blend will have two or three different shapes of stainless steel pellets. Those different shapes get into every nook and cranny of your jewelry, which will give you a consistent high polish.
How Much Stainless Steel Shot Do You Need?
You’ll need one pound of stainless steel shot for each tumbler barrel. Conveniently, most sellers offer steel shot in 1-pound packages. You can also purchase two-pound or five-pound packages, though. Those may be a better value depending on how many barrels you have (remember: you’ll need 1 pound of shot per barrel). Be sure to shop around for the best price because this material is not inexpensive. Steel shot will last a lifetime if you clean and maintain it, though, so it’s a one-time expense.
Earlier I mentioned that you can also make your own cultured sea glass with a rotary tumbler. This requires different tumbler media, and it’s advisable that you use separate barrels for polishing jewelry and making sea glass as well. One of the things I love about
One-time Use Course Rock Grit
The tumbling media you’ll need to make cultured sea glass is a course rock tumbling grit such as this one. This is a consumable material whereas your steel shot is reusable. You’ll only use a small amount of grit for each batch of glass, though, so a 1-pound box should make a lot of sea glass.
Here’s a really good tutorial that walks you through the process of making your own sea glass.
Useful Accessories for Your Jewelry Tumbler
The last item that you’ll need to go with your tumbler is a fine mesh stainless steel kitchen colander. Note the emphasis on fine mesh. You don’t want your nearly indestructible stainless steel shot slipping through the holes in your colander and down the drain. One stray piece of shot can destroy your garbage disposal.
I really like this Kitchen Aid colander because I can set it over my sink using the expandable handles. I bought this colander at the same time that I bought my new 2-barrel tumbler, and I use it exclusively for finishing jewelry. Don’t use a colander from your kitchen because there’s a small chance of cross contaminating food with traces of the chemicals used for antiquing and cleaning metals. It’s best to just buy an extra colander (or two) that you can dedicate to cleaning and polishing jewelry.
Discover more behind Door 44!
Thanks so much for joining me today. I hope you found this article useful. I have lots more tool tips to share, so stick around and browse a while.
Also, be sure to check out my Etsy shop for the latest ad-free printable PDF wire jewelry tutorials. Also, I’d love to see what you’ve made and hear your ideas and suggestions for new tutorials and blog posts. You can connect with me @door44studios on Instagram, and Facebook. And if you have questions about wire weaving or about any of my tutorials, the best place to get quick answers is in my private Facebook Group.
Until next time, go make something beautiful!

Pin this Post for Later


Hi Wendi,
THANK YOU for all this no-nonsense information! Your work is beautiful and FLAWLESS. I truly appreciate all the experience and knowledge you are sharing. It really is hard to find this information online.
The style of my work is a bit different (I’m still developing my skills), but I aspire to create and sell work that is as polished as yours. I’ve been a jewelry-making hobbyist off and on for 15 years, growing in confidence. I now use sterling-filled wire (and gold) primarily. I love copper, too, but it doesn’t suit my skin tone, so I work with it less. I’m a busy elementary school teacher and single mom. But currently, I’m spending ALL my free time (and money!) obsessively creating jewelry– scouring Etsy for design inspiration and fantasizing about starting my own shop. Now I realize that as lovely as my creations have become, I never learned how to give them that “professional finish” that would grant me the confidence to start a shop.
I am hoping you can mentor me a bit. Could you answer questions or even be available for a consultation? Specifically, I’m looking for advice on how to professionally finish delicately wrapped rings with tiny gemstone beads and different styles of hoop earrings with wrapped stones (mostly sterling silver).
I read over your “7-step process” to finishing (a few times!), but it’s feeling a bit overwhelming. Perhaps I need to hunker down, learn the steps, and practice?! I’m seriously considering purchasing the Lortone 3A single barrel for my hoop frames, but that would be too rough on my delicate rings.
Questions: Where is it best to get all the finishing materials? There seem to be so many items to gather and organize! Is there a “kit” available? Are any shortcuts recommended (like the tumbler), or do you always recommend all the steps, even when using a tumbler?
Thanks so much for your time considering and any help you can offer!
Tricia Bell
Hi, Tricia. I’m so glad you’re finding my content helpful! Unfortunately, I’m not available for private consultations or mentoring. I wish I had the time to do that, but it’s just not possible with my current work and family schedules. As for your questions about finishing, I do recommend a tumbler if you’re producing a lot of jewelry because it will save you precious time. But there are lots of ways to finish jewelry, including hand polishing or machine polishing with a rotary tool. The finishing materials you’ll need will vary depending on which of those methods you choose, but I always include all of the materials that I use in my tutorials. So, whether you choose to tumble polish with my 7-step finishing process or if you just want to hand polish using the readily available Pro-Polish pads and Sunshine cloths, you will find links to the exact same products that I use in those tutorials.
Be sure to check out this post for my hand polishing process: https://door44studios.com/clean-handmade-wire-jewelry/ I use this method mostly for maintaining the finish on my personal jewelry. But I also use it for newly made pieces that are too fragile for my tumbler. So, that’s a viable option for your rings. Finally, try not to get too caught up in analysis paralysis. There are no perfect formulas or kits that will take all the guesswork out of it for you, but finishing really isn’t complicated. You just need to jump in and try out a few techniques and products to see what works best for you. So, don’t be afraid to experiment. And definitely don’t be afraid of failing or messing up a piece or two because that’s the best way to figure out a finishing process that works best for your unique needs.