

Avoid Tool Marks on Wire: Calibrate Your Grip
Last week I shared three ways to help you keep your pliers from leaving marks on your wires. But this is a really common problem for beginner wire weavers. So we’re going dive a bit deeper into this topic, and I’m going to show you how to avoid tool marks on your wire altogether. Today, you’ll learn how to calibrate your grip.
That sounds strange, doesn’t it? You might be thinking, “Okay, Wendi… how on earth can I calibrate my grip? I’m not a machine or a precision instrument.” And my response to that is, “Oh, but you are, my friend. You are, in fact, the ultimate machine.”
There are 27 bones, 34 muscles, and over 100 tendons and ligaments in the human hand. We take all of that complexity for granted because using our hands is second nature for most of us. We don’t even think about it. Our hands are almost constantly in motion and we’re barely aware of what they’re doing at any given moment.
Right now as I type this post, my hands are making quick and complex maneuvers over my keyboard, and I don’t even have to think about it because I’ve been typing for decades. I can type automatically thanks to the wonders of muscle memory. And today is the day that you’re going to start developing your own muscle memory for gripping wire with your pliers.
This post may contain affiliate links. If you click on a link and then make a purchase, I may earn a small commission (at no cost to you). As an Amazon Associate I earn from qualifying purchases. To learn more, please see my full disclaimer.
Are you ready? Let’s get started!
Tools and Materials
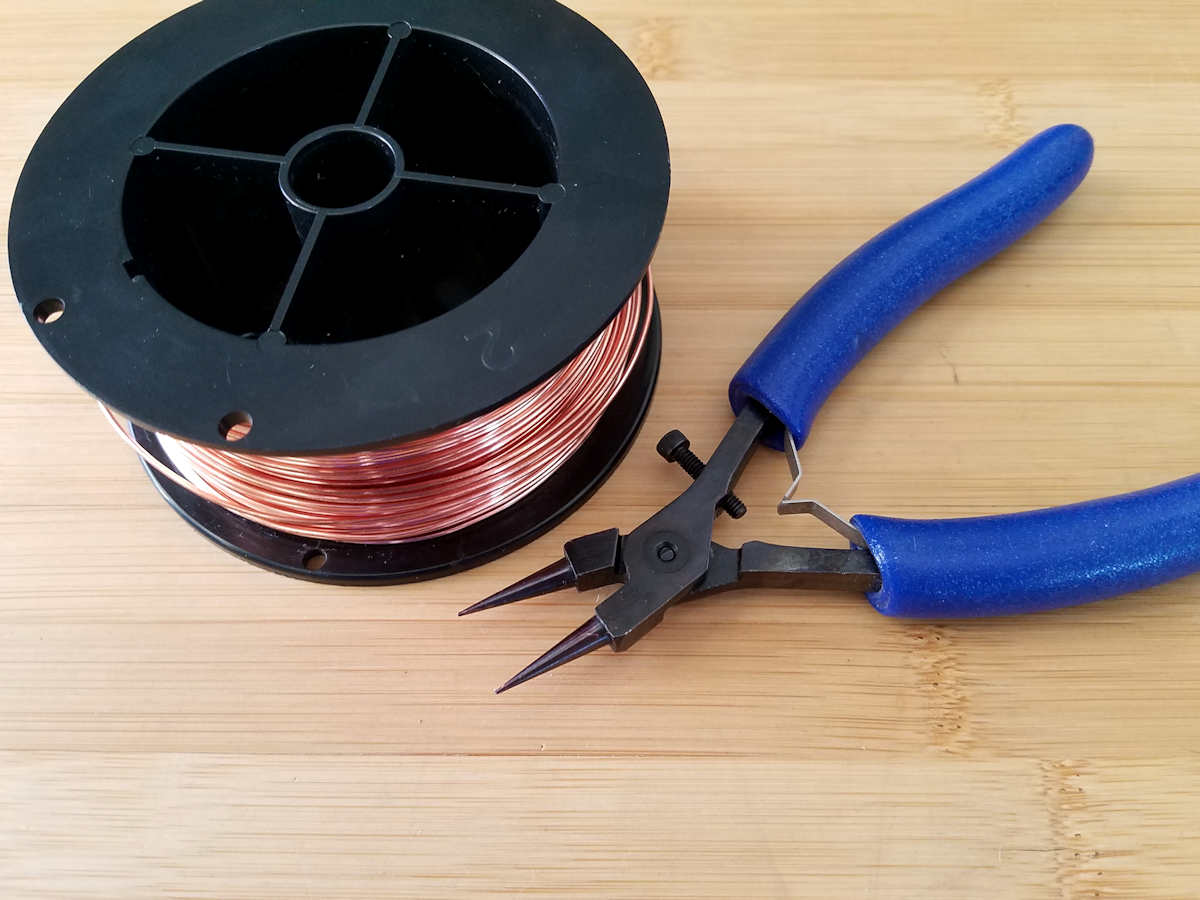
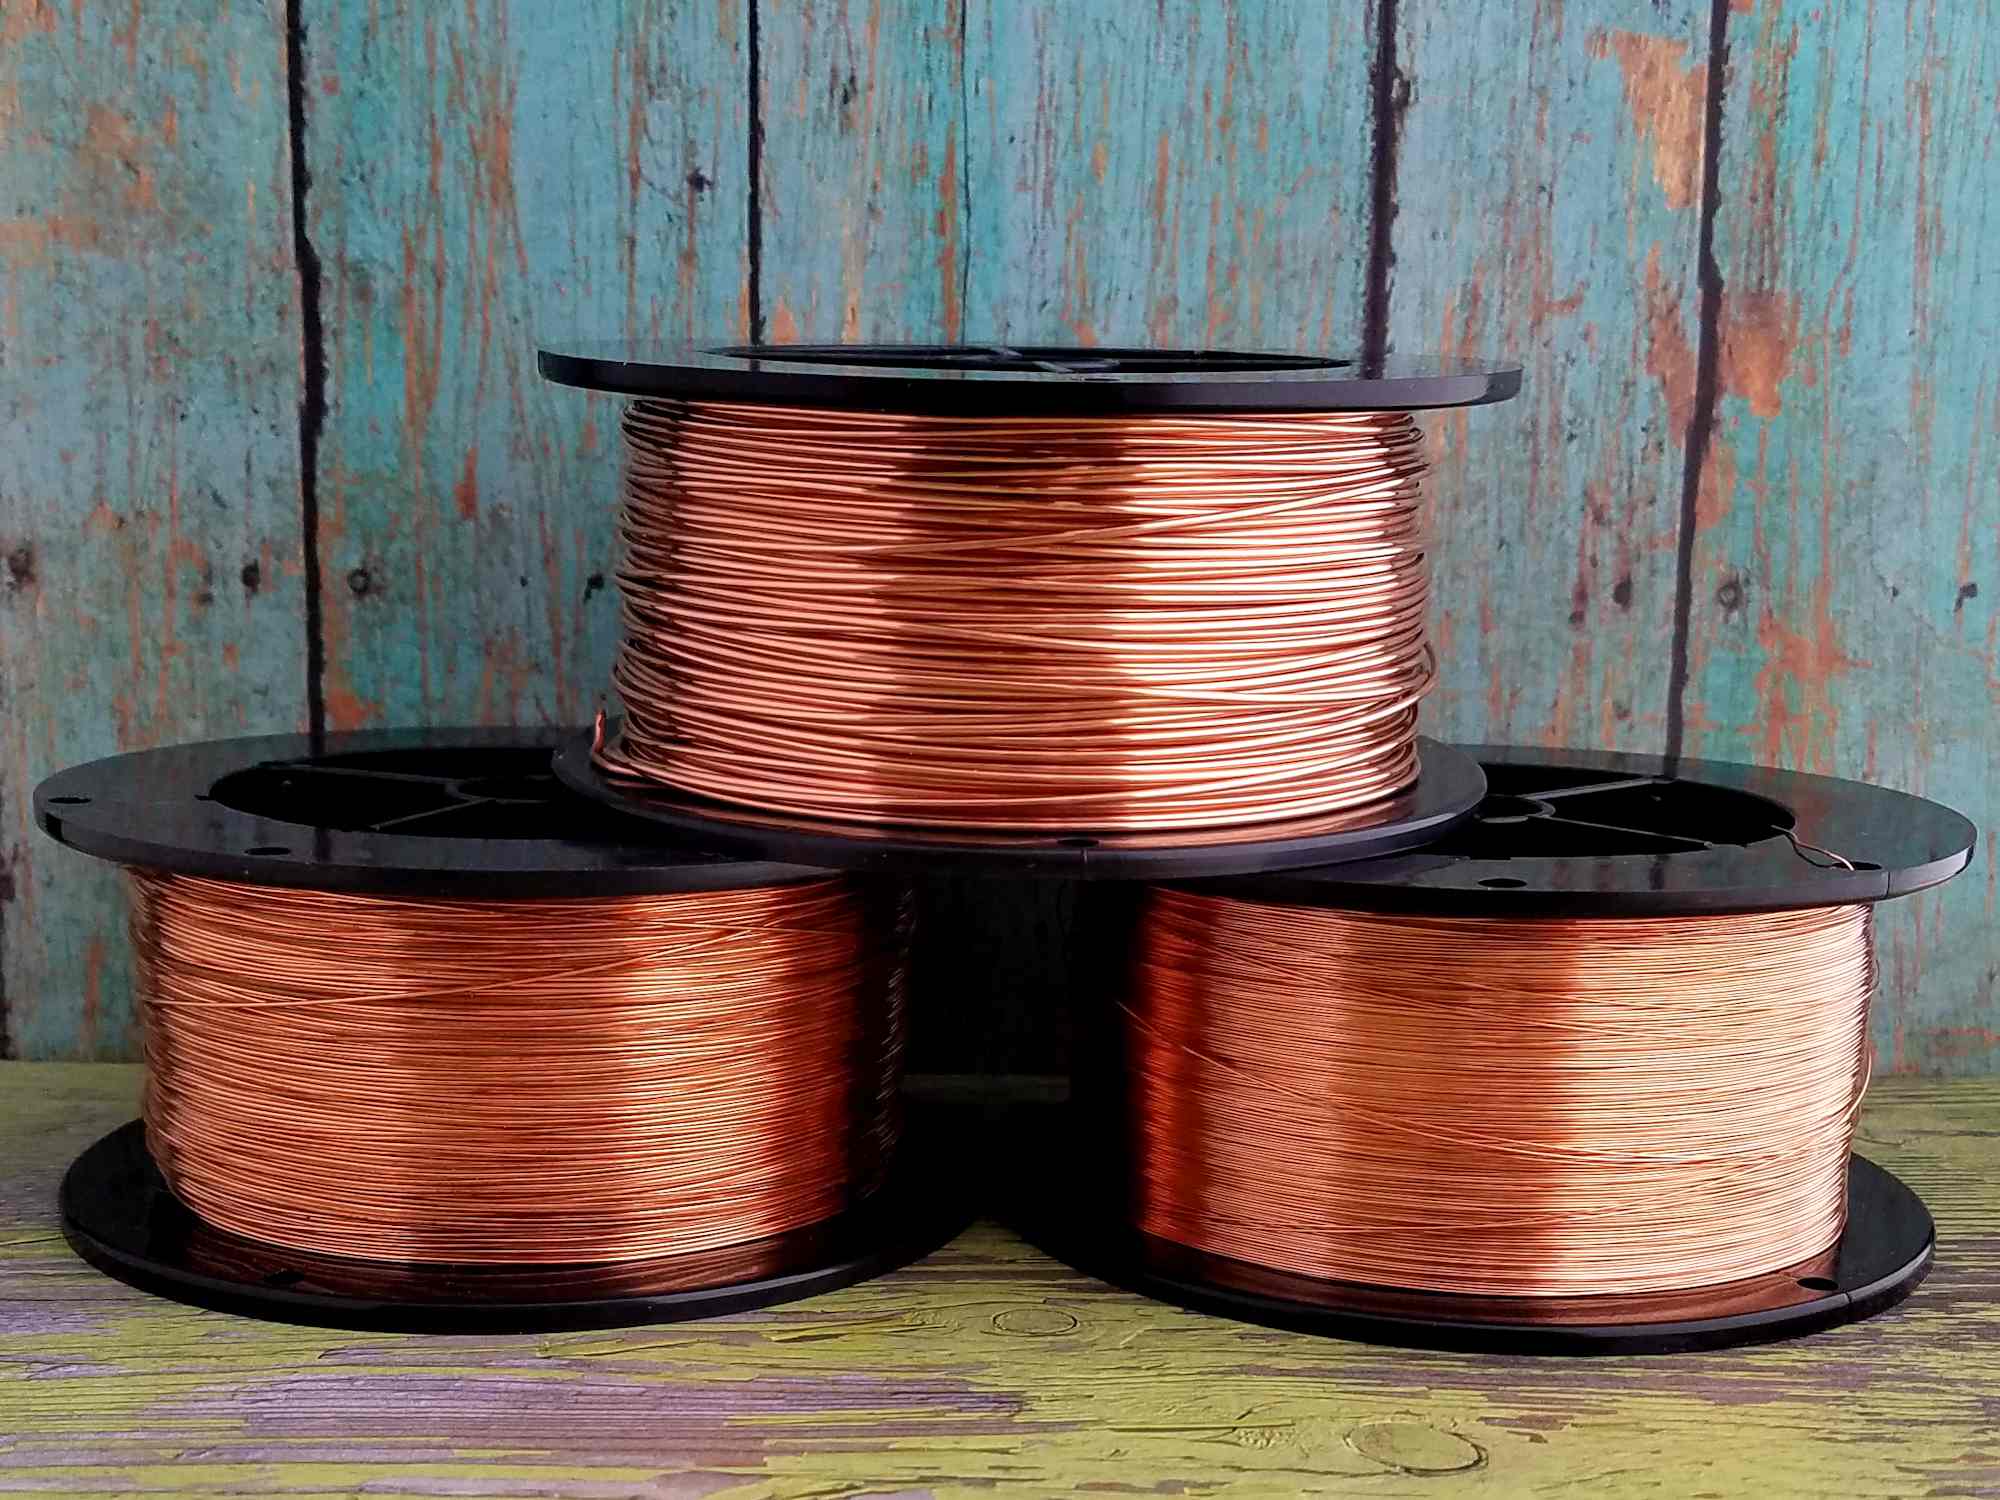
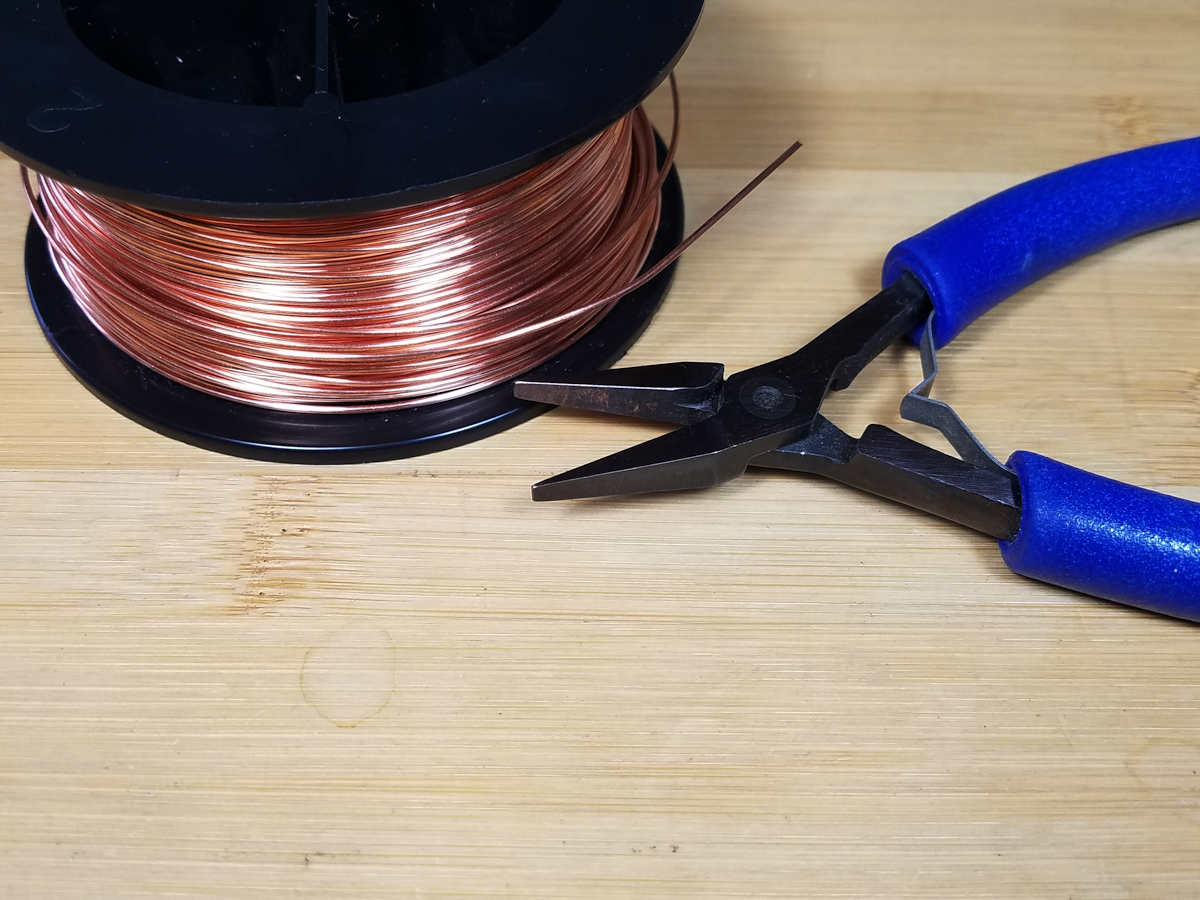
All you need for this exercise is a pair of round nose pliers and some scrap wire. Choose a heavy gauge of wire because we’re going to deliberately make some tool marks, and I want you to be able to see those marks clearly.
I’m using 14ga dead soft wire for this demonstration along with my round nose pliers. 16ga will work well, too, and you only need a few inches of wire. The piece I’m working with is about 6-inches long.
How to Calibrate Your Grip on Your Jewelry Pliers
Are you wondering why I specified round nose pliers for this exercise? It’s because, of all your jewelry pliers, these are the ones most likely to leave visible marks on your wire. And that’s because of the shape of their jaws.
Round nose pliers have less contact surface than chain nose or flat nose pliers. And because that contact surface is round instead of flat, these pliers require much more grip precision than their flat-jawed counterparts. Master controlling your grip with your round nose pliers first. Then you’ll be able to easily avoid making tool marks on your wire when using your other pliers.
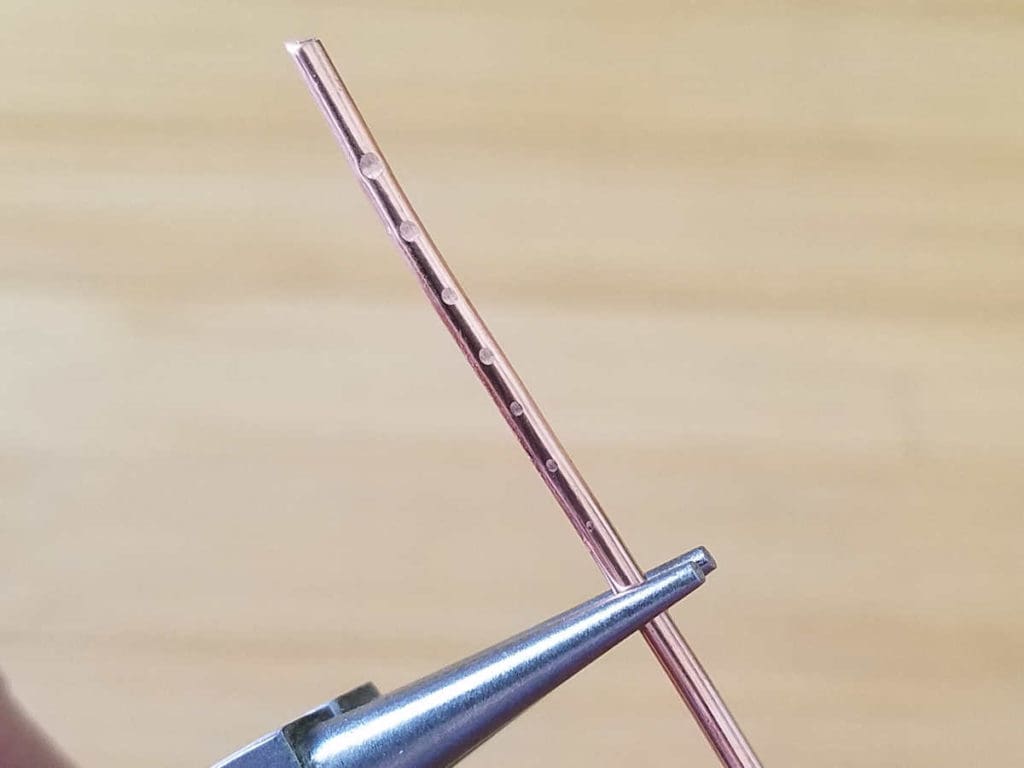
Here’s what I want you to do. Grasp one end of your wire with the tips of your round nose pliers as shown below.
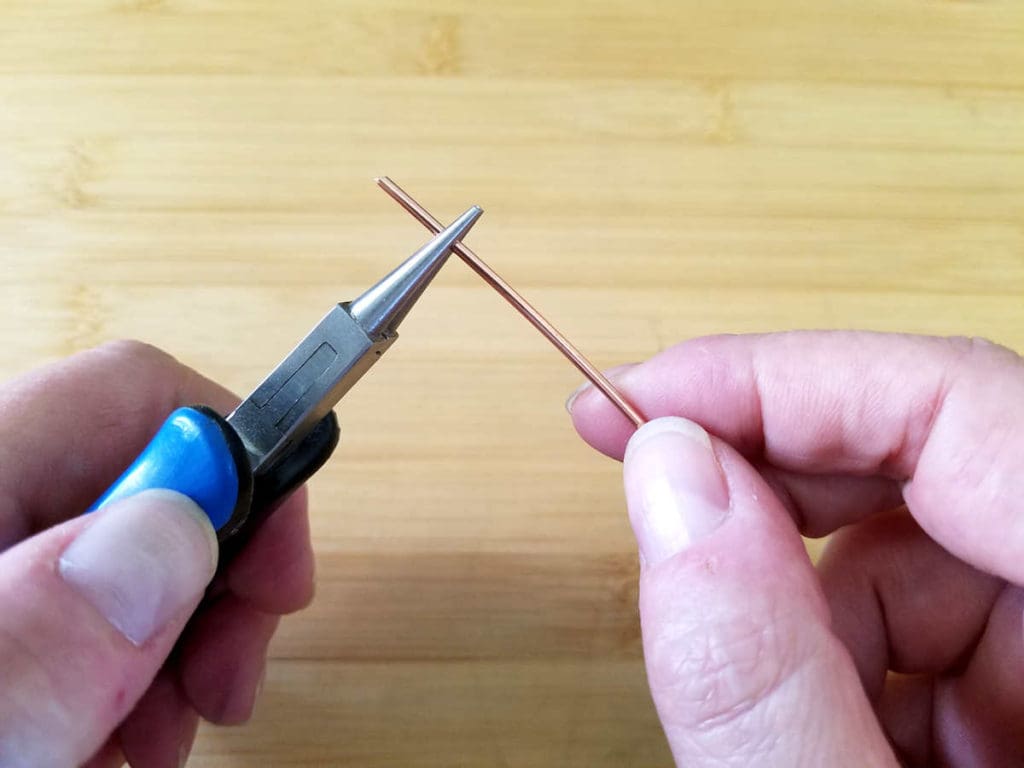
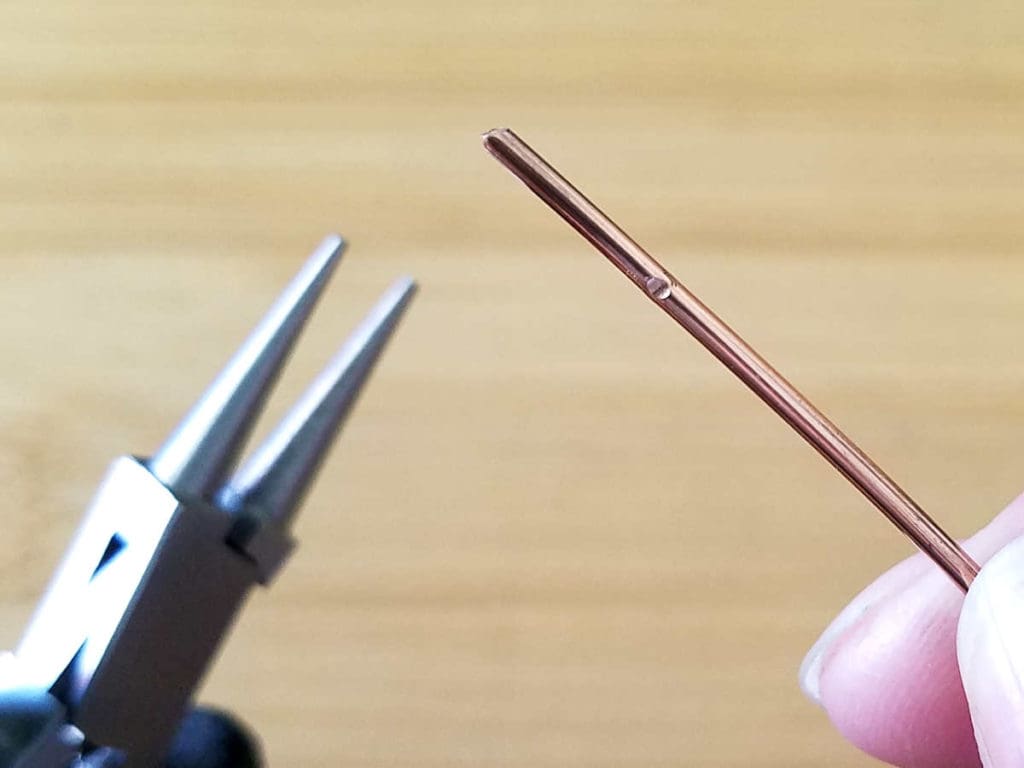
Now squeeze hard. Harder than you’d normally grip your wire while working on a piece of jewelry. This action should result in a big, beautiful tool mark, which will look something like the one shown below.
Next, position your pliers about 1/4-inch or so from your first mark and squeeze them closed again. Only this time, use just a bit less pressure than you did on your first squeeze. This should result in another tool mark that is slightly smaller than the first one that you made.

Now keep repeating this process, gradually lightening your grip each time until you can grasp your wire without leaving a mark. Depending on the wire gauge, the type of wire that you’re using, and how strong your hands are, it will probably take six to eight adjustments to your grip before you can comfortably hold your wire without marking it.
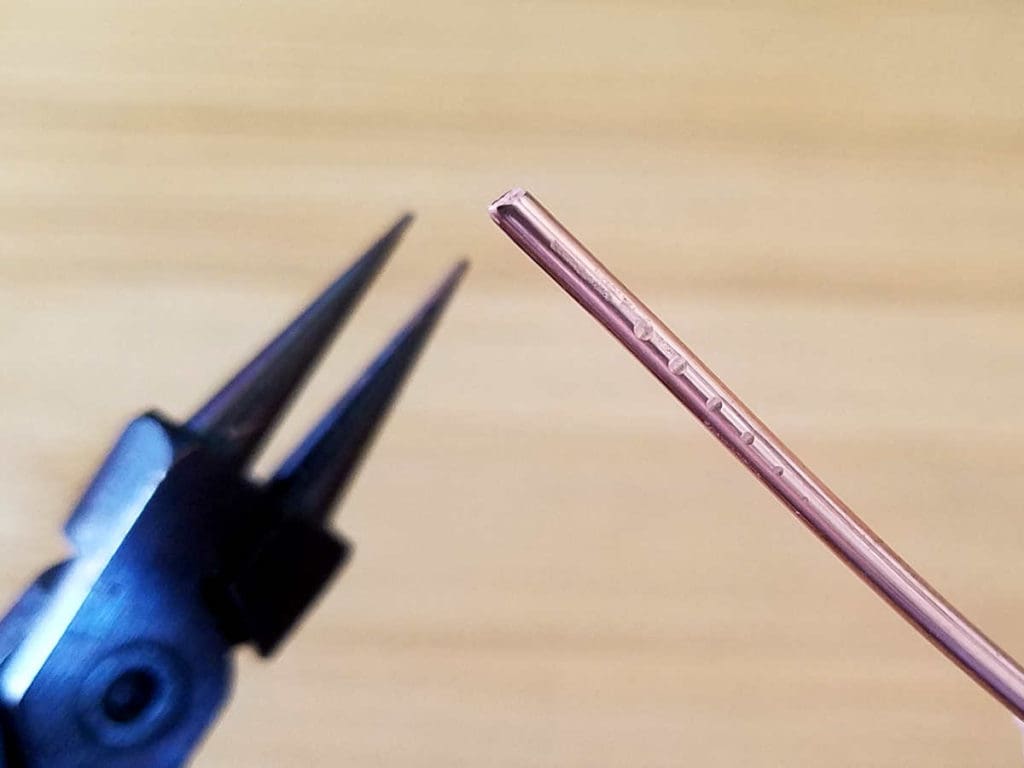
The image below shows each step that I took to gradually calibrate my grip. In this case, it took about eight incremental adjustments to get from leaving a large tool mark on my wire to leaving no tool marks at all.
Now that you’ve calibrated your grip, practice grasping and releasing your wire until you can do so using the same degree of pressure on your grip every time. This will help you establish muscle memory. But more importantly, it will also help you become more consciously aware of what your hands are doing.
I can’t express strongly enough how important it is to stay present and aware of what you’re doing while you’re working. It’s easy to let our minds wander. And the more skilled you become at wire weaving, the more your mind will tend to wander because you don’t have to focus as much on what you’re doing. But here’s the thing. Creating jewelry is an intentional act. So stay present. Stay focused. And be intentional about every little move that you make. Intentionality is the fastest route to mastering any skill — not just making jewelry.
Once you’ve calibrated your grip using round nose pliers, you’ll be able to avoid tool marks on your wire while using your flat nose and chain nose pliers with the same (or even slightly more) grip pressure. Go ahead and give it a try!
Important Variables to Consider
Now that you know how to calibrate your grip on your pliers, it’s time to talk about some important calibration variables.
The Type and Hardness of Wire Makes a Big Difference
For instance, fine silver wire is much softer than copper wire. So it will mark more easily. Likewise, sterling silver is harder than copper wire. That means you can get away with a tighter grip on sterling silver than you can on copper or fine silver. And for all types of jewelry wire, dead soft wire will mark more easily than half-hard wire. So remember that it’s always important to take the type and temper of your wire into consideration before starting on a jewelry project.
For a more detailed discussion about the physical properties of solid jewelry wire, be sure to read this post. I also recommend using a small scrap of whatever wire you plan to use for a project to calibrate your grip before you begin working on your jewelry project. In fact, this is a great exercise to do every time you sit down to work at you bench.
Remember, your goal is to develop awareness, sensitivity, and muscle memory. And the best way to sharpen those skills is with frequent and intentional repetition.
Tool Quality Also Makes a Difference
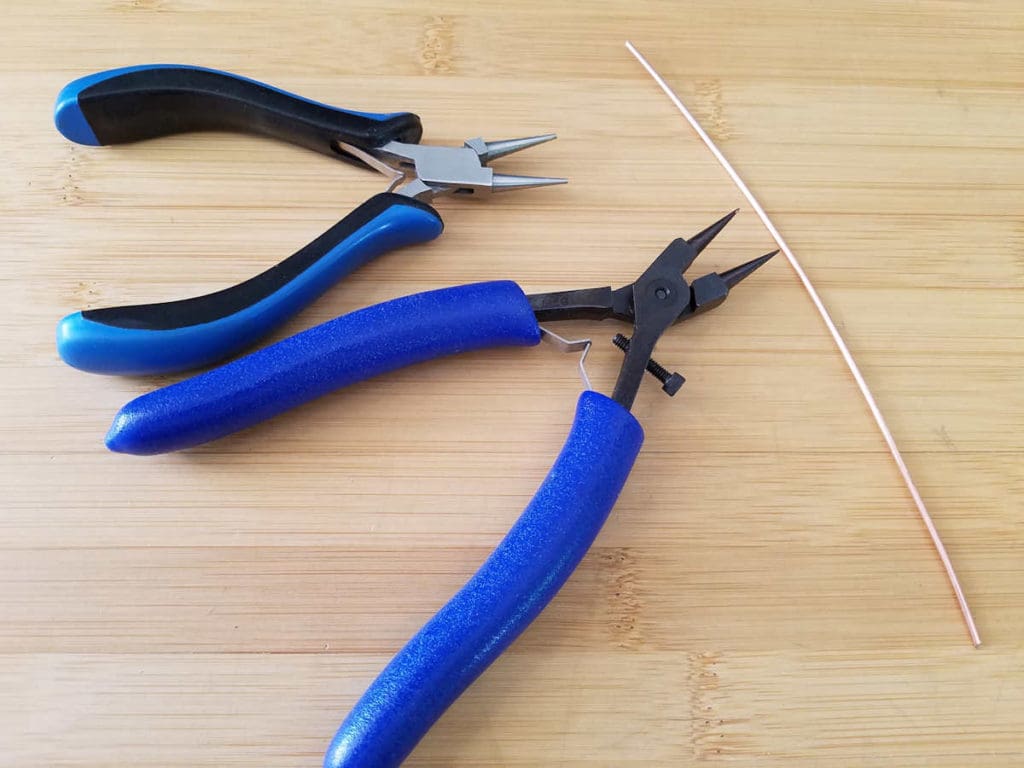
The other variable that you should consider is the overall quality of your jewelry pliers. You may have noticed in the first image above that I showed two pairs of round nose pliers.
I used my original round nose pliers that I’ve owned for more than twelve years now for the demonstration on how to calibrate your grip. But I also tested this calibration technique using my higher quality Swanstrom pliers. And even though I know my Swanstrom tools are the higher quality tools, I was still a bit surprised by how much easier it was to calibrate my grip with my professional grade pliers.
As you can see in the image below, the first tool mark that I made with my Swanstrom pliers isn’t as pronounced as it was in my earlier demo. And I also managed to calibrate my grip in fewer increments.
I attribute that quicker calibration to three things. First, my Swanstrom pliers have longer handles than my old generic pliers. And those longer handles fit more comfortably in my hands and give me a bit more control.
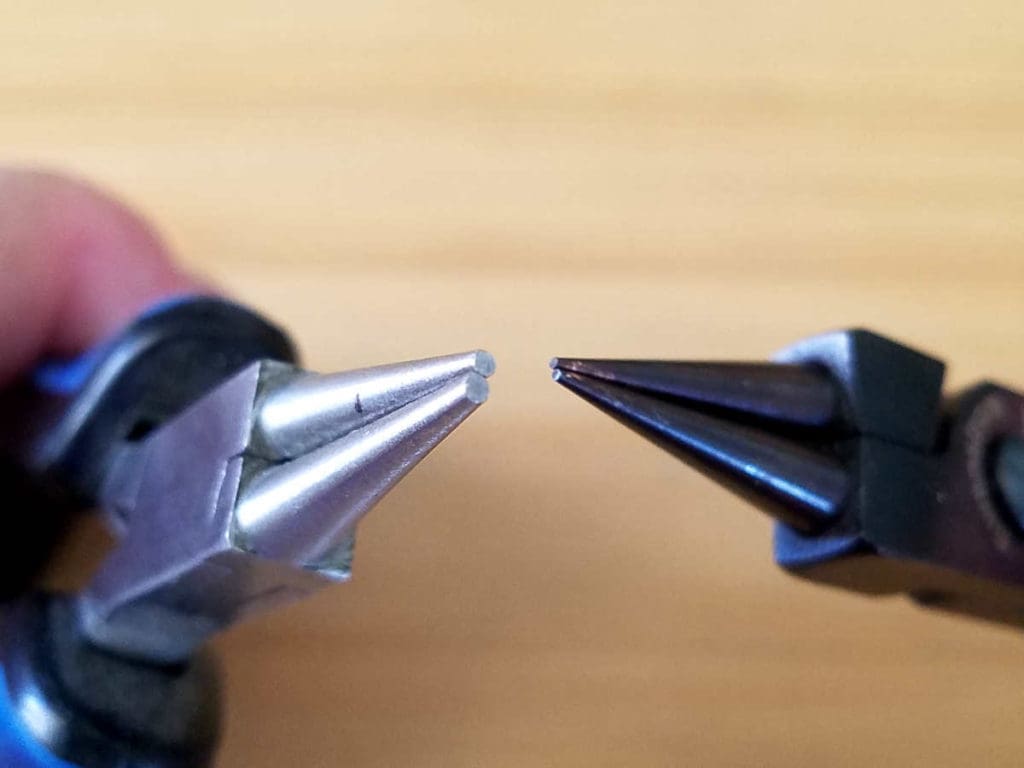
Secondly, my Swanstrom pliers have slightly stronger springs, which in turn give me more muscle feedback as I grasp wires. Finally, the jaws of my Swanstrom pliers are precisely machined to a very fine point. Thus, they have a smaller and more precise radius than my old round nose pliers.
In fact, my old pliers don’t even have the same radius on both jaws. One jaw is slightly smaller than the other, as you can see in the image below. The more finely formed tips on my Swanstrom pliers will make smaller tool marks on my wire, no matter how tightly I grip the wire.
Tool Recommendations
Now, this is not a sales pitch to get you to go out and buy more expensive tools. I’m providing the following information about tools mainly so you can get a sense of the price range.
If you feel like you’re ready to upgrade your tools, I encourage you to do so. For those of you who are just starting out, however, I encourage you to invest in some inexpensive entry-level tools and work with them for a while.
When you’re first starting out, the time that you invest in practicing the craft will produce much better results than spending a lot of money on tools and then not using them regularly. So, please don’t go out and buy professional tools until you’re absolutely sure that wire weaving is for you.
Those old round nose pliers that you see on the left in the image above? They’ve served me well for twelve years! And I continue to use them frequently, even while I also use my pro-grade Swanstrom pliers, which I’ve had for about three years, now. I bought my new pliers a few months after I launched my blog in October of 2018.
Four High Quality Brands of Jewelry Pliers
If and when you’re ready to upgrade your tools, there are three brands that are generally regarded as professional-grade tools. They are Swanstrom, which I personally use. I bought my pliers from Rio Grande. See the link above if you want more information about those tools specifically.
The other three brands which are highly regarded among wire weavers are Lindstrom pliers, Xuron pliers, and Tronex pliers. I’ve never used any of these brands. So I can’t speak to how well they compare to my Swanstrom tools. But all three brands have great reviews. Xuron and Tronex are the newest brands on the market, and both brands do seem to be quite popular with wireworkers. So do your research, practice this calibration technique (regardless of which tools you choose). And go make something beautiful!
Discover More Behind Door 44
As always, thank you for joining me today! I hope you found this post helpful. Learning to avoid making tools marks on your wire is an important step toward wire weaving mastery. So, don’t forget to calibrate your grip whenever you start a new project or switch to a different type of jewelry wire. Also, don’t forget that you can pad your pliers to help avoid tool marks on your wire while you’re learning to control your grip.
I like to share useful wire weaving tips and tricks on my social media channels, and we have some great conversations about wire jewelry in my private Facebook Group. Also, be sure to connect with me @door44studios on Instagram, and Facebook to keep up with everything that’s happening behind Door 44. And if you haven’t already done so, be sure to subscribe to my YouTube channel where you’ll find new wire jewelry videos weekly.
Until next time, wire weaver, go make something beautiful!

Pin the This Post for Later
Excellent article! And very useful – will be giving this a try, as my wire always looks a bit pitted. Thanks for the great tips, Wendi!
You’re welcome, Denise! It’s a surprisingly helpful exercise, so definitely give it a try. My grip is pretty well dialed in for copper at this point in my career, but I definitely recalibrate my own grip whenever I work with a different type of wire.
I was on the fence regarding Swanstrom pliers since I already have been using mainly Xuron. But your points are well taken. And now I’m gonna purchase the set of pliers.
Xuron are great tools, but I do love my Swanstrom pliers. I hope they work out well for you!