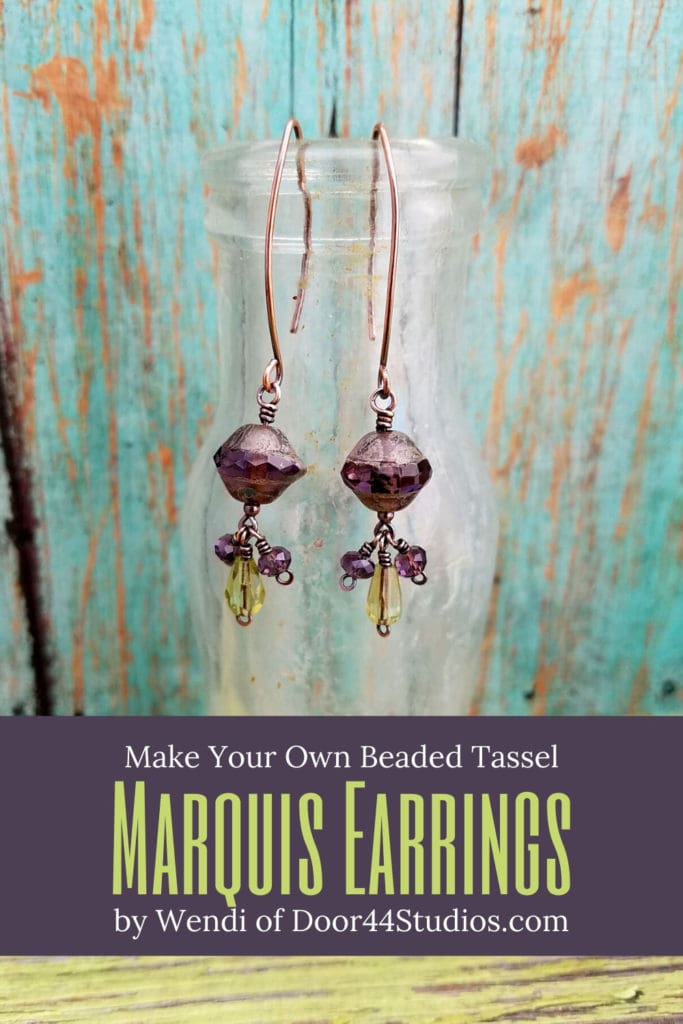
Beaded Tassel Marquis Earrings Tutorial
Welcome to Part 2 of the Marquis Earrings Series! As you may recall from Part 1, we made some pretty and versatile Marquis ear wires. Today we’re going to use those same ear wires to make the fun and flirty Beaded Tassel Marquis Earrings.
In this tutorial, I’m going to show you how to make some super quick and easy headpins that you can use to create an infinite variety of beaded dangles for jewelry. But we’ll focus on my signature beaded tassel drops, which add some additional color and interest to the basic beaded drop that we’re all so used to seeing on jewelry.
This project will give you an opportunity to perfect your simple loop and wrapped loop techniques. I know these may seem like very basic skills. But they’re so important for both the appearance and the strength of your jewelry. So it pays to learn to make neat and tidy loops.
As I mentioned above, this tutorial is Part 2 of a 3-part series. That series consists of the following wirework basic tutorials:
- Marquis Ear Wires: How to make perfectly matched pairs – Part 1
- Learn to Make the Beaded Tassel Marquis Earrings – Part 2 (you’re here)
- How to add additional detail and sparkle to your marquis ear wires with wire-wrapped beads – Part 3
Would you rather have these tutorials in a printable ad-free format? Just click the button below to grab all three tutorials in this series in one affordable bundle. You’ll get three full-color printable PDF tutorials — one for each part of this 3-part wirework basics series.
3 tutorials 1 great price
The Beaded Marquis Earrings Tutorial Bundle
These full-color printable PDF tutorials are great references for several basic wirework techniques. Save 20% off the individual price when you buy the bundle.
Copyright & Disclosure
You’re welcome to make and sell products from this tutorial. These earrings are a common design that’s been around for eons, so I claim no exclusive rights to the design itself.
When it comes to my written tutorials, however, I do reserve exclusive rights to all images and written content. You may not reproduce or redistribute any portion of the Beaded Tassel Marquis Earrings tutorial in any way, shape, or form.
This copyright applies to the printable PDF version of the Beaded Tassel Marquis Earrings tutorial as well, and it’s included therein. You may share the free version of this tutorial only by linking directly to this page.
This post may contain affiliate links. If you click on a link and then make a purchase, I may earn a small commission (at no cost to you). As an Amazon Associate I earn from qualifying purchases. To learn more, please see my full disclaimer.
Skill Level: Beginner
This is a very basic wirework project that can be achieved by someone who has never worked with wire before.
I go into great detail in this tutorial. If you’re an experienced maker who knows how to make simple loops and wrapped loops, feel free to skip ahead to the parts that are most relevant to you.
If, however, you’ve never worked with wire before, this tutorial is for you. And if you’re comfortable working with wire, but you’d like to improve the quality of your simple loops and wrapped loops, this tutorial is for you, too.
Getting Started
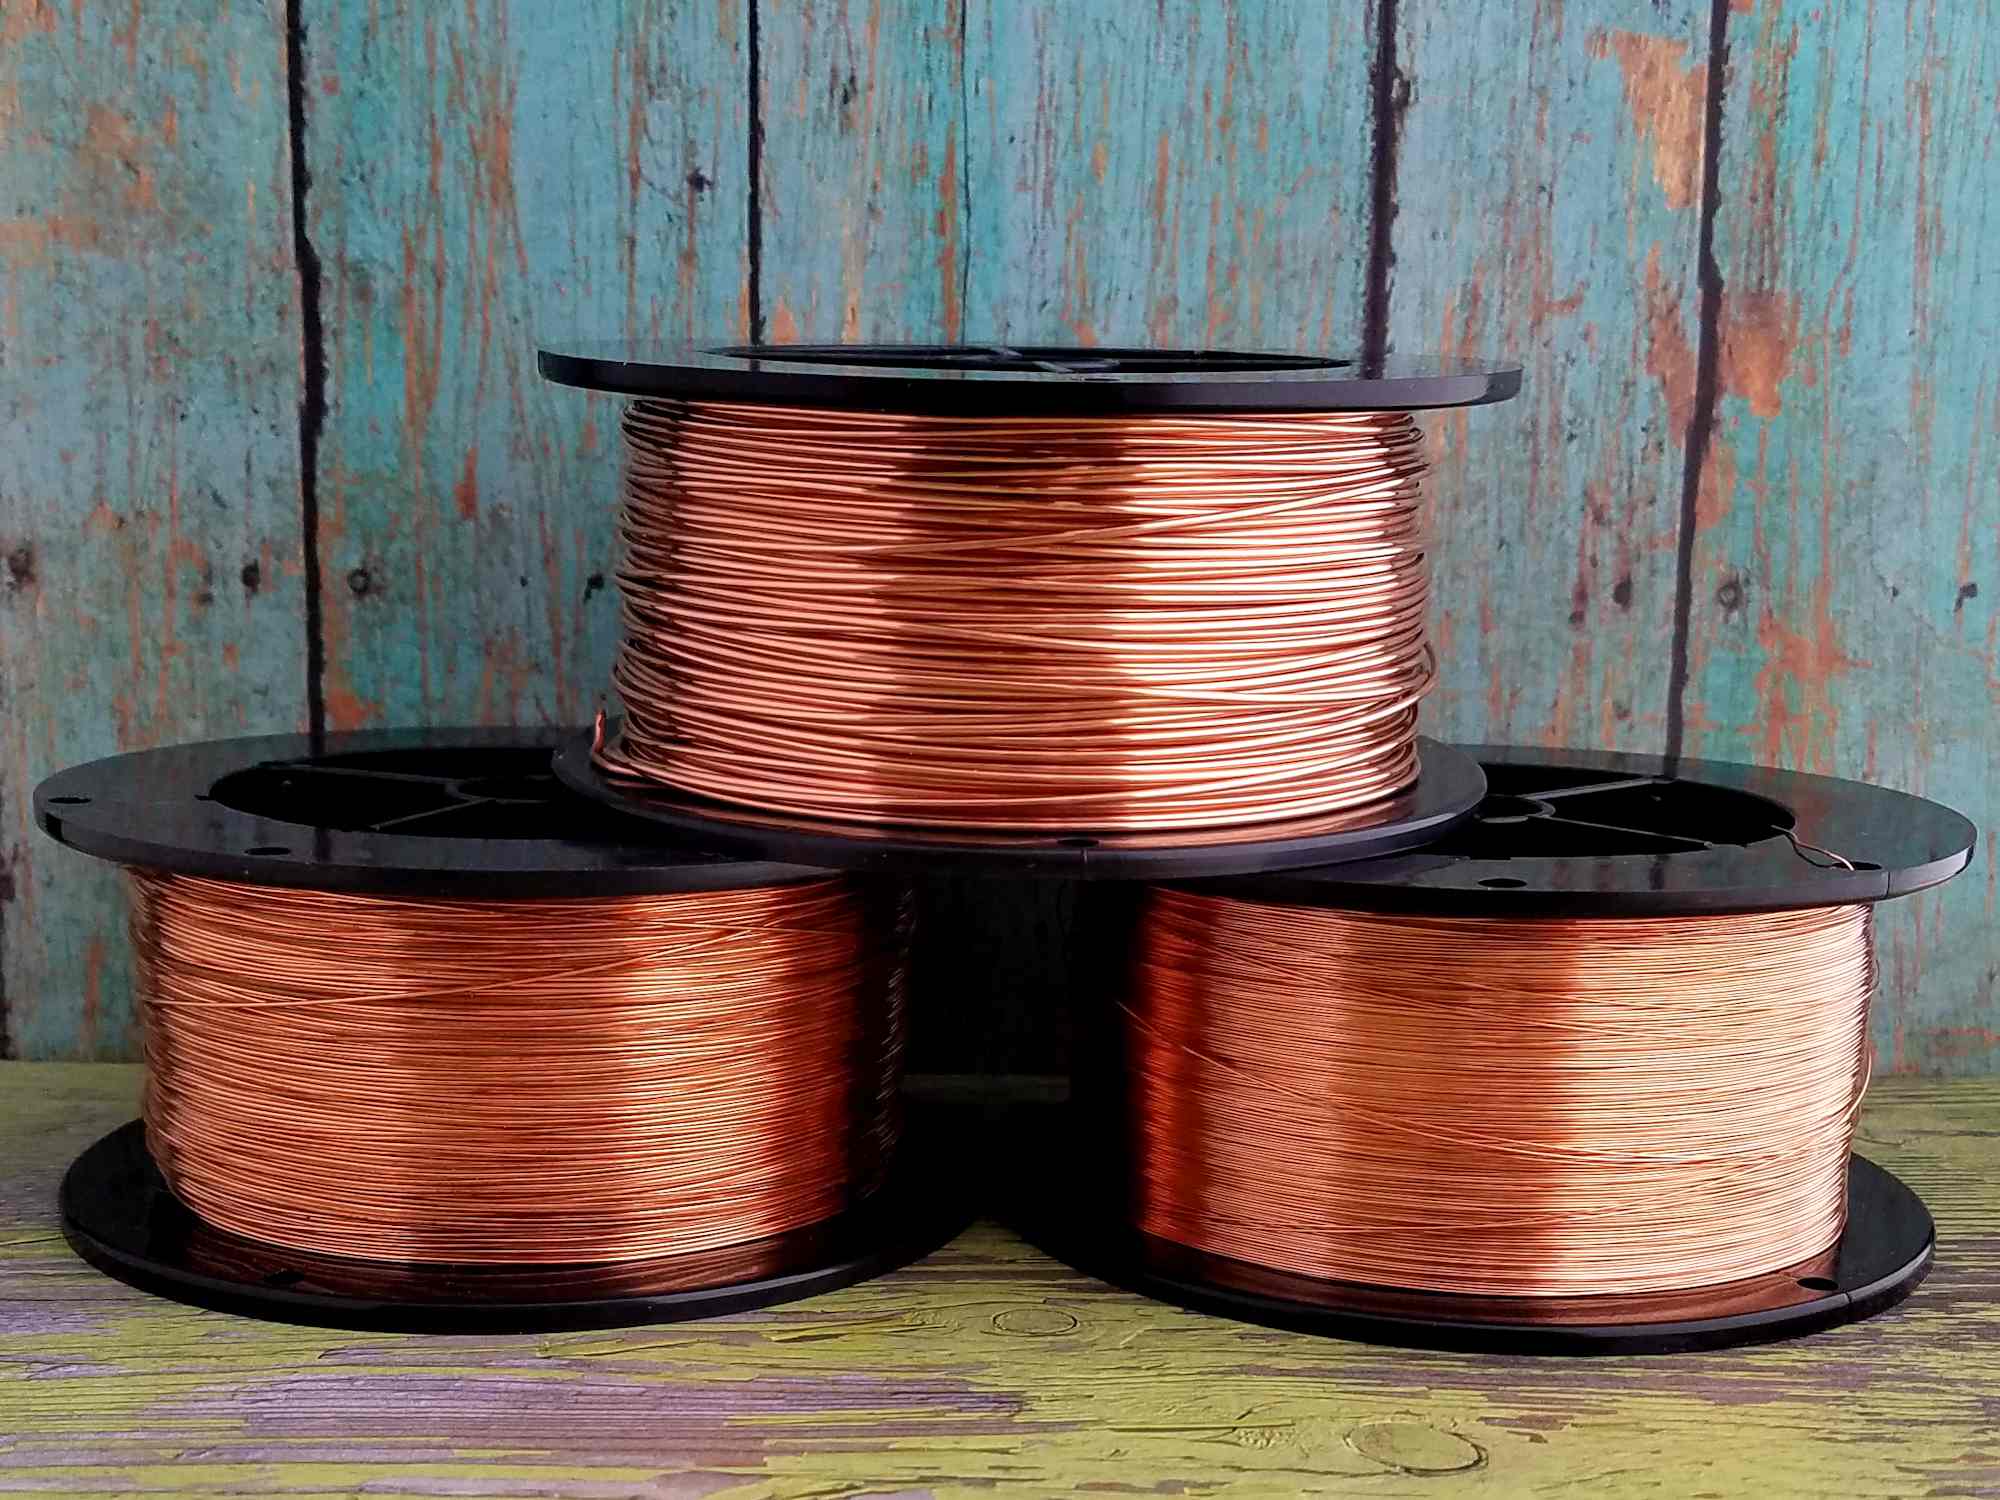
For best results, use half-hard solid copper or sterling silver wire. I always use half-hard wire for anything that involves making wrapped loops. It’s just easier to make neat and clean loops that will retain their shape. However, you can use dead soft wire for these earrings if that’s what you have on hand. Just keep in mind that the shape of your loops may be more easily distorted during the assembly process.
If you choose to use a filled wire, be advised that these earrings are finished and hardened by hammering the wire. Even light hammering can expose the base metal core in filled wires, which can negatively affect your final finish. I don’t recommend plated or anodized craft wire for these earrings as those coatings will be ruined with this construction process.


Tools & Materials
- 22ga wire – 5 inches (13 cm) per pair
- 24ga wire – 12 inches (30 cm) per pair
- Focal beads* – 2+ per pair (8mm to 15mm round, rondel, or drop beads work well)
- Accent beads* – 6+ per pair (4mm to 8mm round, rondel, or drop beads work well)
- 1 pair of Marquis Ear Wires (I chose wires with an inside loop, as shown.)
- Wire Cutters
- Chain Nose Pliers
- Round Nose Pliers
- Chasing Hammer
- Bench Block
- Ruler
- Fine Point Permanent Marker
*I used three different types of Czech glass beads from my own stash while writing this tutorial: two 8mm x 10mm Saturn beads for the focal beads plus two 7mm x 5mm Czech glass drops and four 3mm x 4mm Chinese crystal rondels.
These earrings are great stash busters, so use what you already have on hand. Or shop my favorite source for Czech glass beads: Arte Bella Surplus.

Finished Size
- TASSEL WIDTH: about 1 inch (2.5 cm)
- TASSEL LENGTH: about 3/8 inch (0.95 cm)
In Part 1 of this series, I show you how to make these ear wires yourself. However, you can add these beaded tassels to any type of ear wire. If you use my Marquis Ear Wires, they will add about one inch in overall length.
How to Make the Beaded Tassel Marquis Earrings
I specified generous lengths of wire for the headpins that we’re going to make in this tutorial. These wires should be long enough for most beads that you might choose to use for your beaded drops. However, if you choose to use oversize beads or something like large felt balls for your drops, you may need to increase the lengths of the wires for your headpins.
Form the Headpins
Step 1
Straighten a length of 22ga wire by running it between your fingers or the jaws of your Nylon jaw pliers a few times. Once the wire is reasonably straight, measure and cut two 2-1/2-inch pieces of 22ga wire.
We’ll use these wires to make the large headpins that will attach to your Marquis ear wires.
Step 2
Straighten a length of 24ga wire. Then measure and cut six 2-inch pieces of 24ga wire.
These wires will become the small headpins that will attach to the simple loop on the bottom of the two 22ga headpins.
Step 3
Grasp the tip of one of your 24ga wires with the tips of your round nose pliers.
Then position the tip of the wire flush with the side surface of the jaws of your pliers and grip gently.
Step 4
Use the thumb of your free hand to push the long end of the wire all the way around one jaw of your round nose pliers.
Make sure you press the wire firmly against the surface of the mandrel as your wrap your wire into a small loop. That pressure is what makes your loops consistent when making multiples as we will do for this tutorial.
Your wire will now be in the form of a small letter “p”, as shown.
Step 5
Now reposition your round nose pliers so one jaw is within the small loop and the other is resting against the straight length of your wire, as shown.
We’re going to adjust the position of the loop so it is centered with the shaft of the headpin.
Step 6
Use the fingers of your free hand to push the straight segment of your wire against the outside jaw of your round nose pliers until the simple loop on your pliers is centered over the wire shaft, as shown.
Step 7
Use your chain nose pliers to gently squeeze the loop closed, as shown.
Step 8
Use your chasing hammer and bench block to gently flatten just the simple loop on your headpin. This takes just a few gentle taps with the hammer. Don’t use too much force or you’ll flatten the wire to the point where it’s likely to break.
Even the gentlest taps with the hammer are likely to cause your loop to open again after you just closed it in the last step. That’s okay. This is all part of the process of hardening the loops so they will maintain their shape from this point forward.
Step 9
Again use your chain nose pliers to gently squeeze the loops closed, as shown.
This takes some finesse when working with such small gauge wires, but it’s really good practice for hand control. That’s one of the reasons why I chose this particular project today. It gives you the opportunity to really get the feel of your wire and tools.
If you squeeze too hard and mangle your loop, just cut the damaged loop off and try again until you get the hang of it.
Step 10
Repeat Steps 3 through 9 on the remaining seven wires. When you’re finished, you should have two longer 22ga headpins and six shorter 24ga headpins, as shown in this image.
We’re now ready to begin assembling your beaded drops.
Assemble the Accent Bead Drops
Step 1
We’re going to start with the accent beads and the shorter 24ga headpins first. Thread one of your accent beads onto a 24ga headpin and grasp the wire just above the bead with the tips of your chain nose pliers, as shown.
This is something that will come with practice, but you want to position the wire within the jaws of your pliers at a point that is roughly the thickness of three wraps of wire.
If that doesn’t make a lot of sense, it will become clear in the next few steps. Just stay with me.
Step 2
Use the thumb of your free hand to push the wire into about a 45-degree angle from its original position until your wire looks like the one here.
Step 3
Grasp the bend you just made with the tips of your round nose pliers, as shown.
Step 4
Next use the fingers of your free hand to push the long tail of wire as far around the tip of your round nose pliers as you can without moving the bead or changing the position of your pliers.
Your beaded drop should now look something like the one shown here.
Step 5
Now reposition your pliers so one jaw is centered within the loop and the other is on top of the loop, as shown.
Step 6
Grasp the wire tail and pull it firmly around the remaining circumference of the mandrel.
When the loop is complete, the tail should be roughly perpendicular to the bead, as shown.
Step 7
Grasp the loop that you just formed with the tips of your chain nose pliers and hold it gently, but firmly. Then use your fingers to wrap the remaining wire tail neatly around the pin until you reach the top of the bead.
I aim for three wraps on my wrapped loops. And estimating that gap, which we established way back in Step 3, is something that takes practice. So give yourself grace if your first (or your hundredth) attempt doesn’t turn out as tidy as the one shown here.
I’ve made thousands of wrapped loops in my career. And I still don’t get them all to look this good every time.
Step 8
Use your wire cutters to trim your wire as close to the wraps as you can.
Notice how I’m holding the wire tail between my two middle fingers as I cut the wire. This prevents the trimmed piece from shooting across the room (or into your eye).
Always hold the tails of wires that you’re cutting to minimize the risk of injury.
Step 9
Use the tips of your chain nose pliers to gently tuck the cut end of the wire neatly against the center shaft of the head pin.
Inspect your beaded dangle and make any other adjustments that are necessary to tidy it up.
Step 10
Congratulations! You’ve just completed your first beaded dangle. It should look something like the one shown here.
Now repeat Steps 1 through 9 for the remaining five accent beads.
Assemble the Beaded Tassel Marquis Earrings
Step 1
There’s a particular way to open jump rings and simple wire loops that will maintain the shape of the ring or loop. And that’s what we’re going to do here.
Look closely at one of the large headpins that you created in the first section of this tutorial and notice which side of that loop has the cut end of the wire.
Grasp that side of the loop with your chain nose pliers, as shown.
Step 2
Holding the headpin firmly with your fingers, gently twist the open end of the simple loop up and away from the headpin.
You want to create a gap between the shaft of the headpin and the end of the loop that is just large enough to allow you to thread on your beaded dangles.
Step 3
Add three of the beaded dangles that you made from your accent beads.
If you used two different shapes of beads, as I did here, make sure you add them in the order that you want them to hang. In this case, I want the pretty green teardrop bead to be the center point of my little beaded tassel.
Step 4
Using your chain nose pliers again, gently close the simple loop by twisting the open end of the loop back in place next to the shaft of your headpin.
Step 5
Gently squeeze the simple loop closed with the tips of your chain nose pliers.
Step 6
Repeat Steps 1 through 5 to complete your pair of beaded tassel headpins.
Step 7
Add your focal bead(s) to one tassel headpin and complete a wrapped loop at the top of the bead, just as you did while making the beaded dangles for your tassels.
Be sure to refer back to that section now if you need to refresh your memory of those steps. Then repeat this step to complete the pair of beaded tassel dangles.
Step 8
Finally, attach your beaded dangles to your Marquis ear wires using the same technique for opening and closing the simple loop that we used to add the tassels to your large headpins.
Just twist the loop open. Then add your dangle, and twist the loop closed again.
That’s it. Your pretty Marquis Earrings are now complete and ready to wear. You can patina them if you like. Or just leave them bright and let them patina naturally.
I like to make these earrings in small batches. They’re so easy and fun to make. The little beaded tassels give them an extra bit of movement and color. And the beautiful thing about these earrings is that you can use up all those random beads from your stash to create super quick gifts or inexpensive up-sell items to boost your sales inventory. Wouldn’t it be nice to make some money and clear out some old bead inventory at the same time?
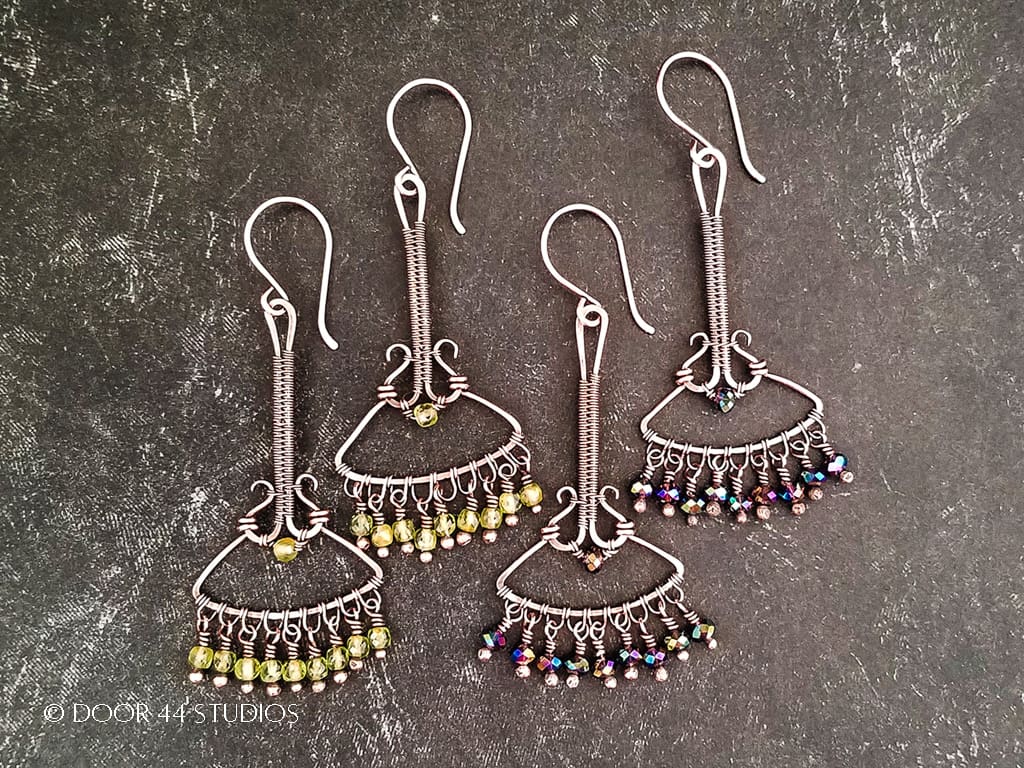
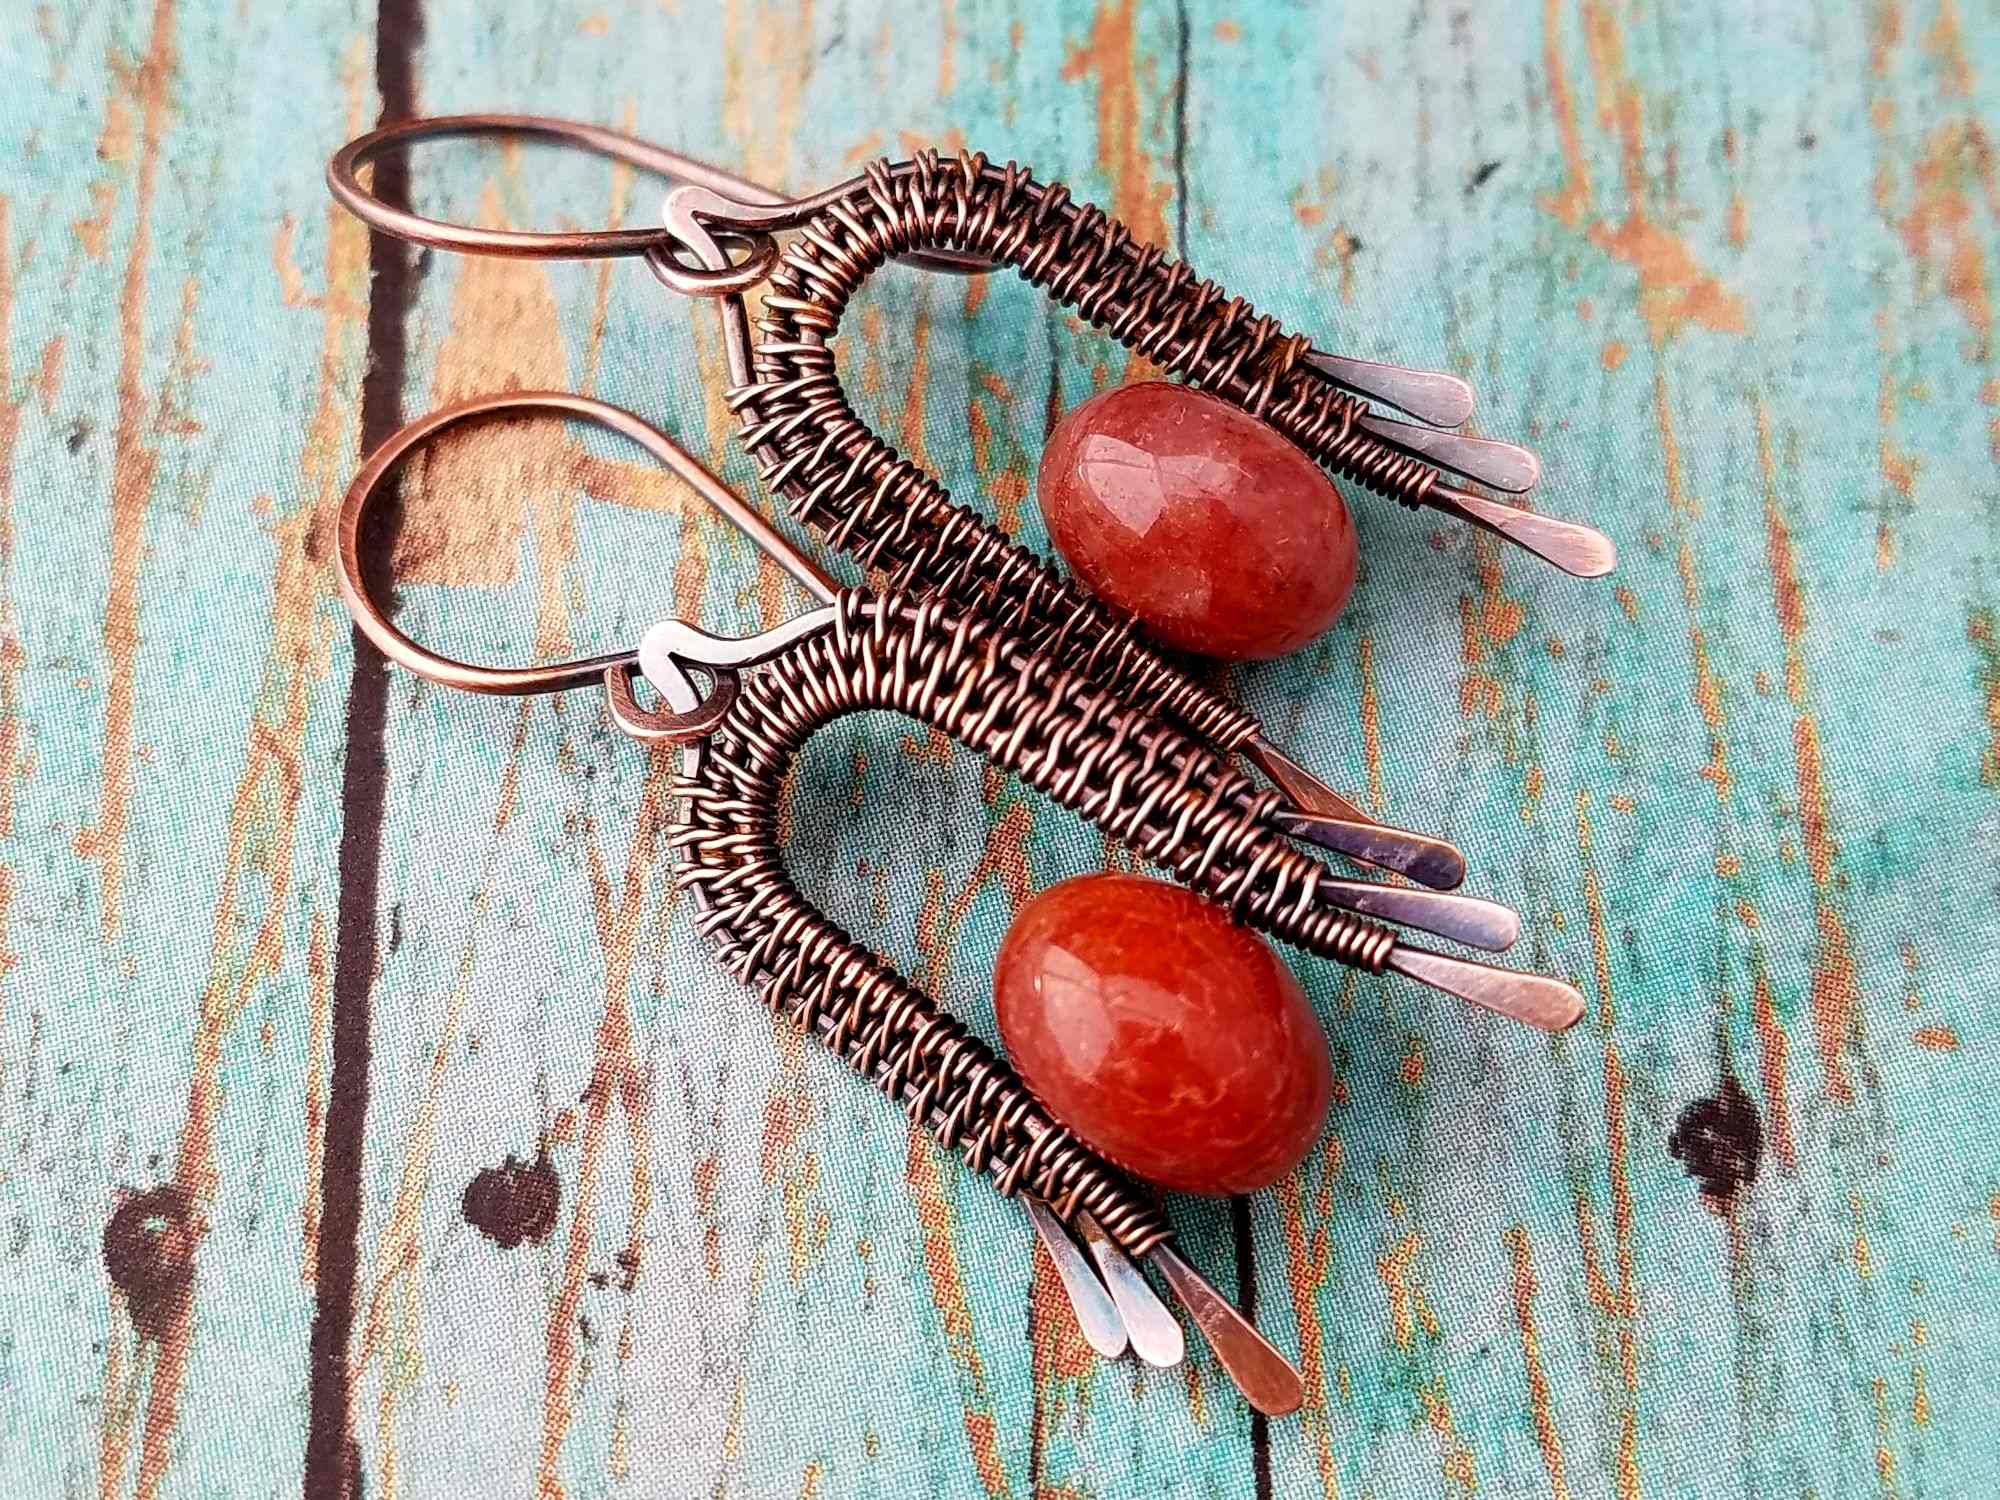
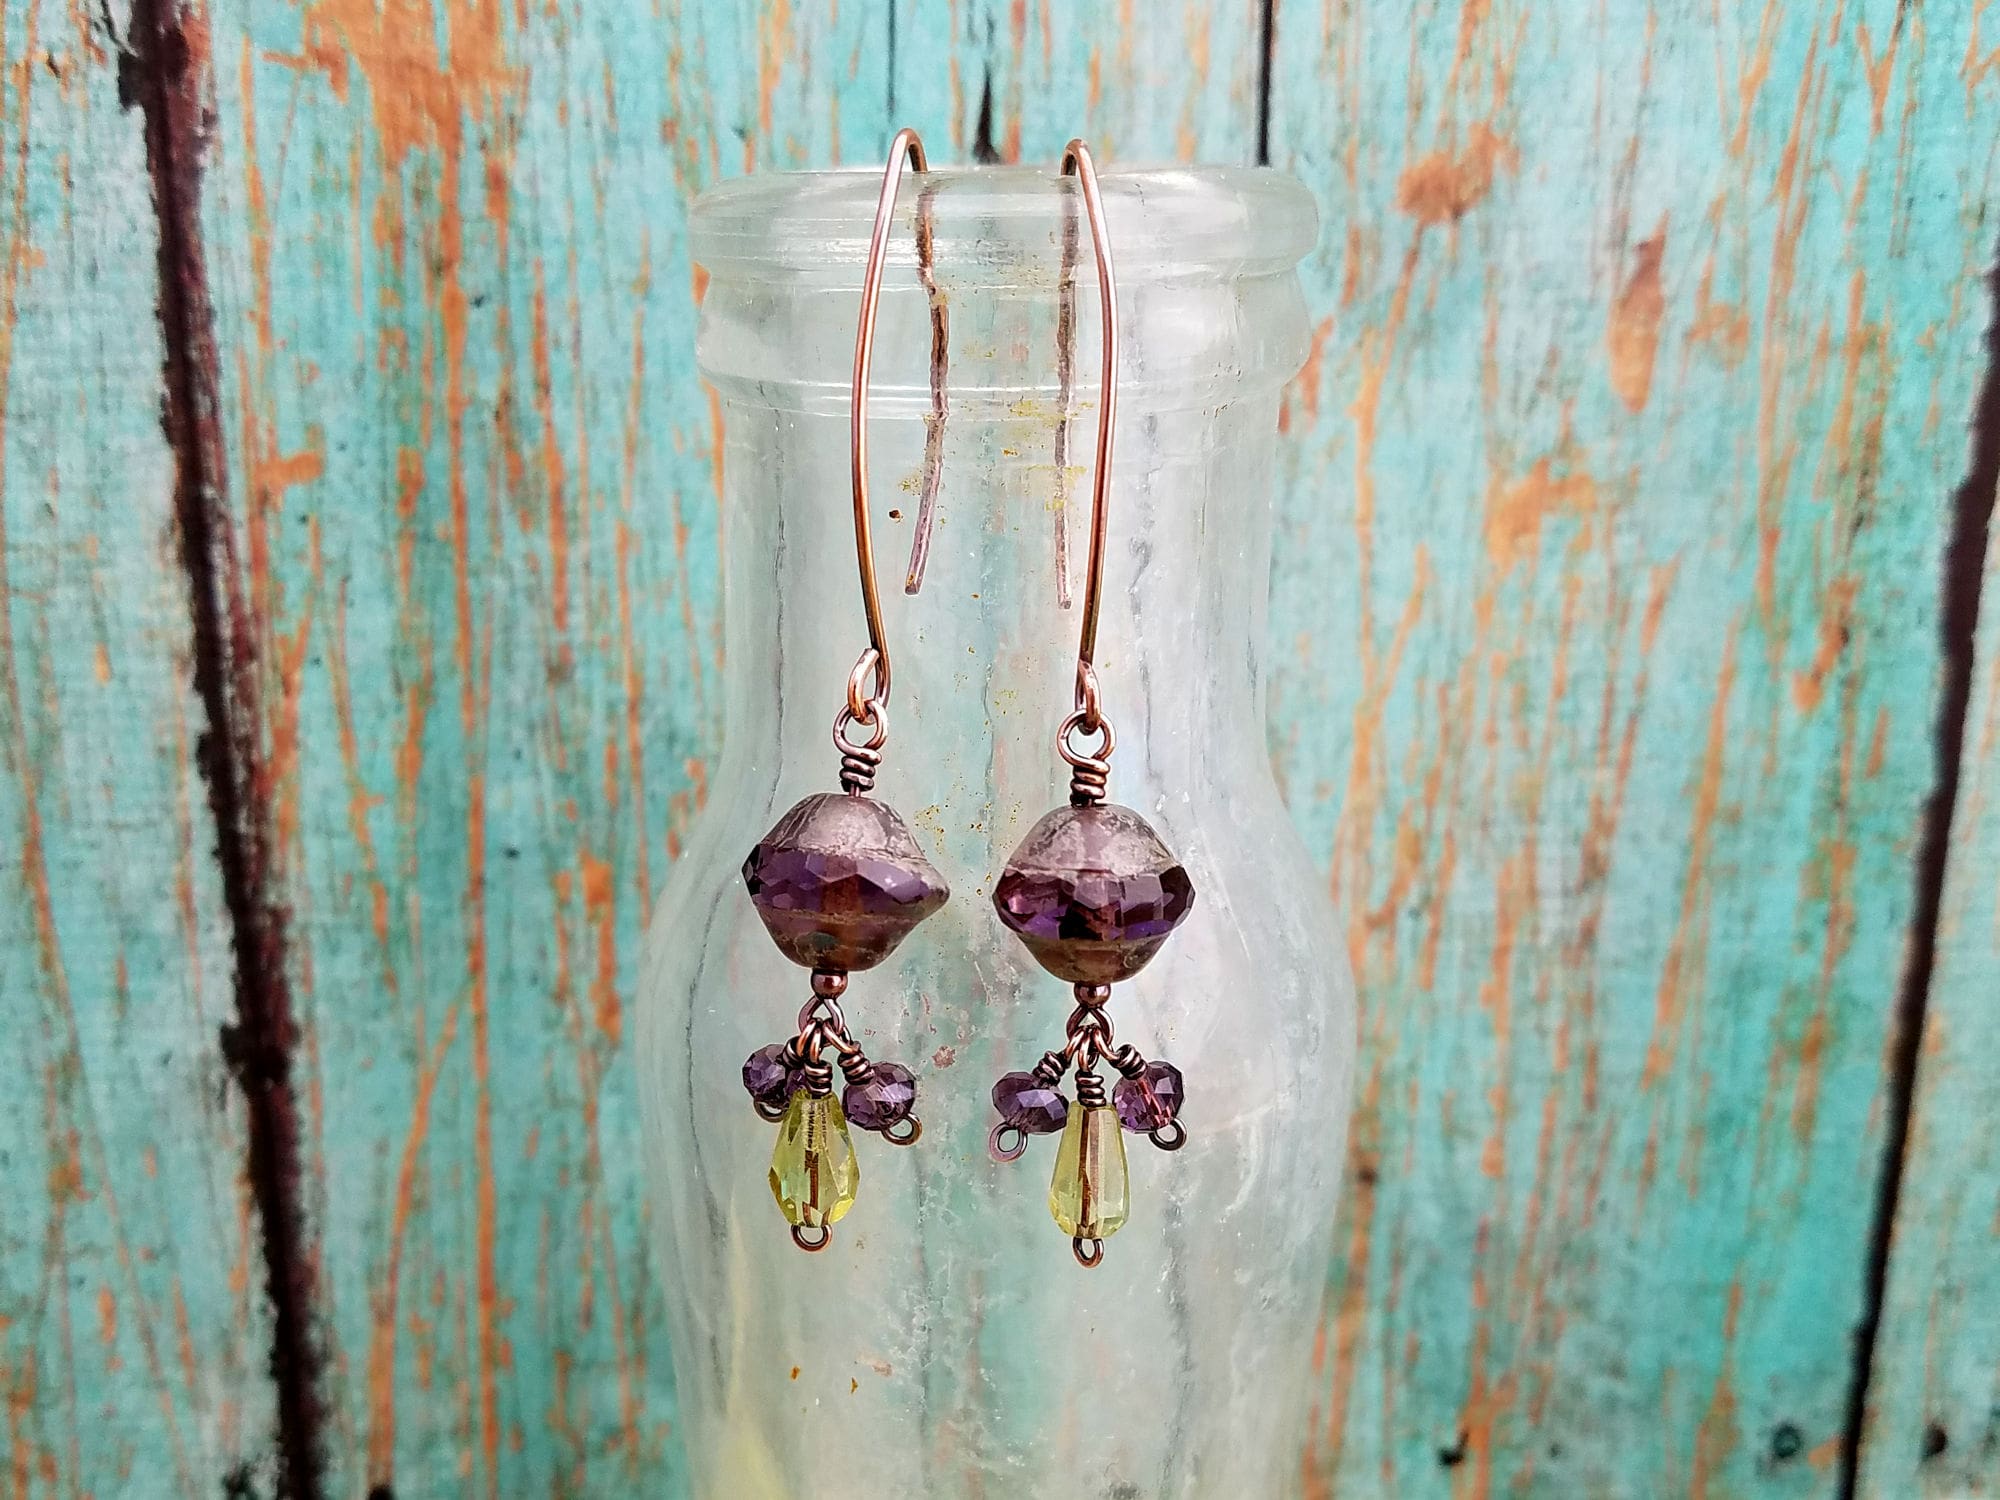
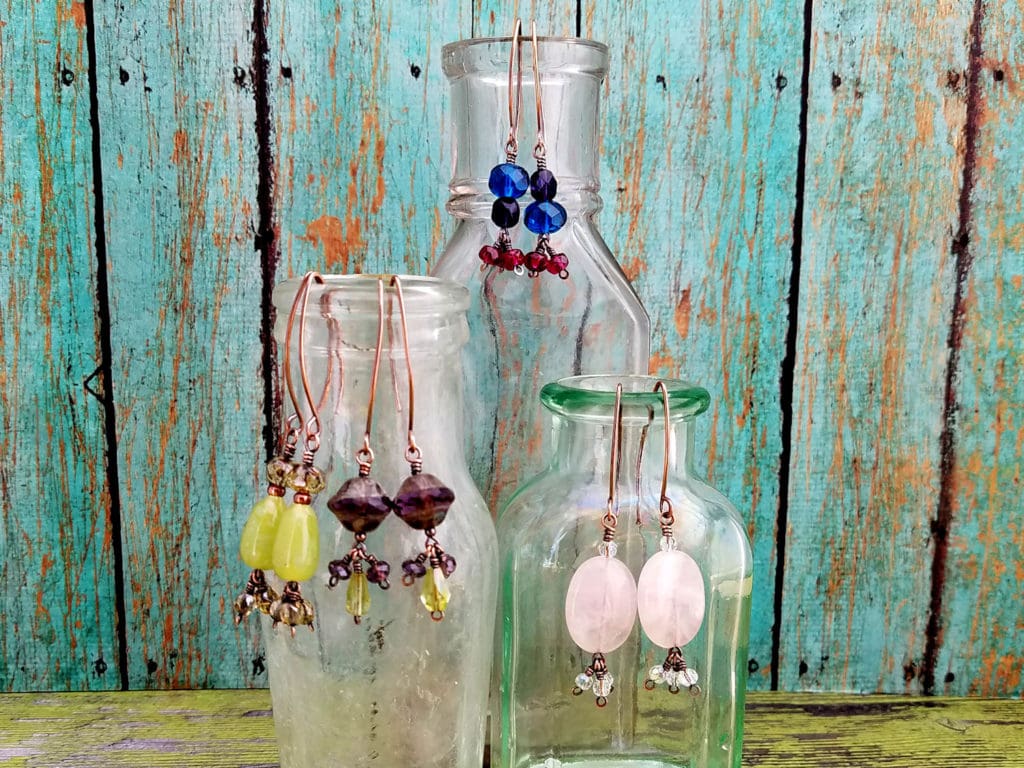
Variations of the Beaded Tassel Marquis Earrings
This method of making beaded earring dangles can be easily adapted to almost any shape and style of beads. Here are just a few examples that I put together quickly using beads from my stash.
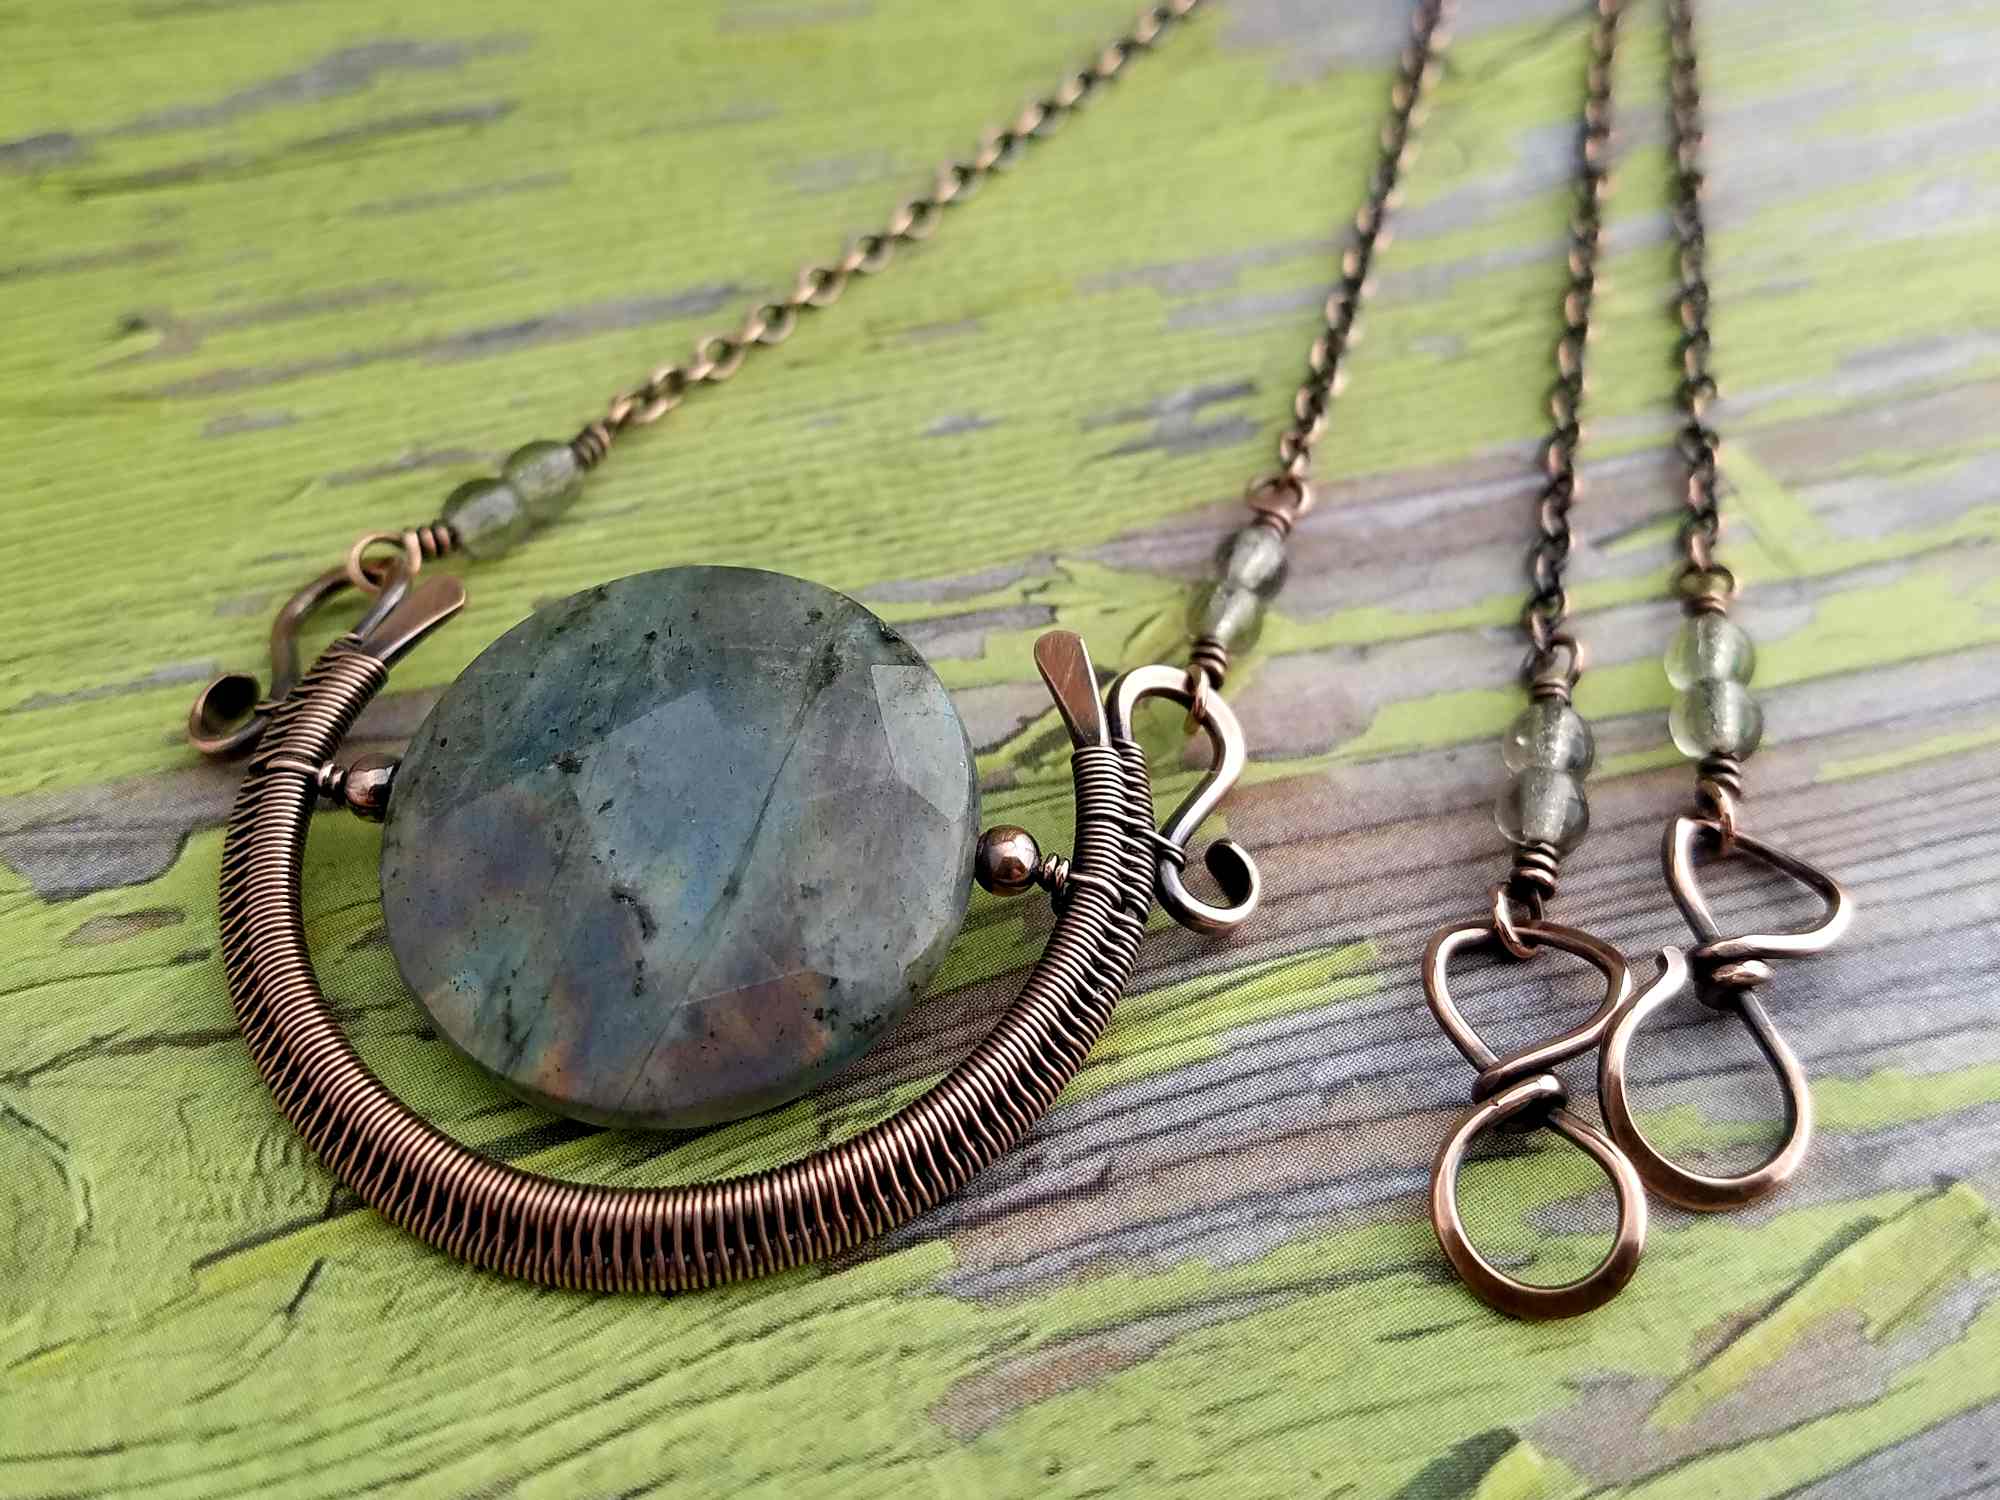
You can get as bold and creative as you like with these earrings. For example, try using multiple beads on your large headpins. Then change the order of your beads to make asymmetrical earrings like the jewel toned earrings pictured top center.
You can also feature large gemstone beads for more simple and elegant earrings, as I did with the Rose Quartz oval beads on pictured on the right.
These earrings would also work great for a wedding with simple pearl drops and crystal rondel tassels.
Want to know how to embellish your Marquis Ear Wires with beads? If so check out Part 3 of this series where I’ll show you how to wrap beads around the front side of your Marquis ear wires for a bit of extra sparkle and interest. This technique is easy to master, and you can use lots of different types of beads, including seed beads, to make earrings that are uniquely your style.
Want this Tutorial Series in a Printable Format?
We covered several useful techniques in this earring tutorial series. So, you might want to pick up the printable versions of all three tutorials. That way you can quickly refer back to them when you need a refresher on a particular technique. Grab all three tutorials in a single bundle and save. Just click the button below to buy now.
3 tutorials 1 great price
The Beaded Marquis Earrings Tutorial Bundle
These full-color printable PDF tutorials are great references for several basic wirework techniques. Save 20% off the individual price when you buy the bundle.
Finishing Suggestions
I patina all of my copper and silver jewelry with Liver of Sulfur (LOS). And then I burnish the patinated pieces with super fine steel wool (Grade #0000) in a warm bath of water and original Blue Dawn dish soap. The steel wool brings back the bright copper highlights on the high spots.
Once that’s done, I rinse the jewelry thoroughly to remove any particles of steel wool. Then I put the jewelry in a tumbler barrel filled with warm water and a generous squirt of Blue Dawn. As a general rule, I tumble all of my finished jewelry for a minimum of two hours.
If you’re new to wirework, read this detailed tutorial that walks you through my 7-step patina process. And if you’re wondering why I recommend tumble polishing specifically, check out this post. Also, be sure to clean your stainless steel shot regularly. Because clean shot gives you the best possible final finish on your jewelry.
Discover More Behind Door 44
Thanks so much for joining me today. I hope you enjoyed creating your own Beaded Tassel Marquis Earrings from scratch. If you’d like a printable PDF version of this tutorial, you can find it here.
Want more wire jewelry content?
I like to share useful wire weaving tips and tricks on my social media channels, and we have some great conversations about wire jewelry in my private Facebook Group. Also, be sure to connect with me @door44studios on Instagram, and Facebook to keep up with everything that’s happening behind Door 44. And if you haven’t already done so, be sure to subscribe to my YouTube channel where you’ll find new wire jewelry videos weekly.
Until next time, go make something beautiful!

Pin the Beaded Tassel Marquis Earring Tutorial for Later