

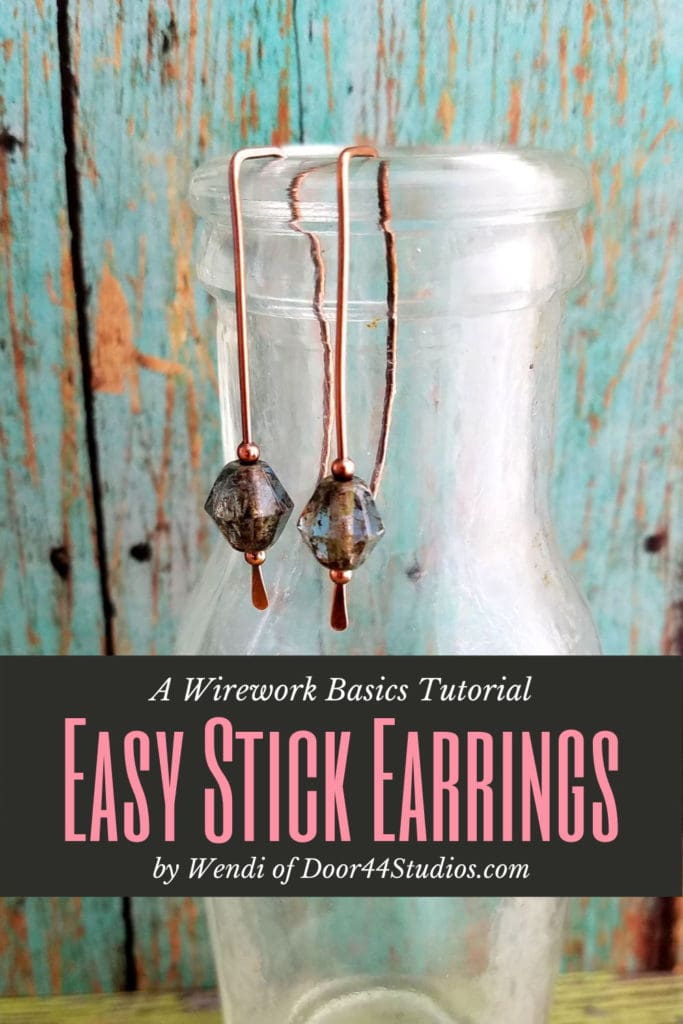
Quick Easy Wire Earrings You Can Make in Minutes
Let’s keep things super simple today. We’re going to make some quick and easy wire earrings that go together in minutes. So, if you’re brand new to wirework, this is the perfect project to get your feet wet and get over any anxiety you might have about working with wire.
Otherwise, if you’re an experienced maker who sells at craft shows, these easy wire earrings are wonderful stash busters. You can finally get rid of all those leftover beads from other projects that are taking up storage space in your studio. More importantly, they’re the perfect gateway or upselling price point for your shop, and they make fabulous “Thank You” gifts for your best customers.
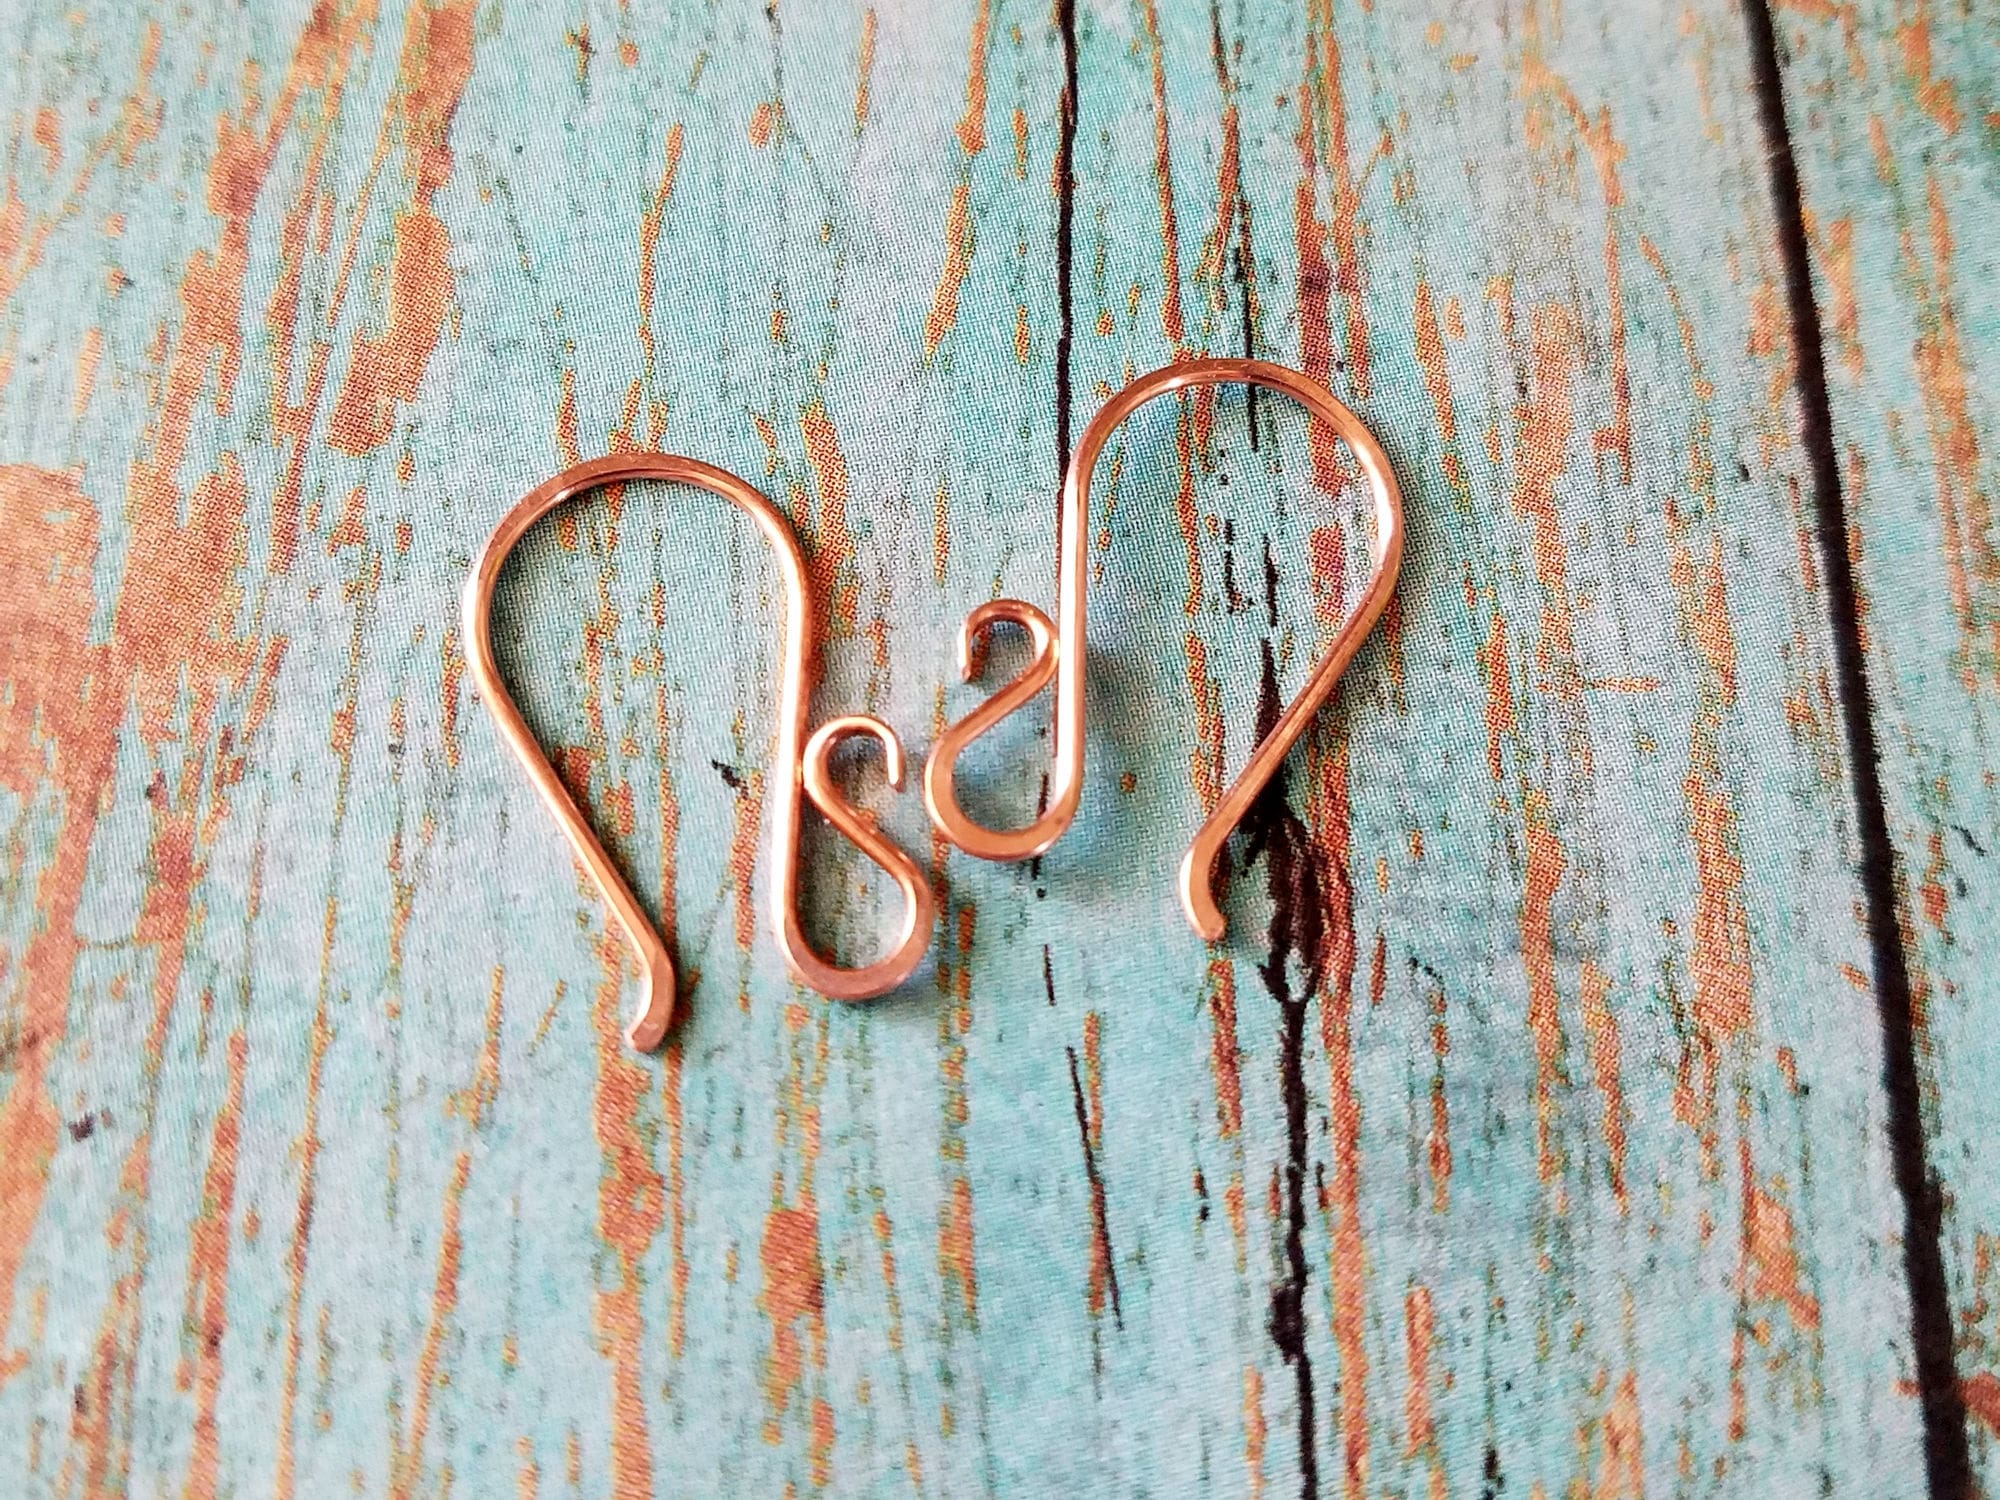
These easy wire earrings also introduce the concept of integrating the ear wires into the earring design, which is a skill you’ll need to make my Twig Earrings.
Copyright & Disclosure
I reserve exclusive rights to all images and written content that you find here on my blog. Therefore, you may not reproduce or redistribute any portion of this tutorial in any way, shape, or form.
This copyright applies to the printable PDF version of this tutorial as well, and it’s included therein. You may share the free version of this tutorial only by linking directly to this page.
This post may contain affiliate links. If you click on a link and then make a purchase, I may earn a small commission (at no cost to you). As an Amazon Associate I earn from qualifying purchases. To learn more, please see my full disclaimer.
Alright. Let’s get started!
For best results, use half-hard solid copper or sterling silver wire for these earrings. If you choose to use a filled wire, be aware that the ear wires are finished and hardened by hammering the wire because even light hammering can expose the base metal core in filled wires, which can negatively affect your final finish. I don’t recommend plated or anodized craft wire for these earrings as those coatings will be ruined with this construction process. Refer to this post to learn more about jewelry wire and why I recommend solid wires for my tutorials.
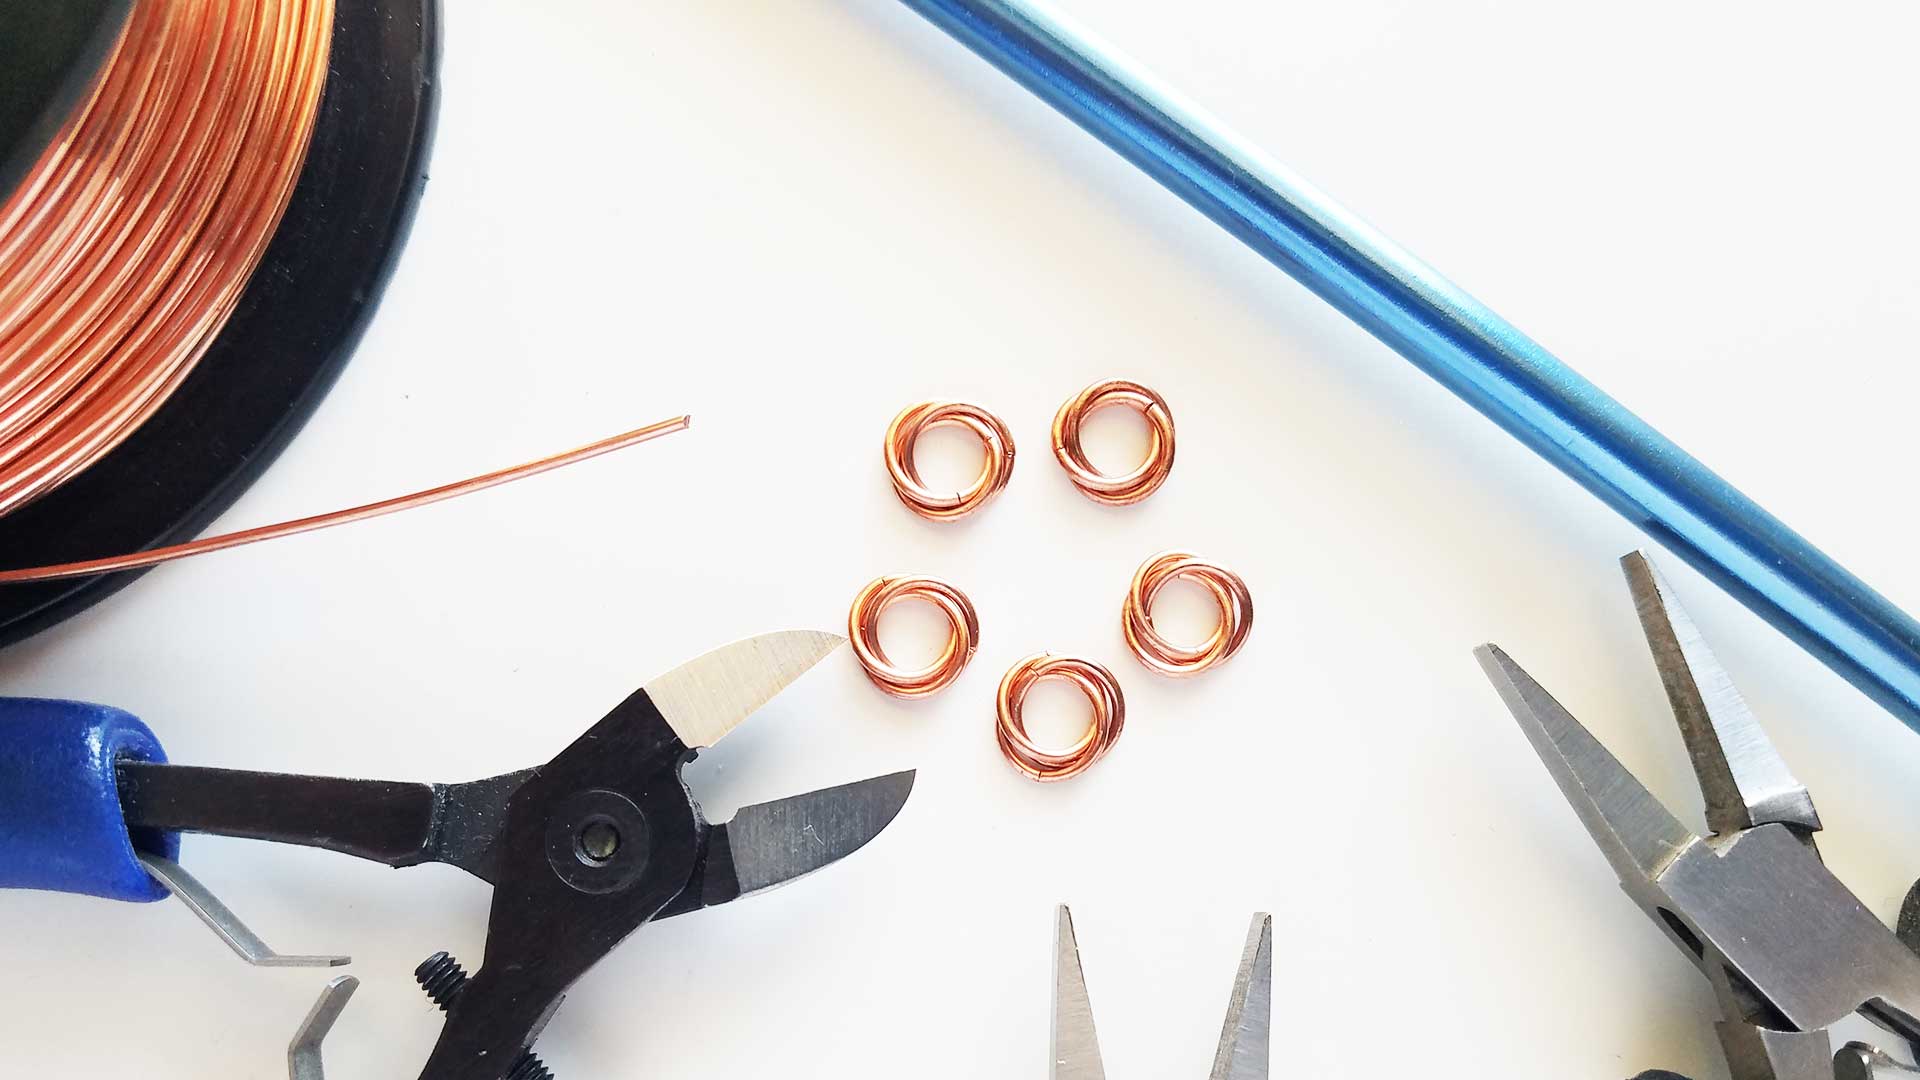
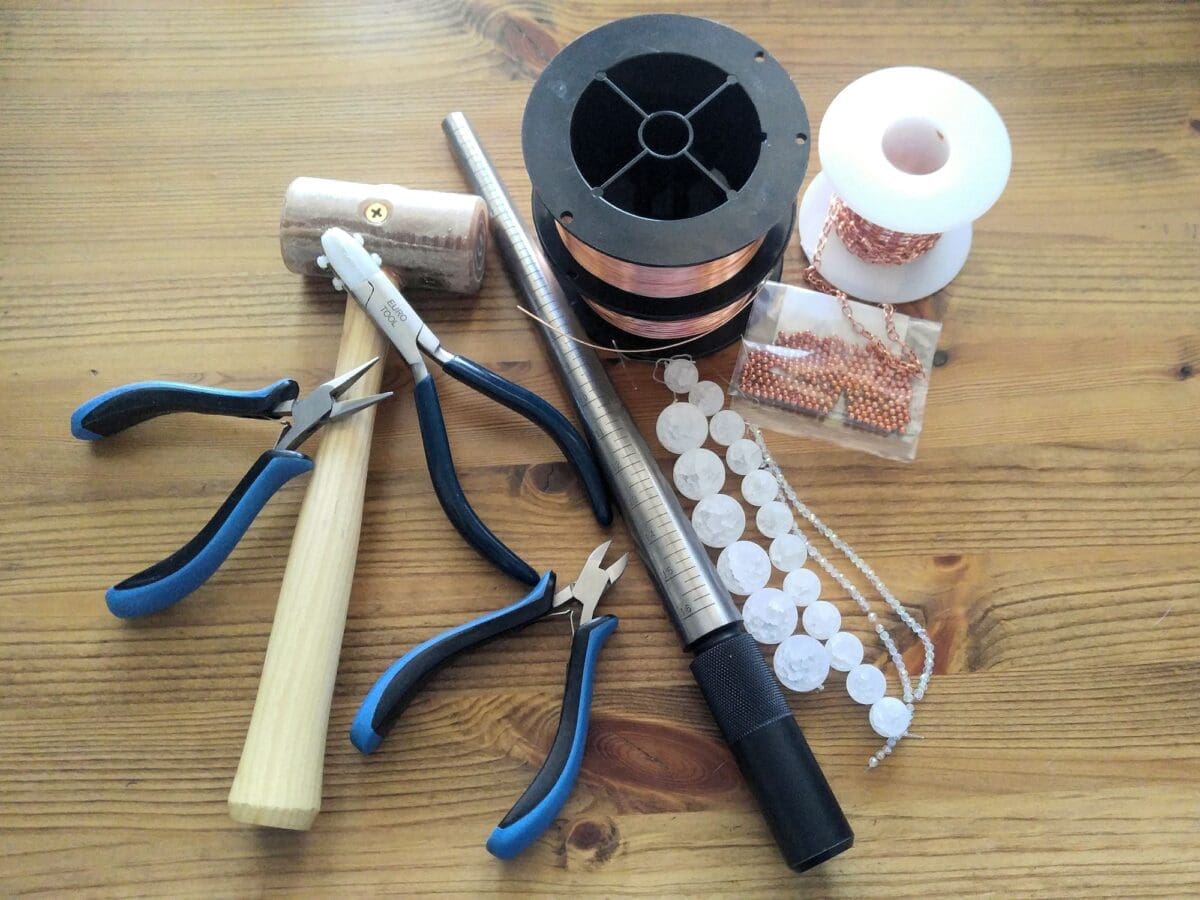
To make these super simple stick earrings, you’ll need the following tools and materials:

Tools & Materials
- 20ga half-hard copper or sterling silver wire – 6 inches
- 2mm round copper or sterling silver beads – 4 per pair
- Beads of your choice – at least 2 per pair. Find Czech Glass beads at Arte Bella Surplus.
- Wire Cutters
- Flat Nose Pliers
- Needle File
- Chasing Hammer
- Bench Block
- Nylon Mallet or Rawhide Mallet
- Cup Burr Tool
- Ruler
- Fine Point Permanent Marker
- Nylon Jaw Pliers (optional)
- 1-1/2-inch Mandrel (optional)
Making the Quick Easy Wire Earrings
If you would like to print out this tutorial, you can purchase the downloadable PDF version here.
Skill Level: Beginner
This is a very basic project that can be easily achieved by someone who has never worked with wire before.
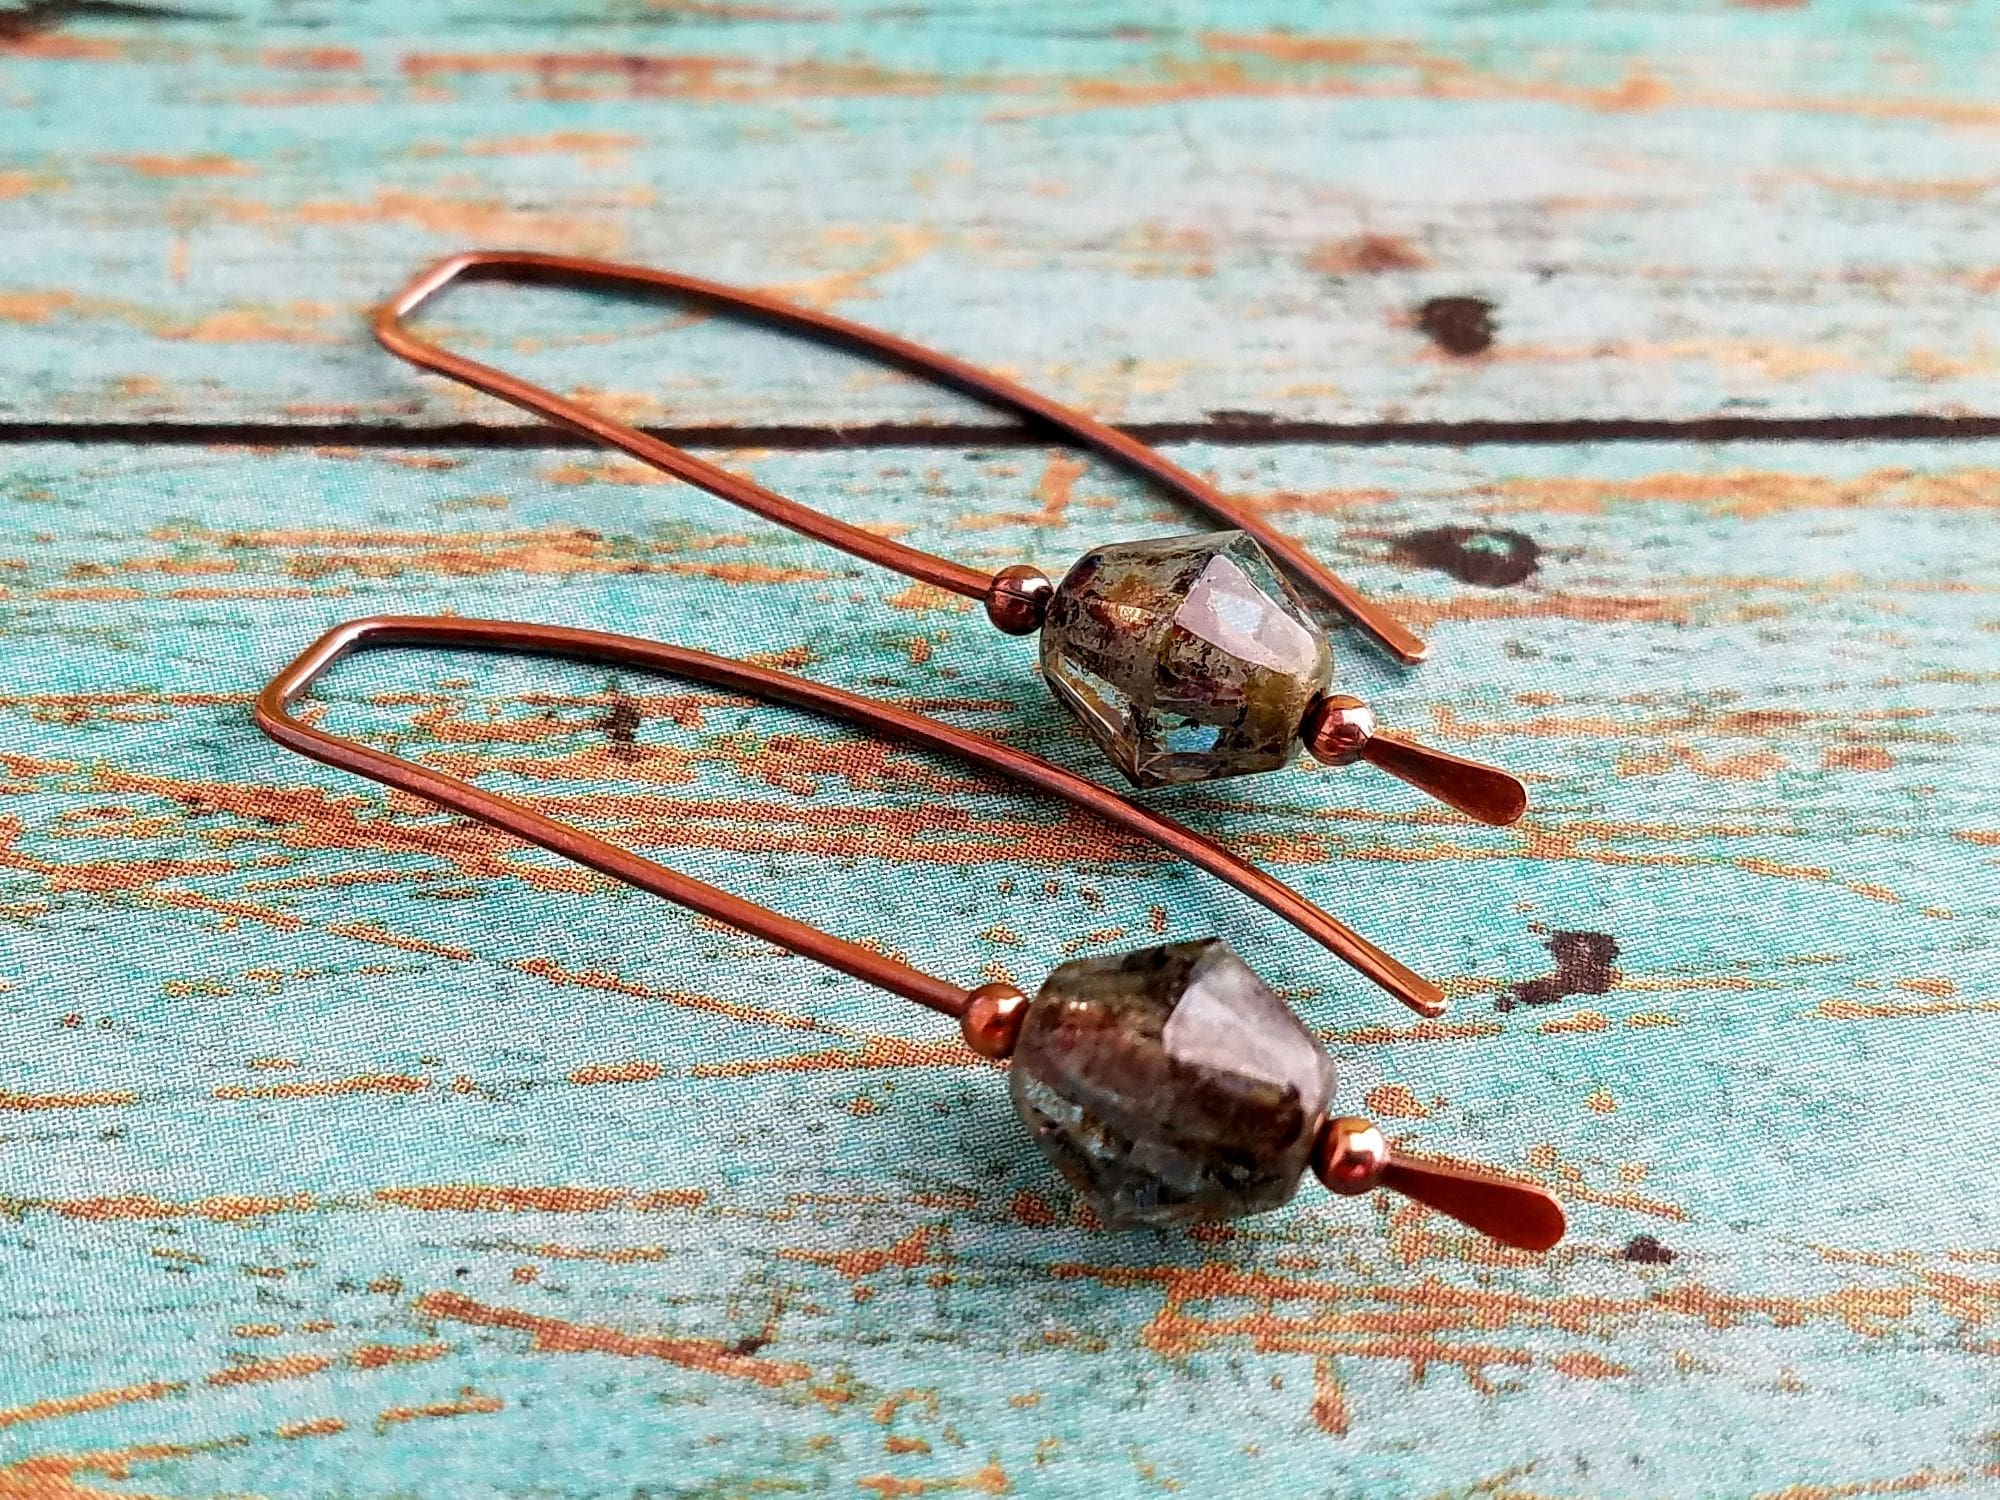
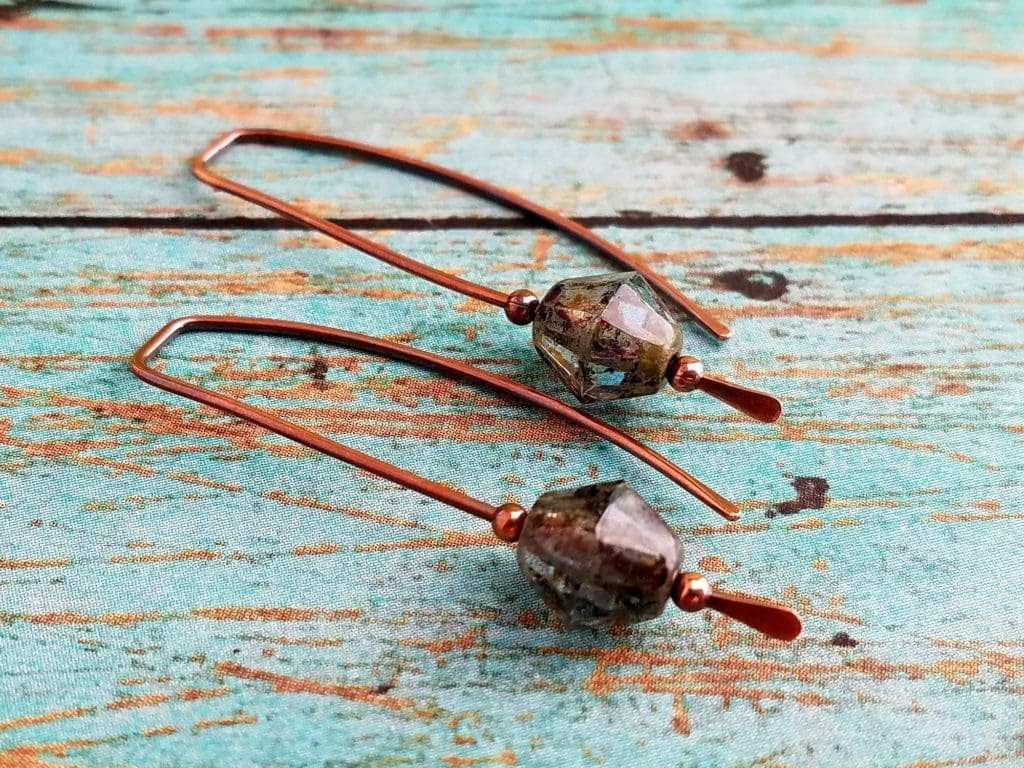
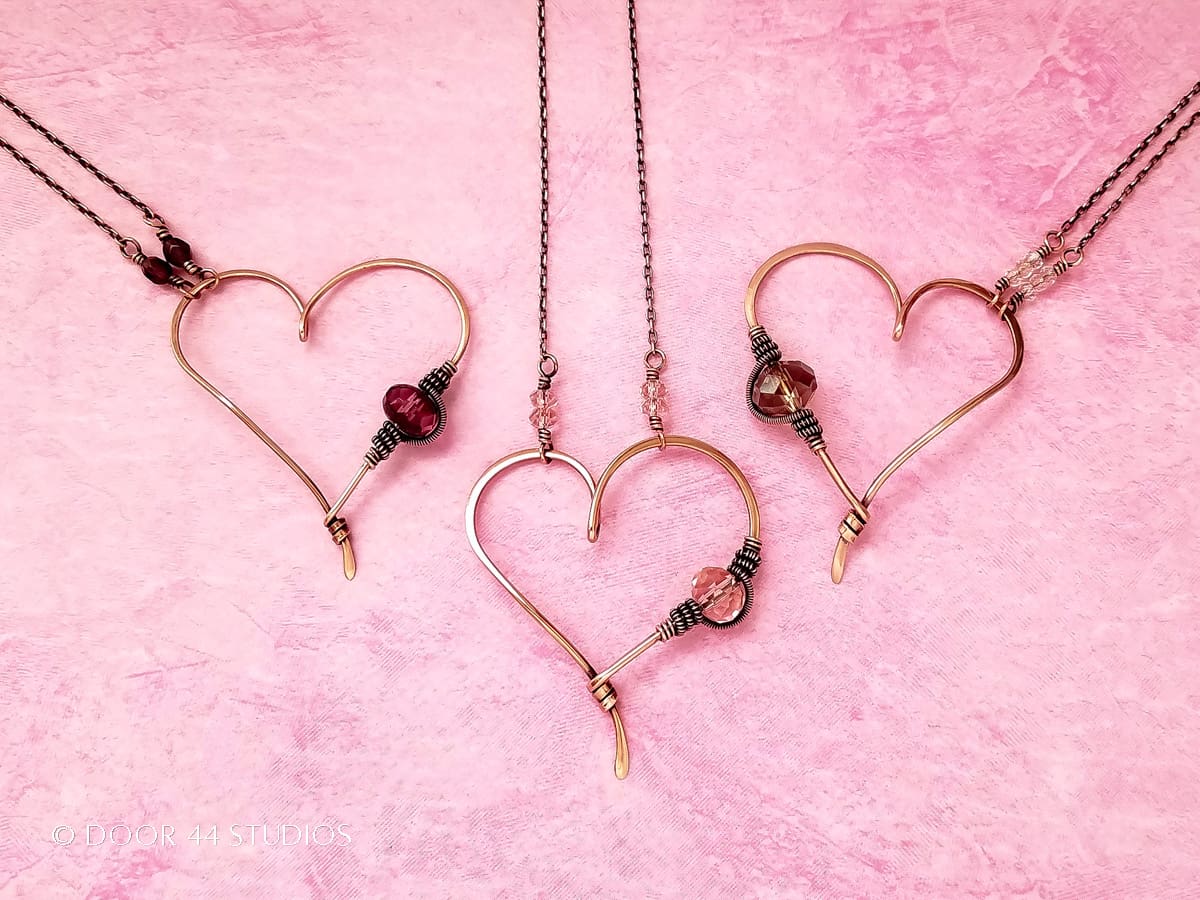
The instructions for these earrings are written for the 1 1/2 inch earrings shown below. However, you can make these earrings as long (or as short) as you like. Feel free to experiment with different beads and lengths. Add multiple beads to each earring, or embellish your earrings with wrapping wire. See the Variations section of this tutorial for more ideas about how you can make these earrings uniquely your own.
Finished Size
These wire earrings have a drop of about 1.5 inches or 3.8 cm. The width depends entirely on the beads that you choose.
Step 1
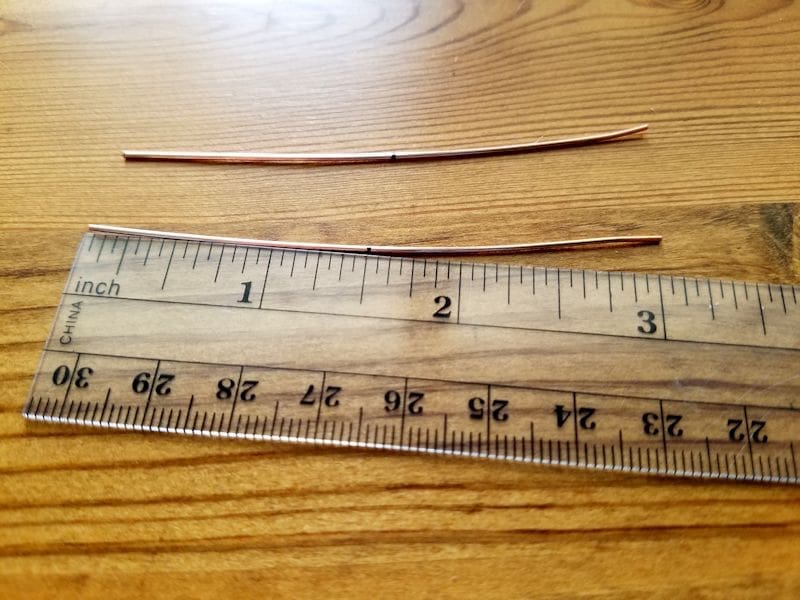
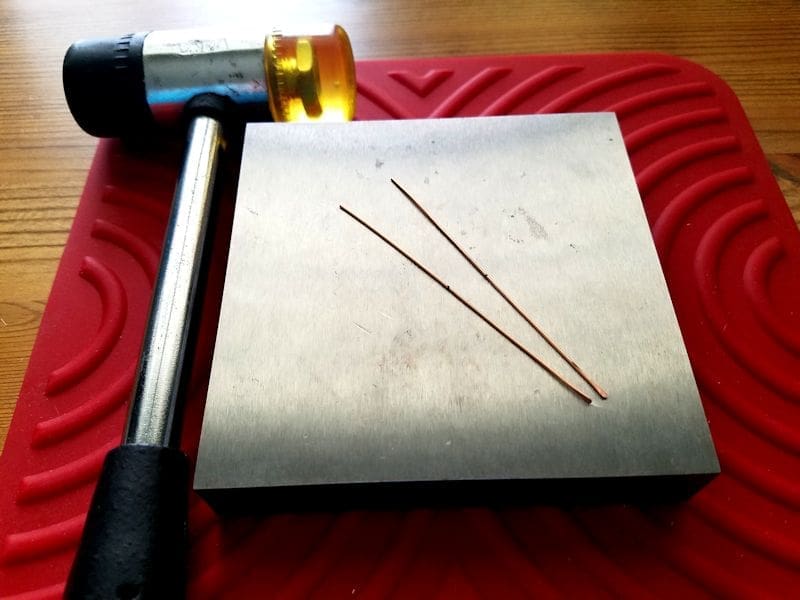
Straighten a length of 20ga wire by running it between your fingers or the jaws of your Nylon jaw pliers a few times. Once the wire is straight, measure and cut two 3-inch pieces of 20ga wire.
File the ends smooth and mark each wire at the center point.
Step 2
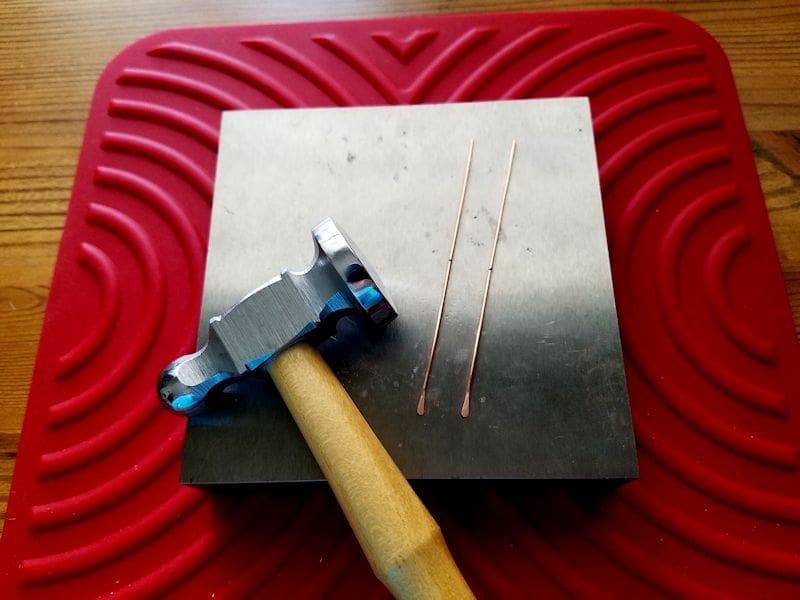
Use your bench block and chasing hammer to paddle just one end of both wires. You want just a slight paddle of not more than 1/4 inch on one end. Not sure how to use a chasing hammer? Check out this post, which will teach you everything you need to know to get great results on these simple earrings!
Smooth and shape the paddles with your needle file until your two wires look like those shown.
Step 3
Use your bench block and rubber or rawhide mallet to harden the entire length of each wire. Use smooth even strokes working slowly from one end of the wire to the other. Then flip the wire over and repeat. When you’re done, your wires should be noticeably more rigid.
Step 4
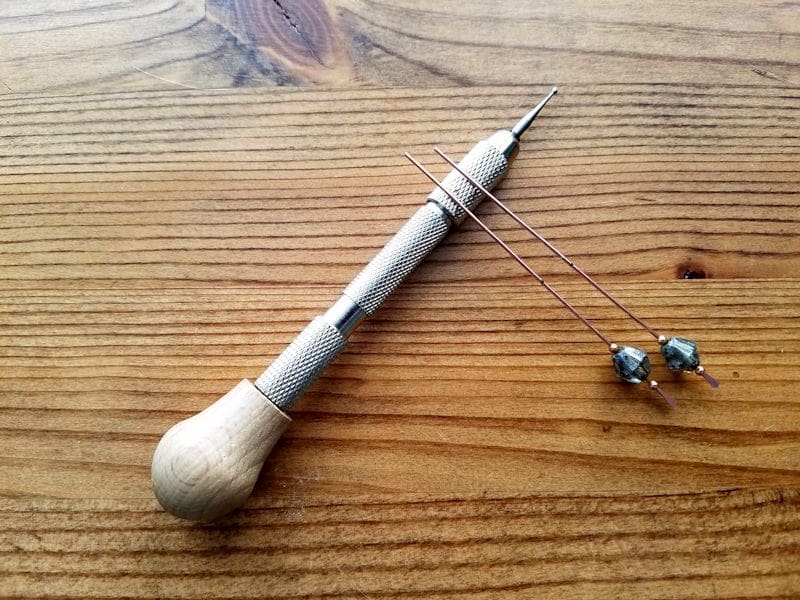
Thread one 2mm copper bead, one (or more) focal beads, and then another 2mm copper bead onto each wire, as shown.
Using your cup burr or a needle file (or even a nail file!), round off and smooth the cut ends of your wires so there are no sharp points. This end will become the ear wire, so you want to make sure your earrings are safe and comfortable to wear.
Step 5
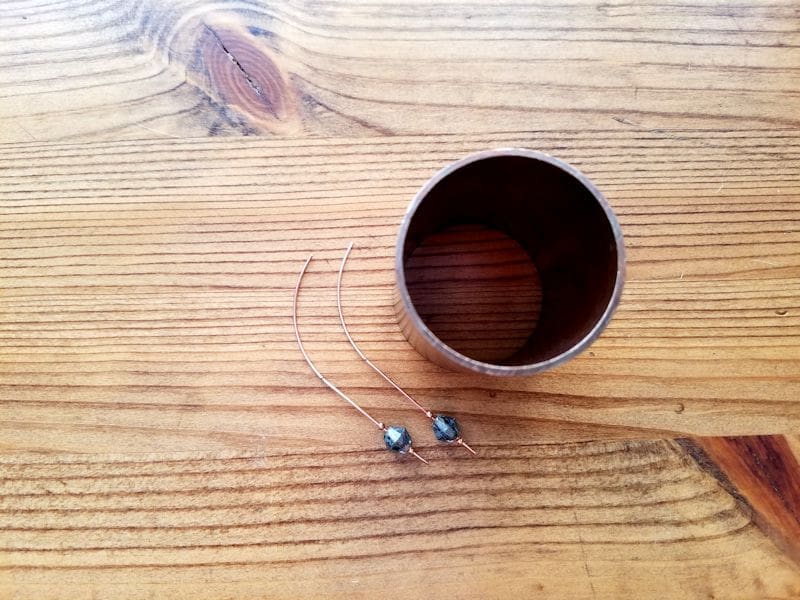
Using your fingers or a large round mandrel (I use a 1 1/2 inch copper sleeve that I picked up in the plumbing department at my local hardware store, but a pill bottle works great for this step as well), gently form the unfinished end of the wire into a slight curve that starts at the center mark you made in Step 1 and ends at the cut end of your wire.
Repeat on the second earring and make sure that the curves on both ear wires match.
Step 6
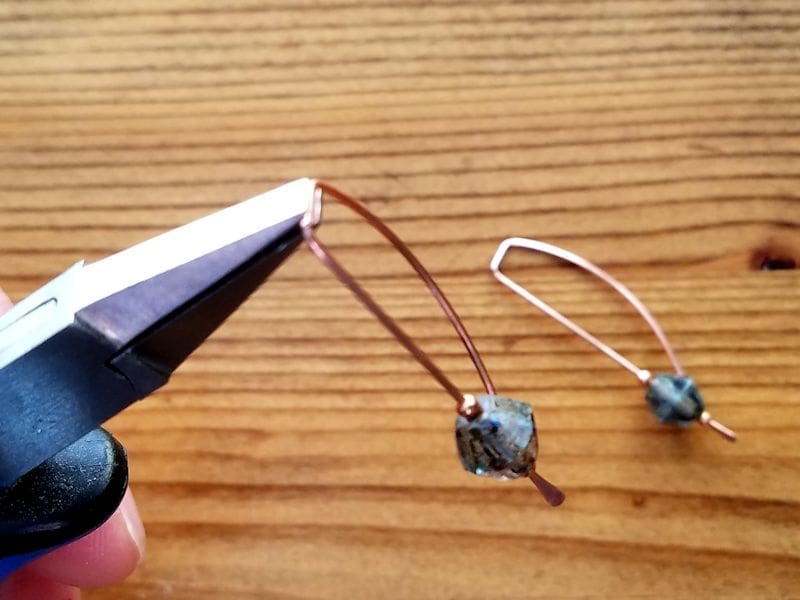
Grasp one wire at the center mark with your flat nose pliers and bend the wire to a 90-degree angle at both edges of the tips of your pliers, as shown.
Make sure the flat face of the paddled end of the earring is facing forward when positioning your wire so that detail will be clearly visible on the earrings as they hang.
Repeat on the second wire.
Step 7
Using your chasing hammer and bench block, gently flatten the corners of the two bends in your ear wires. You don’t want to flatten them too much because that can make the earrings uncomfortable to wear. Your goal is just to set those bends with a bit of additional work hardening, which will help the ear wires keep their shape. A couple of light, but firm, taps with the chasing hammer will do the trick.
Do the same thing on the ends of your ear wires — give them a couple of firm taps with your chasing hammer.

That’s it! Your quick and easy wire earrings are now ready for patina and polishing. Be sure to read this tutorial, which will walk you through my own finishing process, step-by-step.
Finishing Suggestions
I antiqued the easy stick earrings that I made while writing this tutorial with Liver of Sulfur (LOS). And then I burnished the antiqued pieces with super fine steel wool (Grade #0000) in a warm bath of water and original Blue Dawn dish soap. The steel wool brought back the bright copper highlights on the high spots.
Once that’s done, I rinsed the jewelry thoroughly to remove any particles of steel wool. And then I put my earrings in a tumbler barrel filled with warm water and a generous squirt of Blue Dawn. I tumbled each piece for about two hours.
If you’re new to wire weaving, read this detailed tutorial that walks you through my 7-step patina process. And if you’re wondering why I recommend tumble polishing specifically, check out this post. Also, be sure to clean your stainless steel shot regularly. Clean shot is necessary to achieve the best finish on your tumble-polished jewelry.
One last bit of tumbler advice before you go. Always make sure that any beads or stones that you use for your jewelry are safe to tumble. I don’t recommend tumbling natural pearls, soft gemstones, ceramic beads, or glass beads with polymer coatings, such as glass pearls and certain frosted-look glass. As always, if you’re unsure if your beads can handle the tumbler, run a test tumble with a bead that you’re willing to sacrifice.
Variations of the Quick Easy Wire Earrings
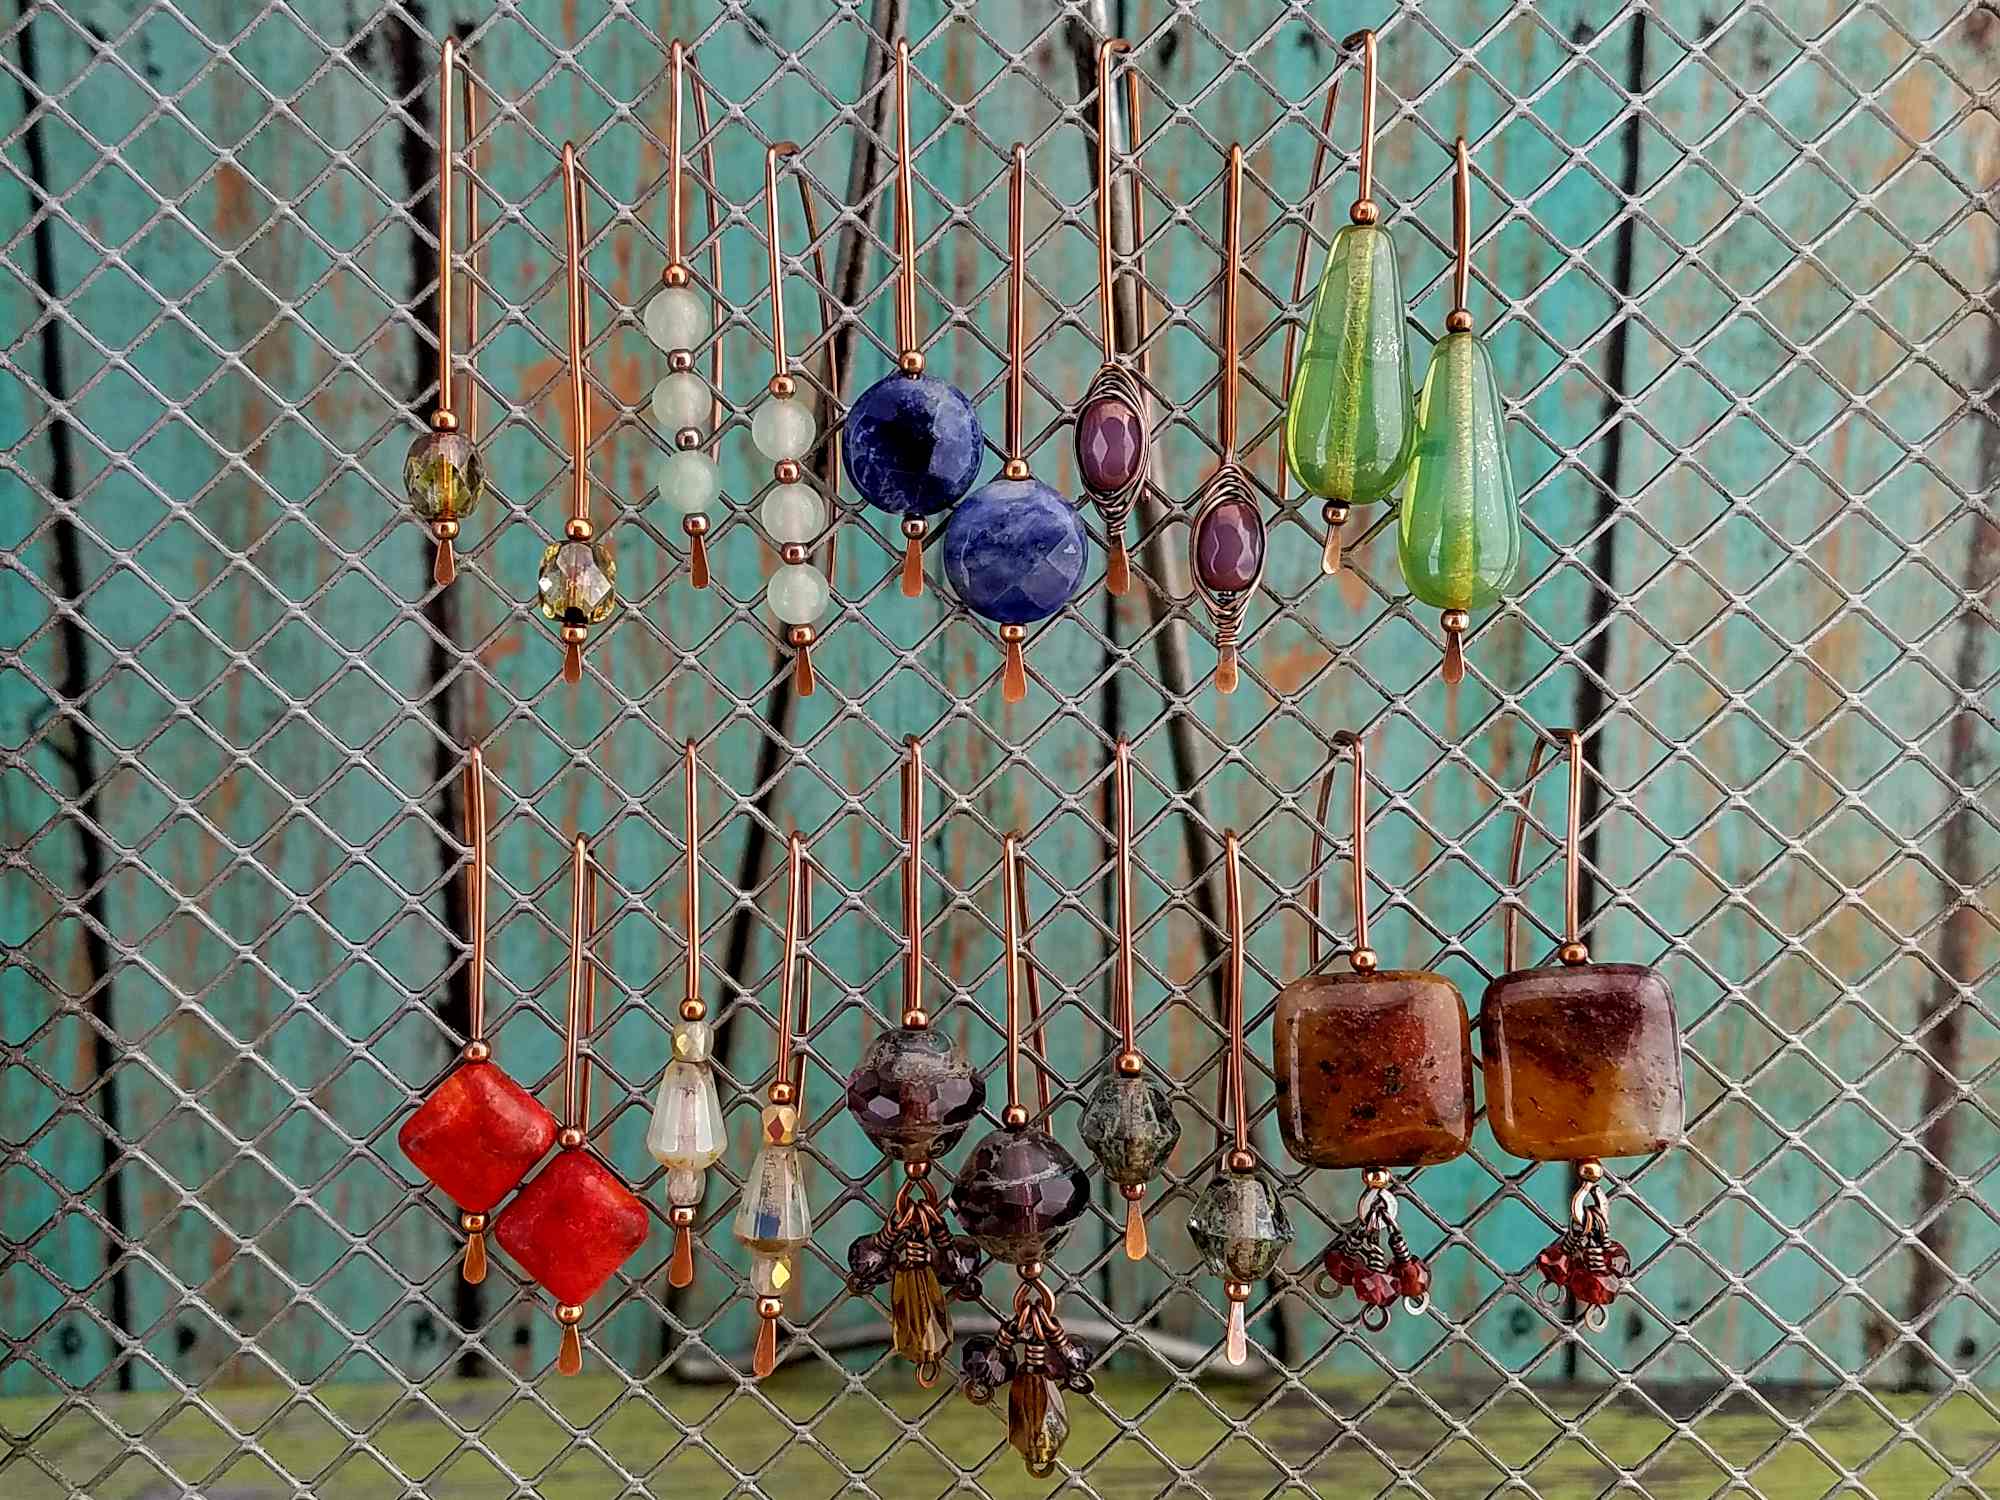
This design can be easily adapted to almost any size or shape of beads. Experiment with various sizes and shapes from your bead collection until you achieve a few looks that you love.
These quick and easy wire earrings are so comfortable to wear that you’ll find yourself reaching for them again and again. All of the earrings shown here are actually from my own private collection, and these are the earrings that I tend to wear almost every day.
Discover More Behind Door 44
Thanks so much for joining me today. I hope you enjoyed this Wirework Basics tutorial for my favorite quick and easy wire earrings.
Want more free wire jewelry tutorials?
I like to share useful wire weaving tips and tricks on my social media channels, and we have some great conversations about wire jewelry in my private Facebook Group. Also, be sure to connect with me @door44studios on Instagram, and Facebook to keep up with everything that’s happening behind Door 44. And if you haven’t already done so, be sure to subscribe to my YouTube channel where you’ll find new wire jewelry videos weekly.
Until next time, go make something beautiful!

Pin This Post for Later
So thankful to have discovered you !! So much help !!!!!
Welcome to Door 44 Studios, Shara. I’m so glad you’ve found my content helpful!
Thank you so much Wendy for everything it’s nice to put a name to a face also. I unfortunately just turned 60 on May 28th. My face looks like a Shar-Pei… Lol I will try to get a picture to you when I can get my face and hair done I need to cut my hair today. Anyhow thank you again so much I can’t wait to try these I have to buy a lot of stuff so it’s going to take me a minute or so to get everything I need to do anything. Have a great day and a great weekend! 😁
Your comment about looking like a Shar-Pei made me LOL, Michelle. I can relate! Have fun making these earrings when you get your supplies. They’re the perfect first project for beginners.
Thank you so much for sharing your knowledge. I am glad I found you! I’ve subscribed to your YouTube channel too!
Welcome to Door 44, Cheryl! I’m glad you found me too. 😊
Thanks for sharing your knowledge – could you tell me what you would call the handle that you’ve put the cup burr into please? I’ve searched using all the names I can think of but can’t find anything… Thanks again!
Of course! It’s called a Pin Vice. You can find them on Amazon with a set of cup burrs here: https://amzn.to/45Zrc7n or without the cup burrs if you already have some: https://amzn.to/3LgADHF. FYI, those are both affiliate links. If you make a purchase using these links I will receive a small commission. The set that comes with the pin vice and three burrs is the same set that I have.
Thank you for sharing your great advice and knowledge. I have been experimenting with wire for the last few months. I am happy to have found your site as I made my husband a bracelet with some 14 g copper wire from some old copper house wire he had stripped for me to try. I was looking on how to use the LOS that I purchased to finish it and found your site. I am now ready to use it to finish the bracelet with your help.
Thank you!
Welcome to Door 44 Studios, Muriel! I’m so glad my site has been helpful for you.