

Quick & Easy DIY Photography Backgrounds
What’s your biggest challenge as a maker? Ask ten makers this question, and at least three of them will admit that photography is their Achilles heel. Product photography is always a hot topic among makers. And a major element of product photography is the background that you choose. These versatile DIY photography backgrounds are the perfect solution for small products like jewelry.
Like pretty much everyone who has ever had an online shop, I’ve read countless articles on product photography. I’ve also experimented with dozens of different kinds of lighting and backdrops. I’ve used white backgrounds and colorful backgrounds; smooth reflective surfaces and textured surfaces. I’ve photographed my jewelry outdoors, indoors, and under every kind of lighting scenario you can possibly imagine.
When it comes to photographing jewelry, it’s safe to say that I’ve been there and done that. So it’s sort of surprising to me that my ultimate solution to the photography background puzzle hasn’t already been discovered and shared with the maker world by someone else. Or maybe it has been done, and I just haven’t run across that blog post yet? In any case, I’m happy to share my own photography solution with you today.
This post may contain affiliate links. If you click on a link and then make a purchase, I may earn a small commission (at no cost to you). As an Amazon Associate I earn from qualifying purchases. To learn more, please see my full disclaimer.
Getting Started on Your DIY Photography Backgrounds
You’re not going to believe how easy and affordable these backgrounds are. Or how versatile they are! Not only will they solve the product photography conundrum, but they’ll also work seamlessly into your pop-up displays as décor pieces.
How fabulous would it be to have your virtual shop perfectly coordinate with your pop-up shop? Continuity is everything when it comes to branding, so the photo boards we’re about to make are easily worth their weight in gold.
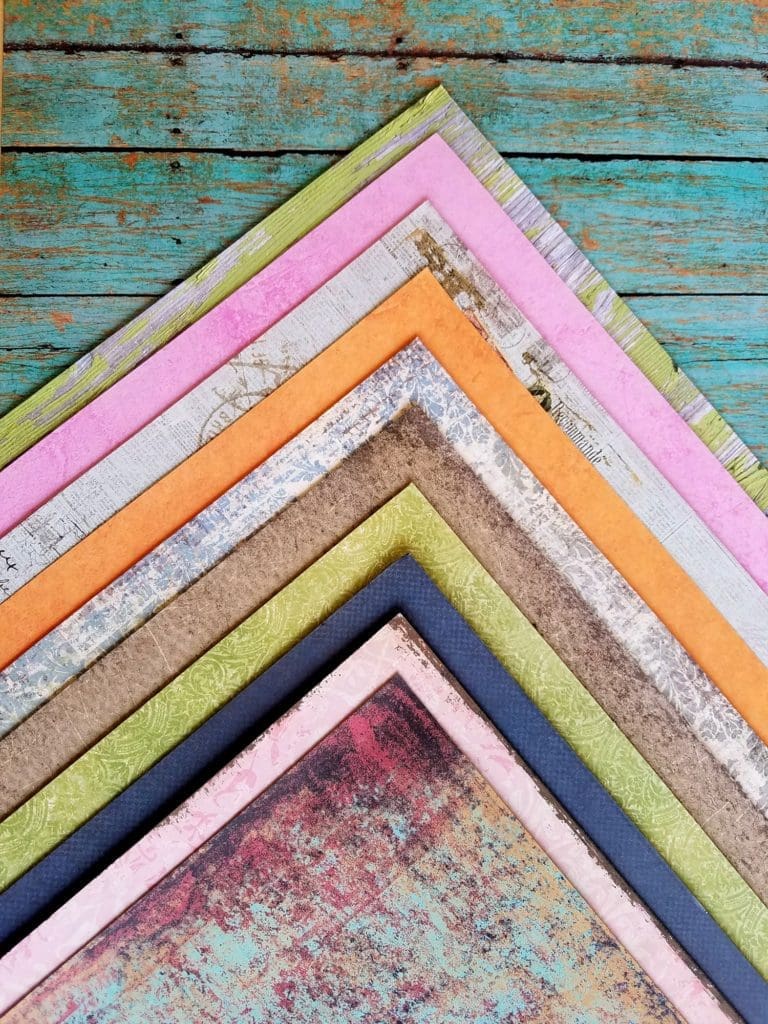
Do you make seasonal jewelry or crafts? There’s a background for that. How about bridal jewelry? There’s a background for that. Modern? Edgy? Rustic? Yep. Yep. Got it covered. Especially Rustic because that happens to be my own aesthetic.
Seriously. These easy photo boards work for every style you can think of. And they’re also durable, which means they’re reusable. They’ll last for months if you store them properly. And here’s the kicker: at around $1.00 each, they’re super affordable!
Alright. Now that I have your full attention, let’s get started!
Materials Needed
You need just two items to make these wonderfully useful backgrounds, but I’m afraid you’ll have to make trips to two different stores to gather those supplies. That’s perhaps the biggest hurdle to making these photo boards, but they’re so easy and affordable that they’re totally worth it.
Here’s what you need:
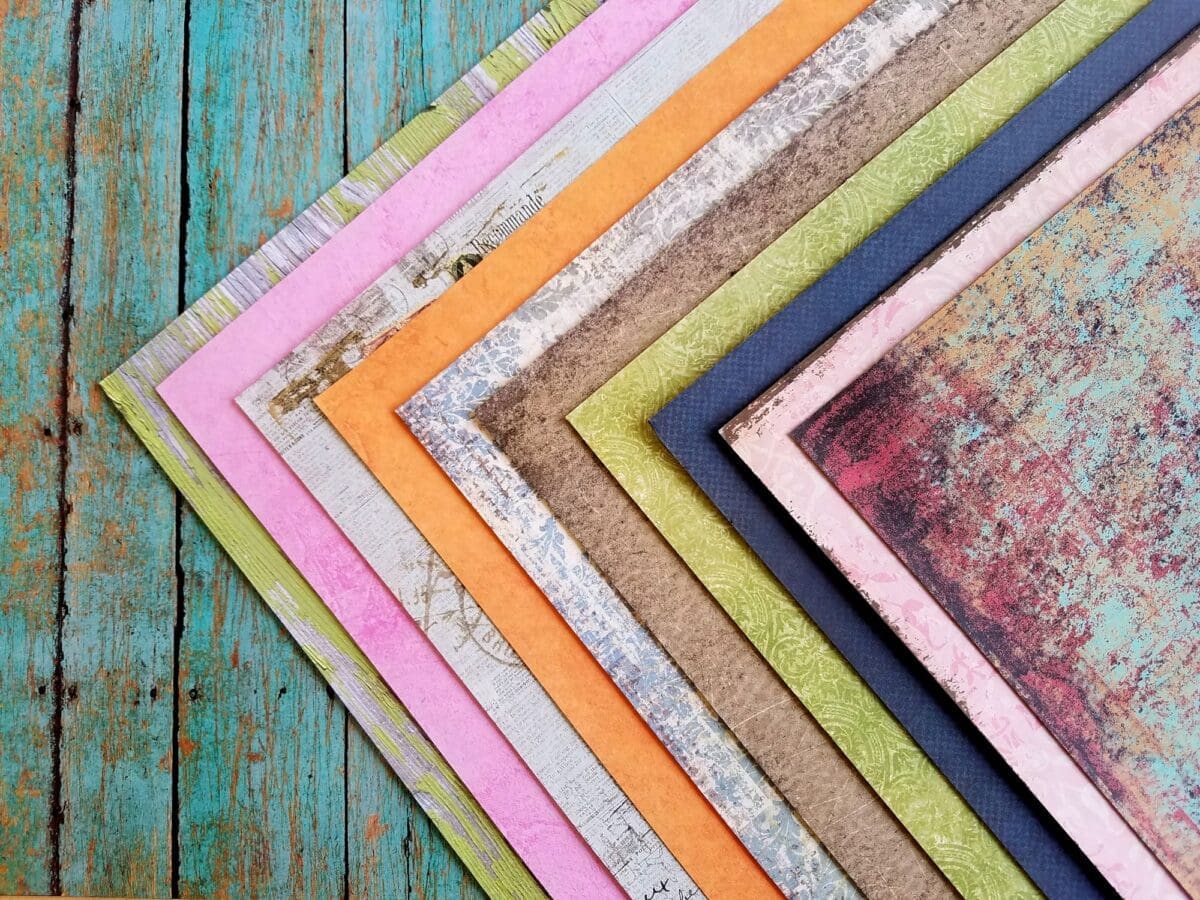
- 12″ x 12″ scrapbook paper in assorted colors and styles that compliment your brand
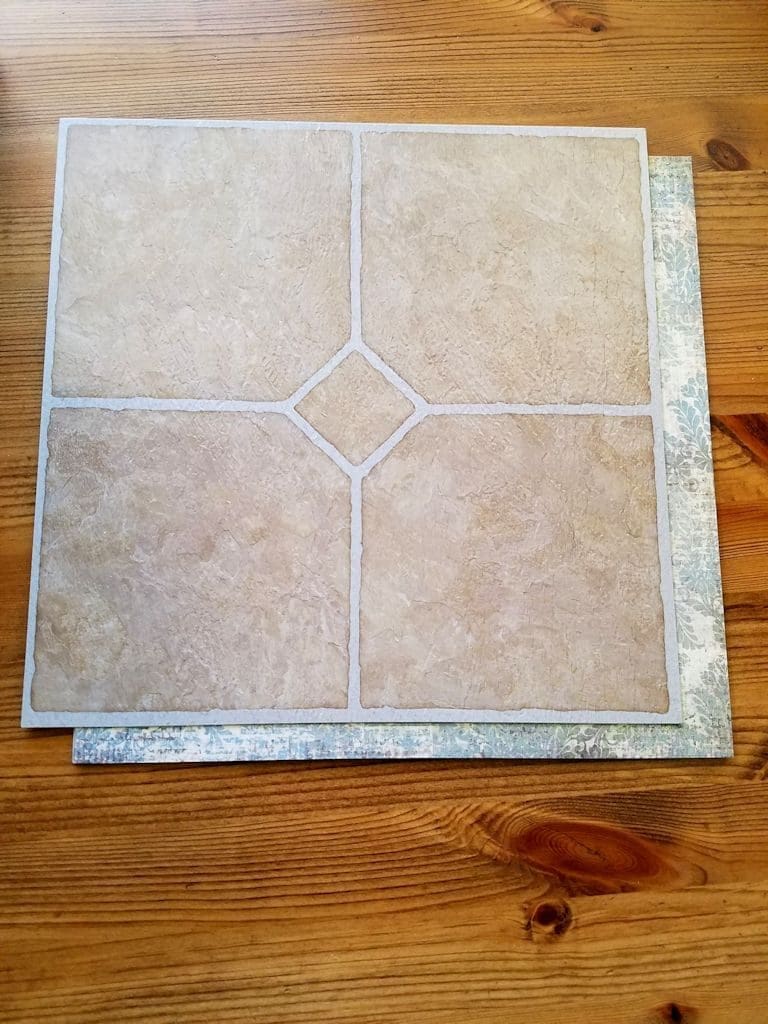
- 12″ x 12″ peel and stick vinyl floor tiles (one tile for every piece of paper you selected)
Scrapbook Paper
I buy my scrapbook papers at my local Hobby Lobby store. Hobby Lobby changed their scrapbook paper pricing recently, and now single sheets of printed paper are roughly $.69 each. But watch for their sales because if you time your shopping trip well, you can save %50.
As I mentioned above, there’s a scrapbook paper for virtually every style and occasion. Choose papers that will enhance your brand and flatter your products. Steer clear of very busy patterns that might draw the eye away from your product, and think about how you can use coordinating papers together.
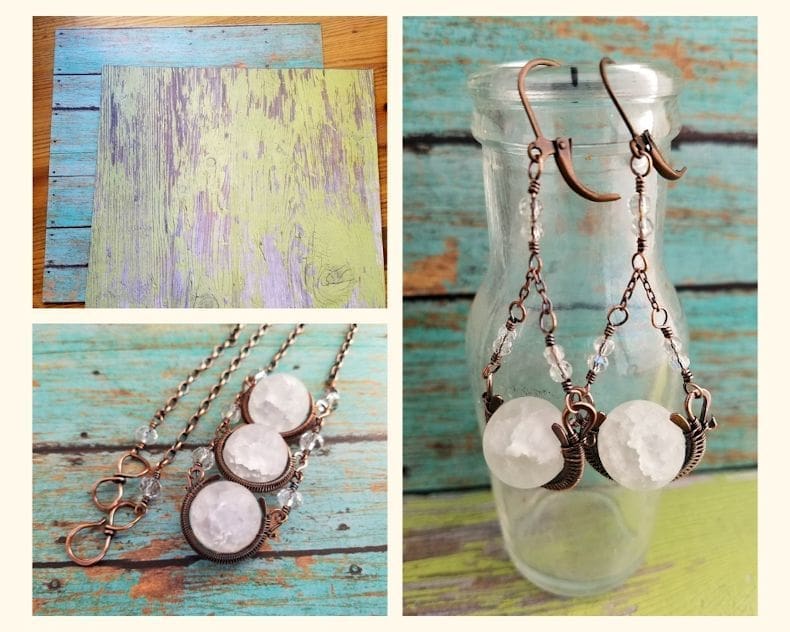
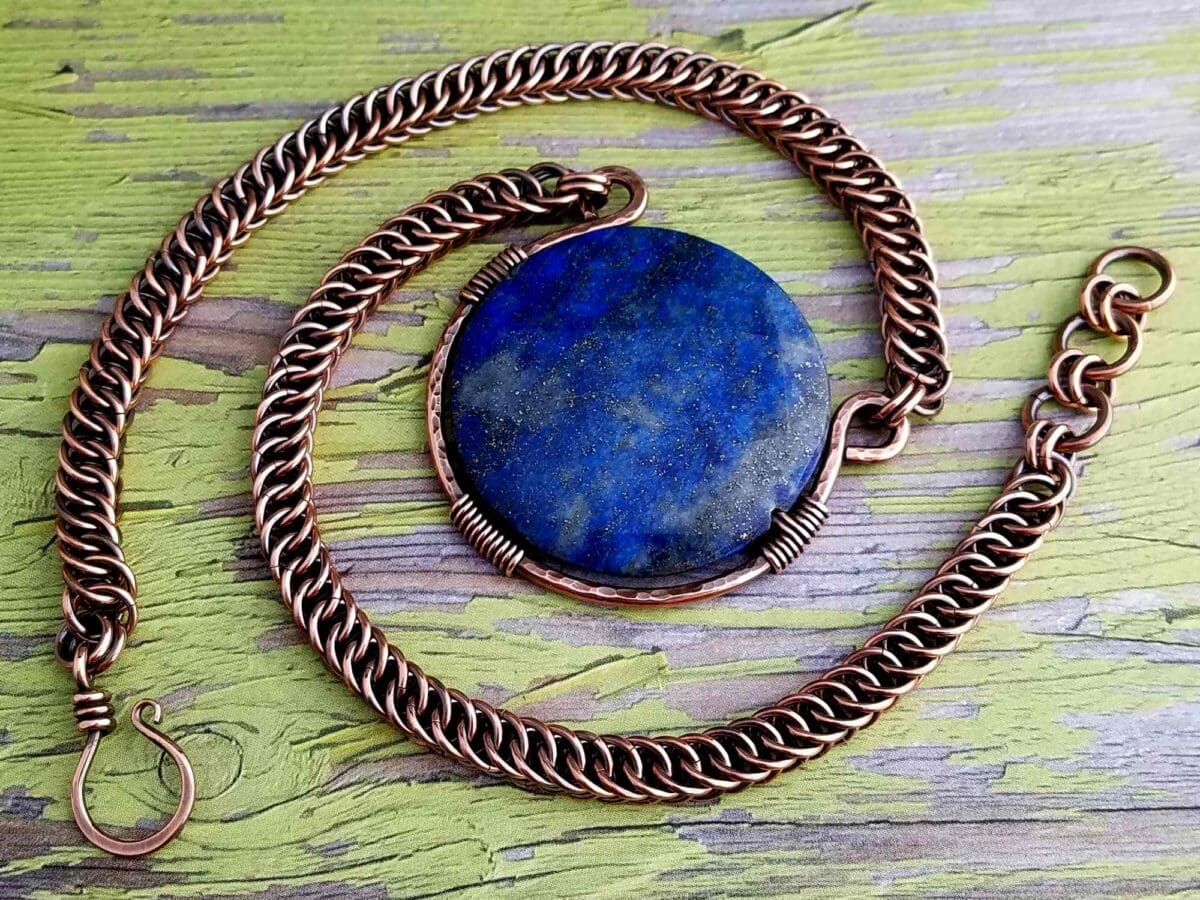
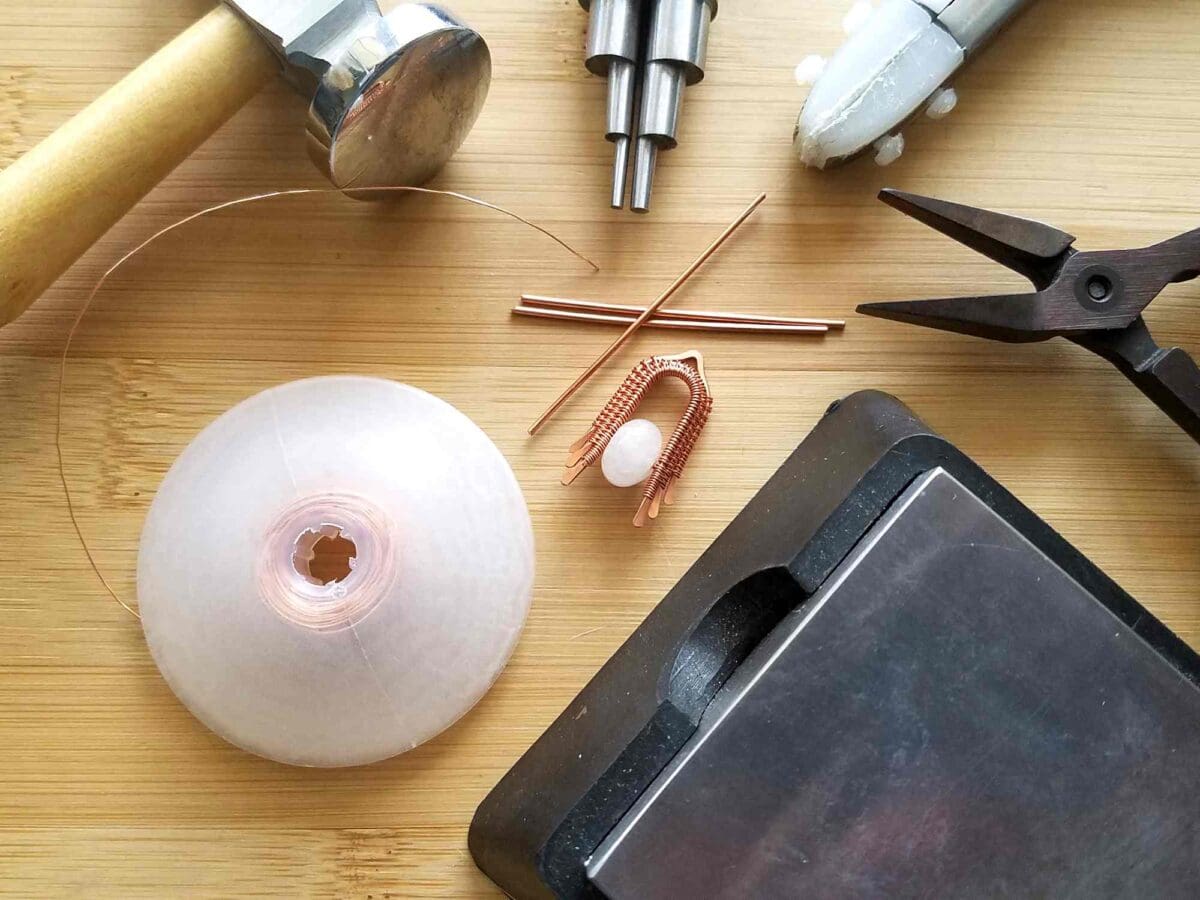
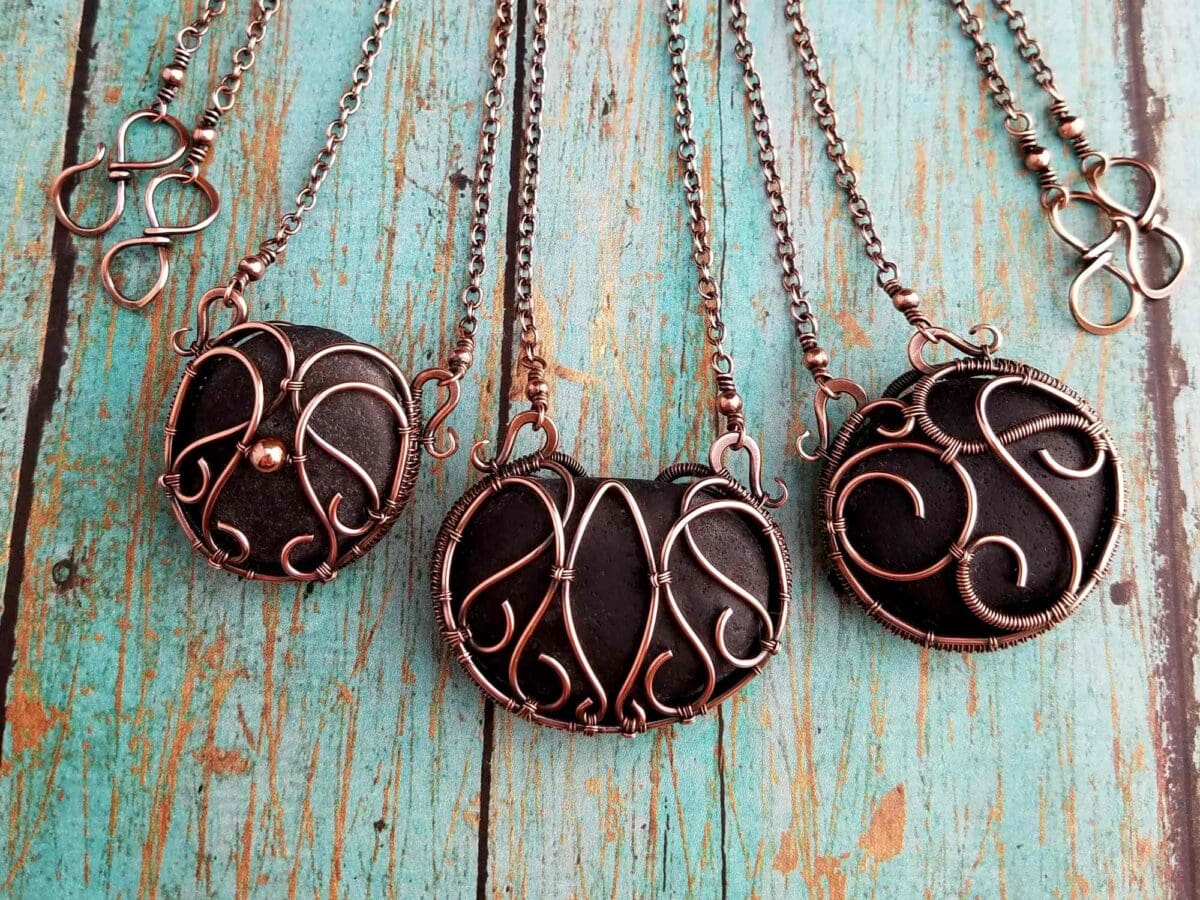
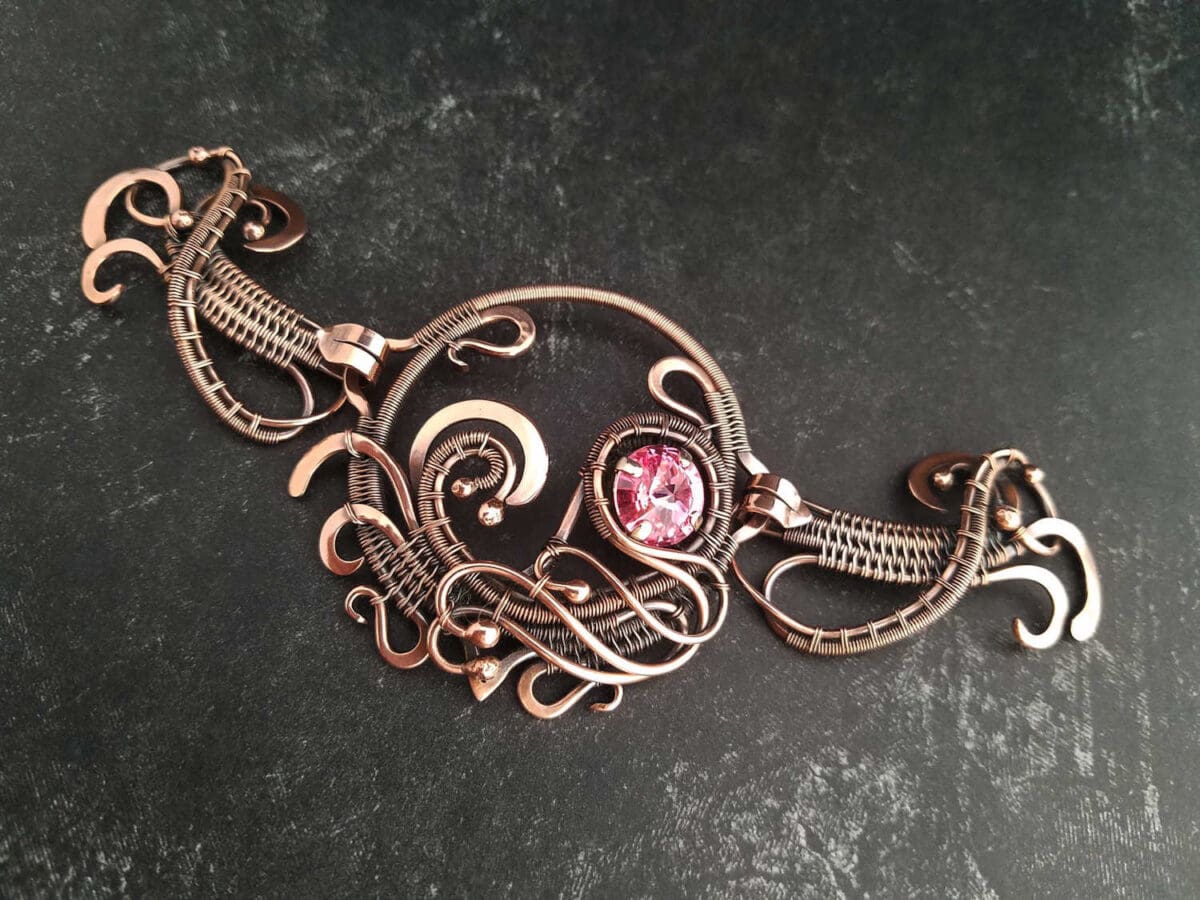
I’ll pick two papers that work well together. Then I pair those two tiles together in my photo shoots — one on the table surface, and one propped up vertically against the back wall in my light box. You might recognize the tiles below, for instance, as those used in the finished jewelry shots for my Chalice Earrings and Chalice Necklace tutorials.
If you watch my YouTube channel, you’ve probably also seen the large canvas prints of my Chalice designs (the subjects of my very first tutorials when I first launched Door 44 Studios) on the walls behind my workbench.
Peel & Stick Vinyl Floor Tiles
As for the peel and stick vinyl floor tiles, I bought mine at my local Lowe’s store for $.69 a tile. Even when factoring in my local sales taxes, I made four new photo backgrounds today for $1.11 each.
You’ll find self-adhesive vinyl floor tiles at pretty much any builder’s supply store in a wide range of prices, and I’ve tried them all. Happily, the least expensive tiles work best for this purpose. That’s what I use, and it’s what I recommend you use as well.
Here’s the thing. You’ve probably figured out by now that we’re going to simply adhere the scrapbook paper to the sticky side of the floor tile. These tiles are designed to stick to plywood floor substrate, though, so the glue is quite strong.
The more expensive the tile, the thicker it is. And premium tiles also have much stronger glue. Stronger glue is great if you’re sticking your tiles to the floor, but that premium glue will more quickly bleed through your paper. So, go for the cheapest tiles (with the weakest glue) you can find.
Don’t worry. The bleed through doesn’t happen overnight, unless you expose your tiles to extreme temperatures. It’s a gradual process that generally takes weeks or even months. It does tend to occur more quickly with uncoated cardstock than with printed papers, however. Keep that in mind while you’re shopping for paper.
How to Make the DIY Photography Backgrounds
We are literally going to just peel the wax paper backing off of the floor tile and stick the scrapbook paper to the tile adhesive. For best results, do this slowly and carefully, as demonstrated in the photos.
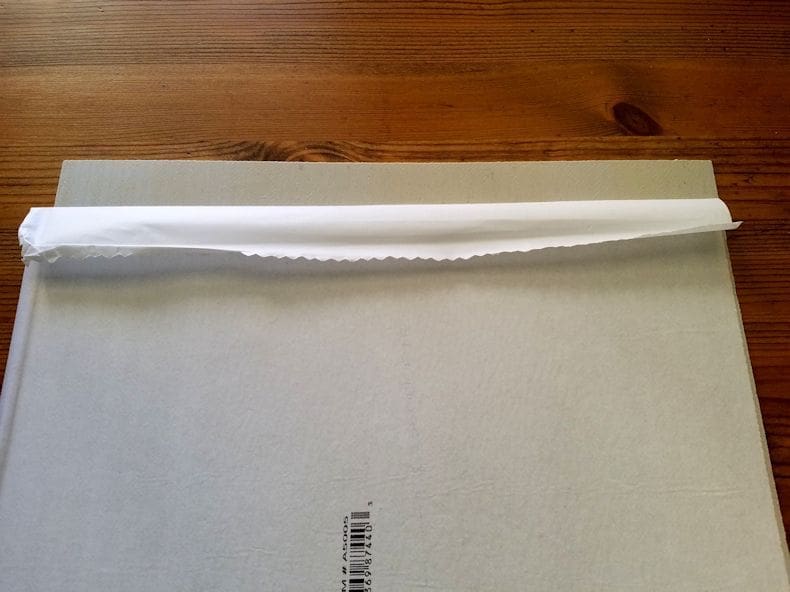
Step 1
Start by peeling back just an inch or so of the protective paper on the tile so you can line the scrapbook paper up perfectly with the edges of your tile.
Don’t expose too much of the adhesive at this point because it can be hard to keep the paper from sticking in all the wrong places.
Step 2
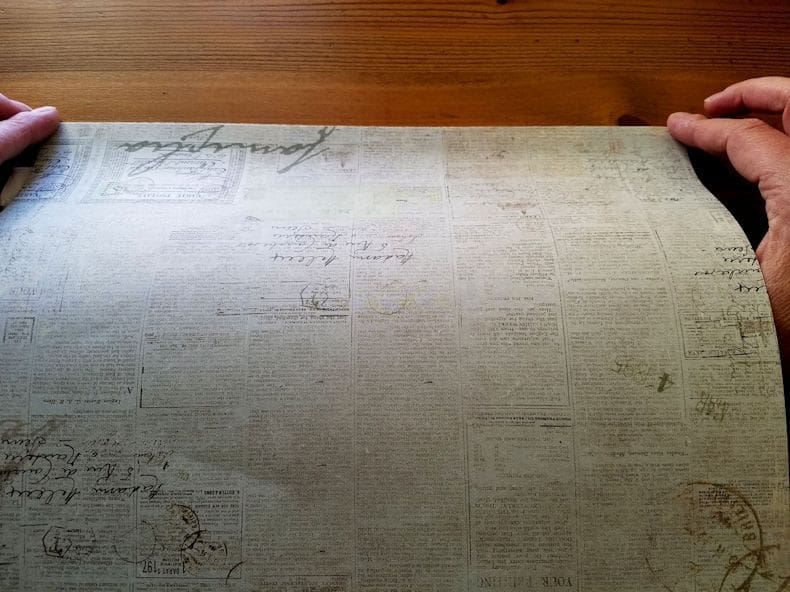
Align the paper neatly along the exposed adhesive edge and press it firmly onto the tile.
Start from the middle of the tile and work your way out to the edges to prevent air bubbles and wrinkles in your paper.
Step 3
Continue to peel the tile backing gradually away while smoothing the paper onto the adhesive. Again, work slowly and methodically from the middle of the tile toward the edges to minimize air bubbles and wrinkles.
I use the palm of my hand to smooth the paper, but a plastic credit card works well too. If you’ve ever applied vinyl decals to your walls or windows, this application process is essentially the same.

That’s it. Easy, right? Now, take a moment to admire your handiwork. Then get cracking on that backlog of product waiting to be photographed!
Using and Storing Your Photo Backgrounds
Proper use and storage will greatly extend the life of your new photo tiles. Always store them lying flat. Preferably in a cool dry space, such as a dark closet. Excessive heat will soften the glue and speed up the bleed-through process I mentioned above.
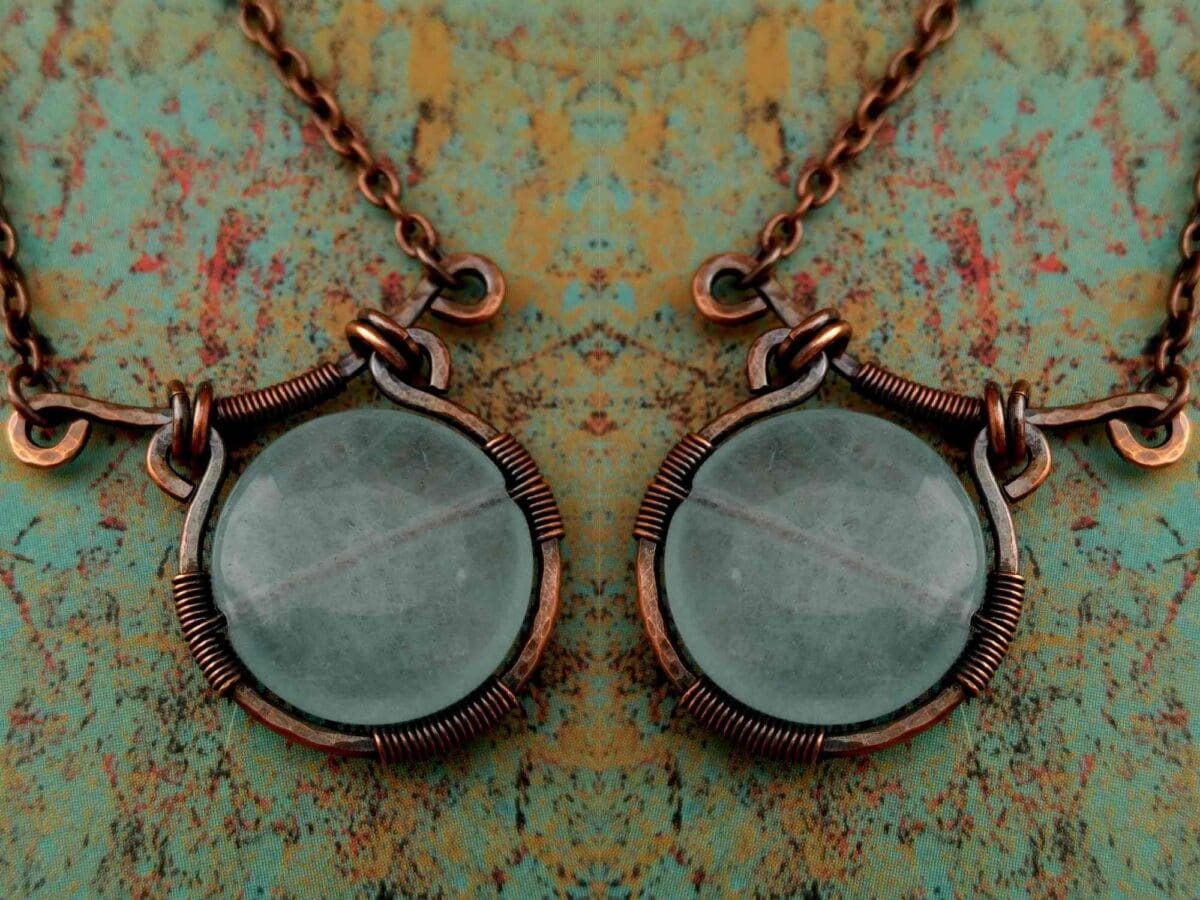
I always store my tiles in pairs with the paper sides facing one another, as shown. Sometimes there will be some glue residue on the edges of the tiles. If the edges are very sticky, try rubbing them lightly with an alcohol prep wipe to remove the glue residue.
Just because these photo tiles are inexpensive, that’s not an excuse to be wasteful. So handle them gently. If you’ve ever worked with vinyl floor tile, you’ll know that the corners are fragile. These tiles will crack if you bend them sharply or drop them on an edge. Handle them carefully, though, and they’ll last quite a long time. Some of the tiles in my current collection are now several years old, and they’re still in good condition.
Extending the Life of Your Photo Backgrounds
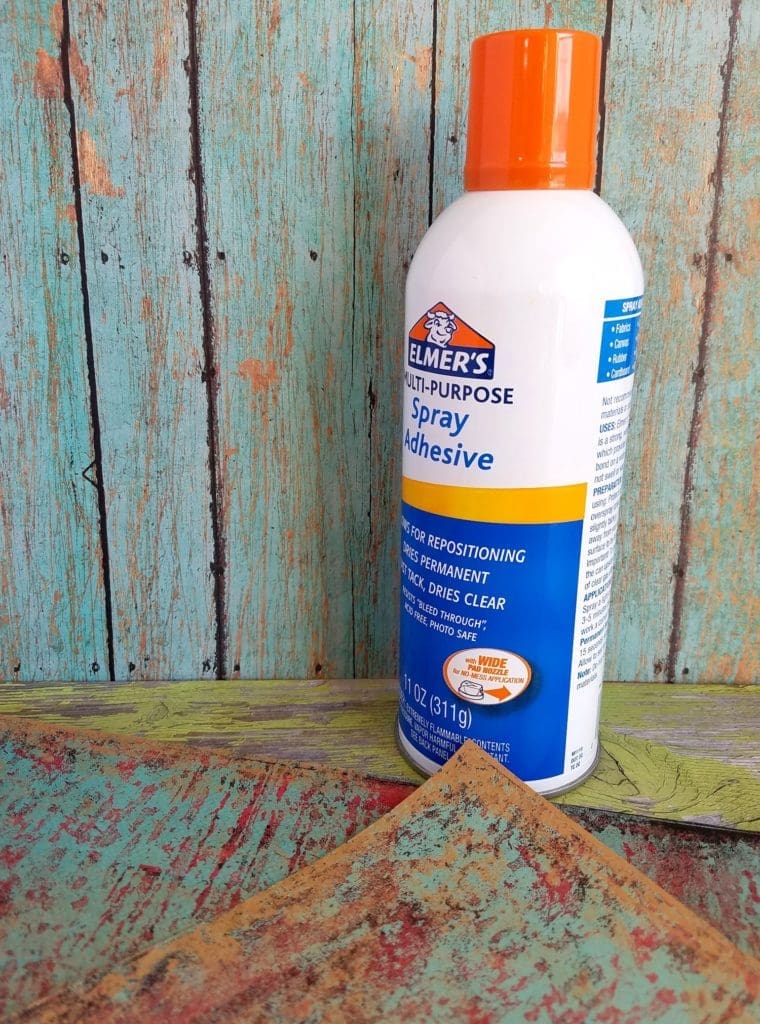
So, what do you do with your tiles when the glue finally bleeds through the paper and your paper no longer looks pretty? As inexpensive as they are, you can dispose of them at that point if you really want to. I like to get as much use out of my own tiles as I possibly can, though. So, I apply a fresh layer of paper right over the old one with a can of spray adhesive. You can do this multiple times, as long as your vinyl substrate is in good condition.
I haven’t tested this theory yet, but I suspect you can also use decoupage glue to renew your tiles. The decoupage glue might seal the surface and prevent the floor adhesive from bleeding through the fresh layer of paper. If you manage to test this theory before I get around to it, please share your findings.
What are some of your own solutions to the photography background conundrum? Please share your ideas in the comments!
Discover More Behind Door 44
Thanks so much for stopping by today. I hope you’ve found this post to be useful and inspiring. I’d love to see what you’ve made and hear your ideas and suggestions for new tutorials and blog posts. You can connect with me @door44studios on Instagram, and Facebook. And if jewelry making is your jam, be sure to check out my YouTube Channel or join my private Facebook Group where we discuss all things related to wire jewelry!
Now go take some gorgeous product photos with your easy DIY Photography Backgrounds. And don’t forget to tag me on Instagram so I can admire your work!

Pin This Post for Later
Great idea using the vinyl tiles!
Thanks! I’m all for easy and versatile solutions, and these tiles work as beautifully in a pop-up craft show display as they do in the photo studio.
What a neat and oh so easy idea! Thanks for sharing, I am always looking for background ideas.
It is super easy. Enjoy!