

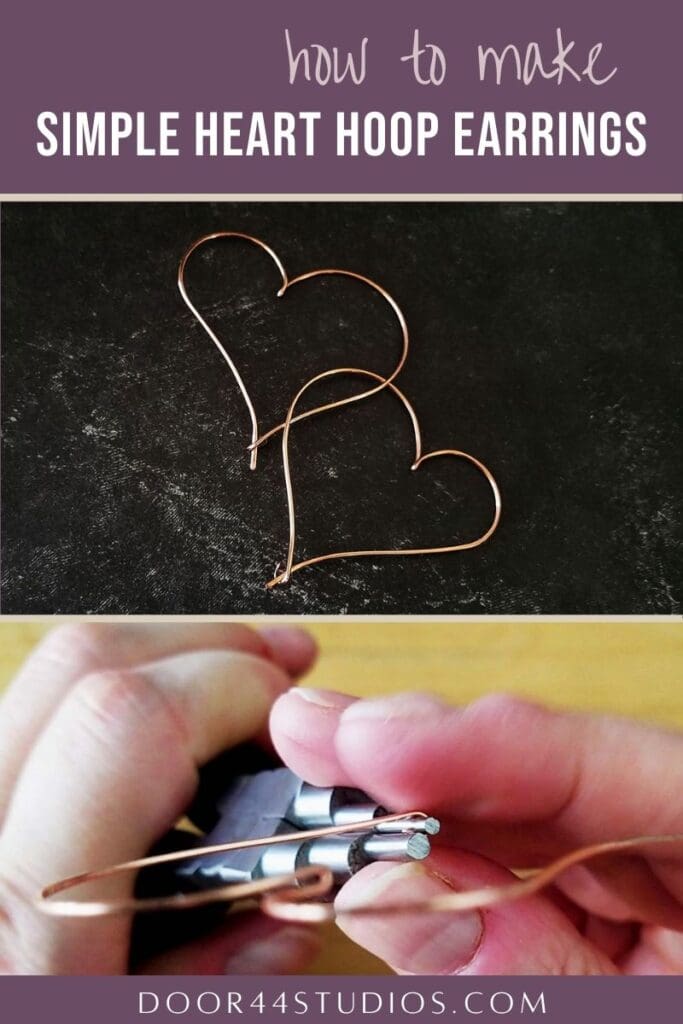
Simple Heart Hoop Earrings
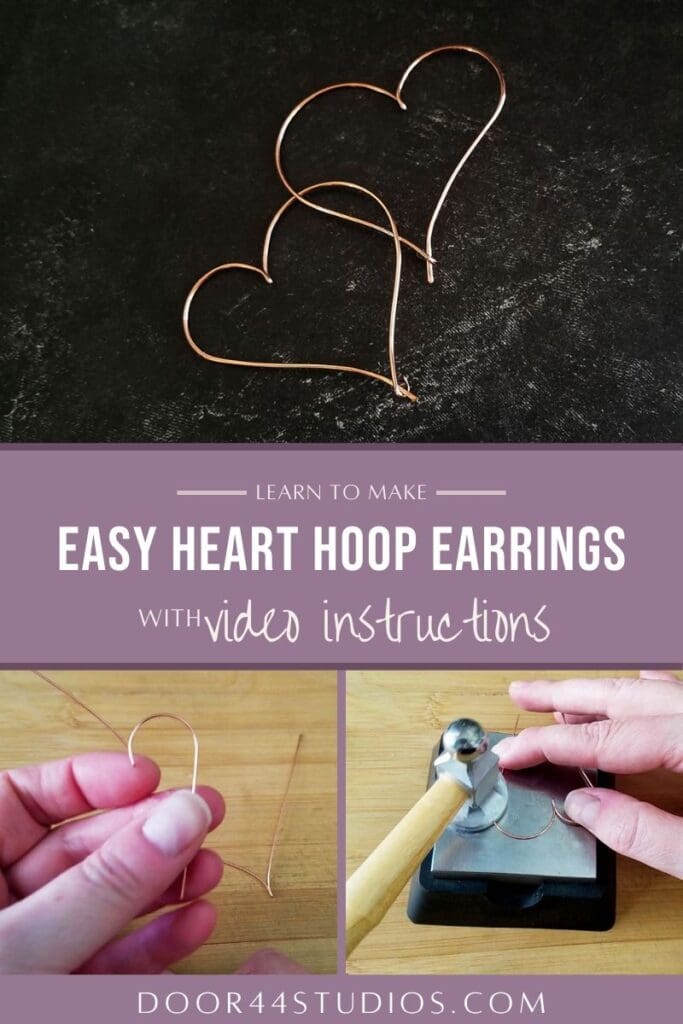
Who doesn’t love a fun pair of hoop earrings? These simple heart hoop earrings are fun and easy to make, and they appeal to women of all ages. Even my teenage daughter asked for a pair of these earrings when she saw the first prototypes. That’s when I knew I’d hit on a really good design because my own taste and my daughter’s taste rarely intersect. If you’re a mom, you know…
Let’s make some cute heart hoop earrings!
Copyright & Disclosure
You’re welcome to make and sell products from this tutorial. When it comes to my written tutorials, however, I reserve exclusive rights to all images and written content. You may not reproduce or redistribute any portion of the Simple Heart Hoop Earrings tutorial in any way, shape, or form.
This copyright applies to the printable PDF version of the Simple Heart Hoop Earrings tutorial as well, and it will be included therein. You may share the free version of this tutorial only by linking directly to this page.
This post may contain affiliate links. If you click on a link and then make a purchase, I may earn a small commission (at no cost to you). As an Amazon Associate I earn from qualifying purchases. To learn more, please see my full disclaimer.
Skill Level: Beginner
This is a basic wirework project that can be achieved by someone who has never worked with wire before.
Because there’s a full video tutorial for these earrings, I don’t go into a great deal of detail here on the blog. Experienced wireworkers will have no trouble following along with this abbreviated written tutorial. If at any time you get stuck, be sure to watch the video tutorial here. Or be on the lookout for the much more detailed written tutorial, which will be available soon.
Getting Started
For best results, use half-hard solid copper, sterling silver, brass, or bronze jewelry wire. We’ll harden the wire while we work, so you can use dead soft wire in a pinch. But I prefer using half-hard wire for these earrings because it will save us the extra time and effort of hardening dead soft wire.
You can also use a filled wire for these earrings if you like. They’ll look beautiful in gold filled wire, and the little bit of hammering that we’ll do won’t affect the final finish much since the cut ends of the wire aren’t really exposed. If you do choose to use filled wire, you may just want to seal the cut ends with lacquer to minimize any visible oxidation on the exposed brass core.

Finished Size
- WIDTH: about 2 inches (5.08 cm)
- LENGTH: about 2 inches (5.08 cm)
You can easily make your earrings either larger or smaller. Just remember to adjust your cut lengths accordingly, and choose different sizes on your ring mandrel.
Instructions
If you prefer video tutorials, watch the video version below. Otherwise, keep reading for the written tutorial.
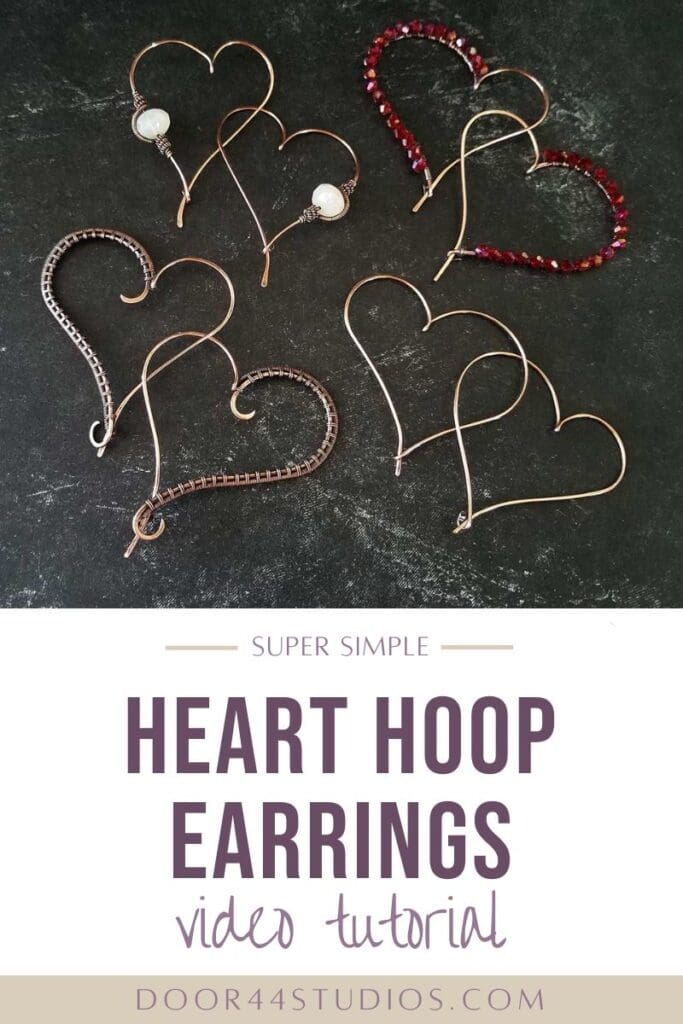
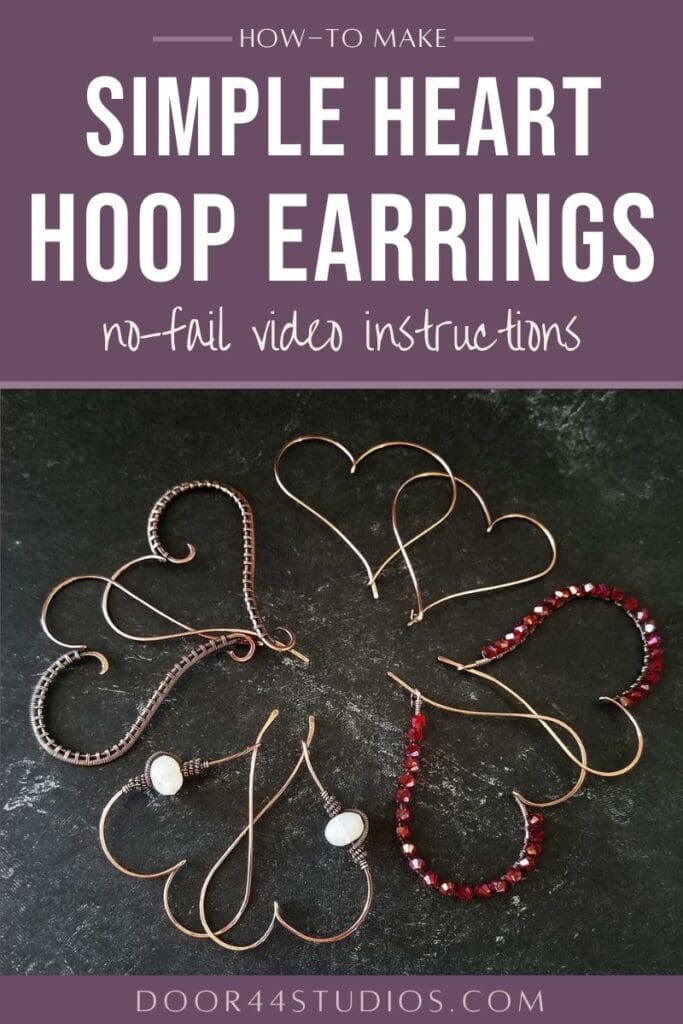
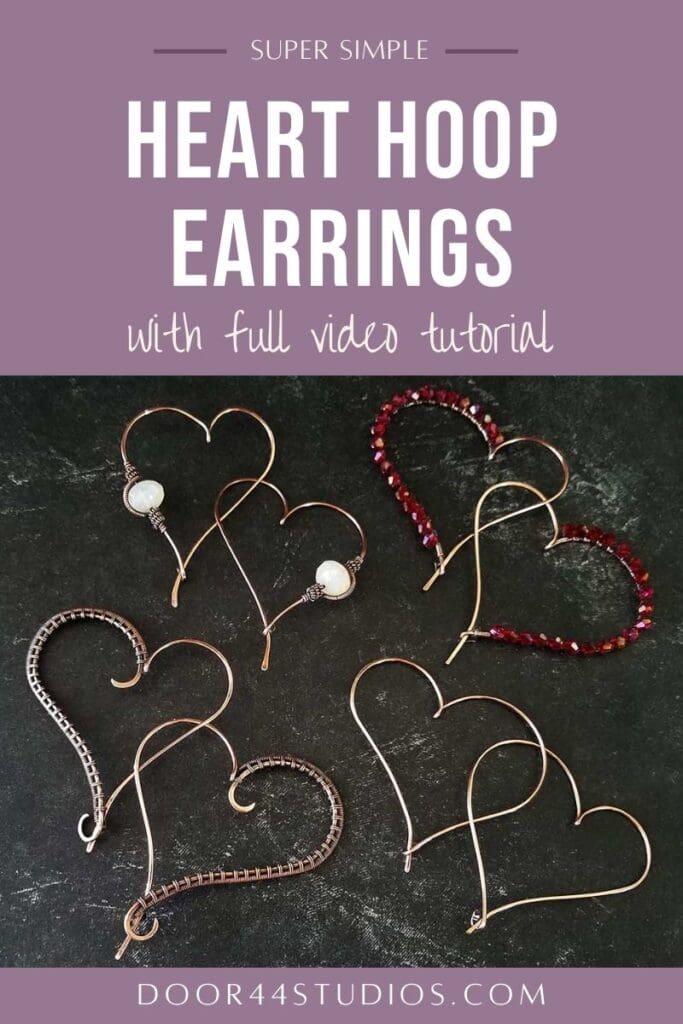
The instructions for these earrings are written for the basic 2-inch earrings with no extra embellishments. However, you can easily change the size of your finished earrings by changing the cut lengths of wire and the mandrel sizes. These earrings are also easy to customize with a number of different embellishments. If you’d like to learn how to make the other earrings that you see featured in the video thumbnail above, be sure to watch for the printable PDF tutorial, which is coming soon. In that tutorial, I’ll show you how to make all three of the variations shown in the video plus one more bonus variation that I recently added to this design file.
Prep Your Wires
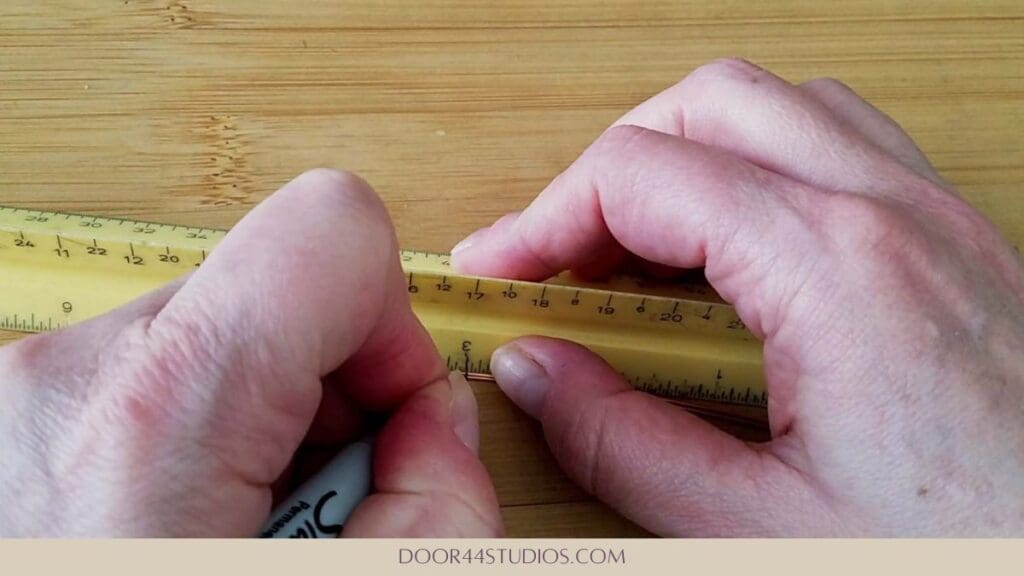
Measure and cut two pieces of 20ga wire that are 6-1/2-inches (16.51 cm) long. Then mark both wires at 3 inches (7.62 cm) from one end. This is where we’ll fold our wire.
Begin Shaping the Hearts
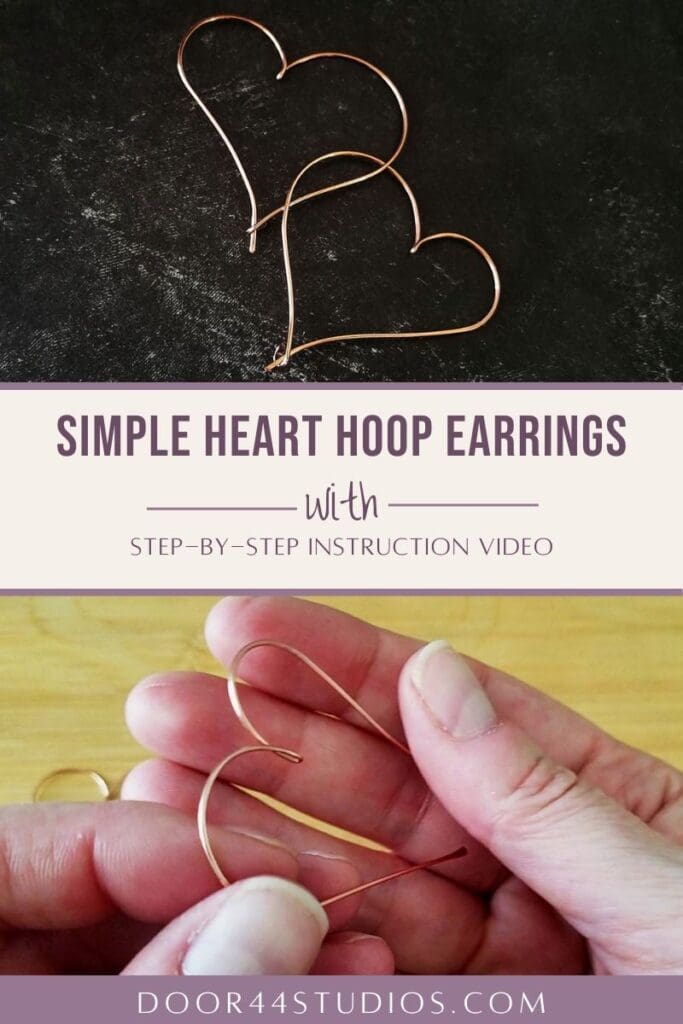
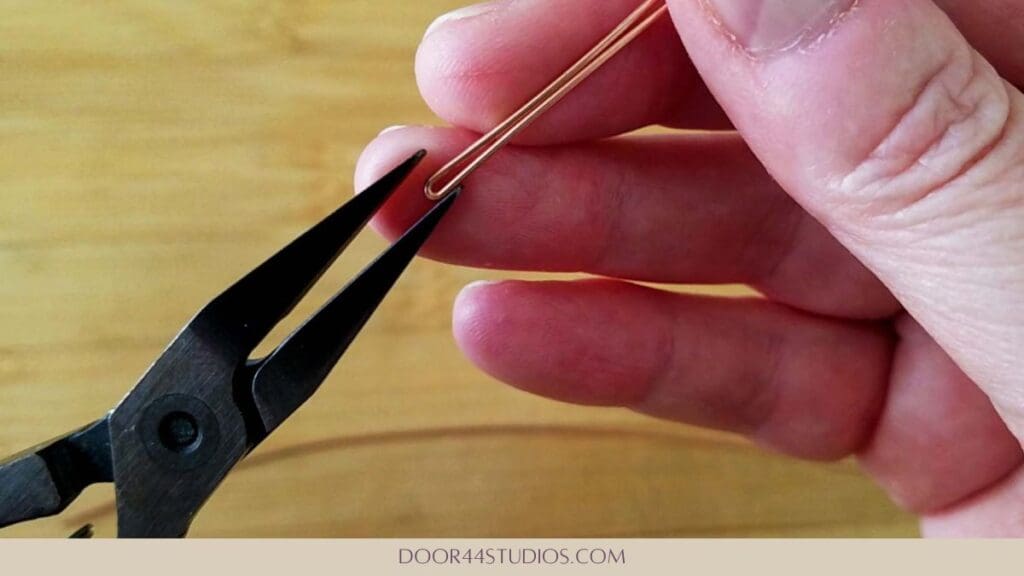
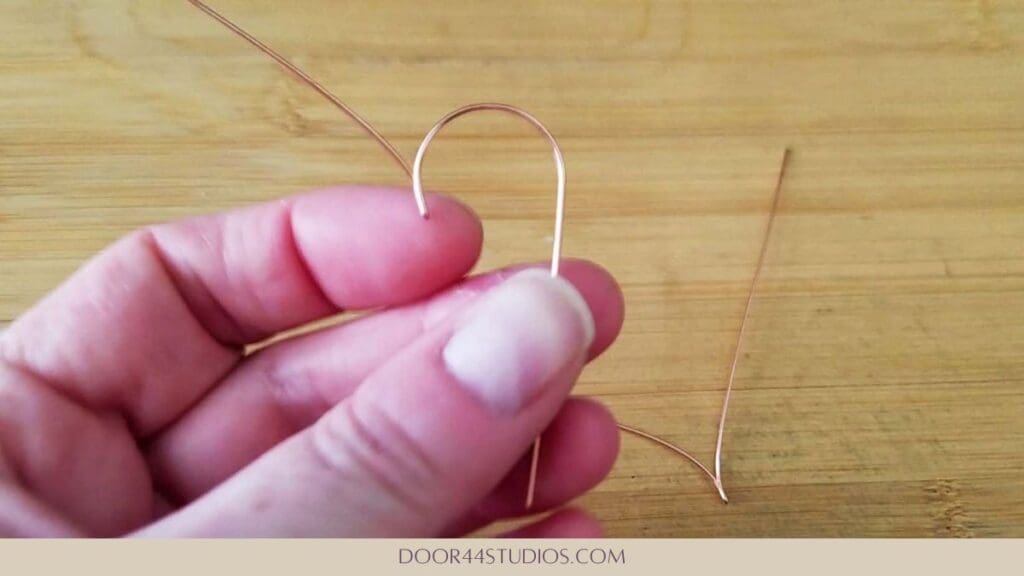
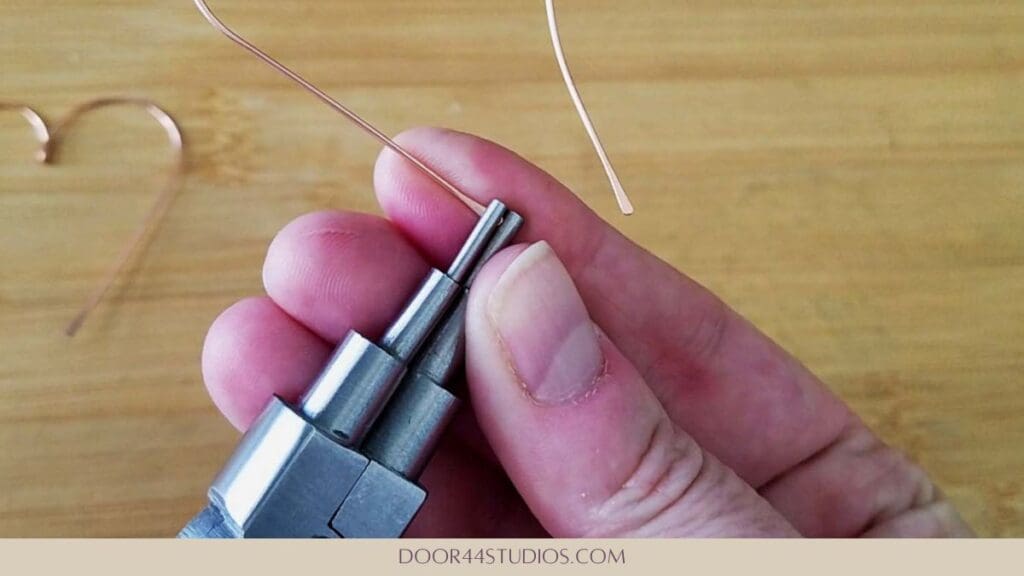
Use your flat nose pliers to fold one wire at the mark you just made. Go ahead and pinch the fold partially closed, but don’t close it too tightly. When finished, your fold should look something like the one shown below. Repeat on the second wire.
At this point, we need to start thinking about earring symmetry. I like to make my earrings mirror images of one another. And to do that, we need to pay close attention to how we shape the curves of the hearts.
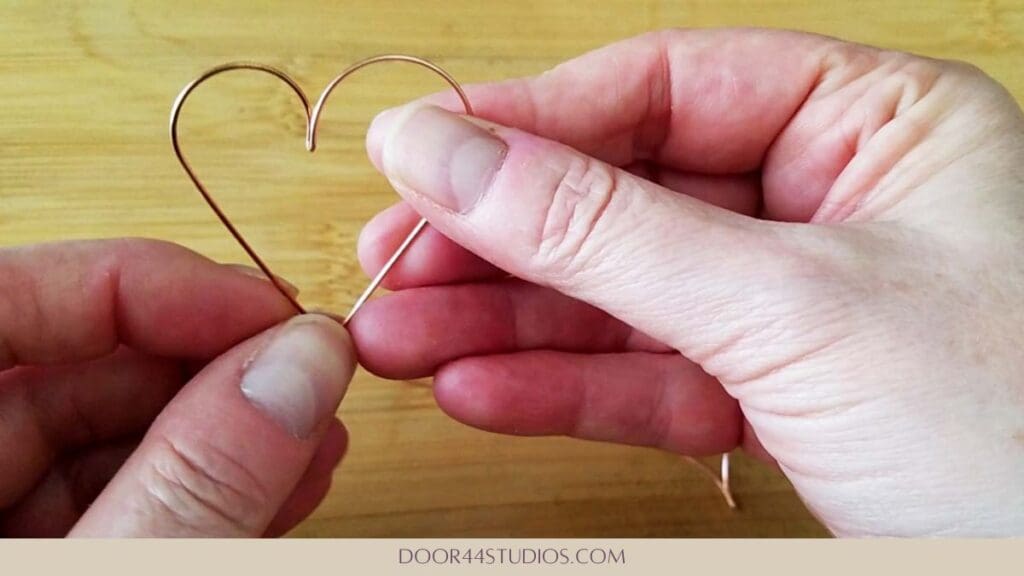
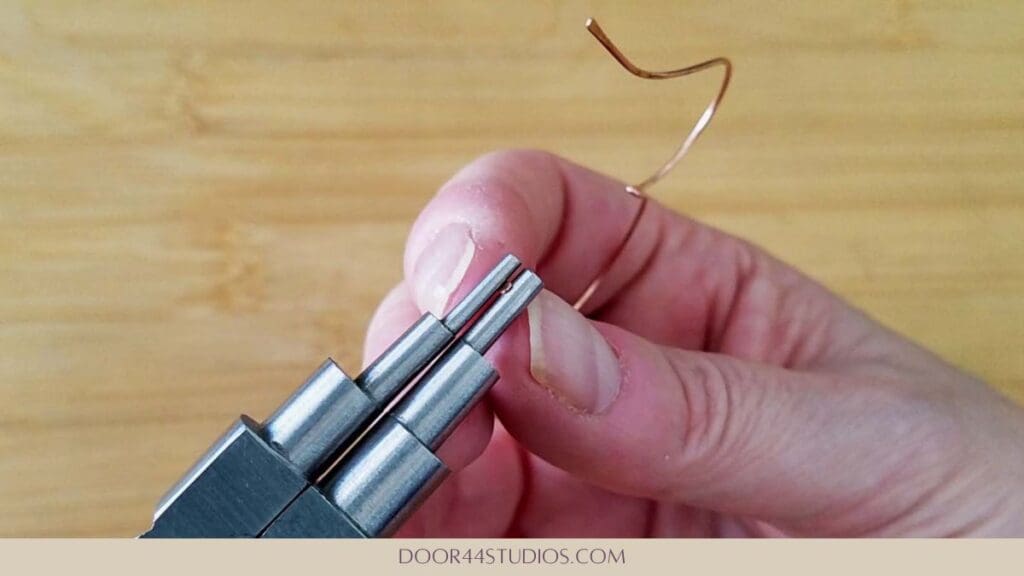
Grab one wire at the fold with your flat nose pliers. Make sure that the shorter leg of wire is in front, as shown below.
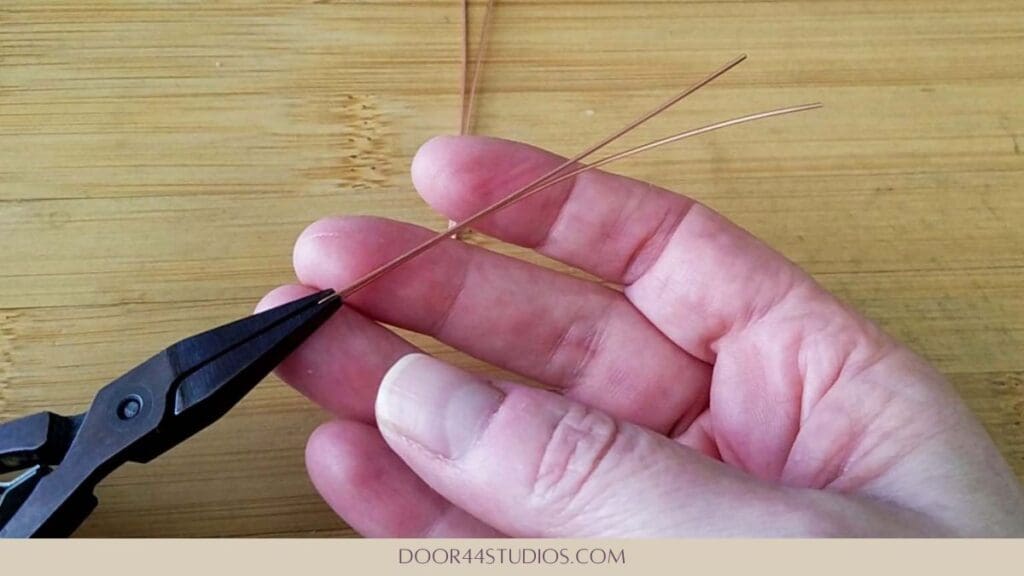
Now use your fingers to gently curve the shorter leg of wire to the right and the longer leg of wire to the left. When finished, your wire should look like the one below.
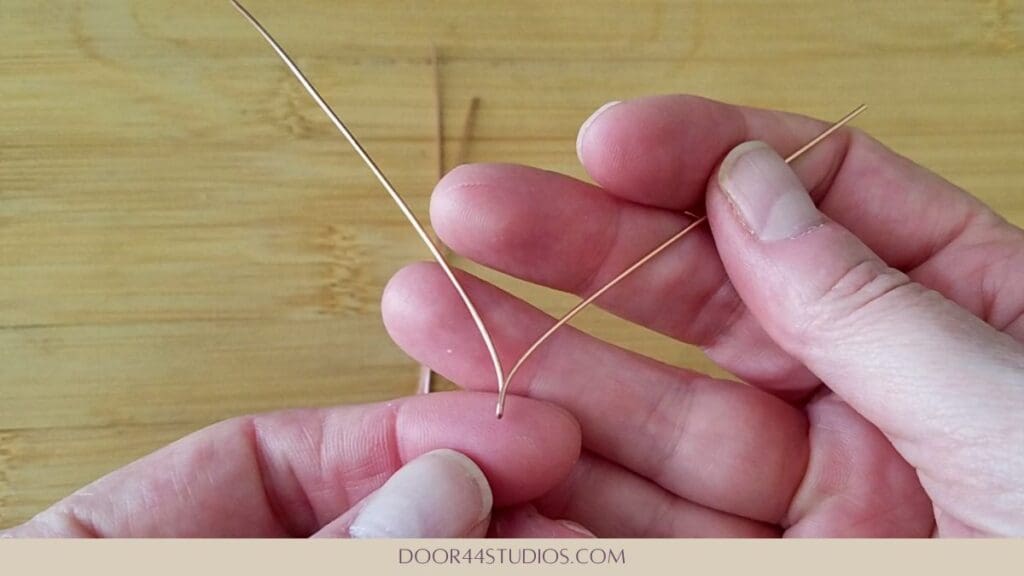
Now we’re going to repeat on the remaining piece of folded wire. Grasp that wire with your flat nose pliers and again make sure that the shorter leg is in front. Then gently curve the shorter leg of wire to the left this time. And curve the longer leg of wire to the right.
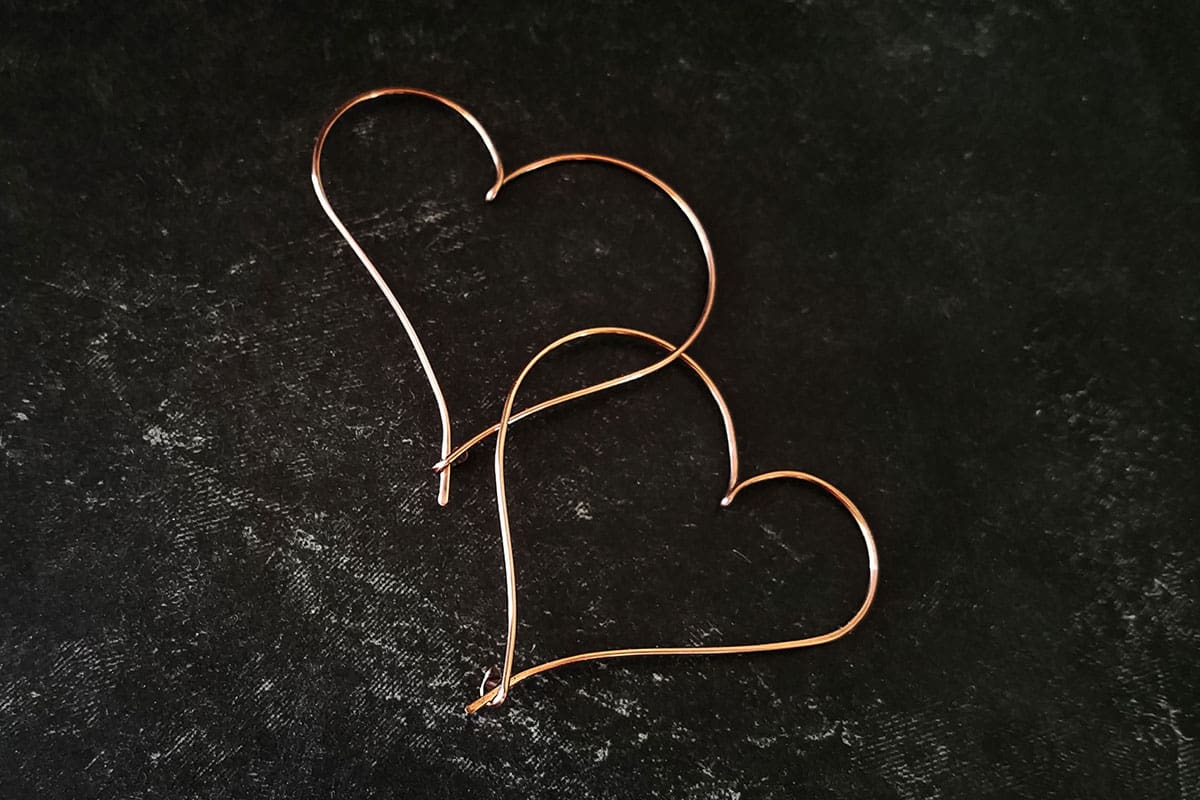
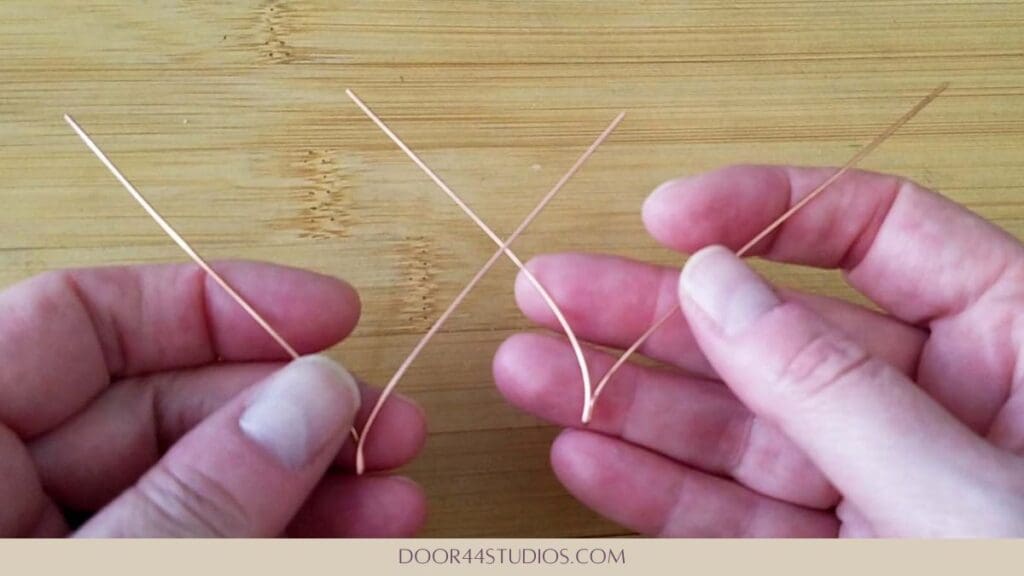
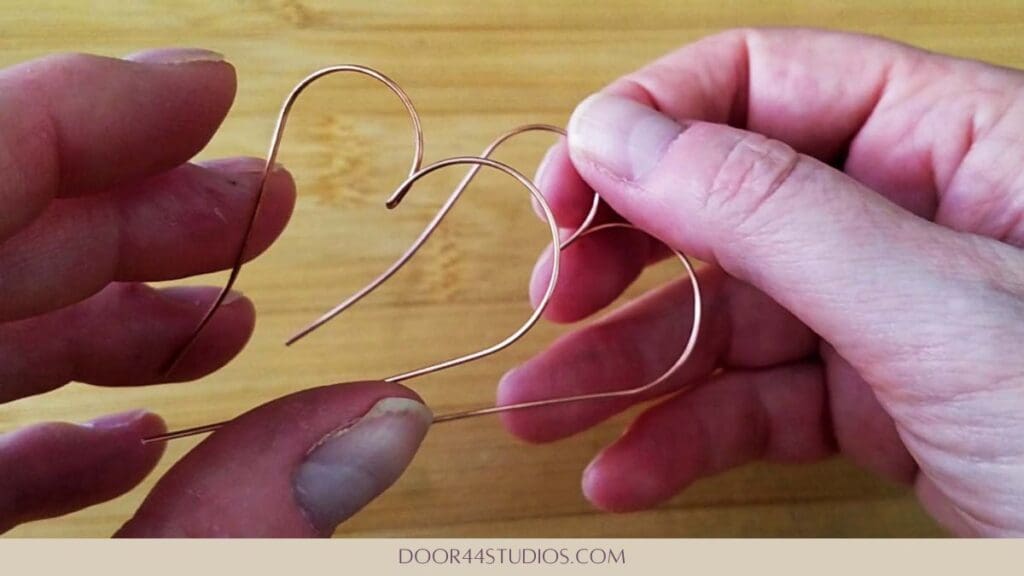
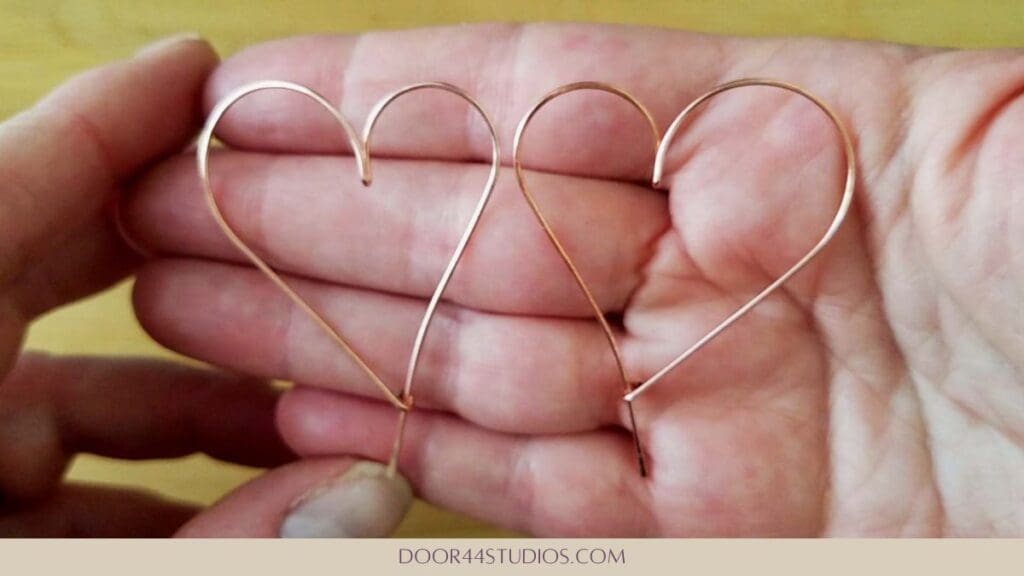
When finished the two wires should be mirror images of one another, just like those pictured below.
Finish Shaping the Hearts
At this point we’re ready to start shaping the top of our hearts. I prefer to make my hearts asymmetrical so that the ear wire half of the heart has a smaller hoop, but if you like symmetry, you can definitely make both hoops of your hearts the same size. You can also change up the sizes if you want larger or smaller earrings. So, don’t be afraid to experiment at this point because these next steps will ultimately determine the finished size of your earrings.
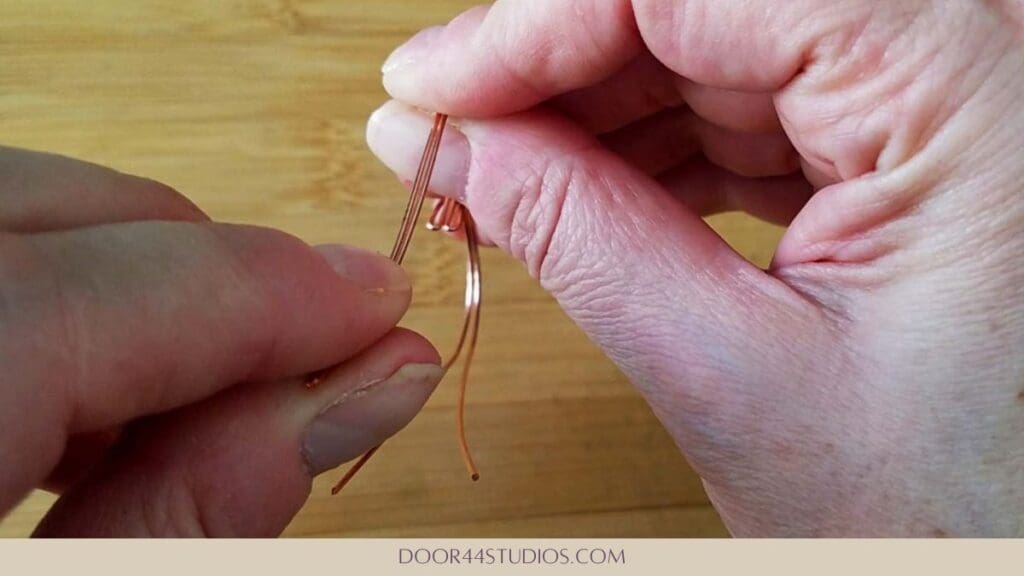
Grab your ring mandrel and one of your folded wires. Then place the folded part of the wire on the size 5 mark on your ring mandrel. Make sure that the shorter leg of wire is lying against the ring mandrel and then firmly roll that shorter leg of wire about three quarters of the way around the mandrel. When finished, your wire should look like the one pictured below.
Now flip your wire around and position the fold on the size 10 mark on your ring mandrel. Again, make sure that the longer leg of wire (the one you haven’t shaped yet) is lying against the mandrel. Then roll that wire around the mandrel to form the larger hoop of your heart. When finished, your heart should look something like the one shown below.
Repeat this process on the remaining piece of folded wire. When finished your two earrings should be perfectly mirrored images, as shown below.

Refine the Shape of Your Hearts
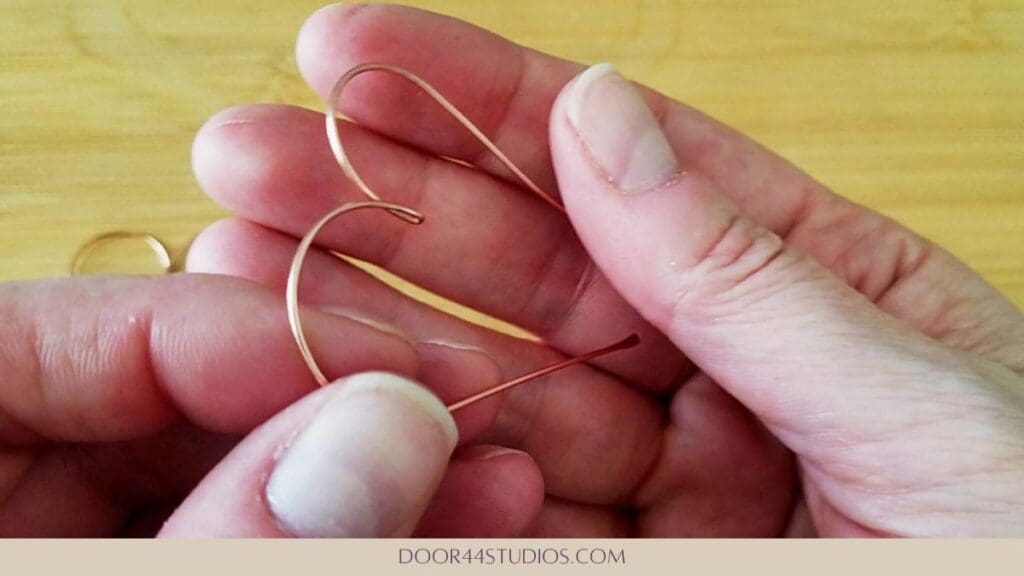
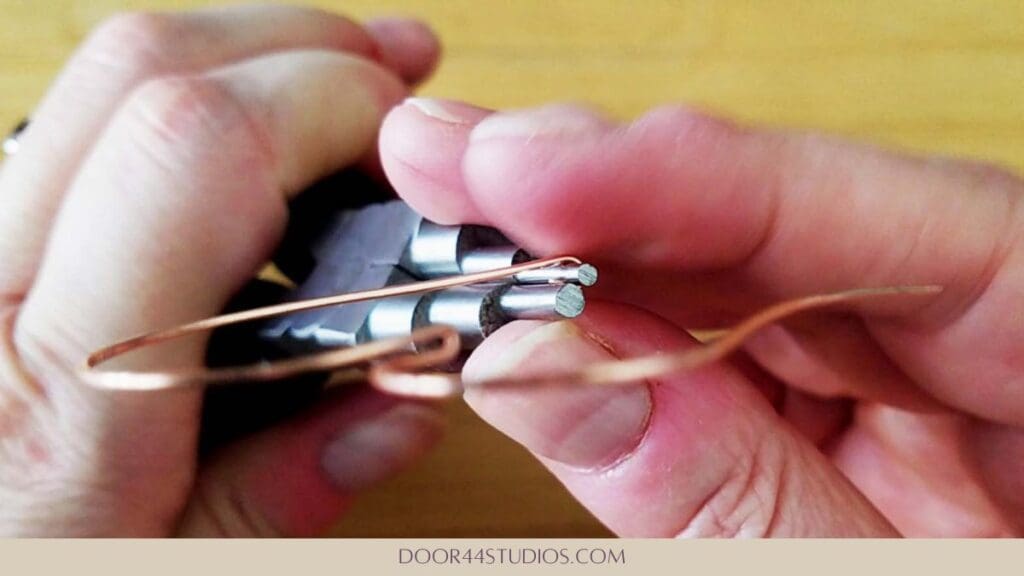
Now we just need to refine the shape of our simple heart hoop earrings a bit. Let’s add some dimension to the ear wire side of our earrings by creating a gentle curve in those wires. To do that, place your earrings back to back as pictured below.
Then use your fingers to create a slight concave curve in those wires. We’re going for the look of a line art heart shape here. So, we want the lines to flow softly. When finished, your earrings should look like those pictured below.
Harden the Earrings
Hoop earrings like this are going to take a lot of abuse simply through the process of putting them on and taking them off. So, we want to make sure that our earrings are as sturdy as possible. That means we need to work harden the wire. And this is particularly true if you started with dead soft wire. Again, I like to use half-hard wire for this type of project. But if you don’t want to keep both half-hard and dead soft wire in your inventory, you can certainly make these earrings with dead soft wire. You’ll just have to spend a little more time at this stage hardening your earrings to lock in that pretty heart shape that we’ve created.
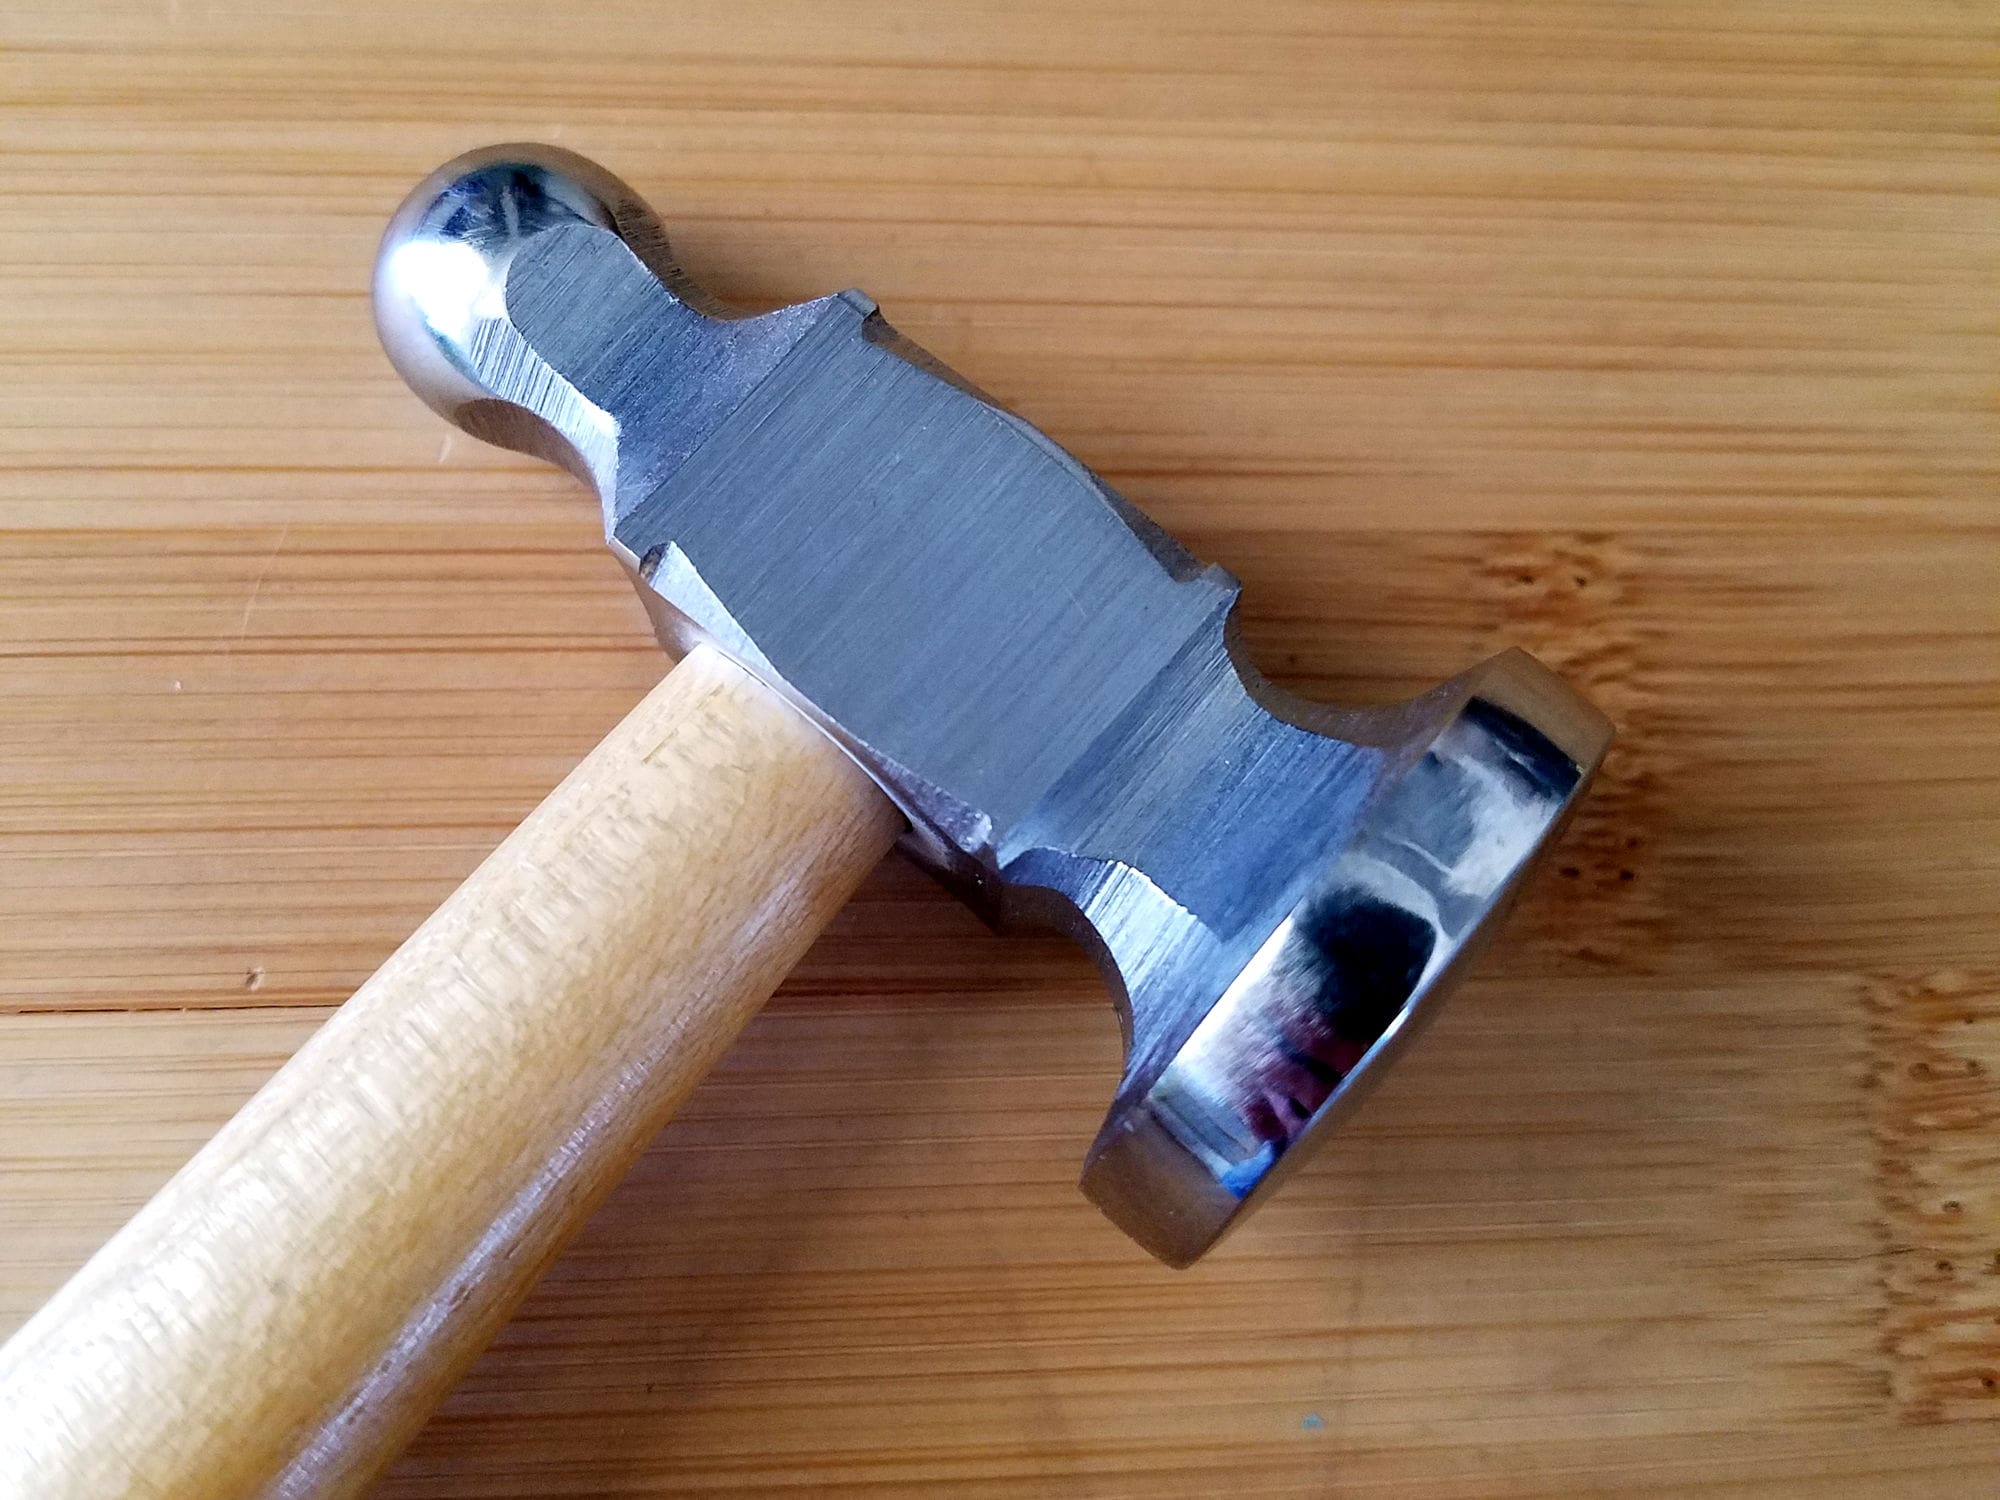
I like to slightly flatten certain parts of my hearts just to give them a little extra dimension. So, I’m going to use my chasing hammer for this step. If you want your wires to remain round, see the tip above.
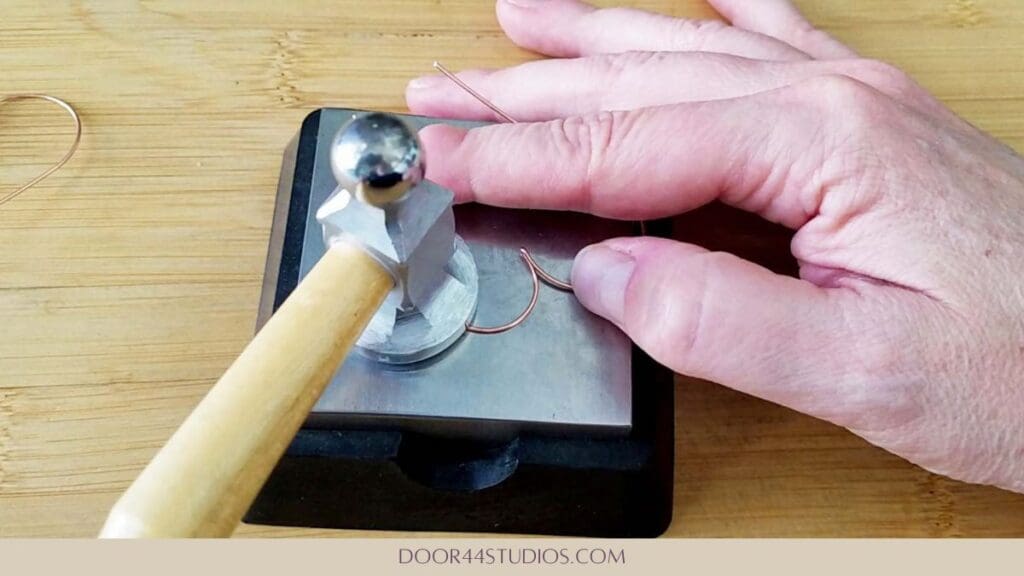
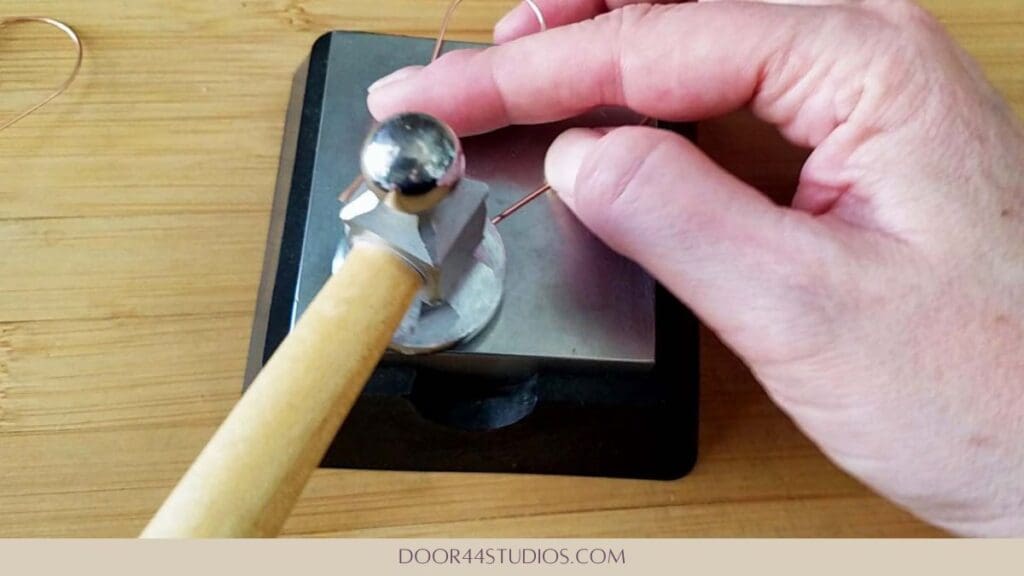
Grab your chasing hammer and bench block, and lightly hammer the smaller hoop on the ear wire side of your heart, as shown below.
Then lightly paddle the end of your ear wire, as shown below. Be careful not to paddle it too much or it might be uncomfortable to slide into your pierced lobe.
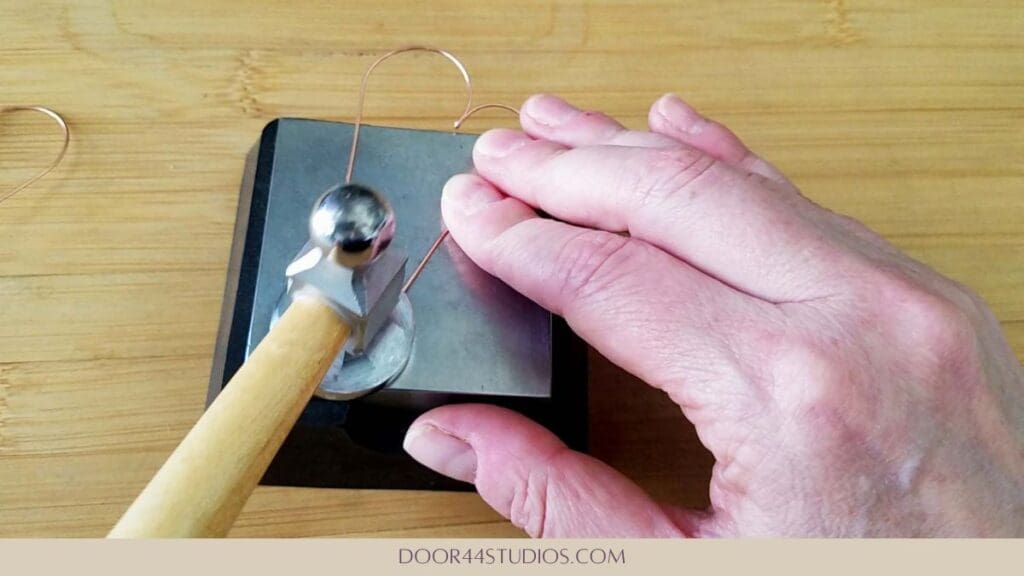
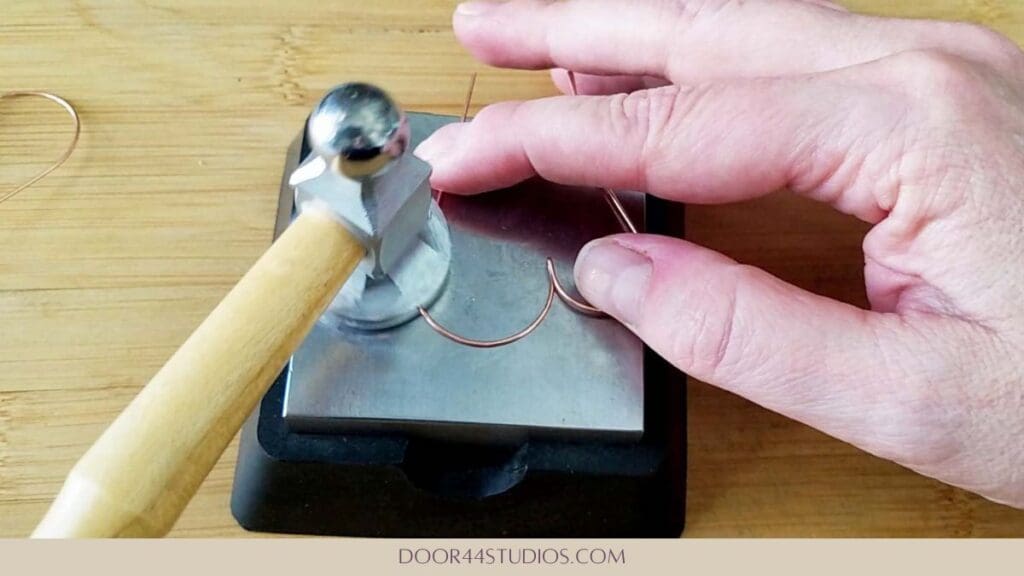
Now flip your earring over and hammer the larger hoop of your heart. This piece will not be going through the ear lobe, so you can thicken that line by drawing your hammer strokes out, if you like.
Repeat this process on the remaining earring.
Begin Shaping the Ear Wire Hooks
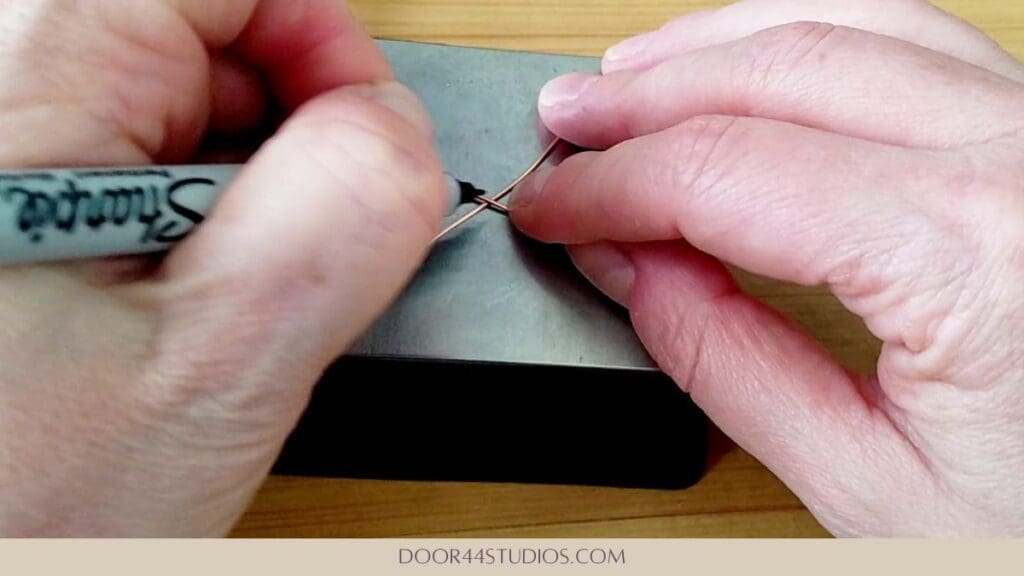
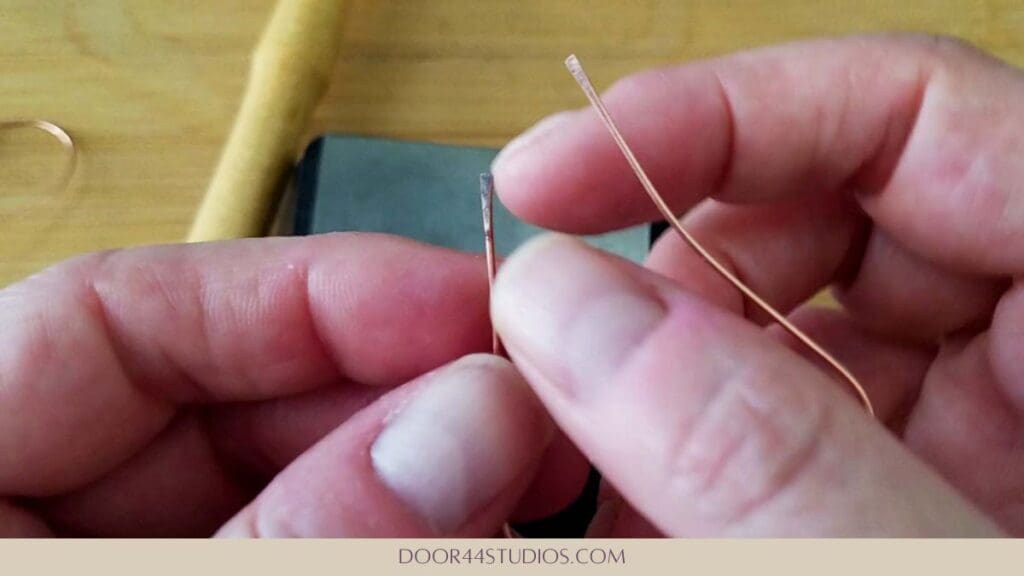
We’re almost finished at this point. All that remains is to refine the ends of your wires and form the hooks that will secure the ear wires. Play with your earrings a bit to determine exactly where you’d like to place your hooks. Once you’ve determined the point where you want the hook to hug the ear wire, place a mark at that point, as shown below.
Trim any excess wire off so there is about 1/4-inch (0.64 cm) of wire from the mark you just made. Then paddle that end of the wire, as shown below. Be careful to avoid hammering above the mark that you made for the curve of your hook.
Repeat this process on the remaining earring. You can use your first earring to help place the mark for your hook. Then trim and paddle that end of the wire.
Finish Your Simple Heart Hoop Earrings
We’ve completed all the hardening and most of the shaping at this point. All that’s left to do is to smooth the ends of the wires and shape our hooks.
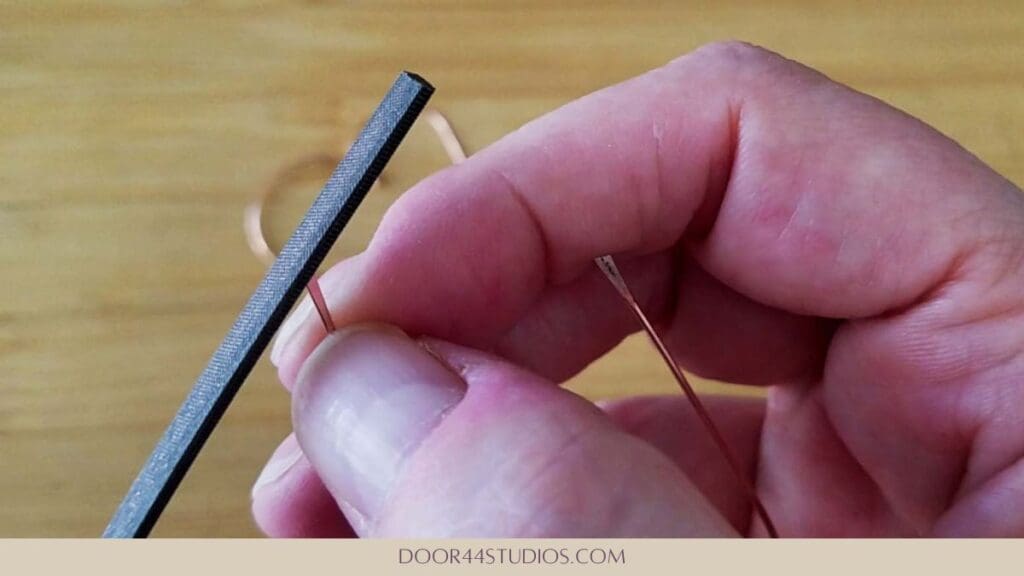
Grab your needle file and gently round off and smooth all four paddled ends of your wires. Pay careful attention to the ear wire sides of your earrings as you want those to be very smooth so they’ll slip comfortably through pierced ears.
For this last step, we need to locate the front side of each earring. I like to place the ear wire half of my earring in the back (closest to the face). But you can switch that around, if you like. It’s purely a personal preference — not a hard and fast rule. Just be consistent so your earrings will mirror one another when finished.
As you can see in the image below, I’ve positioned my earrings with the hook on the top and the ear wire in the back.
Next, grab the tip of the paddled end of your hook with your stepped bail-making pliers and curl the tip of the wire upward just a smidge, as shown. Use the smallest step of your pliers for this bend. On my pliers, that mandrel is about 2mm in diameter.
Now flip your stepped bail-making pliers over so the smallest step is behind the curve you just made and the second smallest step is resting in that curve, as shown.
Then roll the wire around the smallest step of your bail-making pliers to form the hook. When finished, your hook should look like the one shown below.
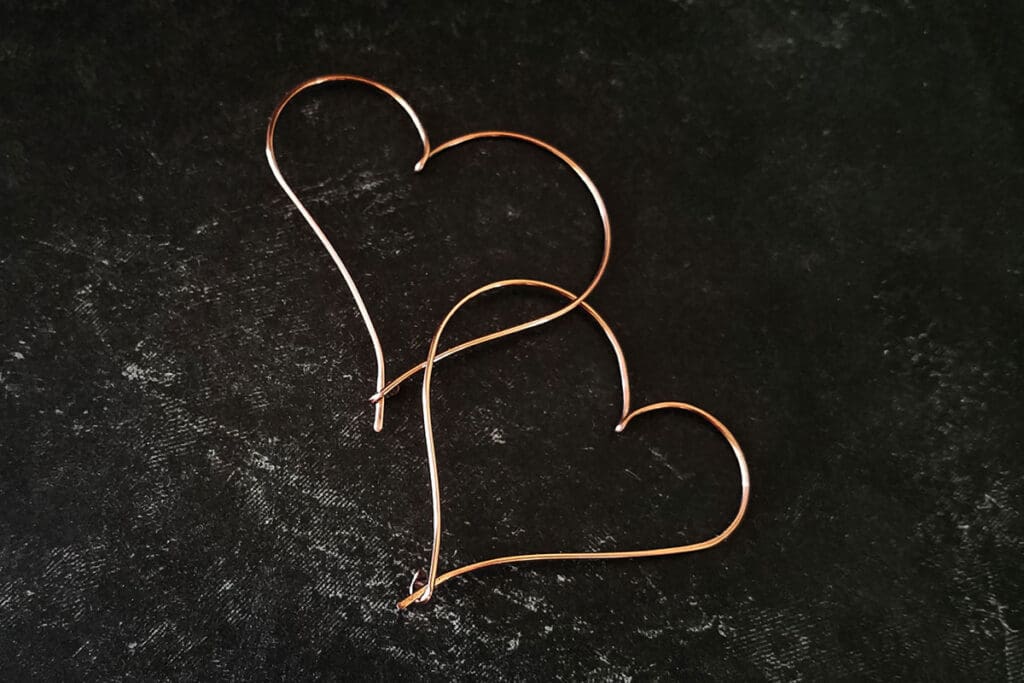
Repeat this process on the remaining earring. Again, be careful to choose the correct face of your earrings so that your hook mirrors the one that you just finished. When complete, you should have a perfectly mirrored pair of simple heart hoop earrings like those shown below.
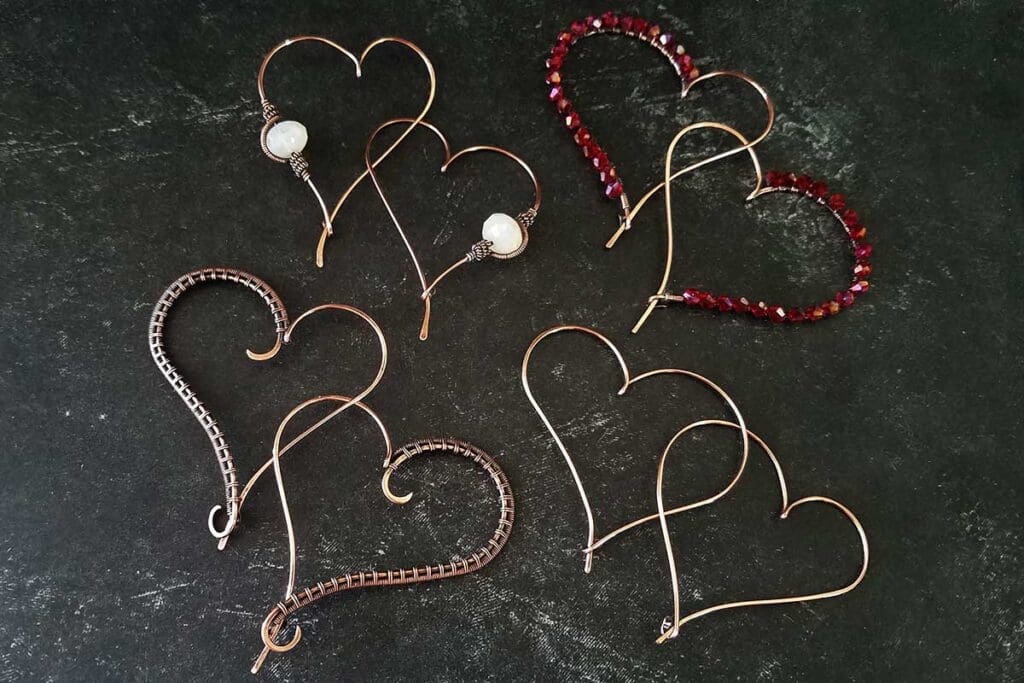
Variations of the Simple Heart Hoop Earrings
These earrings are super versatile and simple to customize to your tastes. You can change up these earrings by simply changing the size, or even the shape, of the hoops on your ear wires. Try making symmetrical hoops, for instance. Or make much smaller hoops for a more dainty pair of earrings.
If your ear lobes are gauged, you can even make these earrings in a much heavier gauge of wire (like 14ga or even 12ga) and they will look even more striking.
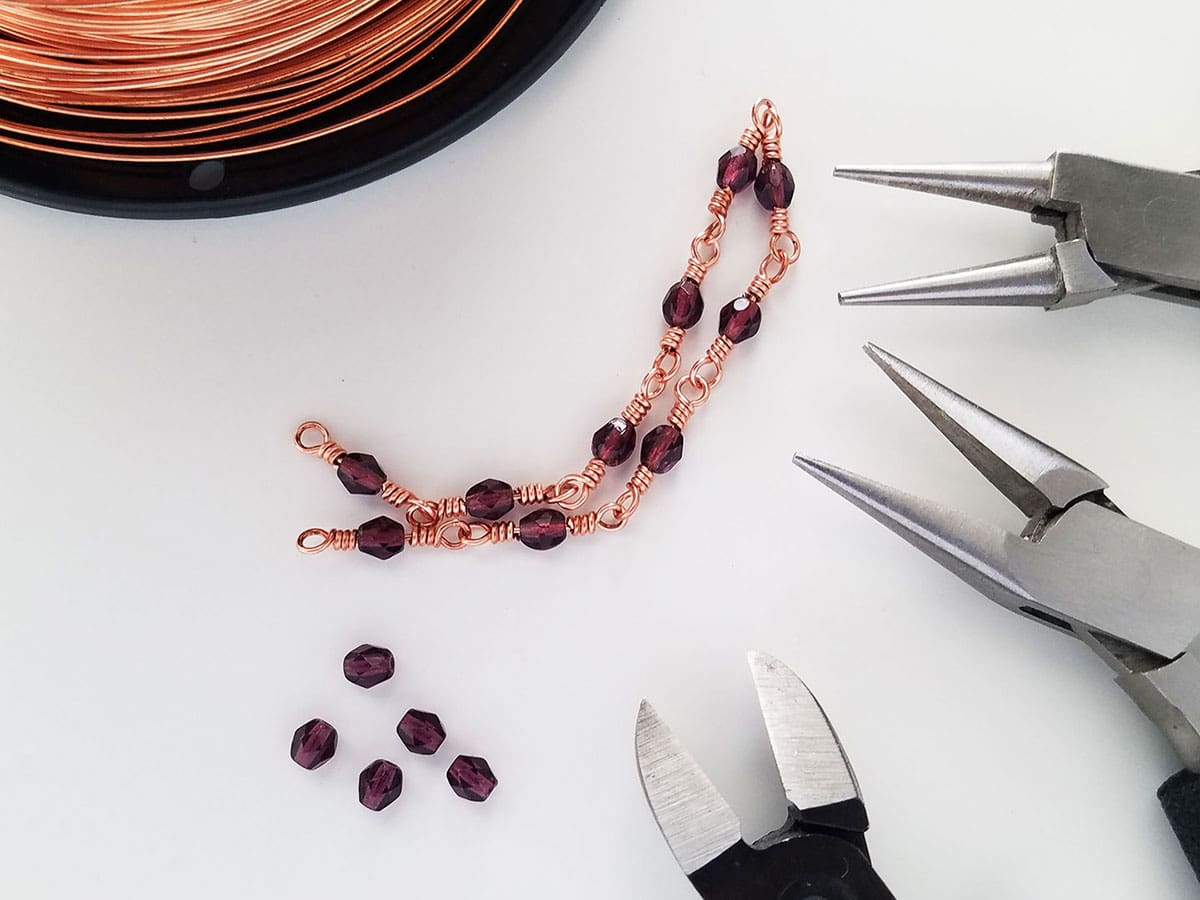
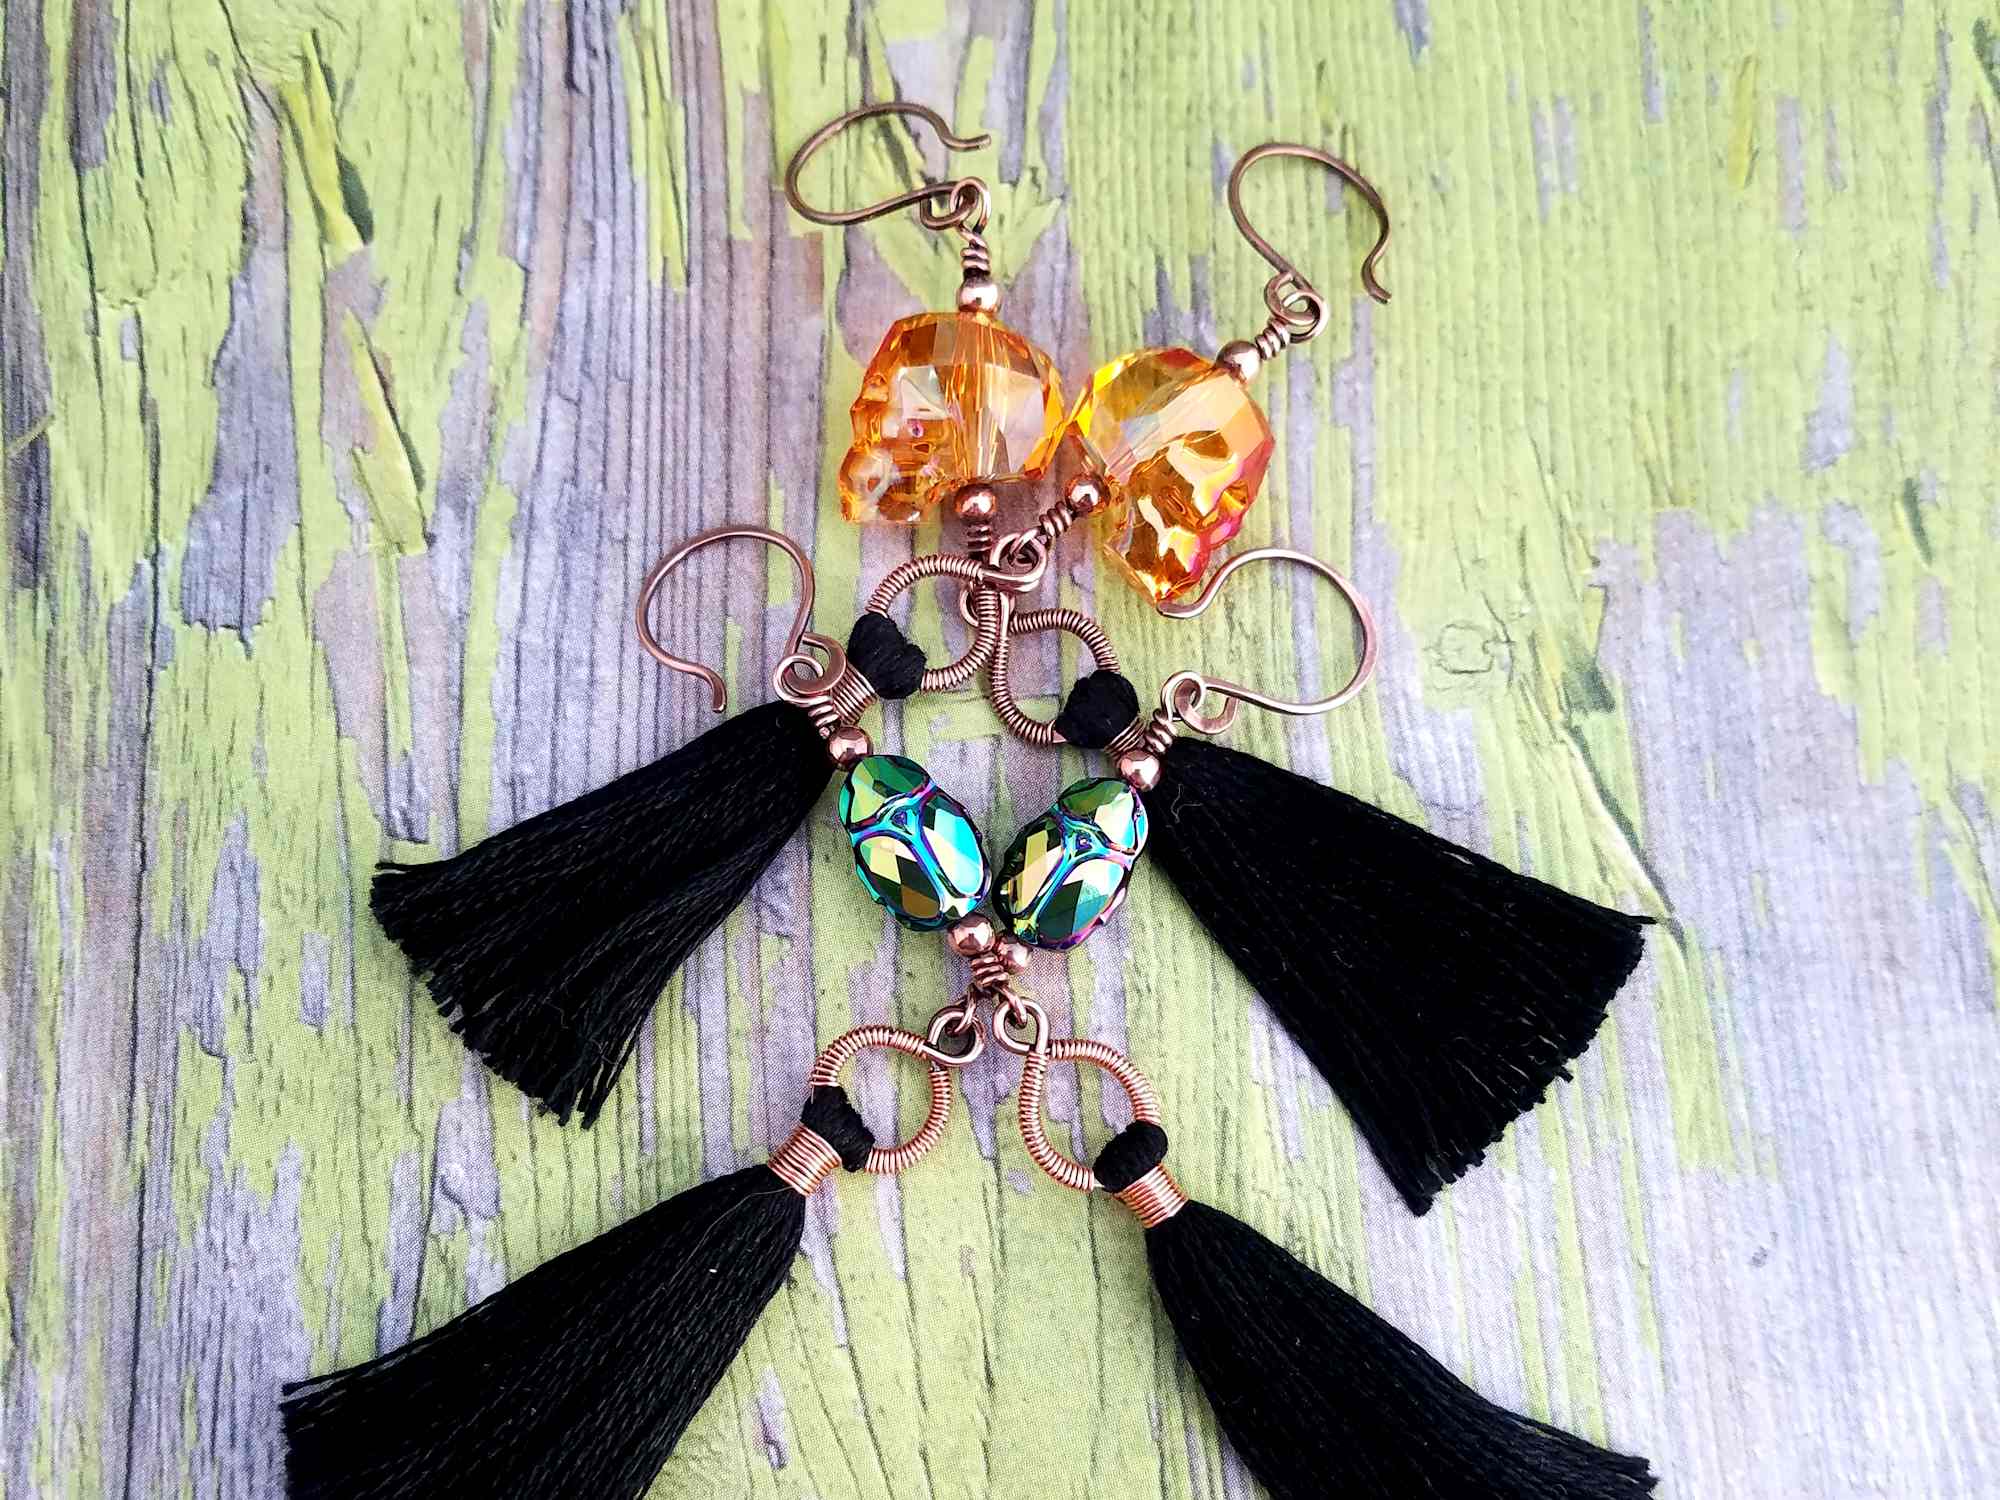
These earrings also make the perfect base for layering on additional wires and adding some weaving or for simply embellishing with beads. I created the three variations below just to get your creative juices flowing. And if you’d like to learn exactly how I made these variations, be sure to watch for the upcoming PDF tutorial, which will include full instructions for all three of these variations plus a bonus variation, which is my personal favorite.
Finishing Your Simple Heart Hoop Earrings
I antiqued the earrings that I made while writing this tutorial with Liver of Sulfur (LOS). And then I burnished the antiqued pieces with super fine steel wool (Grade #0000) in a warm bath of water and original Blue Dawn dish soap. The steel wool brings back the bright copper highlights on the high spots.
Once that’s done, I rinsed my earrings thoroughly to remove any particles of steel wool. And then I put them in a tumbler barrel filled with warm water and a generous squirt of Blue Dawn. I tumbled my simple heart hoop earrings for at least two hours.
If you’re new to wire weaving, be sure to check out my 7-step patina process. And if you’re wondering why I recommend tumble polishing specifically, check out this post. Also, be sure to clean your stainless steel shot regularly. Clean shot is necessary to achieve the best finish on your tumble-polished jewelry.
One last bit of tumbler advice before you go. Always make sure that any beads or stones that you use for your jewelry are safe to tumble. I don’t recommend tumbling natural pearls, soft gemstones, ceramic beads, or glass beads with polymer coatings, such as glass pearls and certain frosted-look glass. As always, if you’re unsure if your beads can handle the tumbler, run a test tumble with a bead that you’re willing to sacrifice.
Discover More Behind Door 44
Thanks so much for joining me today. I hope you enjoyed creating these simple heart hoop earrings. If you’d like a much more detailed printable PDF version of this tutorial with loads more tips and tricks plus detailed instructions for creating four variations of this design, it’s coming soon. And my email subscribers are always the first to know whenever I release a new tutorial. So, join my list now if you’re not already on it!
Want to keep up with what’s happening behind Door 44?
Want more free wire jewelry tips and tricks?
I like to share useful wire weaving tips and tricks on my social media channels, and we have some great conversations about wire jewelry in my private Facebook Group. Also, be sure to connect with me @door44studios on Instagram, and Facebook to keep up with everything that’s happening behind Door 44. And if you haven’t already done so, be sure to subscribe to my YouTube channel where you’ll find new wire jewelry videos weekly.
Until next time, go make something beautiful!

Pin the Simple Heart Hoop Earring Tutorial
I made a pair for my daughter and she loved them! I added gold beads and they looked so pretty! Loved this tutorial!
Love these heart hoop earrings! They look simple yet stylish. Great job by Door44 Studios.
Thanks! I’m so glad you like them. Enjoy!!