

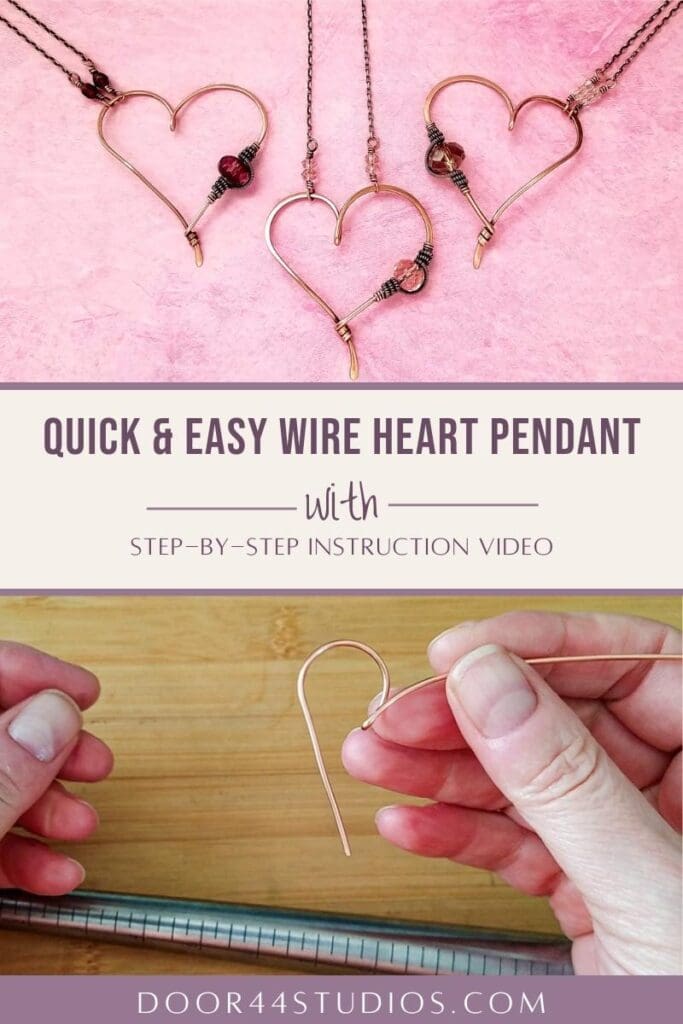
Quick & Easy Wire Heart Pendant
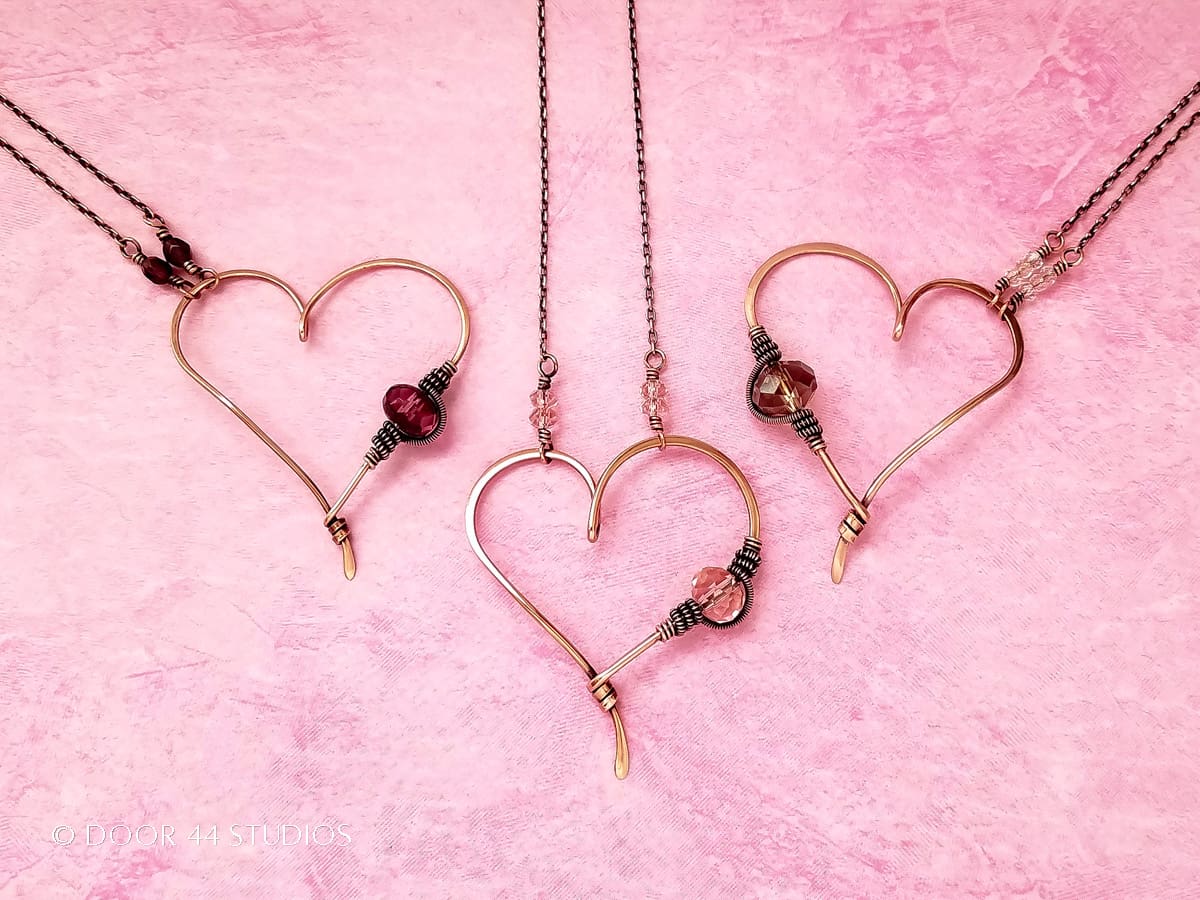

There’s nothing sweeter than heart-shaped jewelry. Not just for Valentine’s Day, the classic heart shape makes a meaningful gift for anyone anytime of year. And this particular quick and easy wire heart pendant also happens to be very versatile.
For instance, you can easily turn this pendant into the perfect gift for a mom of multiple children by adding additional beads. Or make it a birthstone pendant for a loved one. Or even a memorial pendant for someone mourning the loss of a loved one. It’s no wonder this pretty little pendant is, by far, my most popular tutorial on YouTube. I’m sure it’s because it’s so delightfully giftable.
This is what I’d consider an beginner project. We’ll be making a basic coiled coil and working with heavier gauge wire. So, it may be a bit challenging if this is you’re first attempt at wirework. But with just three pieces of wire to keep track of, it is a very accessible project for beginners.
Let’s get started!
Copyright & Disclosure
You’re welcome to make and sell products from this tutorial. When it comes to my written tutorials, however, I reserve exclusive rights to all images and written content. You may not reproduce or redistribute any portion of this tutorial in any way, shape, or form.
This copyright applies to the printable PDF version of the Quick and Easy Wire Heart Pendant tutorial as well. You may share the free version of this tutorial only by linking directly to this page.
This post may contain affiliate links. If you click on a link and then make a purchase, I may earn a small commission (at no cost to you). As an Amazon Associate I earn from qualifying purchases. To learn more, please see my full disclaimer.
Skill Level: Beginner
This is a basic wirework project that can be achieved by someone who has never worked with wire before.
Because there’s a full video tutorial for this pin, I don’t go into a lot of detail here on the blog. Experienced wireworkers will have no trouble following along with this abbreviated written tutorial. If at any time you get stuck, be sure to watch the video tutorial here. Or be on the lookout for the much more detailed written tutorial, which will be available soon.
Getting Started
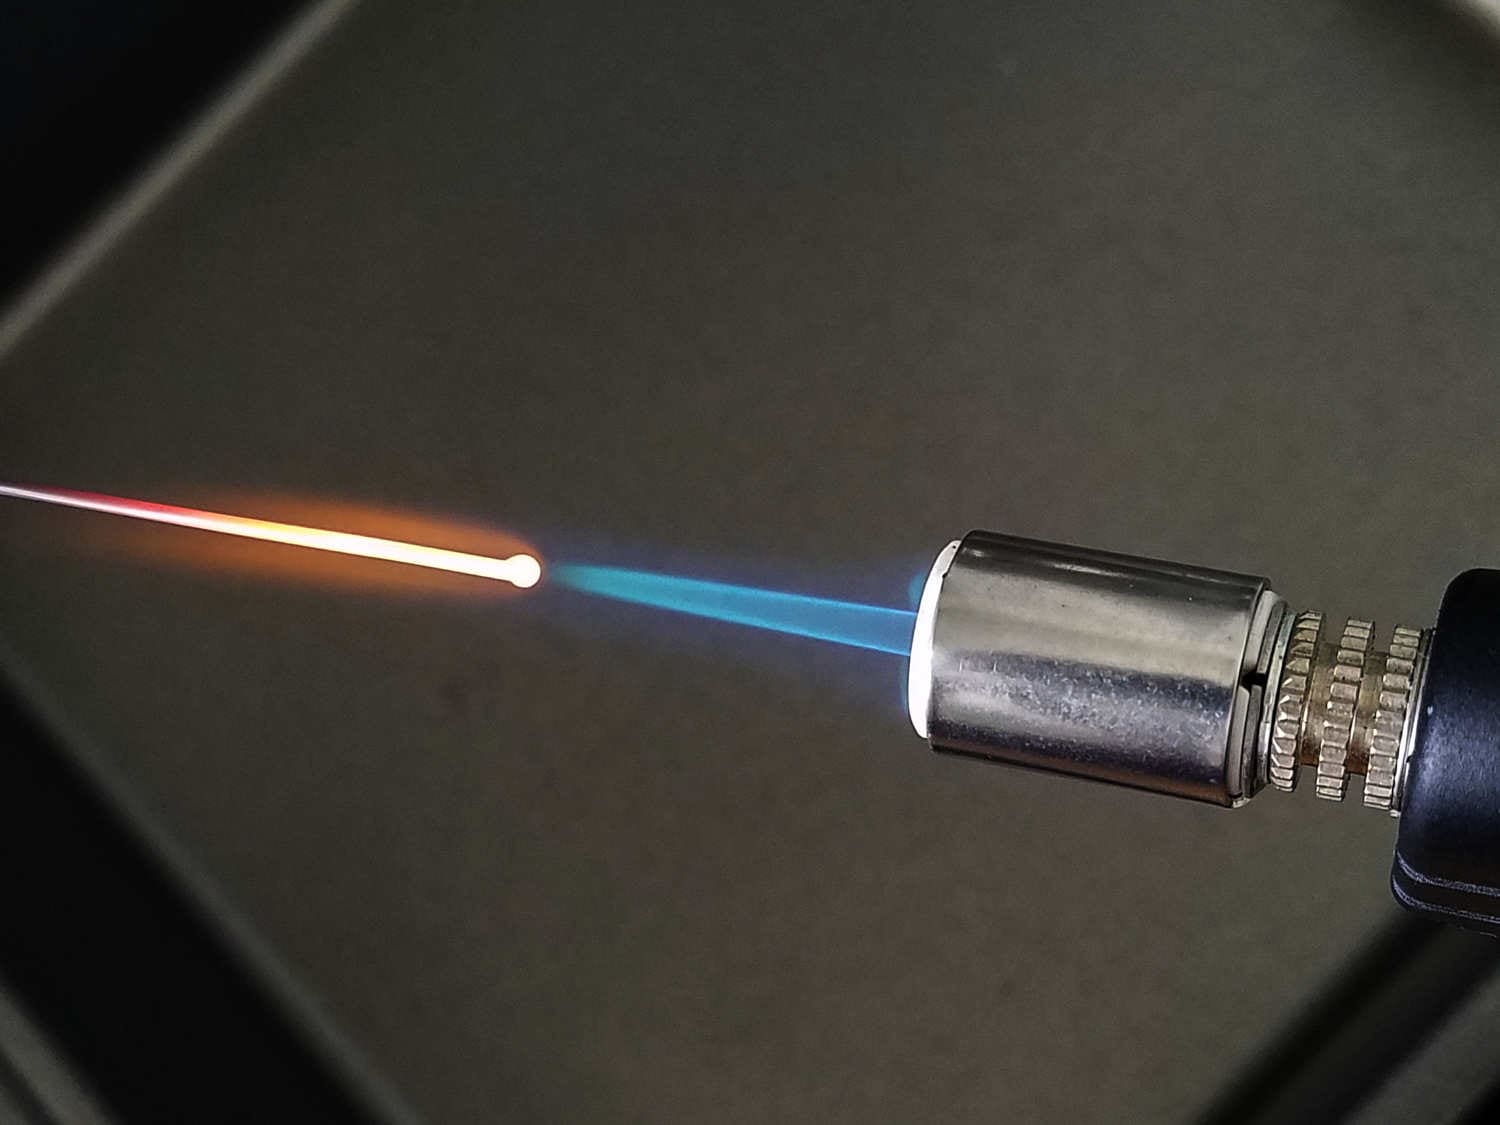
For best results, use solid copper, sterling silver, brass, or bronze jewelry wire. We’ll be working with a heavier wire gauge in this project. So, I do recommend using dead soft wire for the frame wire. You can also use half-hard wire, if that’s all you have available. But you may find that you need to anneal half-hard wire if you have trouble forming it.
Because we’ll be doing some hammering and shaping in this project, I do not recommend using filled wire for the pendant frame. Anytime you hammer the ends of filled wires, you run the risk of exposing the center core wire. That can result in discoloration or an uneven finish, which will become more apparent over time.

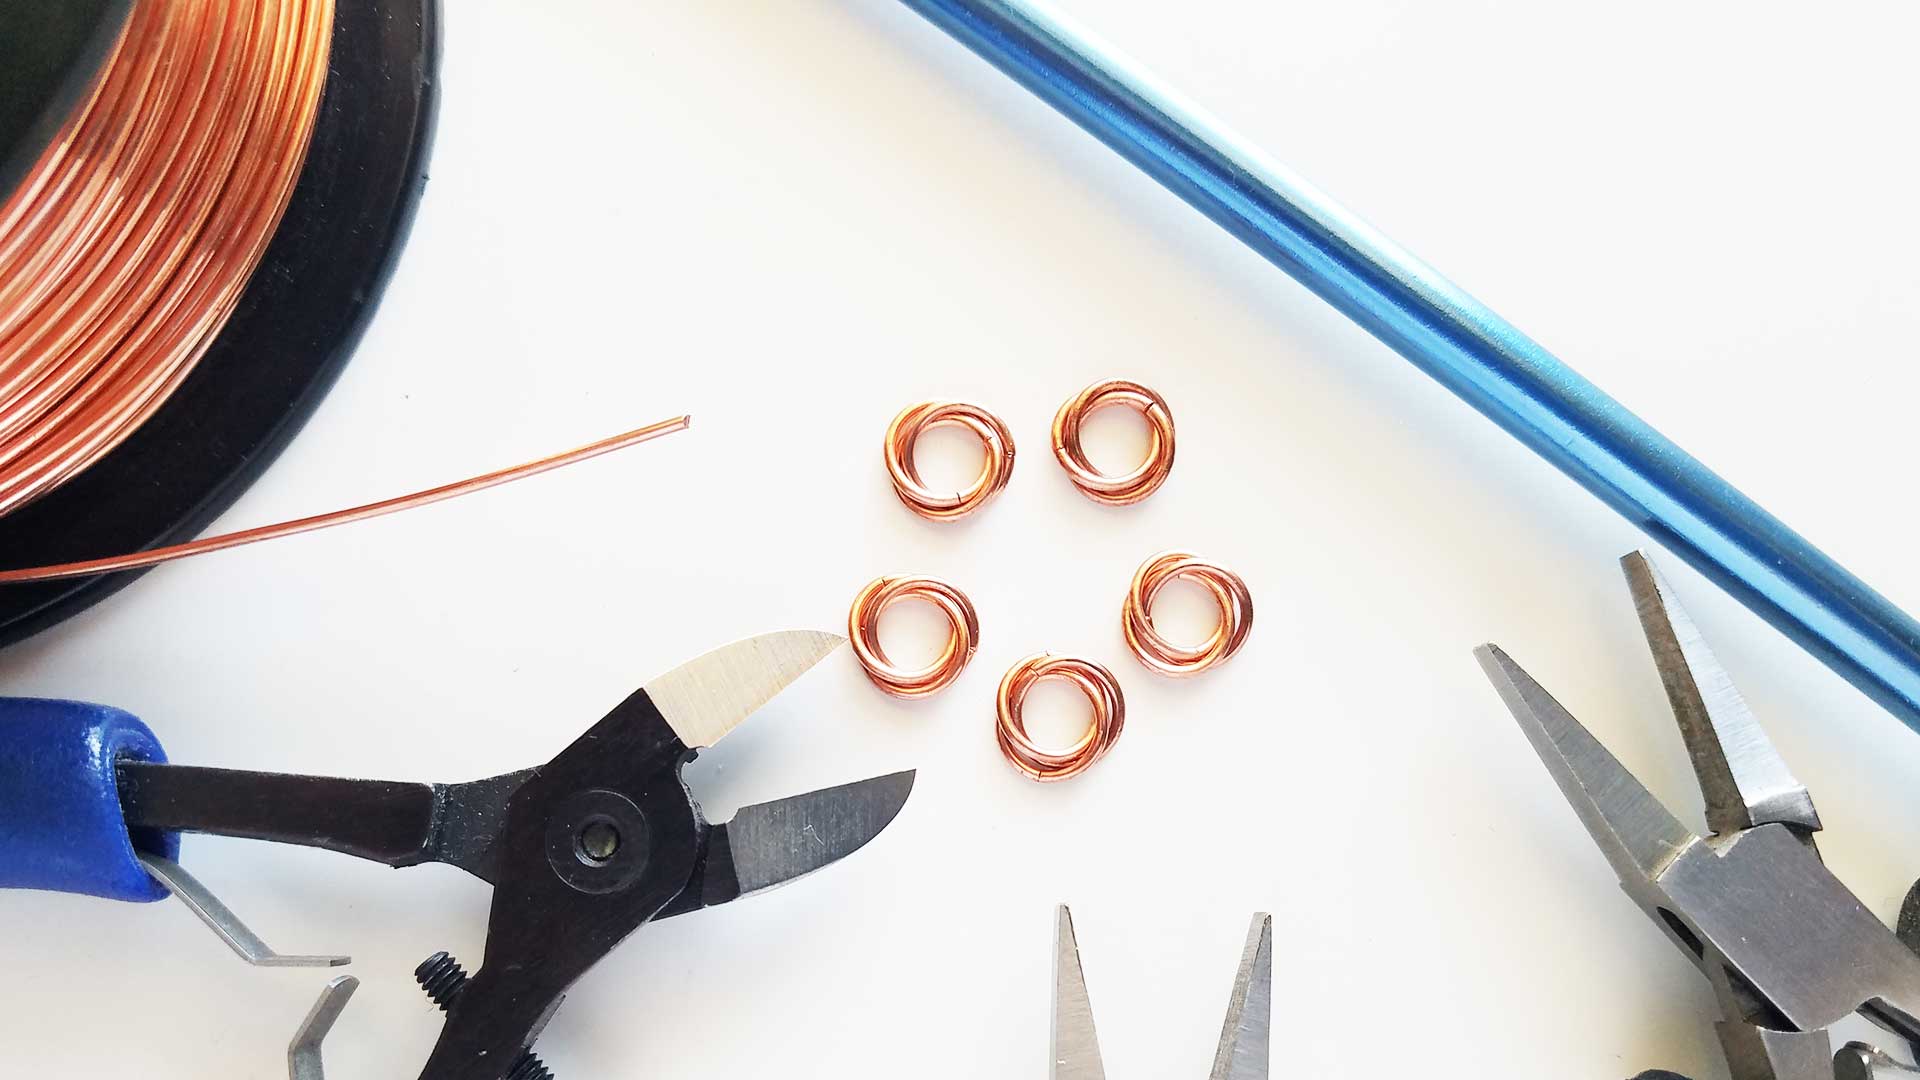
Tools & Materials
- 6.5 inches (16.5 cm) of 16ga Dead Soft Copper Wire
- 5 inches of 22ga Dead Soft Copper Wire
- 18 to 24 inches (46 to 61 cm) of 28ga Dead Soft Copper Wire
- One 8mm to 12mm Round or Roundel bead of your choice
- Wire Cutters
- Flat Nose Pliers
- Ring Mandrel
- Needle File
- Chasing Hammer
- Bench Block
- Sandpaper
- Ruler
- Fine Point Permanent Marker
- Plastic Kumihimo Bobbin (Optional)
Finished Size
- WIDTH: about 1-5/8 inches (4.13 cm)
- LENGTH: about 2 inches (5.08 cm)
Instructions
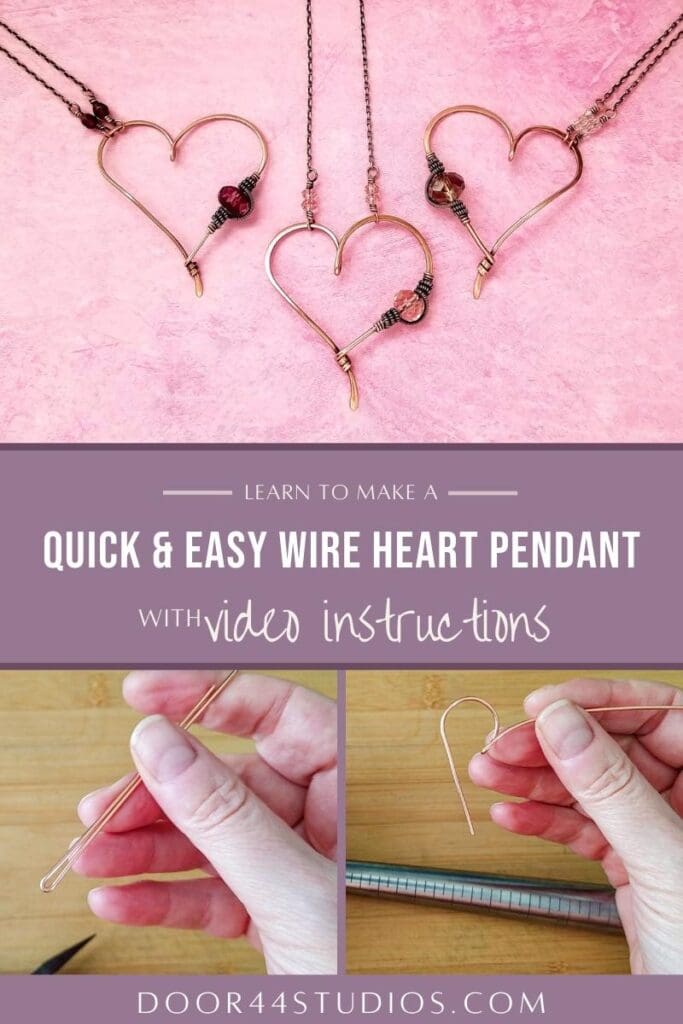
If you prefer video tutorials or if you’re very new to wirework, be sure to watch the detailed video version below. Otherwise, keep reading for the abbreviated written tutorial.
The following instructions are written for the 2-1/2-inch pendant that I demonstrated while writing this tutorial. You can modify the size of your pendant by changing the cut lengths of wire and the mandrel diameter. For best results, I do recommend using at least 16ga wire for this design. Unless, of course, you want to downsize your pendant. In that case, 18ga or even 20ga wire will work just as well.
Prep Wire for the Quick and Easy Wire Heart Pendant
Measure and mark 6.5 inches (16.5 cm) of 16ga wire. Then cut your working wire from the spool and make a mark on your wire three inches (7.62 cm) from one end of the wire
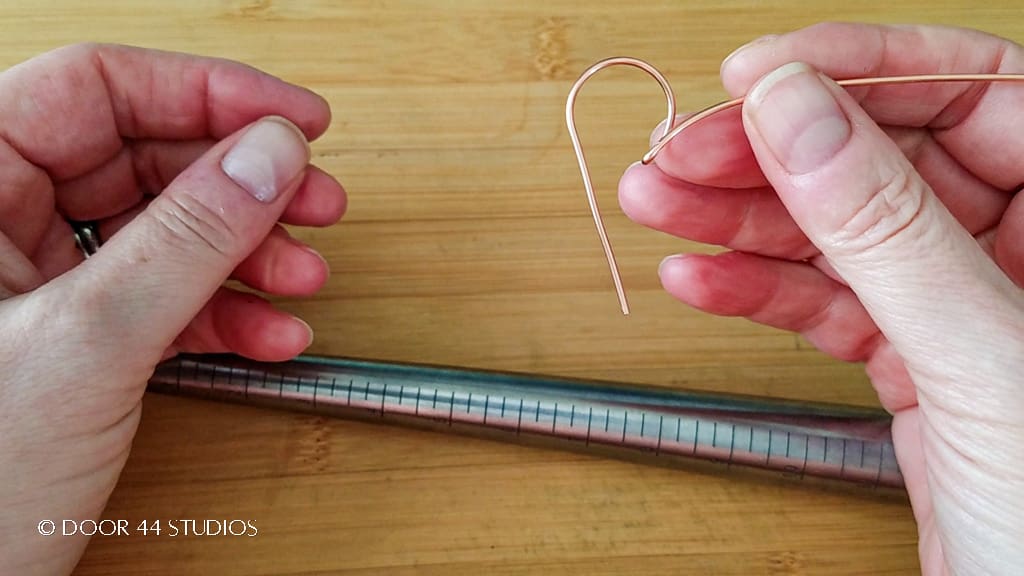
Next, use your flat nose pliers to fold your wire at the mark, as shown.
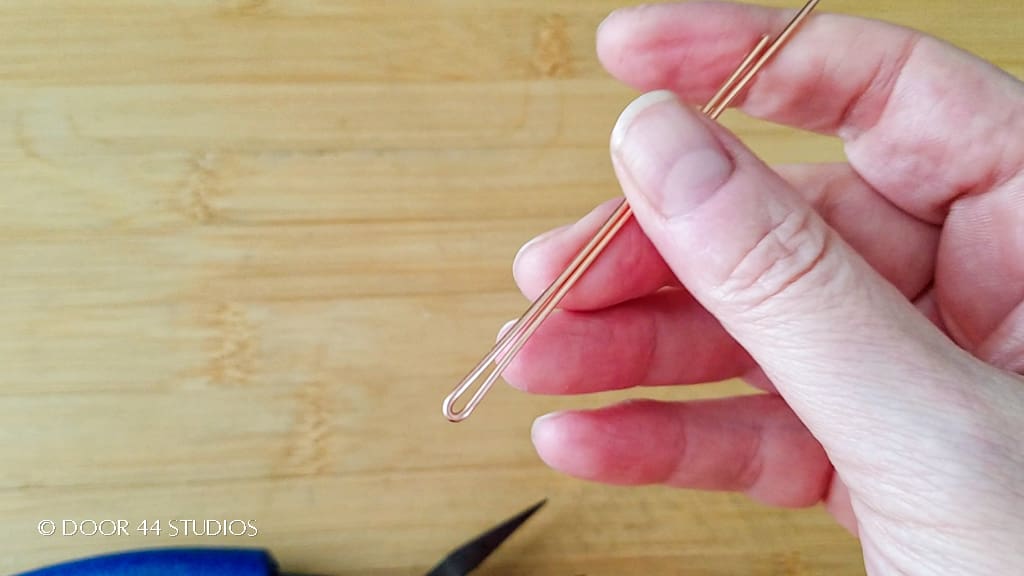
Now gently splay the two wire ends away from the center fold, as shown.
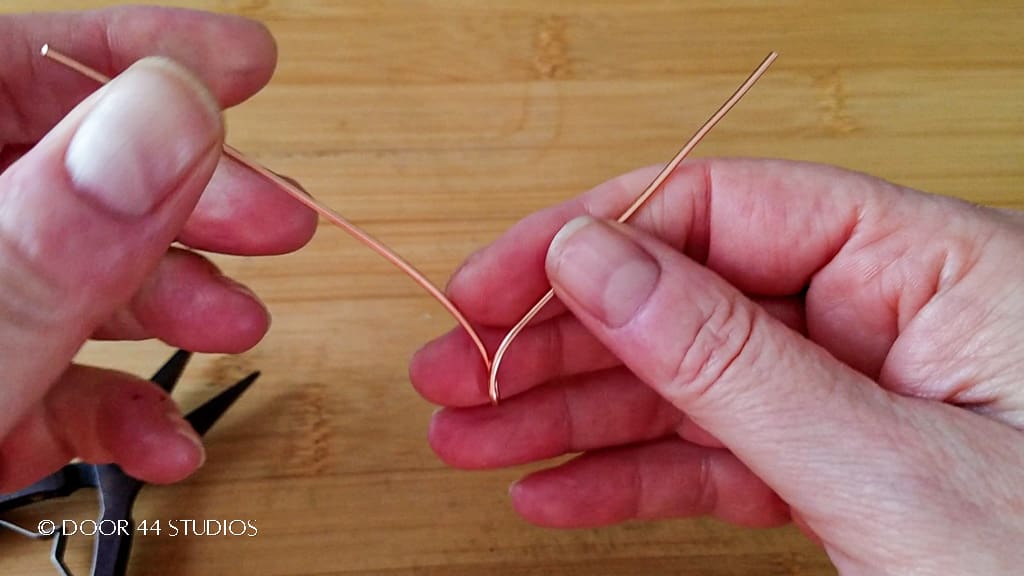
Form the Basic Heart Shape
Use your ring mandrel to form the first curve of your heart shape. I chose sizes 5 on my ring mandrel. But feel free to use whichever sizes you like to form your own heart.
Next, use your fingers to gently shape the shorter cut end of your wire into a soft, pleasing curve. We’re aiming for the look of a line-art heart with hand-drawn lines.
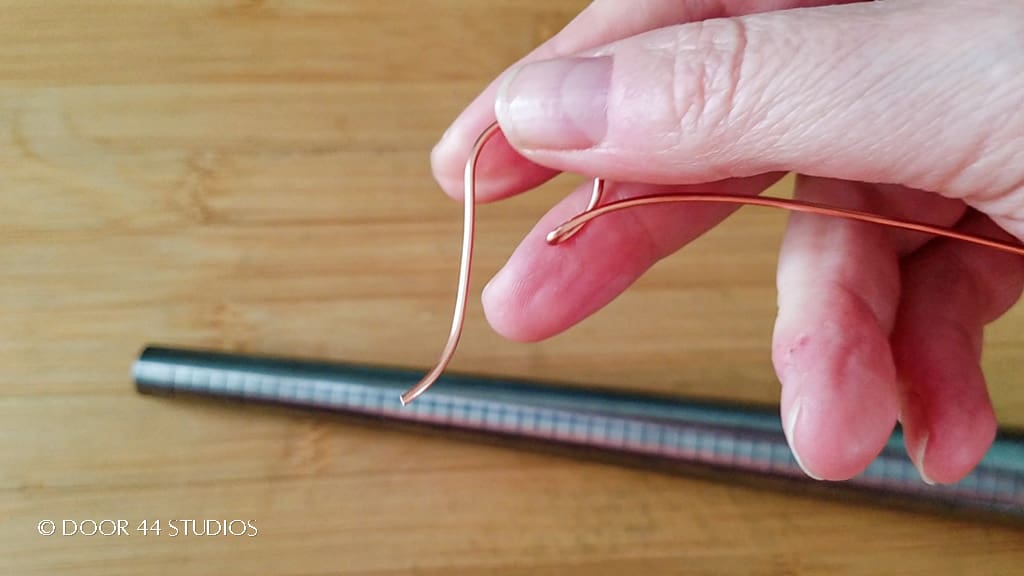
This step is optional, but I feel it adds dimension to the finished pin. Use your chasing hammer and bench block to flare out the top curve of your heart and paddle the shorter cut end of your wire. Refine the paddled end of your wire with a needle file, if necessary.
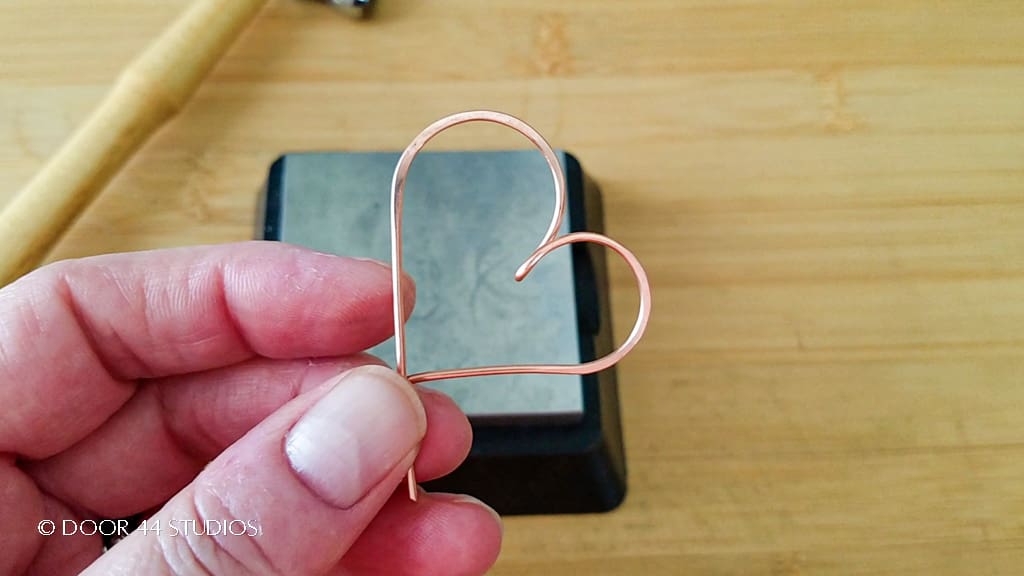
When finished, your wire frame should look something like the one pictured below.
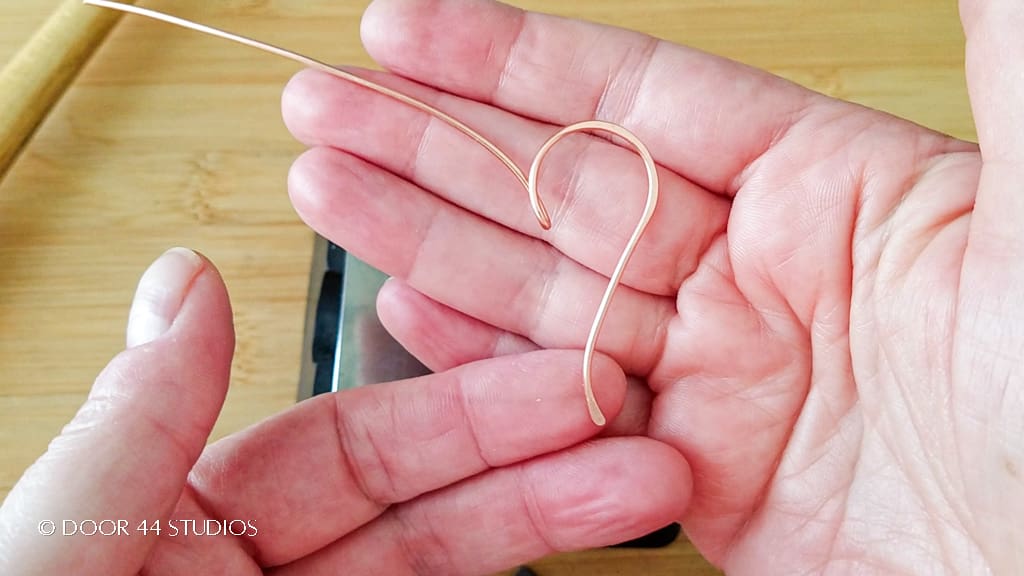
Now we’re going to finish forming the heart shape. Use your ring mandrel to form the second curve on your heart. I used size 10 on my ring mandrel to form an asymmetrical heart shape, but you can use whatever size you like.
When finished shaping that final curve, your heart frame should look something like the one shown below.
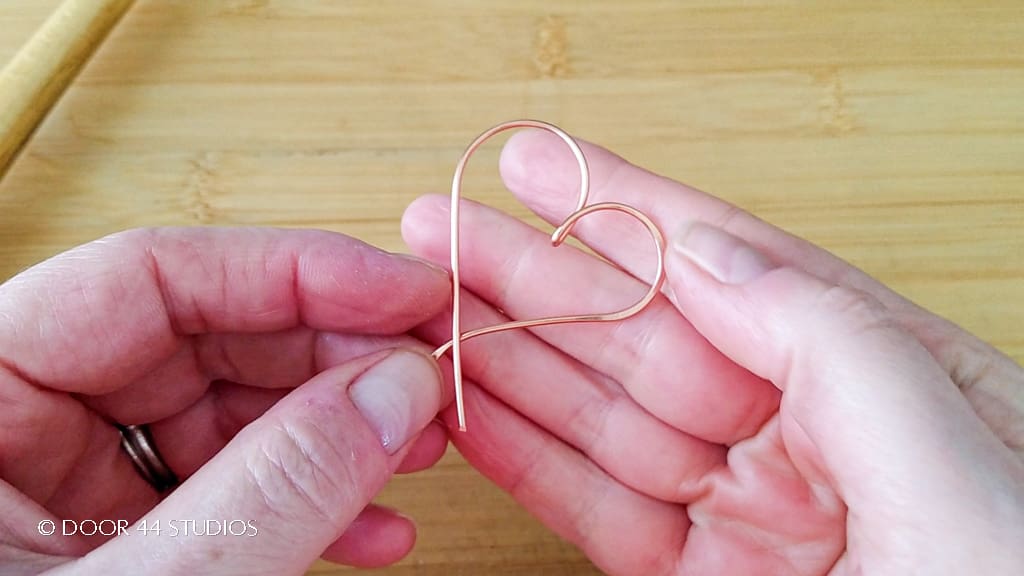
Again, hammering is optional, but I like the look that it gives my work. Hammer the top part of the second curve of your heart pendant. This locks in the shape of your heart and it gives your final piece some added dimension.
When finished hammering, your piece should look something like the one pictured below.
Add Your Bead and Secure the Heart Frame
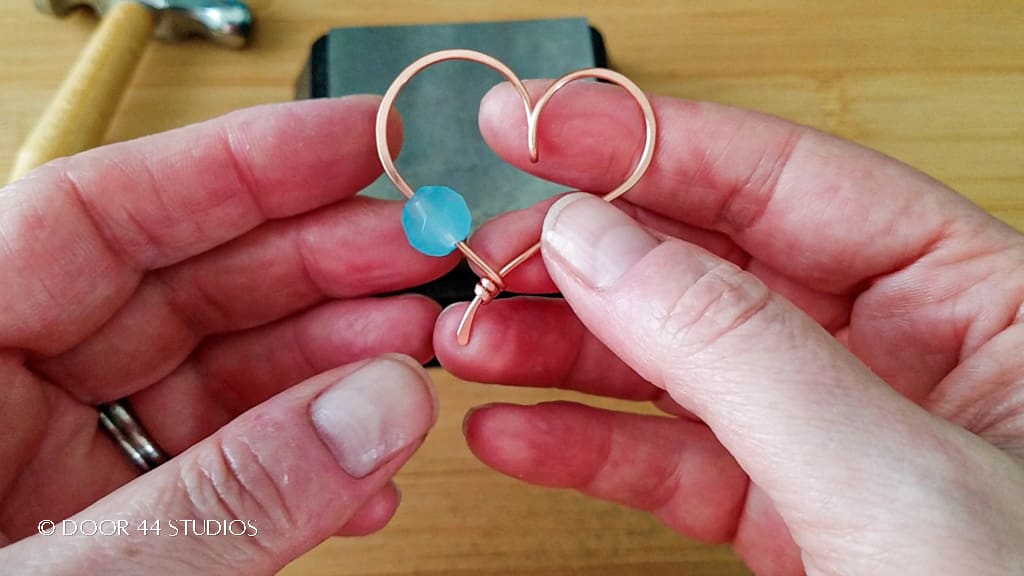
Now that we’ve formed the basic shape of our pendant, we’re going to finish forming the heart-shaped frame. To get started, slide your bead onto the longer leg of wire (the one you haven’t hammered yet). Then carefully flatten about 1/2 inch (1.25 cm) of the cut end of wire. Be careful to protect your bead while hammering the wire.
Next, grip the bottom point of your heart, just above the point where the two wires intersect, with your nylon jaw pliers. Then wrap the flattened end of the wire three times around the paddled end. Adjust the wraps with your flat-nose pliers, as needed.
When finished, your wire heart pendant should look something like the one shown below.
At this point, you may also want to refine the shape and finish of your pendant with sandpaper. This step is purely optional, but it’s this finishing process that gives my jewelry the beautiful final finish that you see in my photos and videos.
Secure the Bead with a Coiled Coil
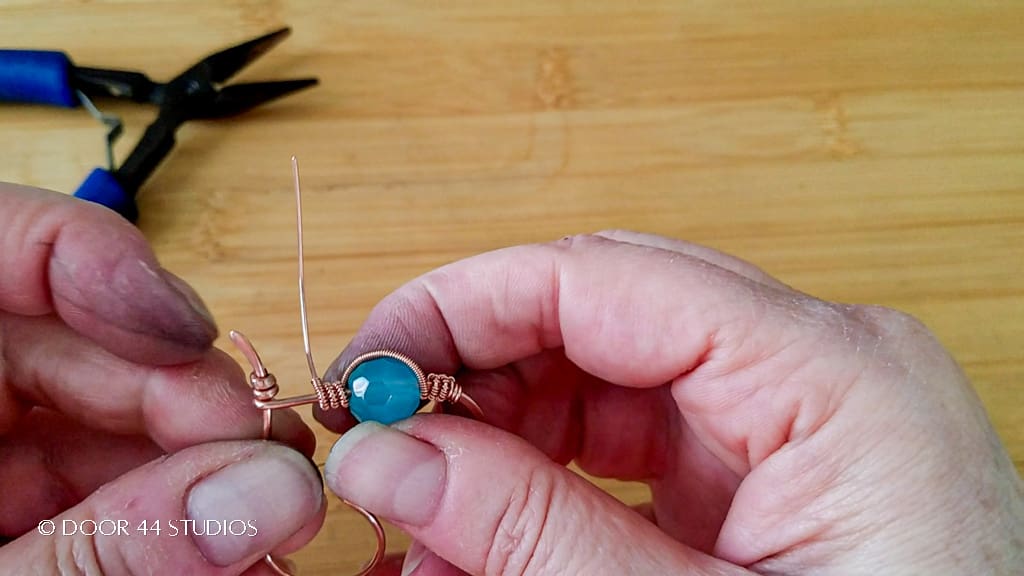
Now that your frame is fully finished, all that’s left to do is to secure the bead with a simple coiled coil. To begin your coil, cut a 5-inch (13 cm) piece of 22ga wire. Then secure one end of your 22ga wire with three tight wraps around the pendant frame above the bead. Trim your wire tail on the back of the pendant.
At this point, your pendant should look like the one pictured below.

Next we’re going to begin coiling 28ga wire around the 22ga wire to create our coiled coil. You’ll need about 18 to 24 inches of 28ga wire for this step. The final length depends on the size of your bead. Begin coiling your 28ga wire neatly around the 22ga wire, starting from the point where your 22ga wire is anchored to the heart-shaped frame.
Coil about one inch (2.5 cm) and then wrap the coiled 22ga wire three times around the 16ga heart-shaped frame. Then coil another inch or so of the 22ga wire until you can wrap your coil over your bead and complete three more wraps around the 16ga frame.
When finished, your pendant should look something like the one shown below.
We’re just about finished with our coiled coil at this point. If you coiled too far, you may need to unwrap a bit of the 28ga wire until your coil ends on the back side of your pendant just after the third wrap. Now, just coil the bare 22ga wire three times around the 16ga heart-shaped frame.
Now break your 28ga coiling wire and trim the end of your 22ga wire neatly on the back of the pendant. Your pendant is basically complete at this point. The last step is to use your fingers to gently sculpt the heart into a slightly convex shape to give it some added dimension.
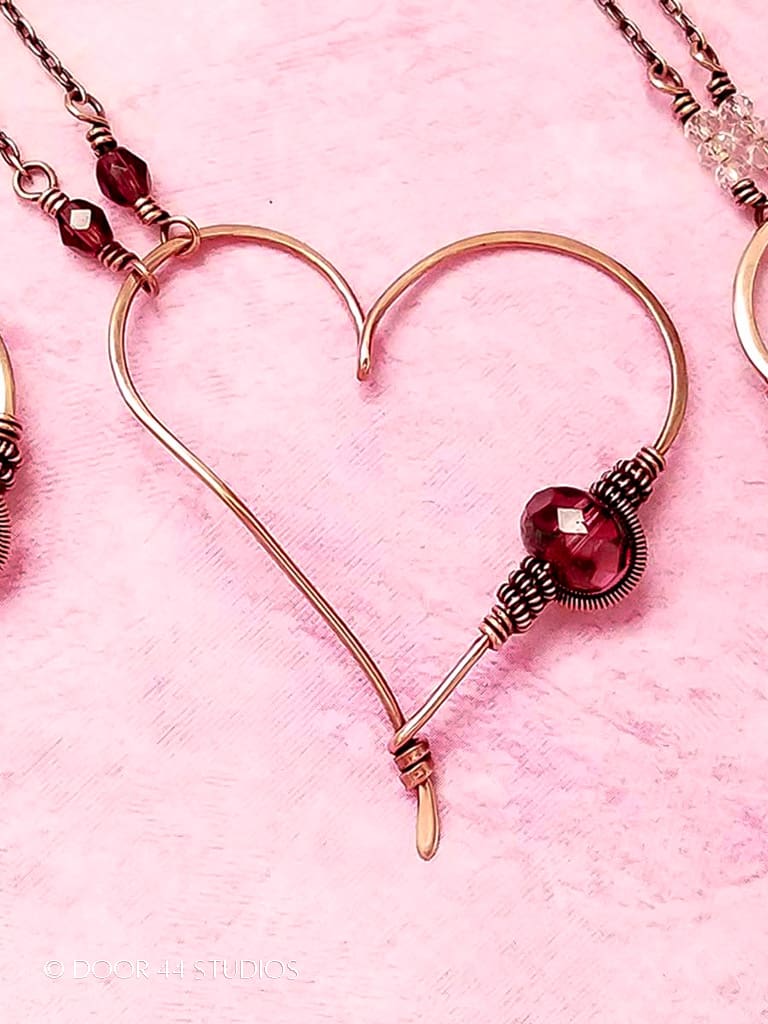
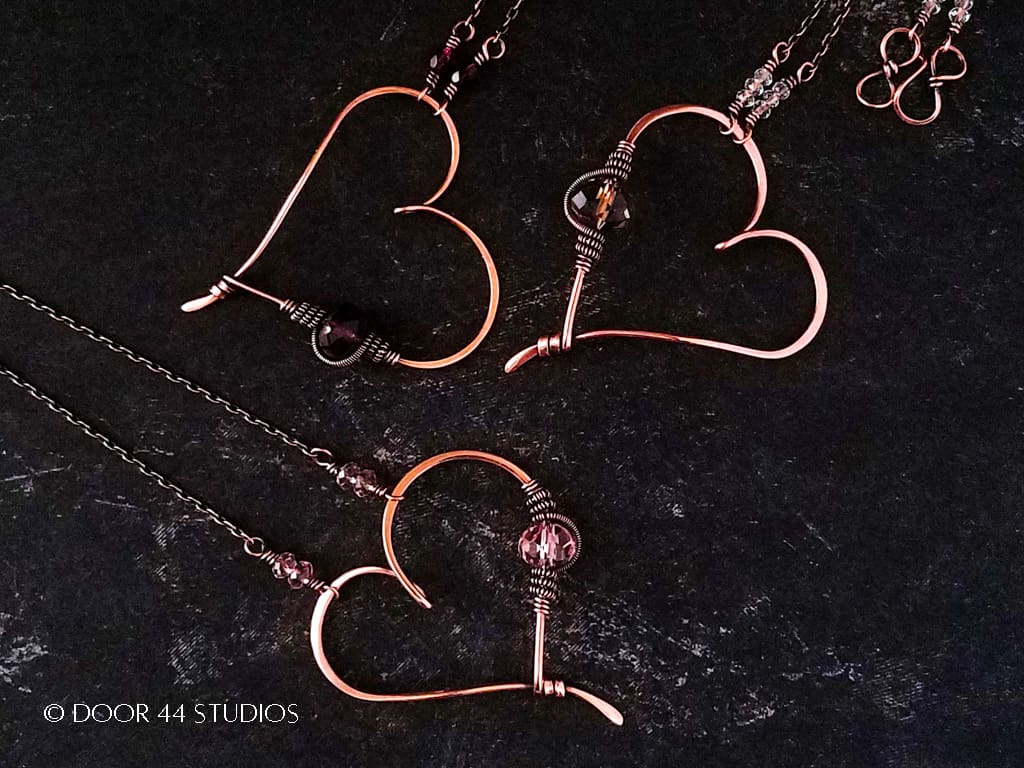
When finished, your heart pendant should look something like the one pictured below.
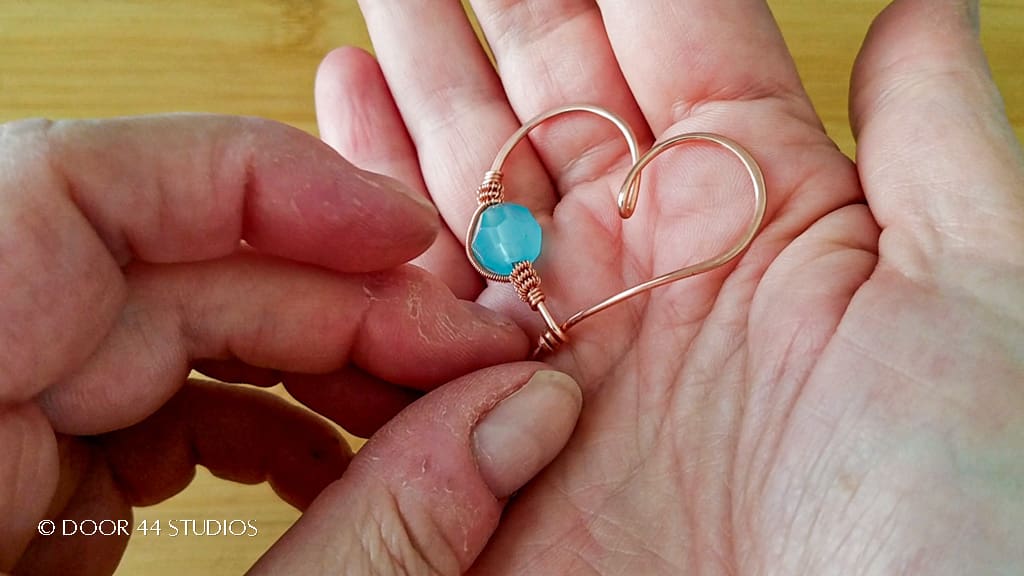
And that’s it! Your quick and easy wire heart pendant is ready to hang on a chain and patina, if you like.
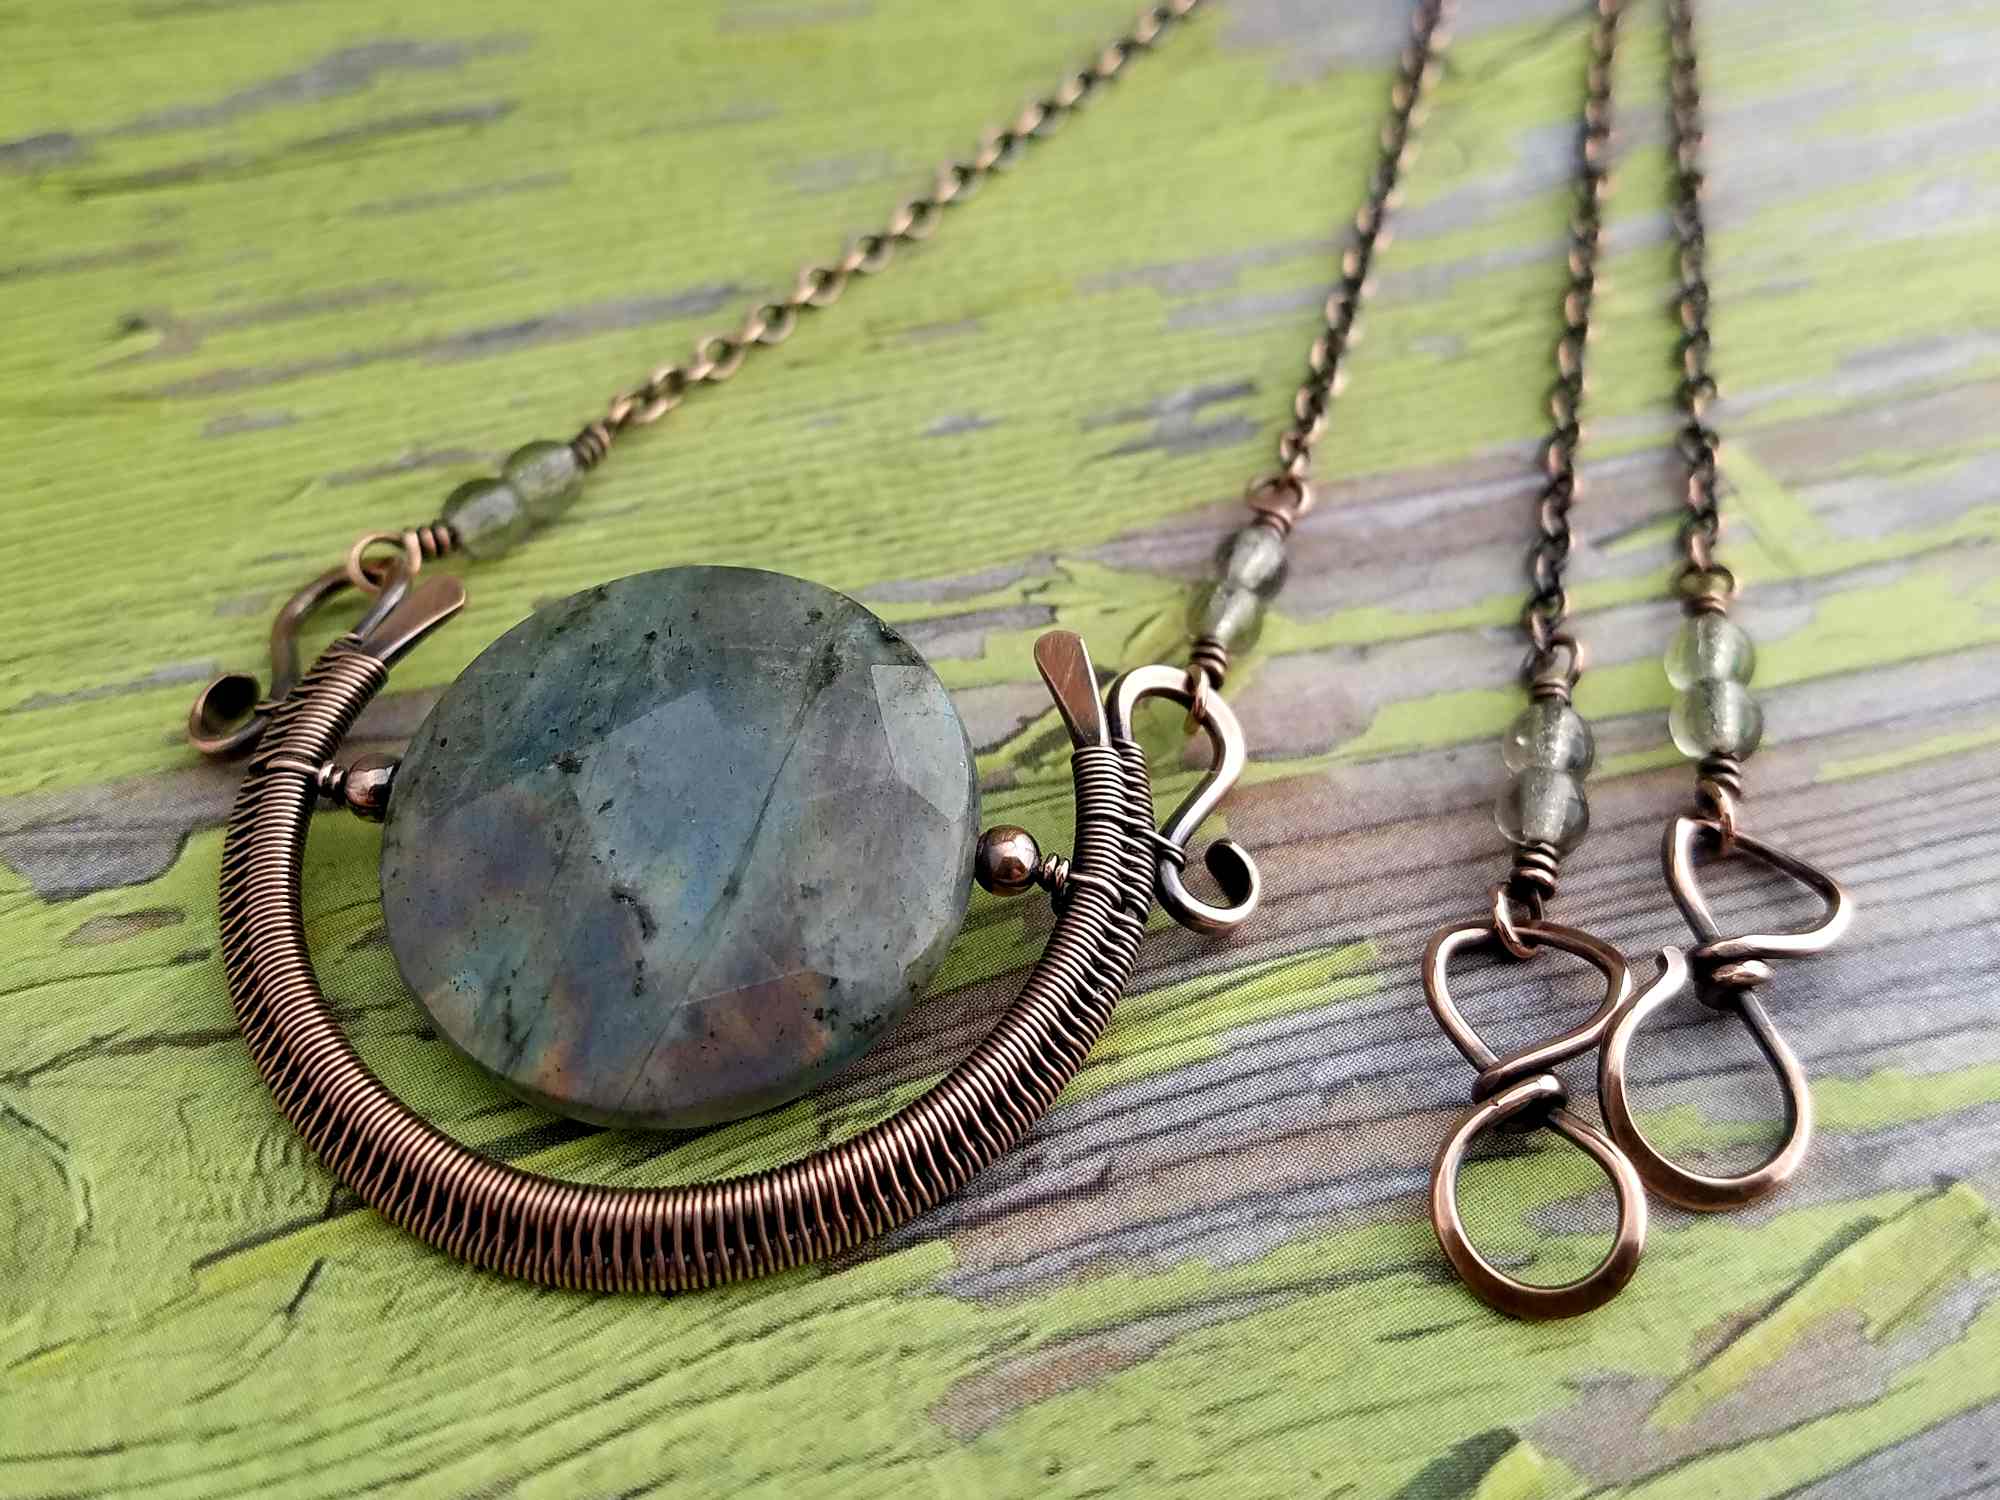
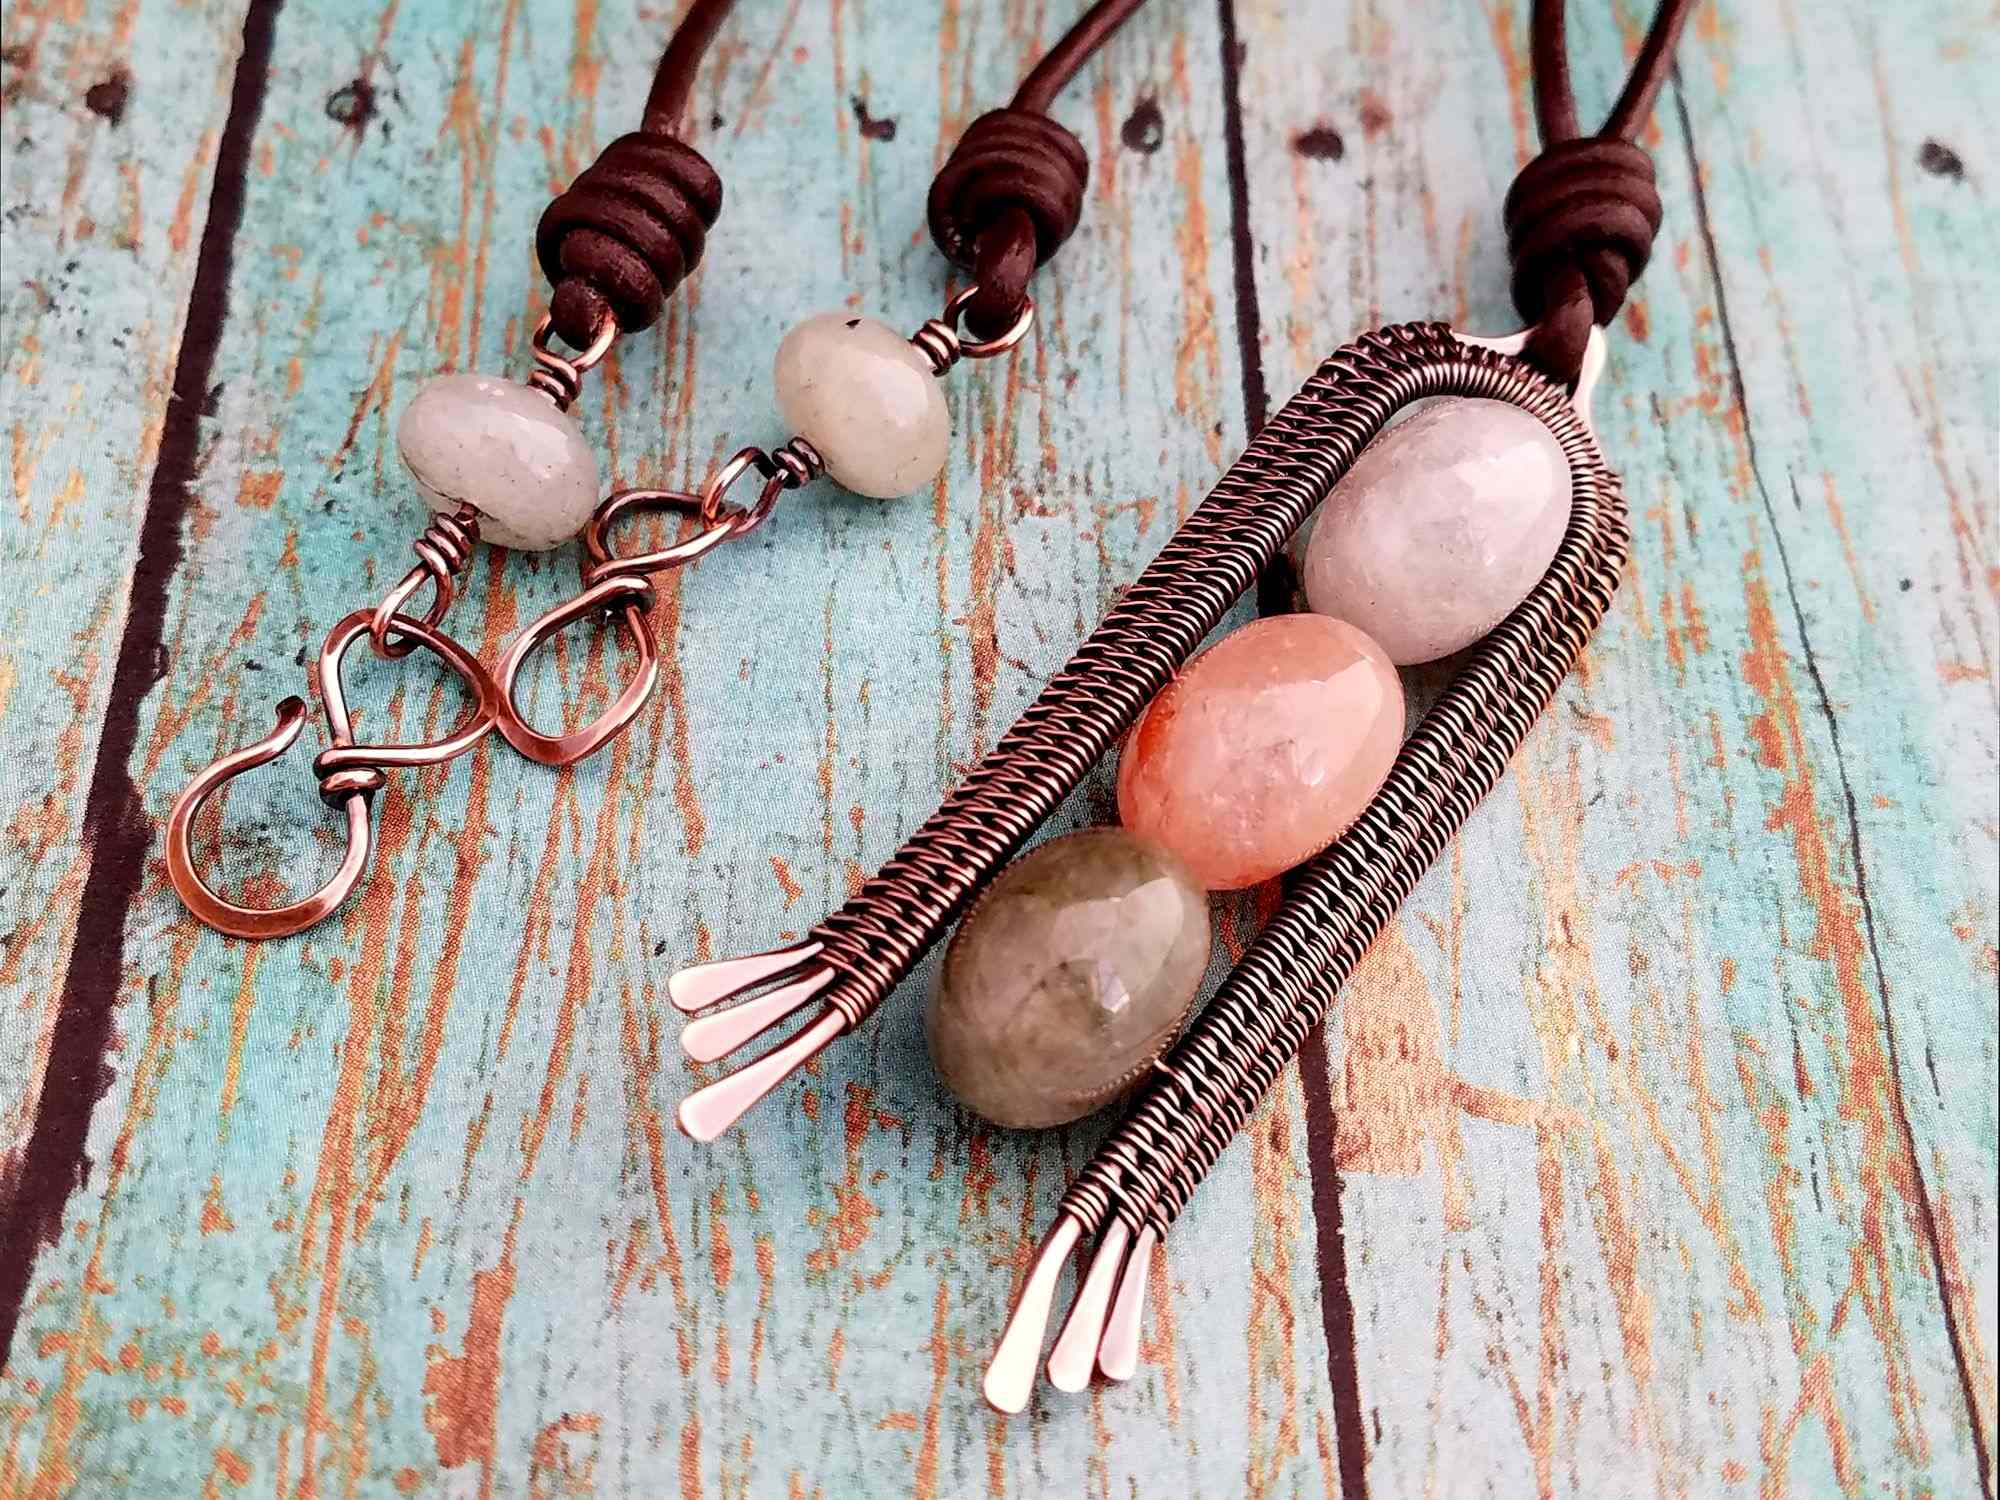
The pendants pictured below were hung on a delicate flash-plated copper chain, which I attached with my Perfectly Symmetrical Wrapped Loop Connectors and finished with my small Easy Infinity Clasp. Finally, I gave my pendants an antiqued finish using my 7-Step Patina Process. Easy peasy!
If you’re new to wire weaving, be sure to check out my 7-step patina process. And if you’re wondering why I recommend tumble polishing specifically, read this post. Also, be sure to clean your stainless steel shot regularly. Clean shot is necessary to achieve the best finish on your tumble-polished jewelry.
Discover More Behind Door 44
Thanks so much for joining me today. I hope you enjoyed creating this quick and easy wire heart pendant.
Want more great wirework tips and tutorials?
I like to share practical wire weaving tips and tricks on my social media channels. And we have some great conversations about wire jewelry in my private Facebook Group. Also, be sure to follow me @door44studios on Instagram, and Facebook to keep up with what’s happening behind Door 44. And if you haven’t already done so, subscribe to my YouTube channel where you’ll find new wire jewelry videos weekly.
Until next time, go make something beautiful!

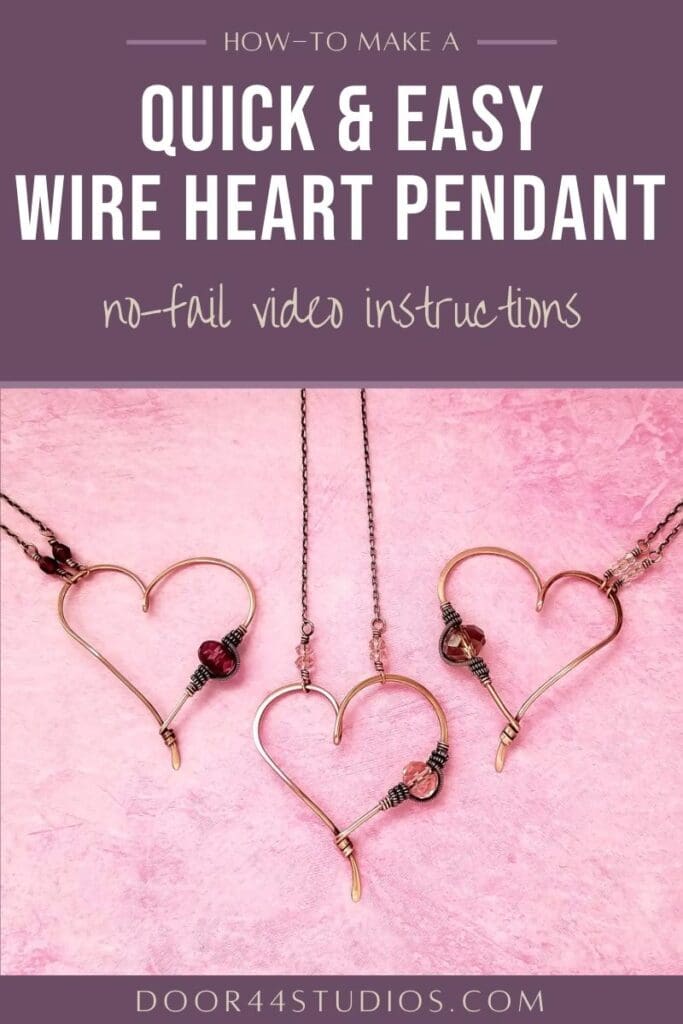
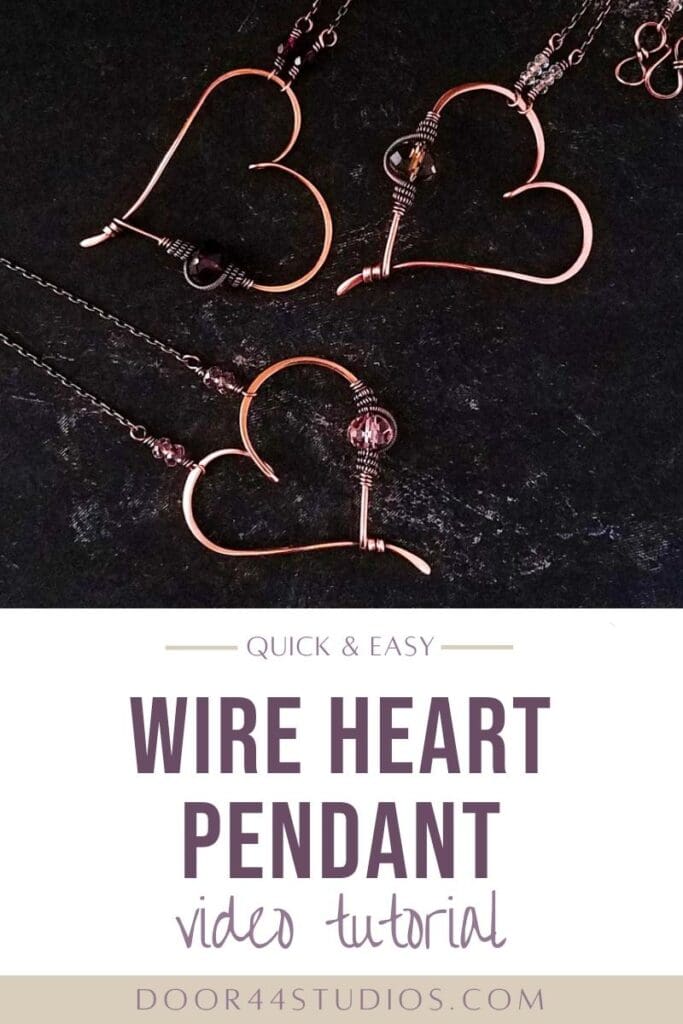
Pin the Quick and Easy Wire Heart Pendant for Later
Love it! Thanks for sharing, you always have such neat ideas!
I’m so glad you like it. Enjoy!
This wire heart pendant tutorial is wonderful! The simple steps and clear instructions make it easy for anyone to create a beautiful piece of jewelry. Thank you for sharing this!
You’re so welcome! I’m glad you like it. 😊