

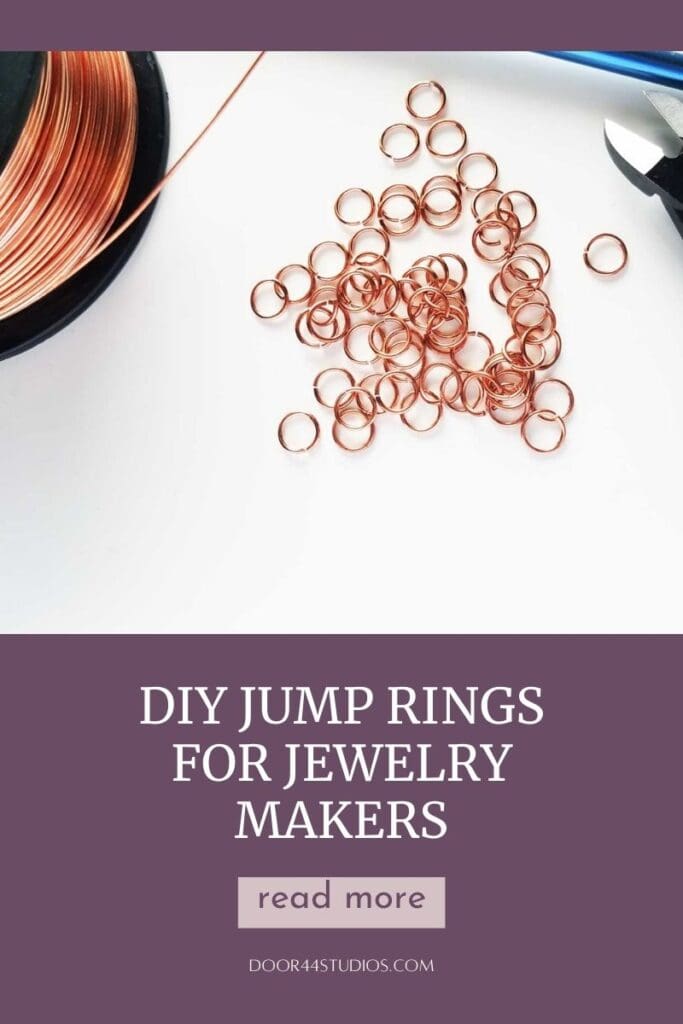
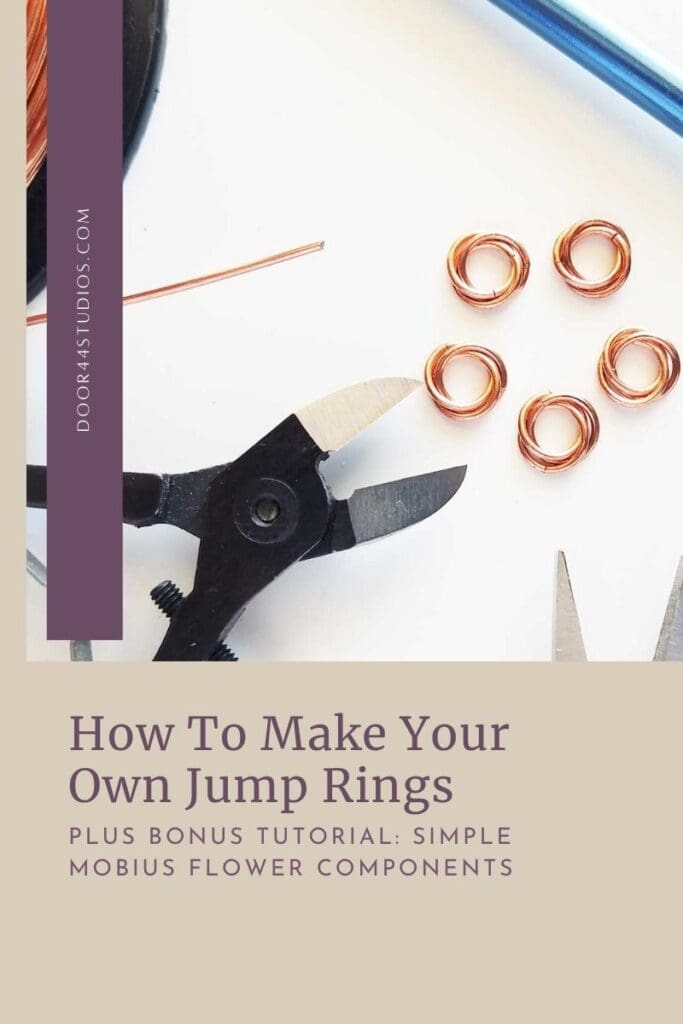
How to Make Your Own Jump Rings
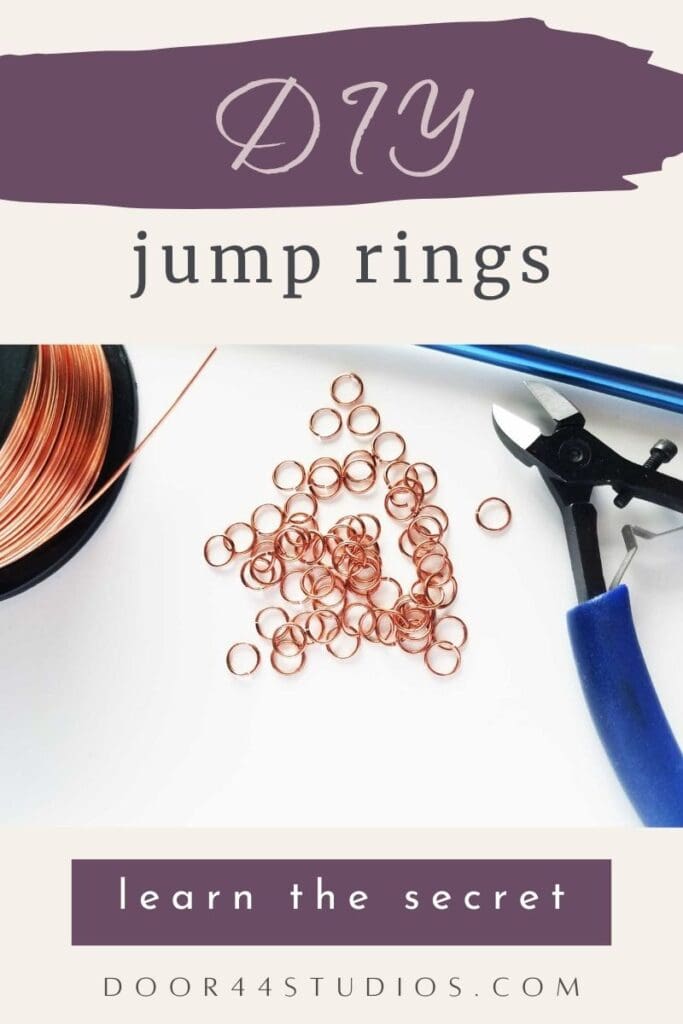
Sometimes all you need is a handful of jump rings. So, it doesn’t always make sense to go out and buy pre-made rings. A better solution is to learn how to make your own jump rings from scratch instead. And that’s what we’re going to do today. I’ll show you how to DIY jump rings, and we’ll use those rings to create some pretty Mobius Flowers that you can use as decorative elements in your jewelry.
Copyright & Disclosure
Jump rings are a very common wire jewelry component. And many of us have developed our own techniques for making them — none of which can be legally copyrighted or claimed as a unique and copyrightable design.
When it comes to my written tutorials, however, I reserve exclusive rights to all images and written content. You may not reproduce or redistribute any portion of this tutorial in any way, shape, or form. You may share this free tutorial only by linking directly to this page.
This post may contain affiliate links. If you click on a link and then make a purchase, I may earn a small commission (at no cost to you). As an Amazon Associate I earn from qualifying purchases. To learn more, please see my full disclaimer.
Join my Newsletter to get my free DIY Jump Rings Tip Sheet
Subscribe to be the first to know what’s happening behind Door 44! PLUS get instant access to my free resource library, which includes a printable DIY Jump Rings Tip Sheet (#107)
About This Tutorial
My wire jewelry journey began in 2006 when I fell head-over-heels in love with handmade chainmail jewelry. I had just moved back to Colorado from Alaska and I was living in a cozy little 700 square foot house at the time. That meant my craft space was very limited (story of my life 🙄). So, I decided to take up chainmail because I felt it was something that wouldn’t overwhelm my living space. All I needed was a few pairs of pliers and some pre-made jump rings. And my “workbench” was a foldable breakfast tray that I still use to this day whenever I want to work on small jewelry projects while watching TV with my husband in the evenings.
It didn’t take me long to grow bored with chainmail because there’s only so much you can do with it. Once you’ve mastered the more complex weaves, there’s just not a lot of room for growth artistically. But that’s where my love affair with wire jewelry started. And to this day, I still use all of the techniques I mastered while weaving miles of handmade chains. Chainmail is fun to do and it will give you an excellent foundation for more advanced wirework.
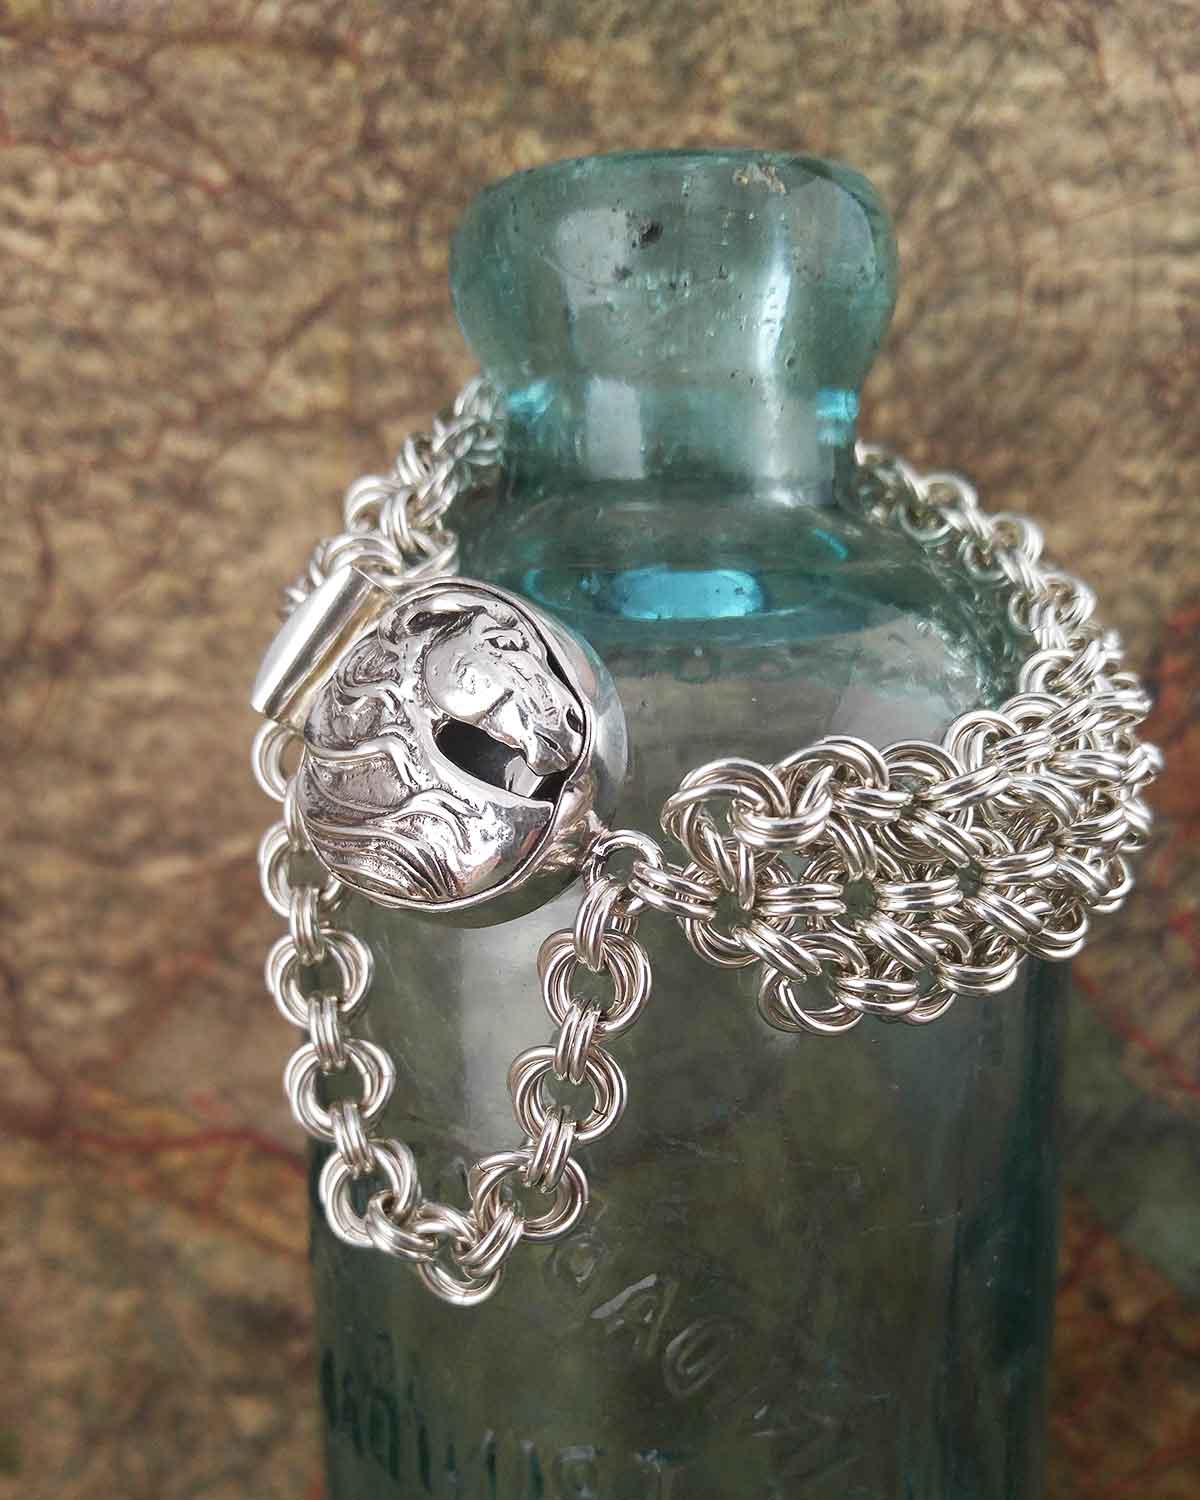
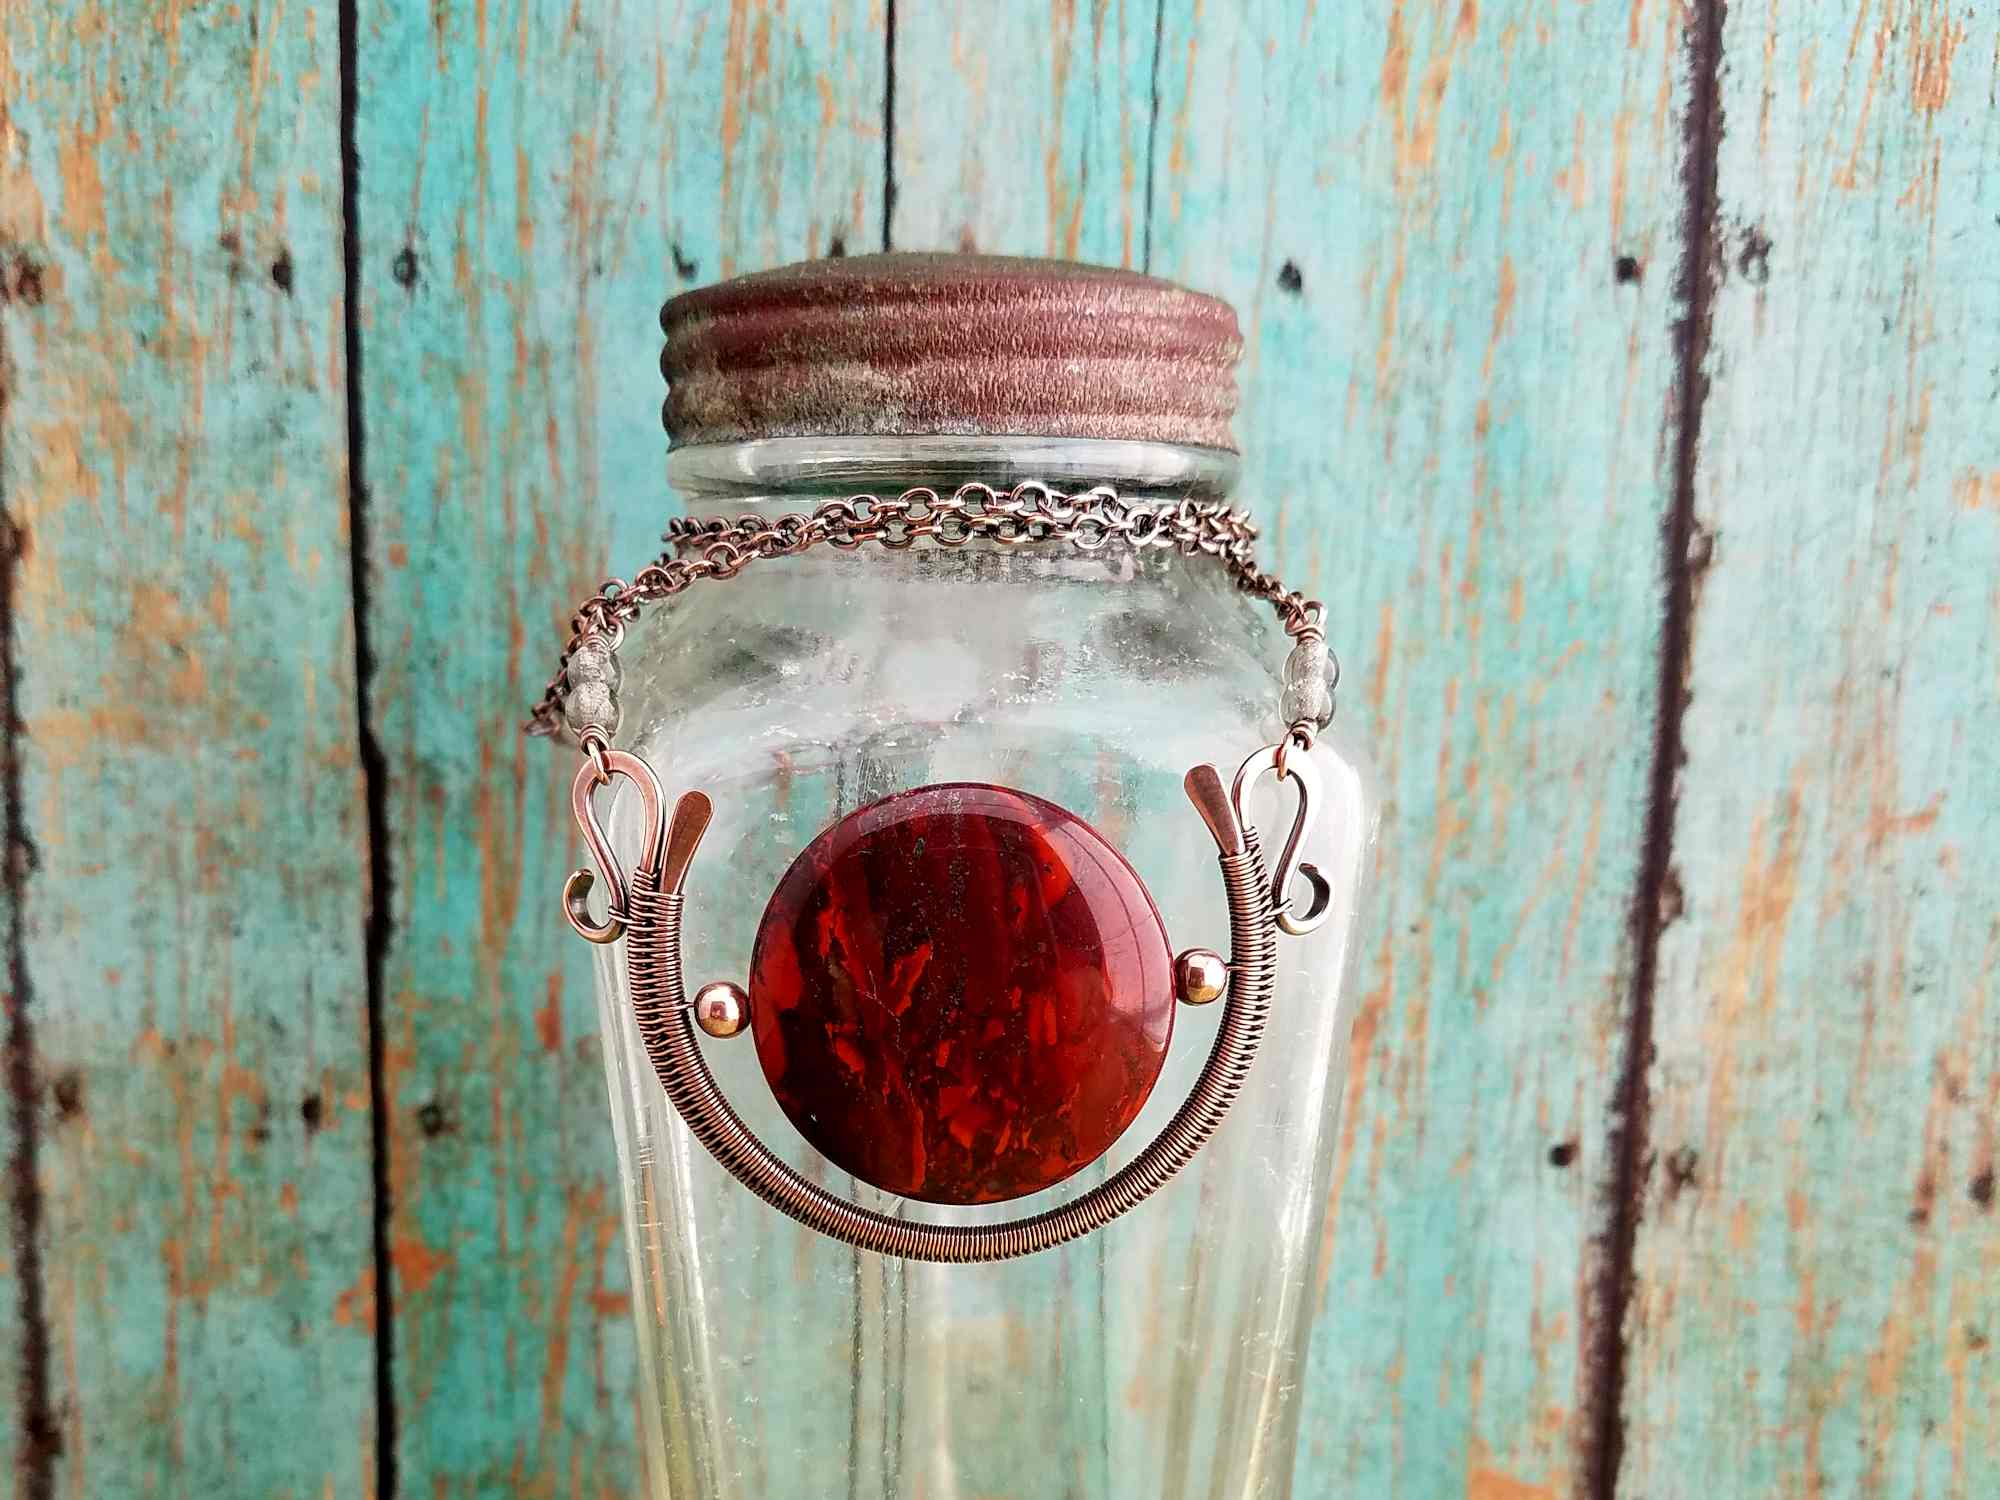
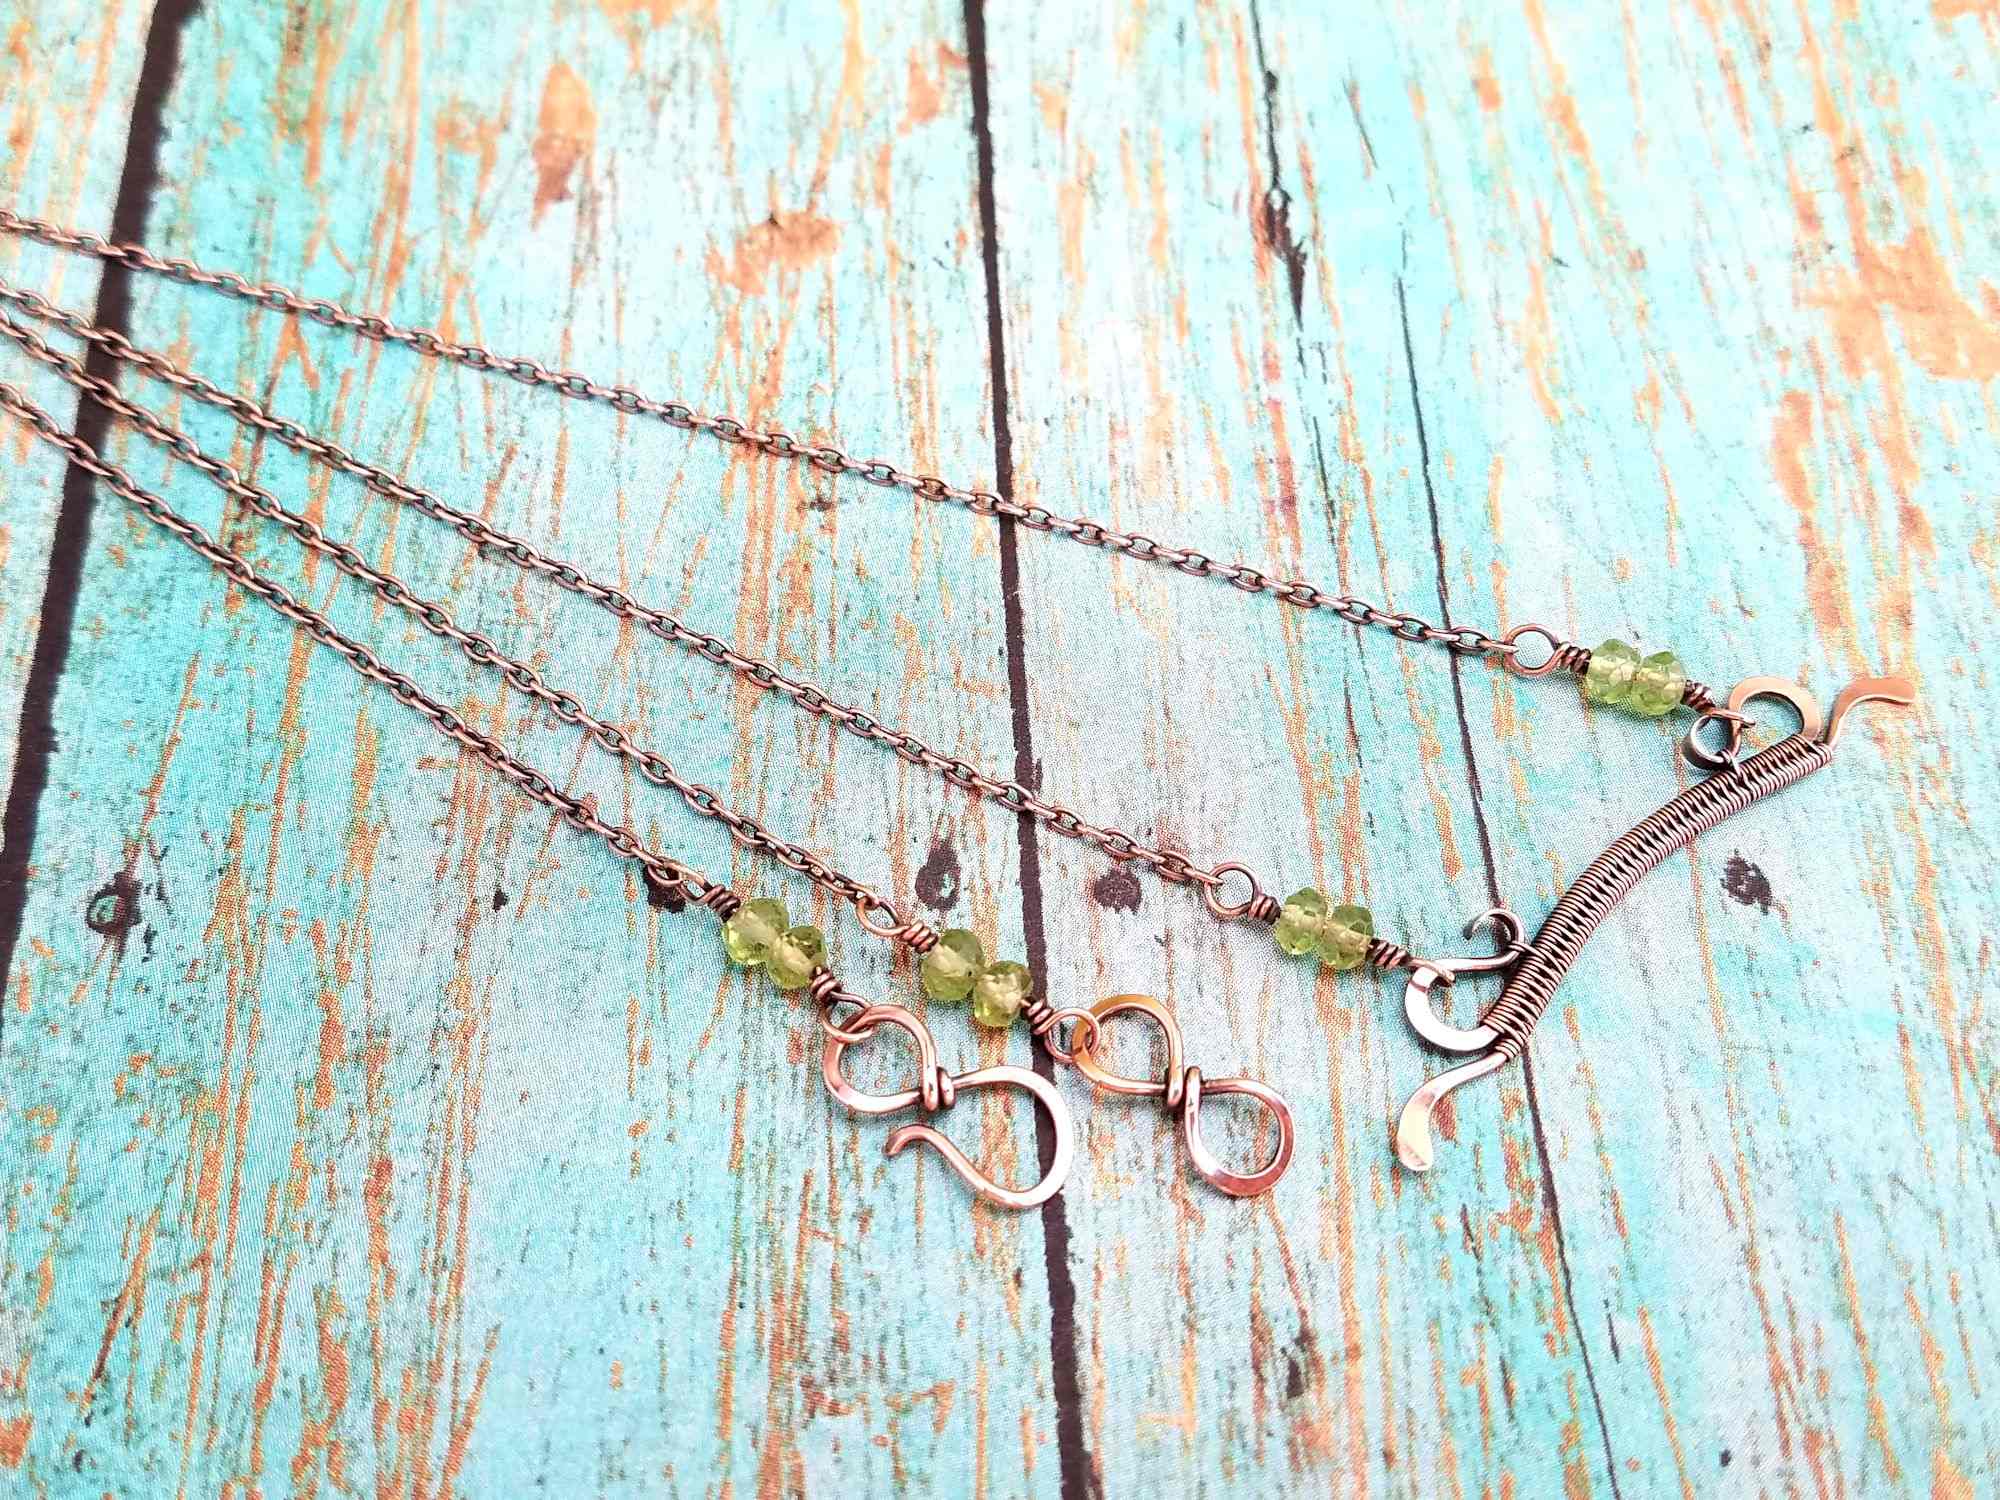
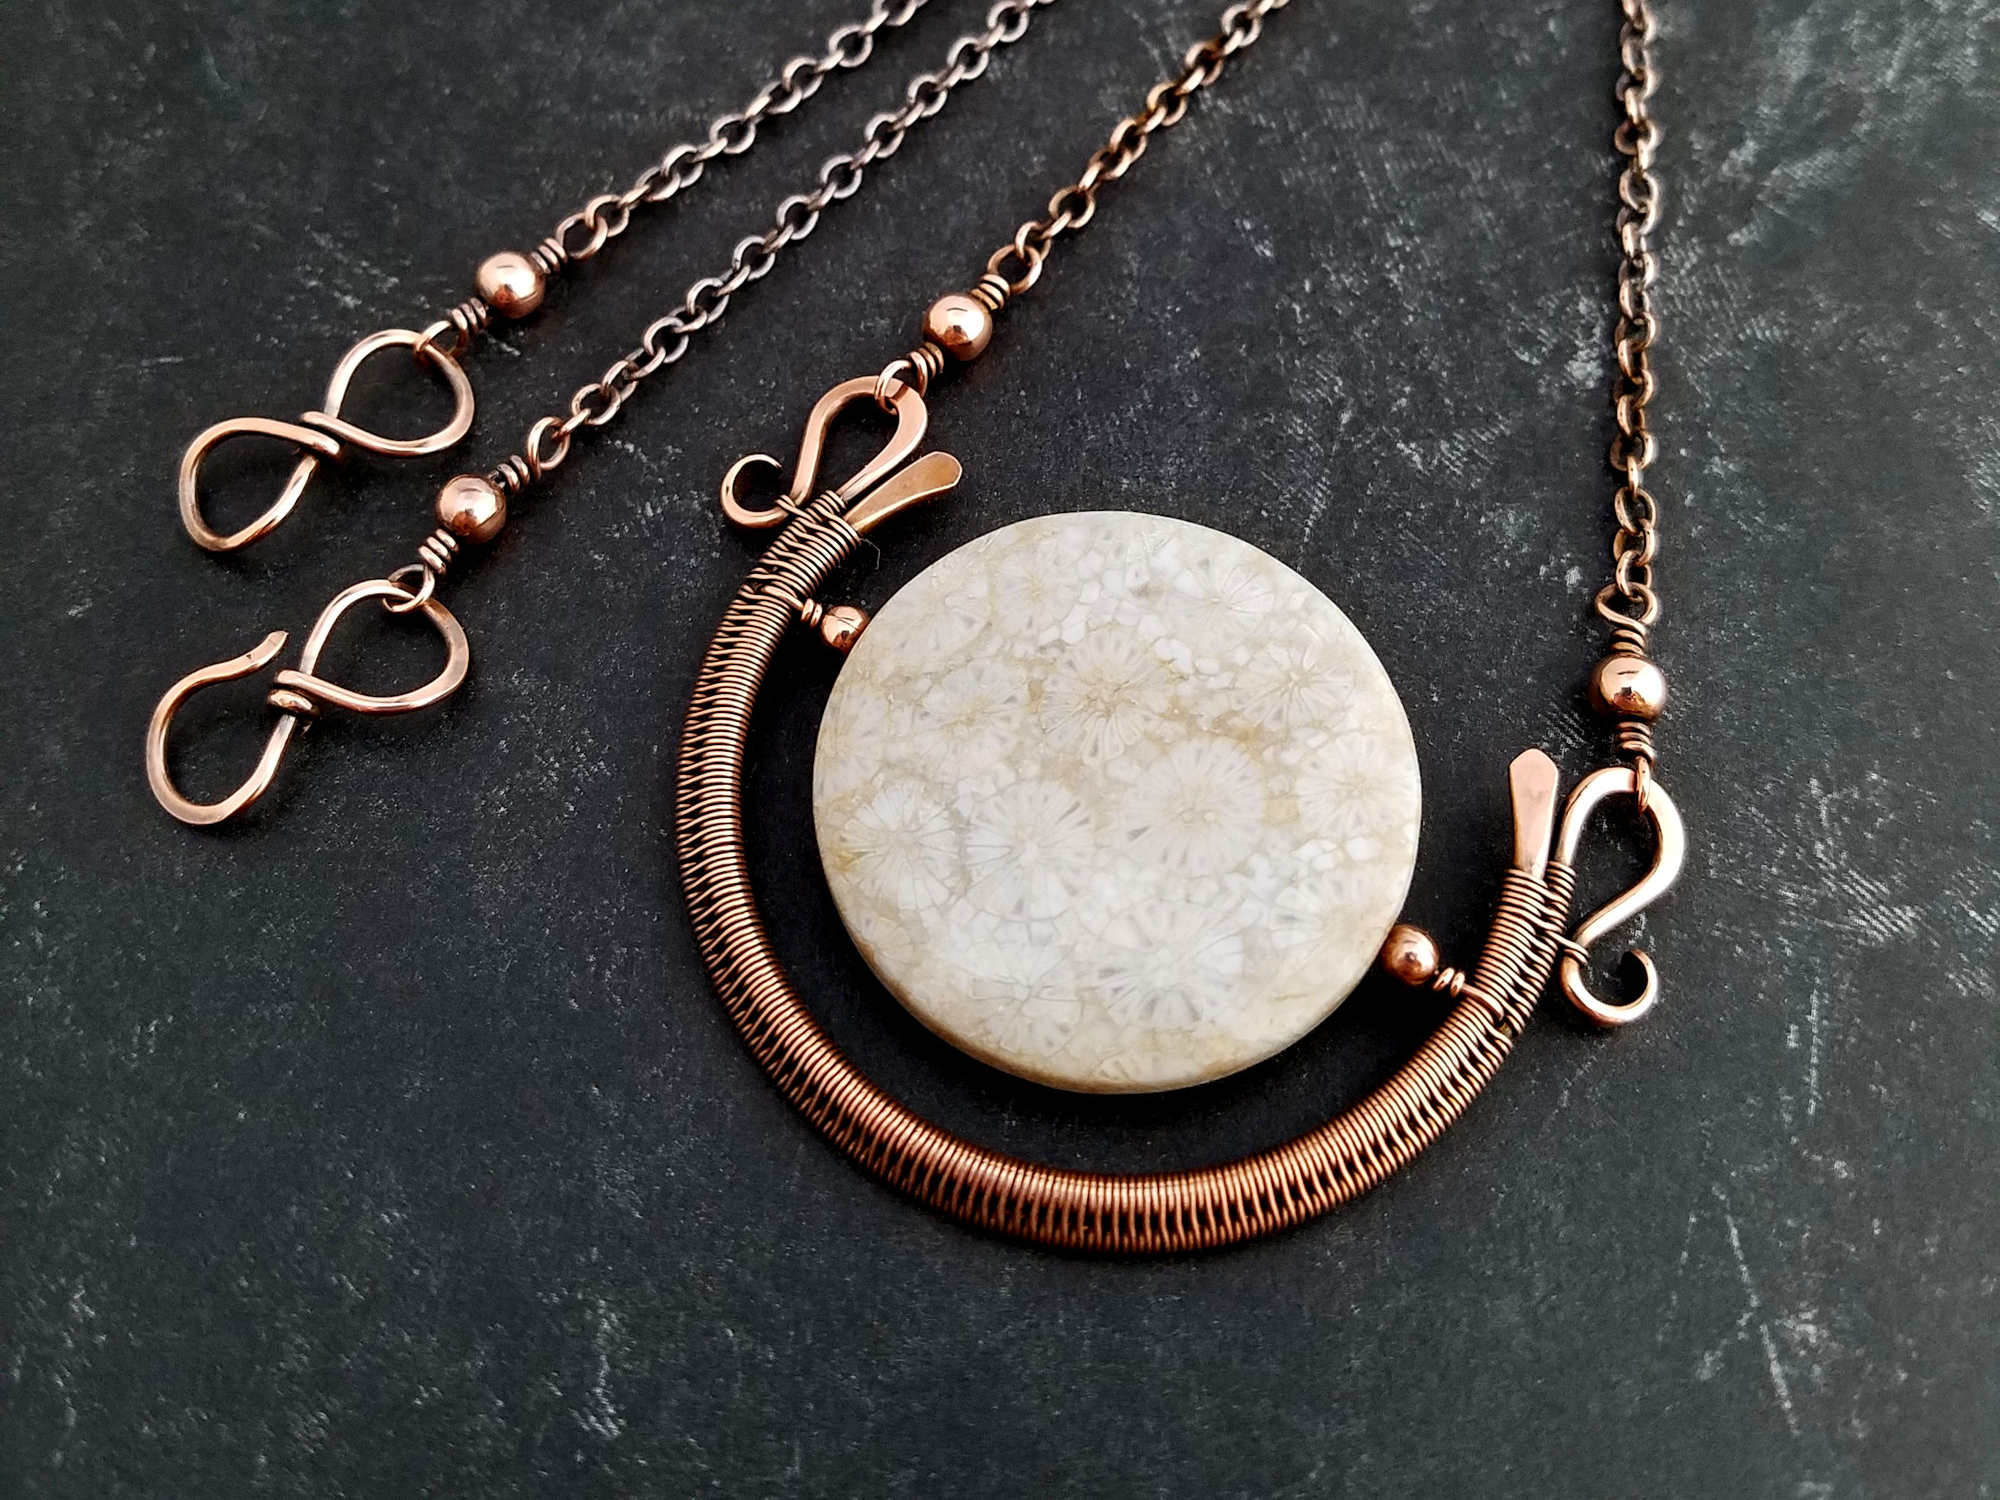
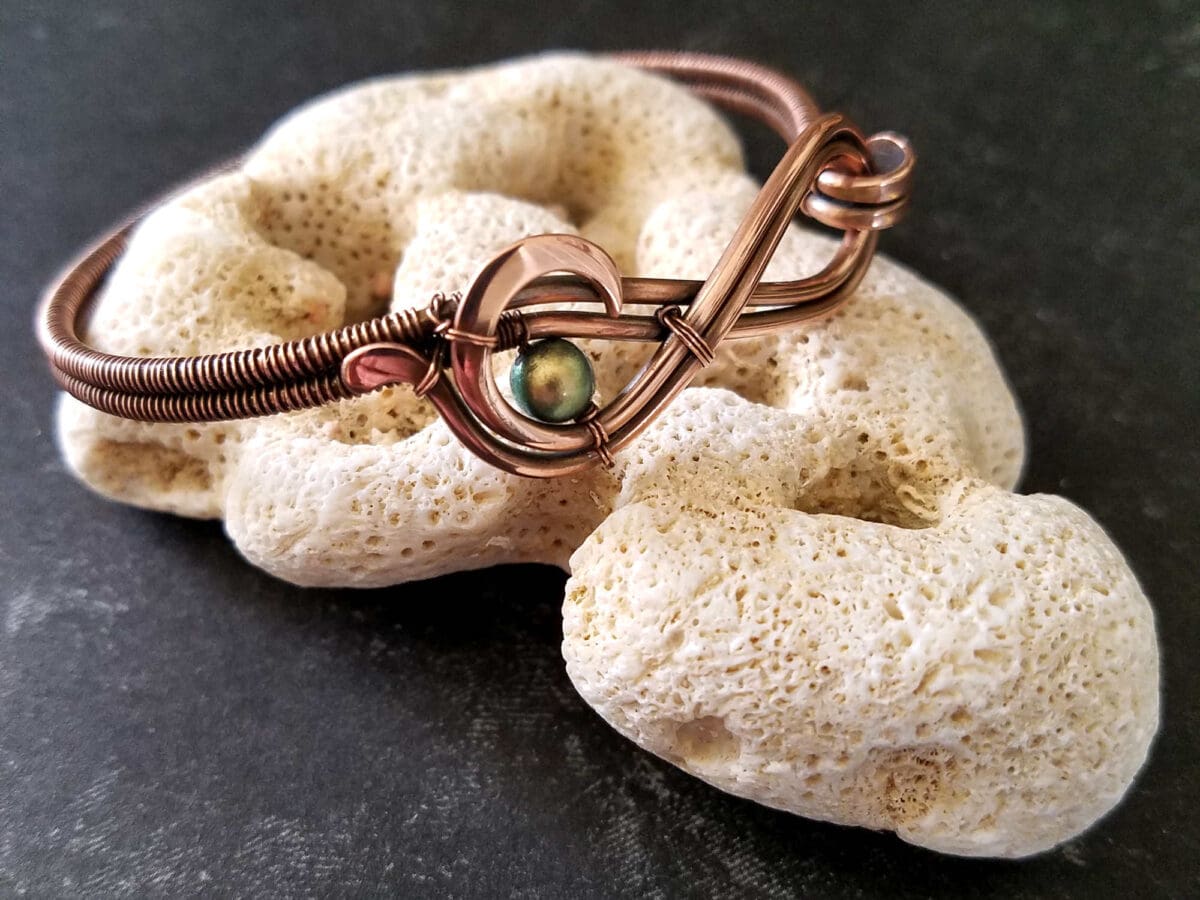
The Mobius flowers in the sterling silver bracelet below are a holdover from my chainmail days. I like to use them as decorative and functional components in my jewelry. So, along with showing you how to make your own jump rings, I’ll show you how to make these simple flowers components. And I’ll also share my secrets for getting perfectly closed jump rings and for making clean jump rings with basic wire cutters if you’re not quite ready to invest in a pair of expensive flush cutters.
The 4 Techniques Covered in This Tutorial
Skill Level: Beginner
This is a basic wirework project that can be achieved by someone who has never worked with wire before.
Choosing Wire for Your DIY Jump Rings
You can use almost any gauge of wire for jump rings. I’ve used everything from 14g to 22g. The wire that you’ll use depends entirely on the particular application. When choosing a wire gauge for jump rings, your goal is to balance the gauge of your jump rings with the chain, or any other components, that you’re using in your jewelry assembly.
Now, we can easily go down a rabbit hole at this point and get into a complicated discussion about aspect ratios. But that’s only important if you plan to weave your own chains. If chain making is your goal, I recommend buying premade jump rings or investing in a tool like the Pepetools Jump Ring Maker.
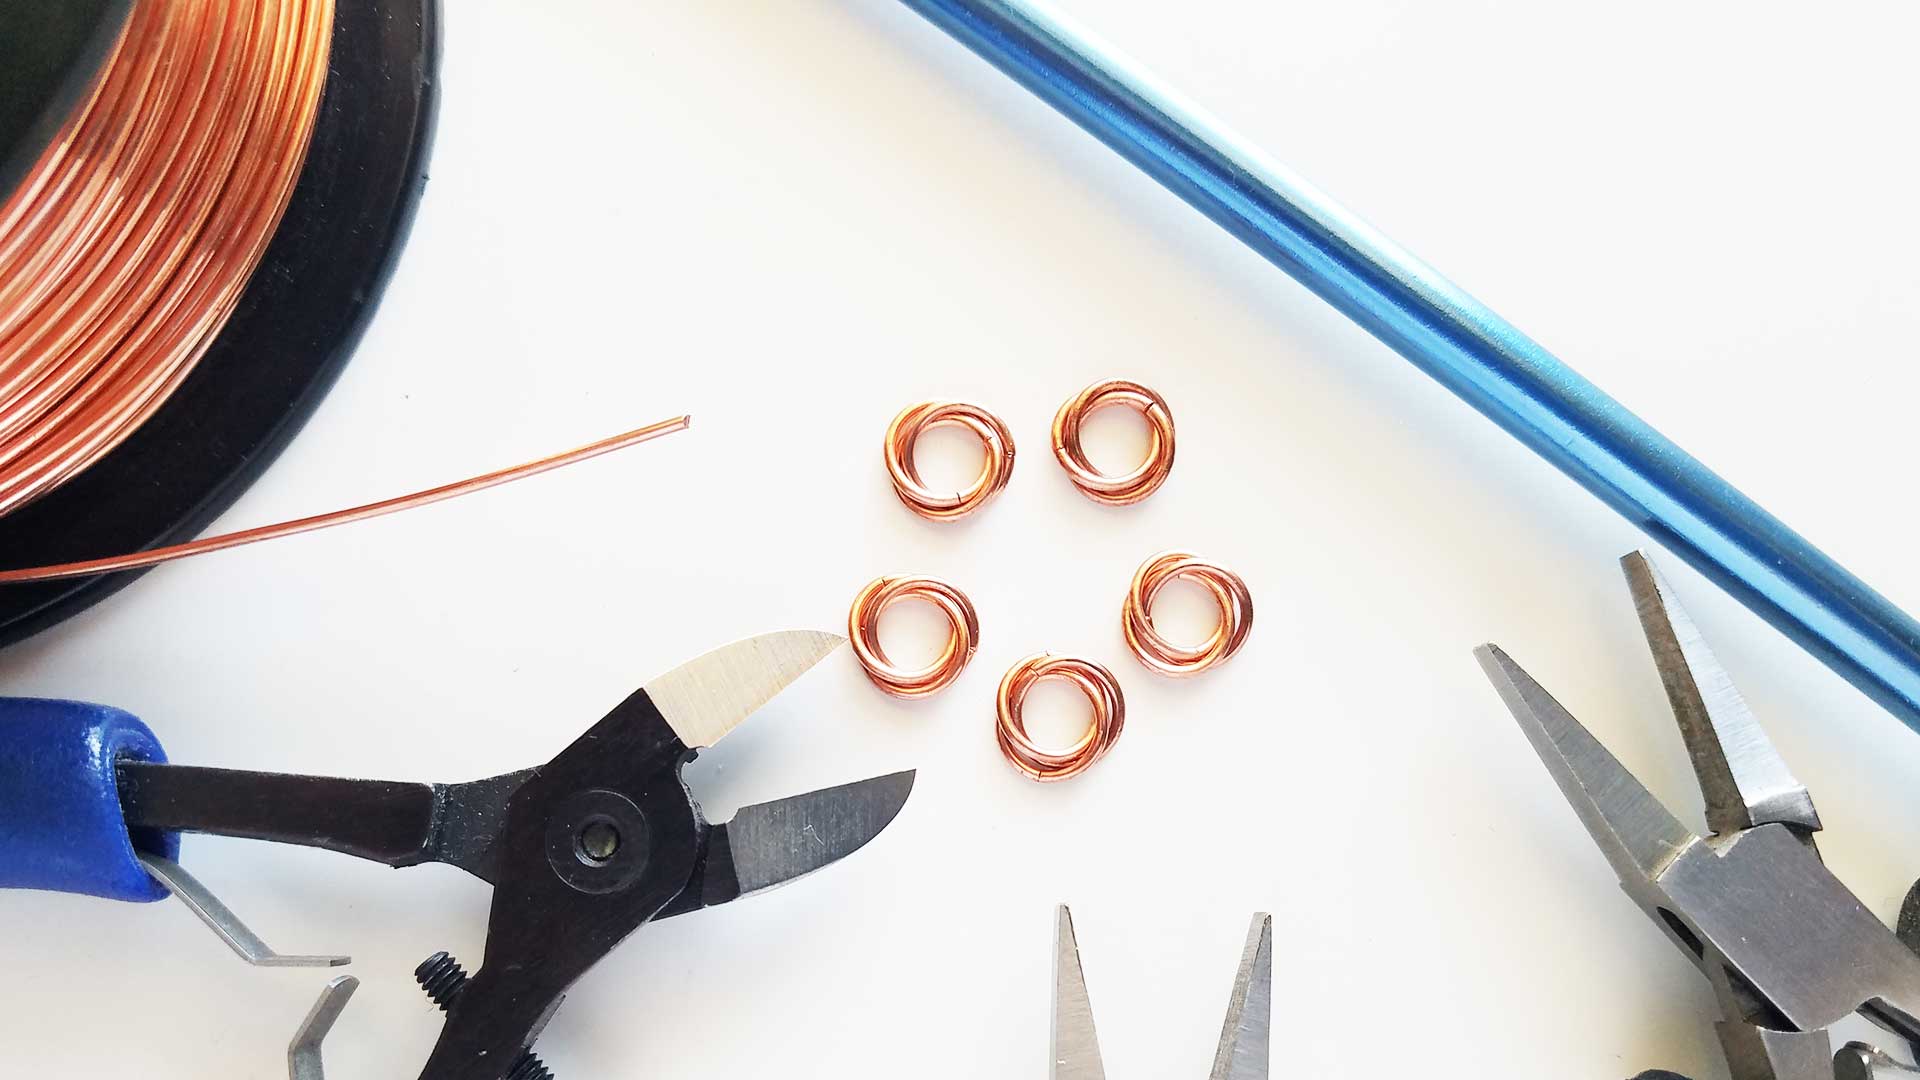
For now we’re just going to focus on making about a dozen 18ga jump rings with an inside diameter of 6.5 mm. That combination of wire gauge and mandrel size will give us a good aspect ratio for making simple mobius rosettes that you can use to embellish your jewelry. And I’ll save the aspect ratio discussion for another day.
Also, a quick note about wire hardness. I prefer to use half-hard wire for jump rings. You’ll get better results, and your jump rings will be more durable if you start with half-hard wire. But if all you have available is dead soft wire, that will work, too. Just take a few moments to harden your wire before forming your connectors. If you’re unsure how to harden dead soft wire, be sure to watch this bonus tip, which I shared in my perfectly matched ear wires video tutorial.

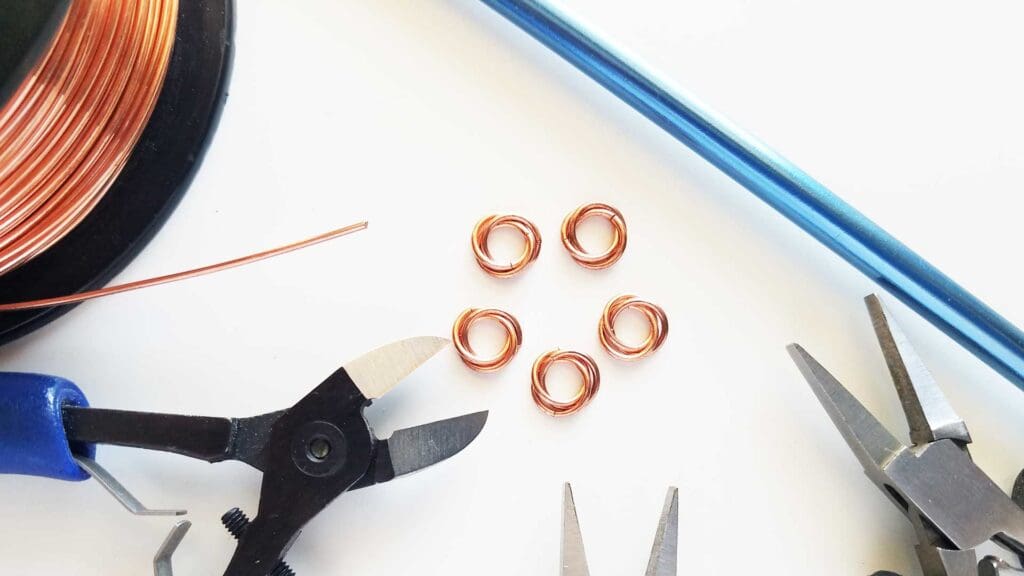
Tools & Materials
- 13 inches of 18ga Half-Hard Copper Wire
- Wire Cutters (flush cutters work best, if you have them. If not, I’ll show you how to make high quality rings using basic jewelry wire cutters and a needle file)
- Two Pairs of Jewelry Pliers (I use two pairs of flat nose pliers in the demonstration, but you can use your flat nose and chain nose pliers, if that’s all you have)
- 6.5 mm mandrel (I like to use knitting needles)
- Needle File (Optional)
Mobius Flowers Finished Size
- WIDTH: about 3/8 inch (0.95 cm)*
- LENGTH: about 3/8 inches (0.95 cm)*
*The measurements listed above are based on the mobius flowers that I demonstrate in this tutorial using 18ga wire and a 6.5 mm mandrel. Results will vary with different wire gauges and mandrels.
Instructions
As always, the video version of this tutorial is more detailed than this written version. I also often include more tips and tricks in my videos than I do here on my blog. So, if you’re a beginner, I always recommend watching the video first. Once you’re familiar with the techniques, this written tutorial will be a useful quick reference because it summarizes the techniques quickly and briefly in just a handful of images.
The instructions for the jump rings made in this tutorial are based on the 18ga wire and 6.5 mm mandrel that I used in this tutorial. However, you can easily change the size of your jump rings by simply choosing a different wire gauge and mandrel. The technique remains the same regardless of wire gauge and mandrel size. You’ll just have to adjust the cut length of your wire to be sure you make enough jump rings for your desired purpose.
Make Your Jump Rings (with Super Flush Cutters)
Step 1 – Measure and Cut Wire
Measure and cut a 13-inch length (33 cm) of 18ga wire.
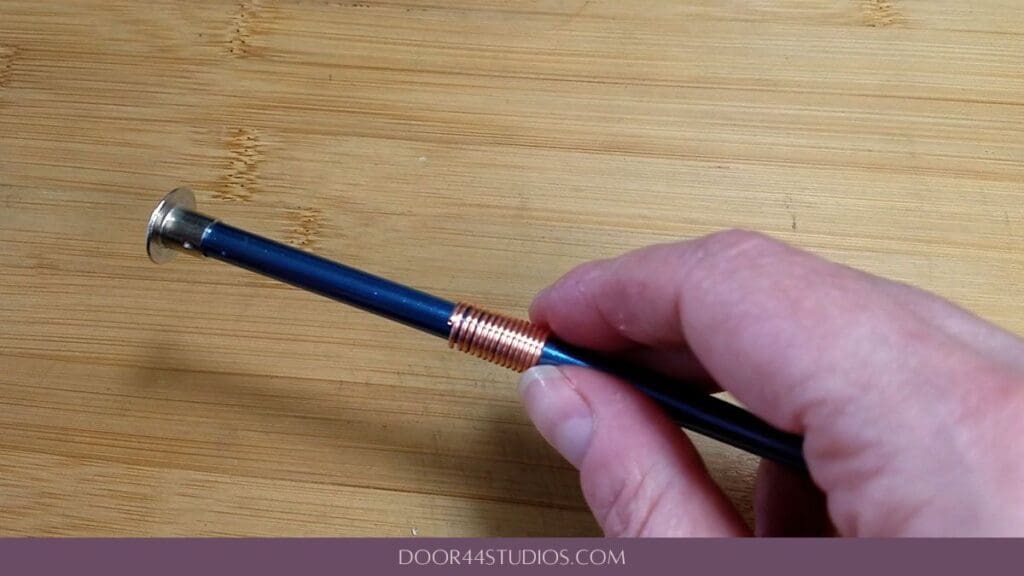
Step 2 – Coil the Wire
Coil the wire tightly around your 6.5 mm mandrel, as shown. If you have nylon jaw pliers, use them to form the ends of your wire tightly around the mandrel. This will give you the maximum number of finished jump rings with minimal waste.
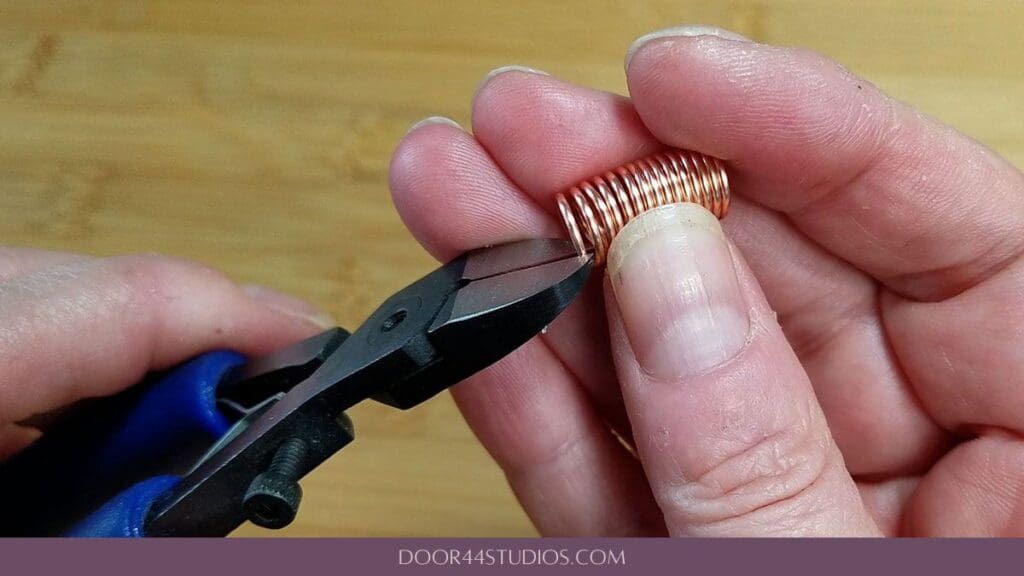
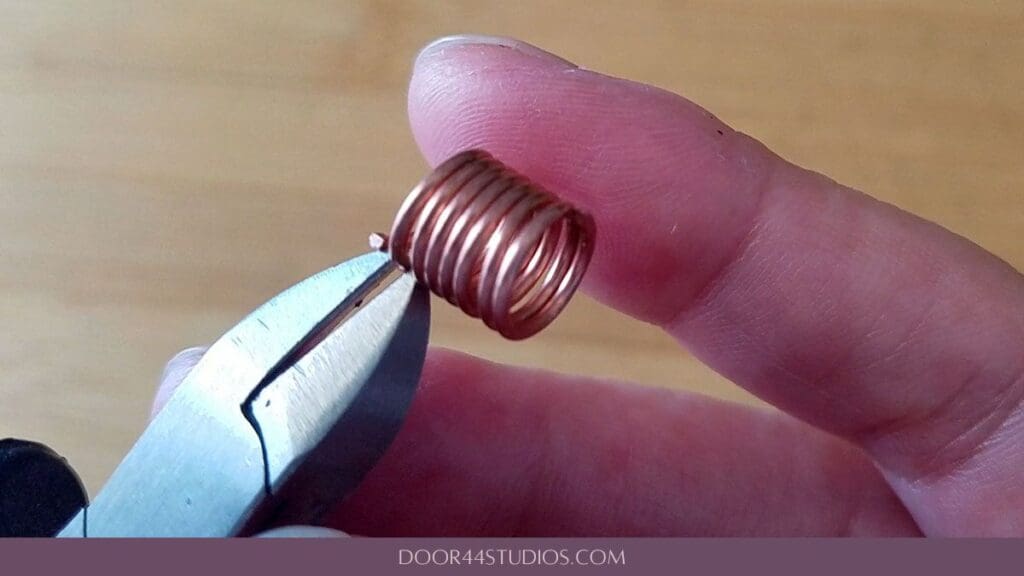
Step 3 – Make First Square Flush Cut on End of Coil
Use your thumbnail to separate the first jump ring from the coil just enough so you can get your wire cutters into position. Then use your flush cutters to trim the end of the first jump ring. Make sure you place your wire cutters perpendicular to the wire so you get a nice square cut, as shown.
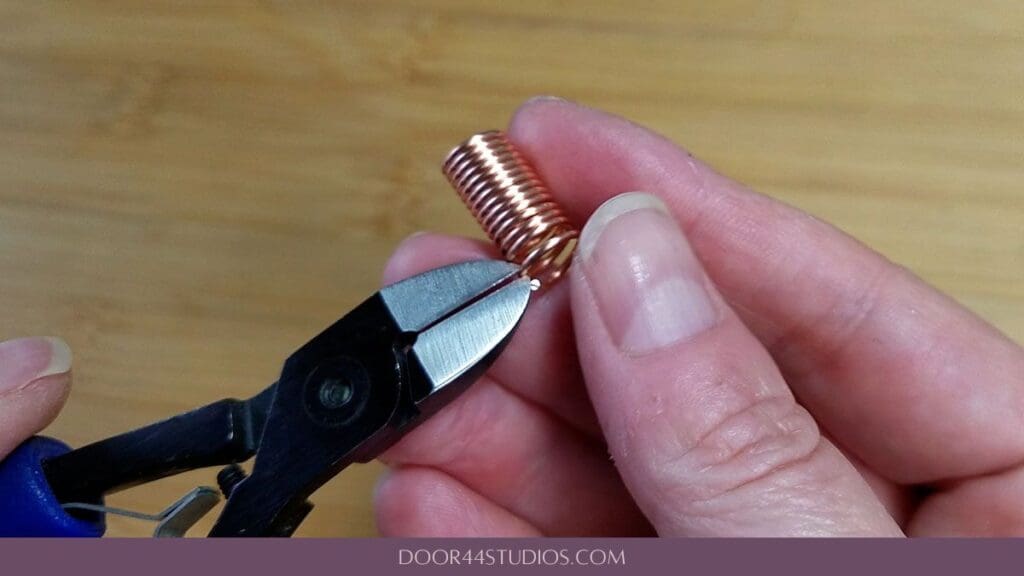
Step 4 – Make Finish Cut on First Jump Ring
Use your thumbnail again to separate the other end of the jump ring from the coil. You’ll repeat this action to create a gap for your wire cutters before each cut from this point forward.
Next, carefully line the flush side of your cutters up with the first cut, as shown, and complete your second cut. This ensures that your jump ring is exactly the right size and that both cut ends of the ring are clean, flush cuts. Those nice square ends will then allow your jump ring to close neatly without a visible gap.
Step 5 – Repeat Steps 3 and 4
Now we’re just going to repeat Steps 3 and 4 until we’ve cut all the jump rings we can get from our coil. You should get twelve to thirteen 6.5 mm rings from a 13-inch (33 cm) length of 18ga wire (about one ring per inch).
How to Properly Close Jump Rings
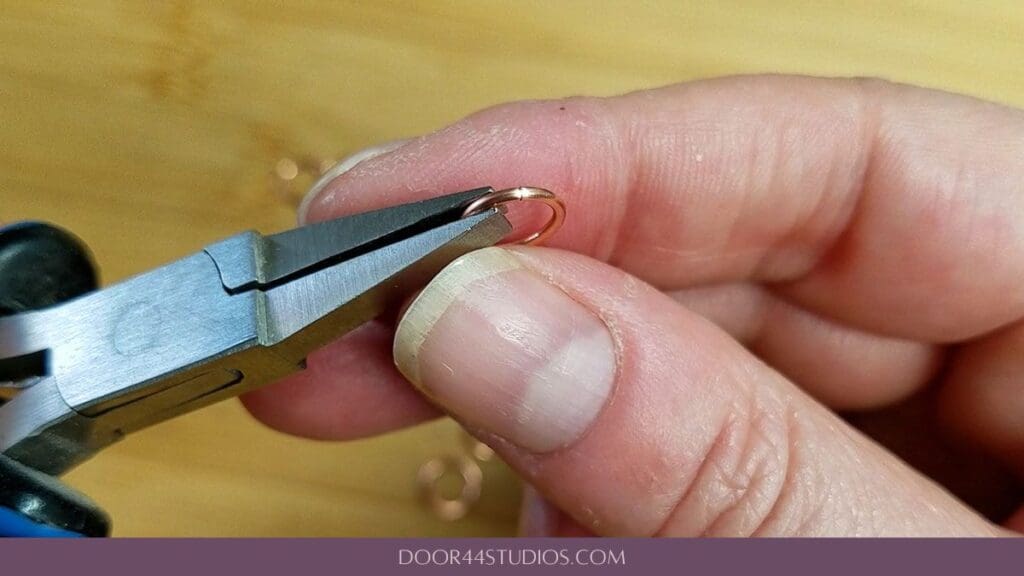
Step 1 – Grasp Your Jump Ring with Your Pliers
Grasp your jump ring on either side of the cut with a pair of jewelry pliers. You want to hold the ring firmly, but gently so you don’t mark the surface of your ring.
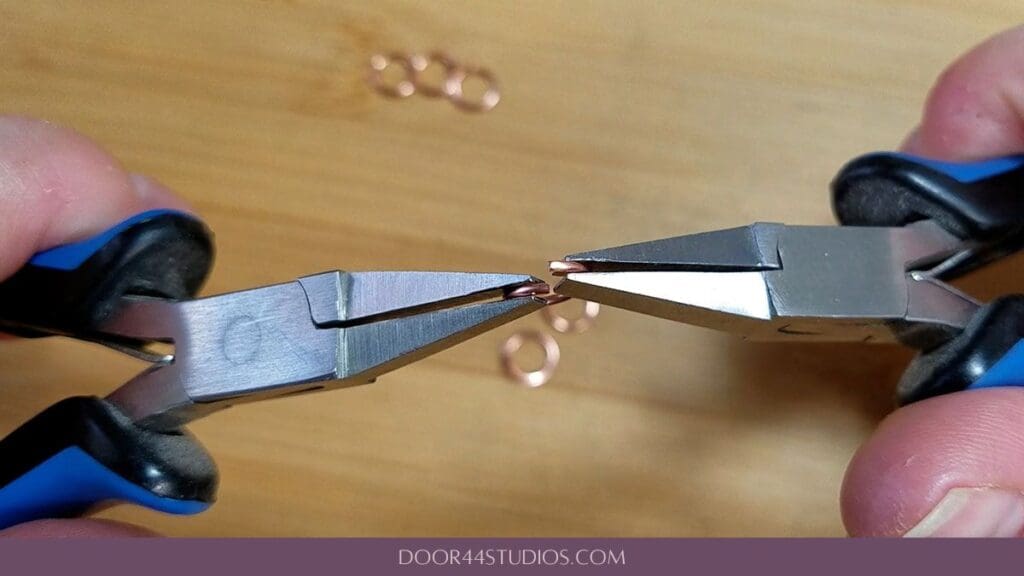
Step 2 – Create Tension in Your Ring
While holding your ring firmly with your pliers, carefully twist the ring slightly and push it closed so the ends overlap slightly as shown. I like to do this three times by twisting the left end of the ring to the back and then to the front and again to the back before finally closing the ring. This work hardens the ring and creates tension in the ring that will help it stay closed.
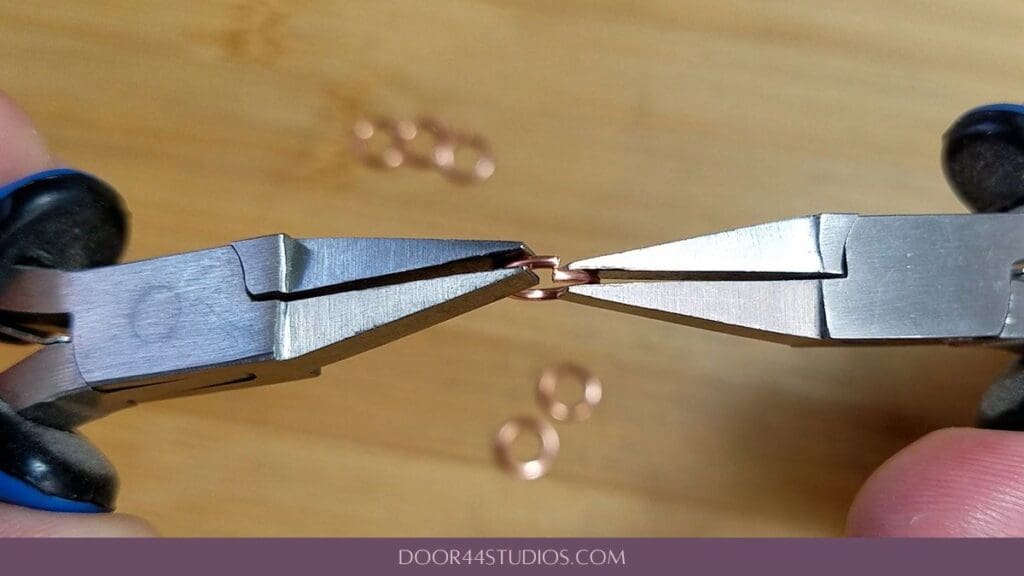
Step 3 – Close the Ring
After work hardening your ring, line the two ends of the ring up so they butt up against one another. Make any final adjustments as needed, but if you’ve properly hardened your ring and the ends are cut cleanly, the ends will fit together snuggly, as shown in the image below.
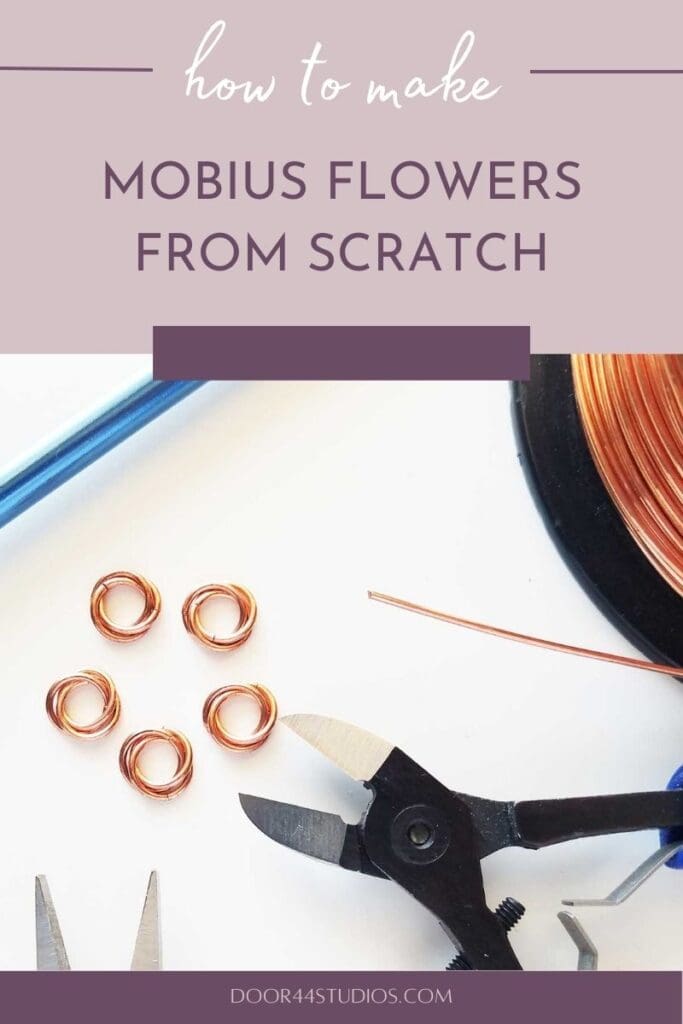
How to Make Mobius Flowers
Now that you’ve learned how to make your own jump rings and how to securely close a ring, it’s time to make your first jump ring flower.
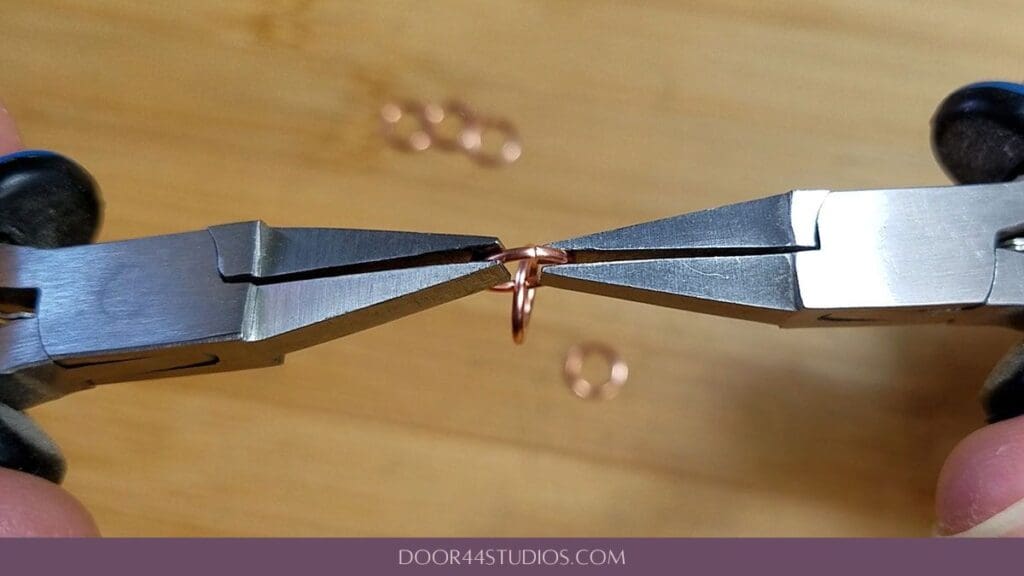
Step 1 – Attach the Second Ring
Hold the jump ring that you just closed with one pair of pliers. Then thread an open ring through the closed ring. Now close the second ring, just as you closed the first one. Remember to work harden the ring by twisting it gently and pushing the ends just past the point of closure a few times before aligning the ends together.
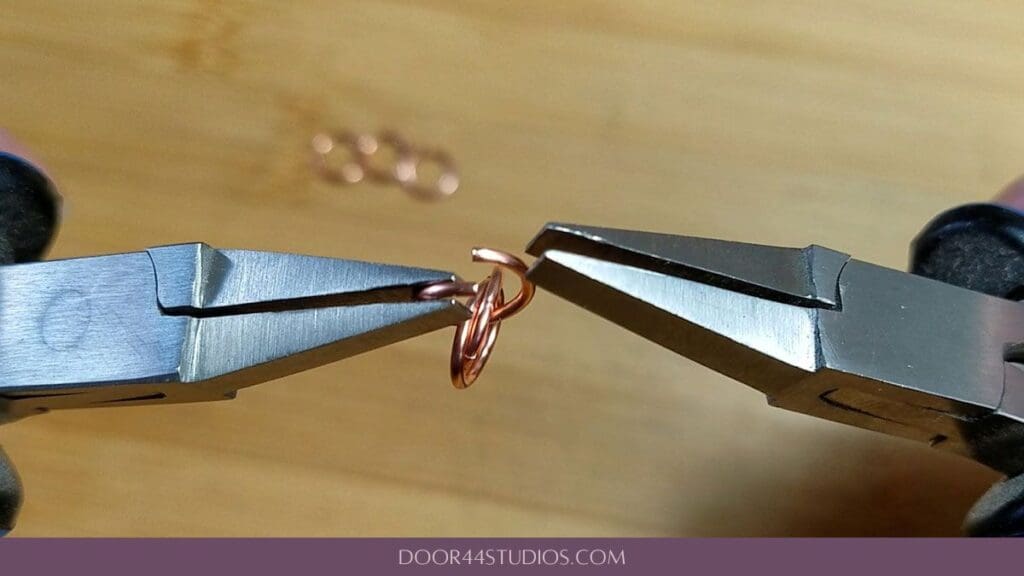
Step 2 – Attach the Third Ring
Next, thread a third open ring through both of your closed rings, as shown in the image below. Then close that ring as well.
Step 3 – Arrange the Rings Into a Pretty Flower
Once all three rings are woven together and closed, place the rings in your palm or on the surface of your workbench and swirl them into a nice neat little nest with the tips of your pliers. The rings will settle down into the classic Mobius flower shape almost instantly.
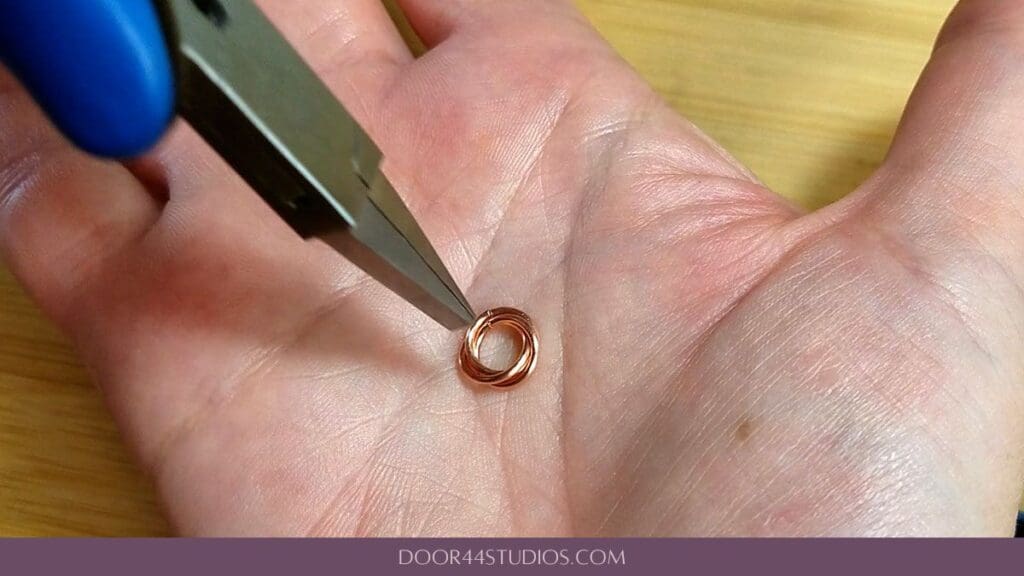
Your first Mobius flower is now ready to use as a decorative component, or even as a mini pendant or earring dangle. Simply attach it to a chain or ear wire with a couple of smaller jump rings or a beaded wrapped loop connector.
Making High Quality Jump Rings Without Expensive Cutters
Super flush cutters help a lot when making your own jump rings, but they’re not strictly necessary. You can still make high quality jump rings even if all you have is a pair of basic jewelry wire cutters. In this case, we’ll just modify the process a bit and use a needle file to help clean up the cut ends. You can even use a nail file in a pinch for this process.
Step 1 – Prepare Your Wire Coil
Make a wire coil, just as instructed in Steps 1 and 2 from the beginning of this tutorial.
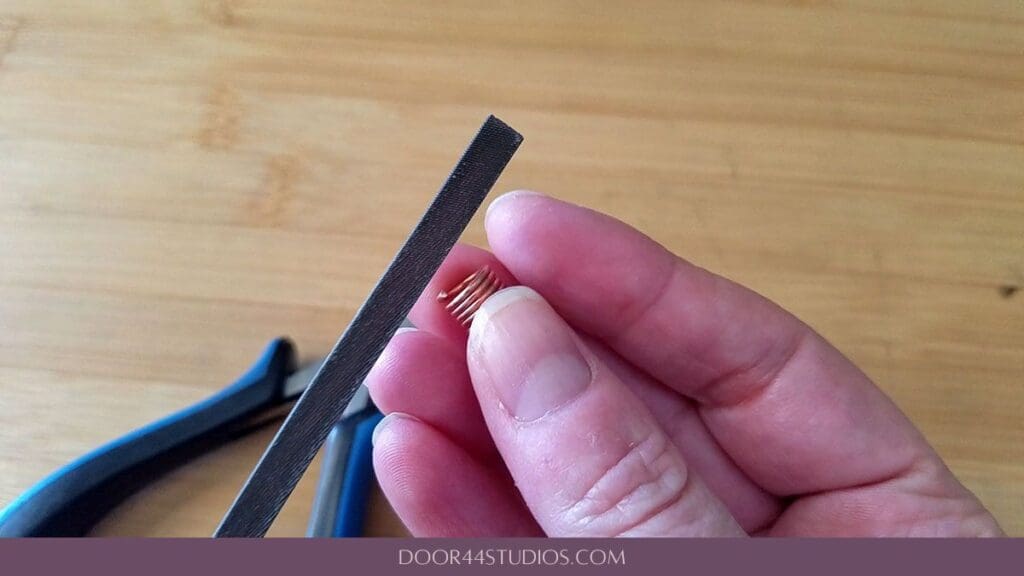
Step 2 – File the Cut End of Your Coil
This is where the process changes a bit from making jump rings with a high quality pair of super flush cutters. Basic wire cutters will always leave a slight chisel tip on your cut ends. That tip will be more exaggerated on the side of the wire that was pinched from the inside (the conical side) of your cutters. But you’ll always end up with what I like to call a chisel tip on either side of the cut point when using basic wire cutters.
This is because inexpensive wire cutters are designed more for making efficient cuts than quality cuts. To compensate for that chisel effect, we’re going to simply use a needle file to flatten the cut ends. And you’ll need to flatten the first cut end before you make your second cut. So, grip your coil firmly with your non-dominant hand. Use your thumbnail to push the cut end out slightly away from the coil. Then use your needle file to gently flatten the chisel point on the first cut end of your coil.
Try to keep the file perpendicular to the wire so you get a nice flat surface, as shown below.
Step 3 – Make the Second Cut
At this point we’ll need to make another slight change to the process of cutting our first ring free of the coil. Because we’ll need to remove a tiny bit of material from the second cut end, we need to make our jump ring ever so slightly longer than we did when using flush cutters.
To do that, position your wire cutters so the tip of your first cut is sitting slightly above the surface of your wire cutters, as shown below. Then make your cut.
Step 4 – File the Cut End
Finally, use your needle file to smooth off the chisel tip that your wire cutters left on the end you just cut free from the coil. Because we made this jump ring just a tiny bit longer, it should close neatly and be very close to having a 6.5 mm inner diameter once you’ve filed off the chisel and closed your ring.
As you can see in the image below, rings made using this process (right) are not quite as clean as those made using super flush cutters (left). But the end result is perfectly acceptable for handmade jump rings. They will even take solder well, if you you’d like to solder your rings closed.

Discover More Behind Door 44
Thanks so much for joining me today. I hope you enjoyed learning to make your own jump rings. If you’d like a printable PDF version of this tutorial that you can keep on hand for reference, it’s available in my Free Resource Library for all of my email subscribers. And as a subscriber, you’re always the first to know when I release a new tutorial. So, join my list today if you’re not already on it!
Join my Newsletter to download my free DIY Jump Rings Tip Sheet
Subscribe to be the first to know what’s happening behind Door 44! PLUS get instant access to my free resource library, which includes a printable DIY Jump Rings Tip Sheet (#107)
Want more free wire jewelry tips and tricks?
I like to share useful wire weaving tips and tricks on my social media channels, and we have some great conversations about wire jewelry in my private Facebook Group. Also, be sure to connect with me @door44studios on Instagram, and Facebook to keep up with everything that’s happening behind Door 44. And if you haven’t already done so, be sure to subscribe to my YouTube channel where you’ll find new wire jewelry videos weekly.
Until next time, go make something beautiful!

Pin This Post for Future Reference
Super easy and such a good way to save money! Thanks for sharing! I’m going to use the Mobius flowers and solder them shut and set a stone in the middle. Something different!