

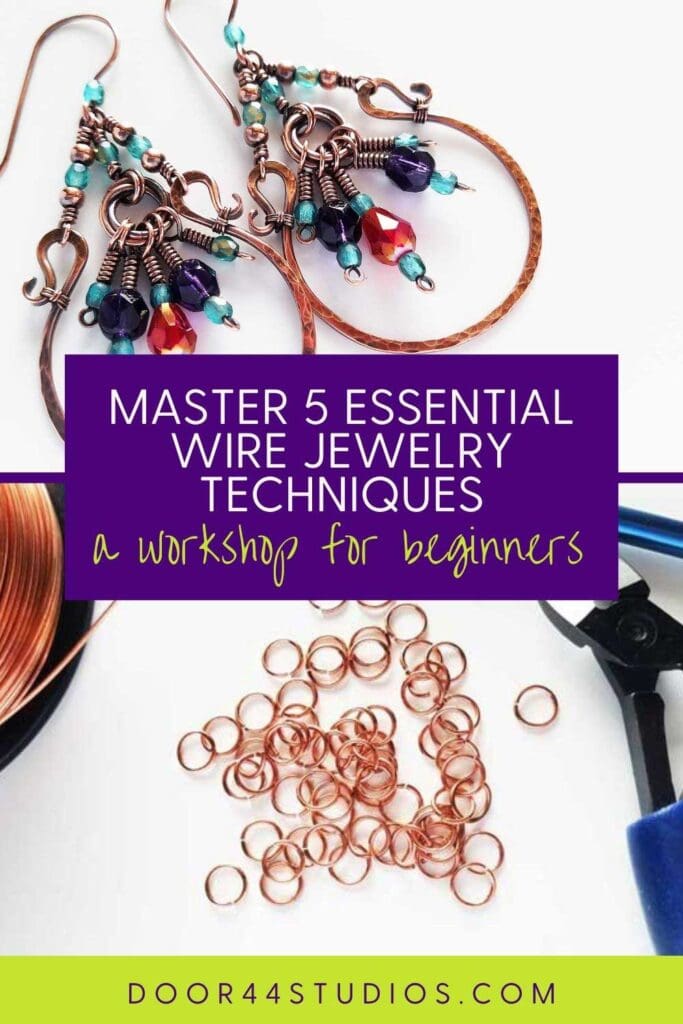
5 Essential Wire Jewelry Techniques That’ll Make You a Better Wire Weaver
Do you want to be a better wire weaver? If the answer to that question is yes then you need to master these five essential wire jewelry techniques before you do anything else. And here’s something you might not expect: not one of these techniques involves weaving wire.
I see a lot of wire jewelry in my line of work. And one of the things that I’ve really started to pay attention to lately is that a lot of that jewelry — even the stuff made by really well-known and highly regarded wire jewelry artists — isn’t always well made. There are some wildly creative artists out there who are fantastic designers. But a lot of those same great designers are less than stellar technicians. And nowhere is that more apparent than when it comes to really basic skills like symmetry, hammer techniques, plier techniques, and making pretty cold connections.
When I first opened Door 44, I did so with one clear objective in mind and that’s to set you on the path to wire weaving mastery with a solid foundation of skills that will ultimately make you a better jewelry artist. And that’s exactly what this tutorial series is all about. We’re going to make what appears to be a really simple pair of earrings. But these earrings are actually a comprehensive wirework basics workshop in one fun and wearable little project.
Here’s what we’re going to cover in this series:
- I’ll share my favorite tips for making symmetrical earring components.
- We’ll practice using a chasing hammer to flatten and texture our earring frames.
- I’ll show you my favorite technique for neatly binding wires together.
- We’ll make some simple loops, some wrapped loops, and some pretty mobius rosettes (all of these techniques will help you hone your grip and your fine motor skills when working with pliers).
- Finally, I’ll show you how to make some simple ear wires that coordinate with your earrings perfectly!
How To Join this Wirework Basics Workshop
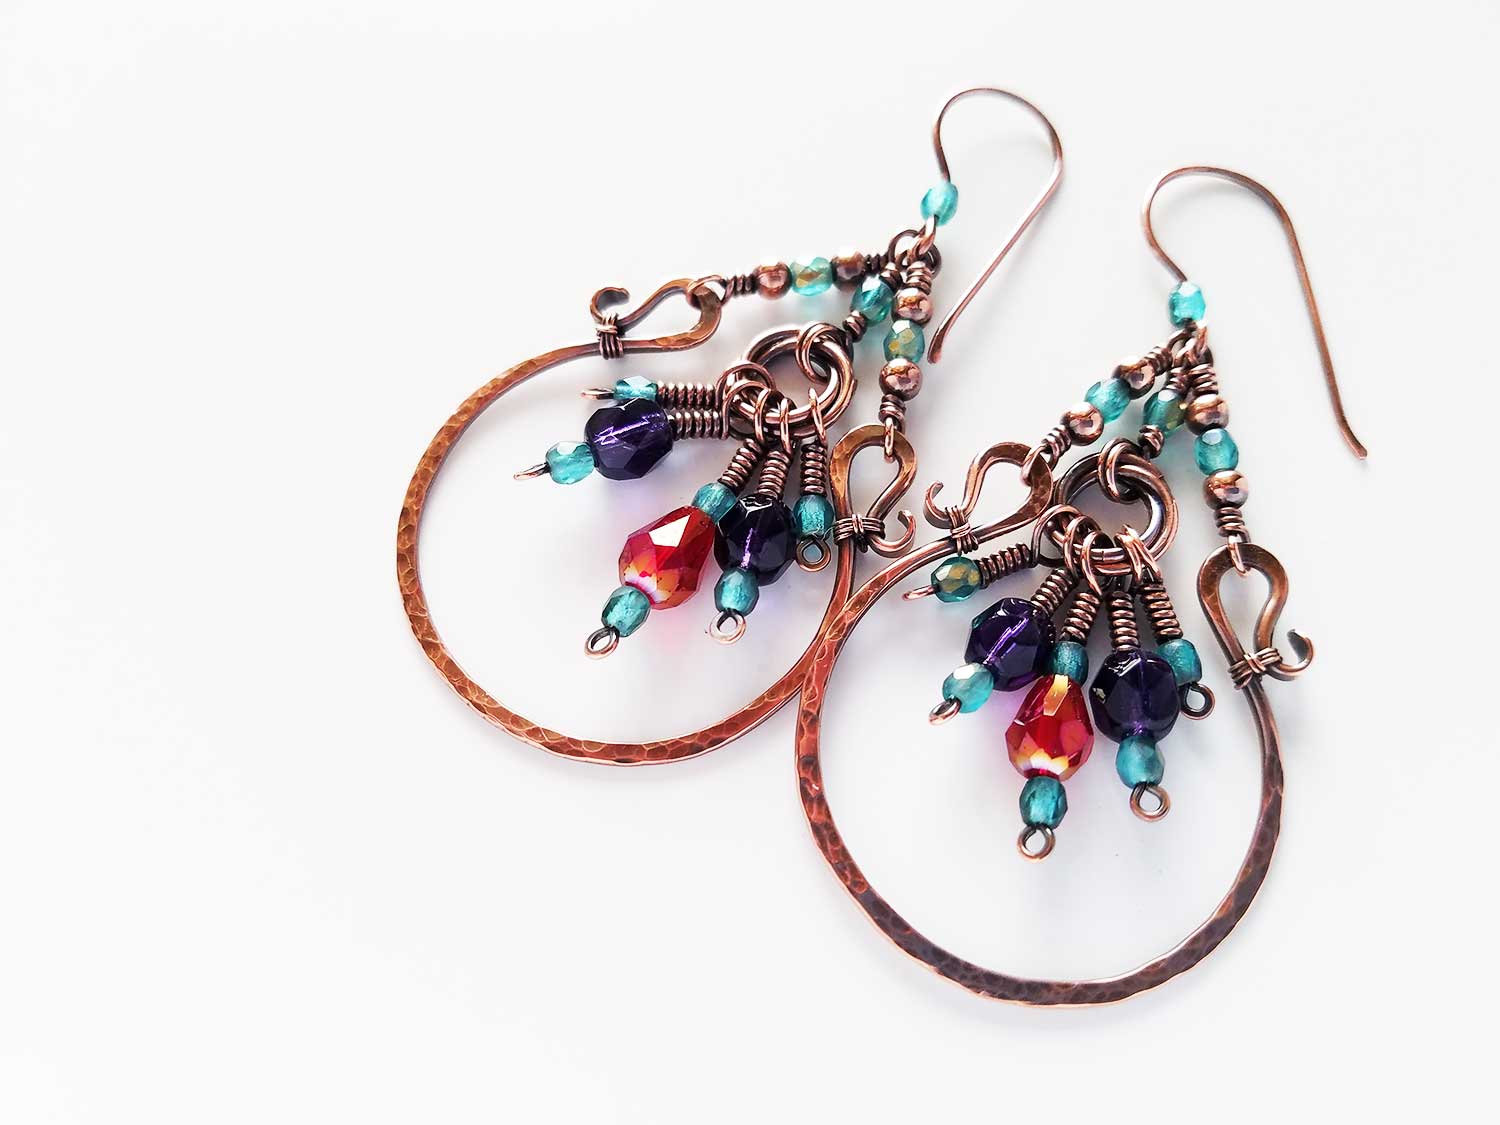
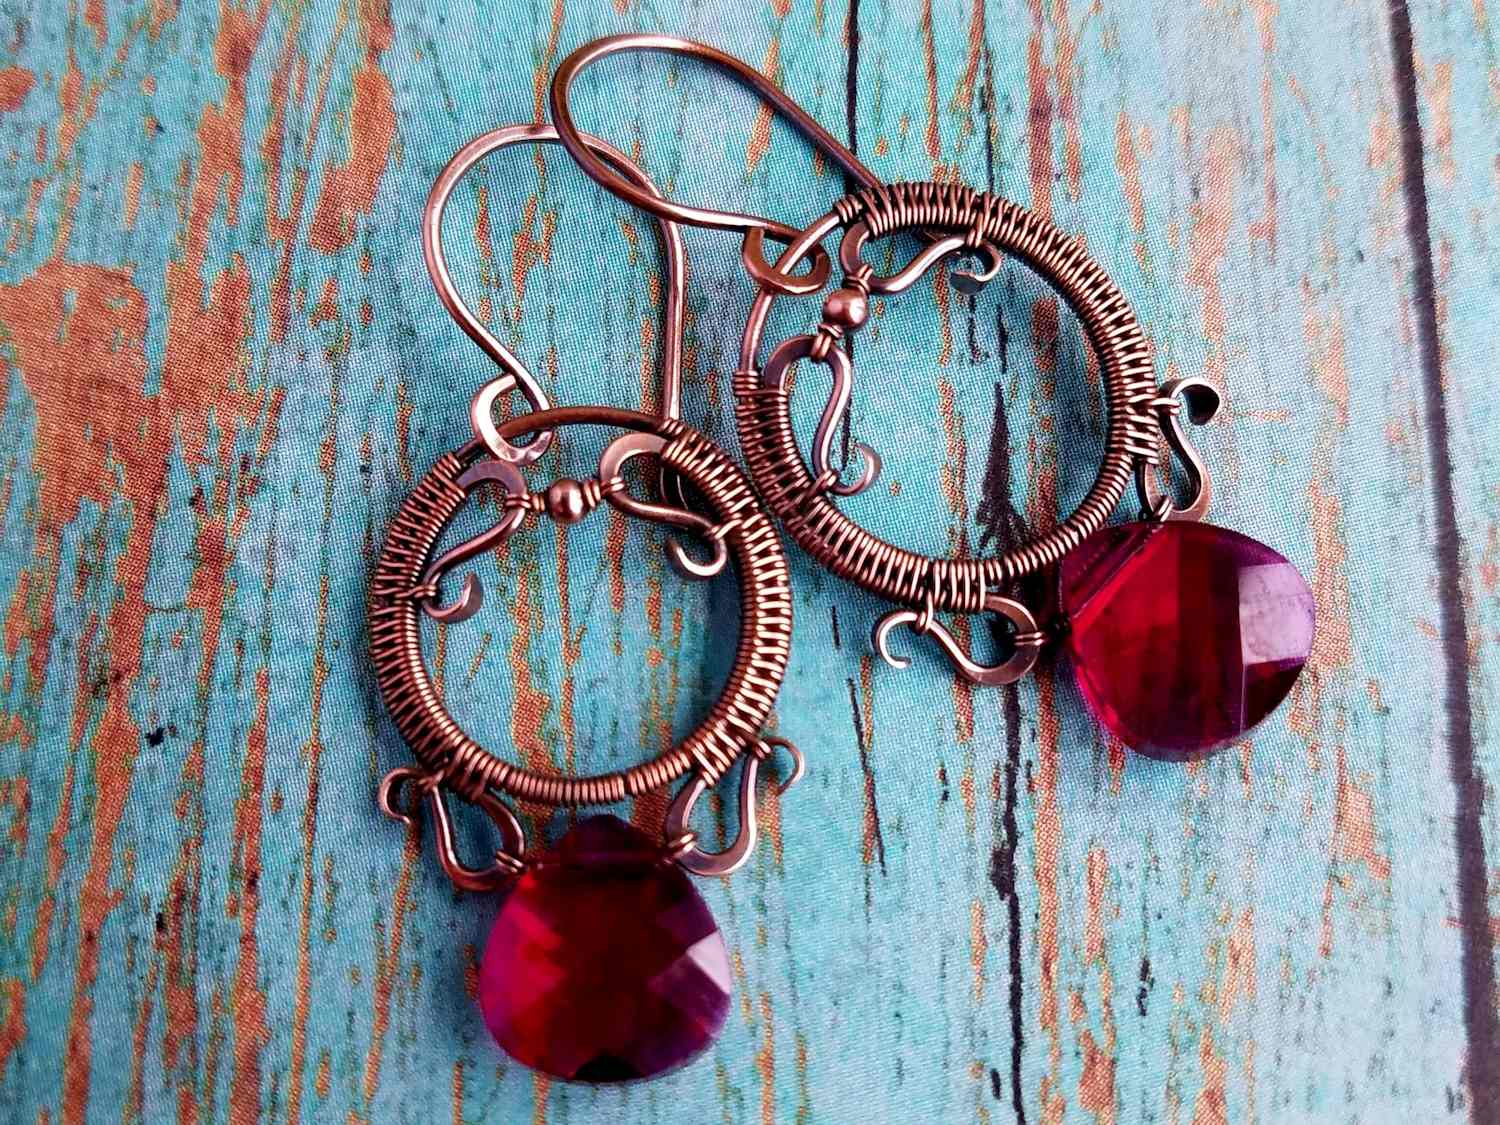
I call these my Lucky-U earrings. It’s a super simple design, but we’re going to break it down into even simpler individual components. That way we can really focus on getting great results at each step along the way. The beauty of this approach is that it gives you an opportunity to hone and sharpen those five essential wire jewelry techniques that I mentioned above. And all while making a fun pair of earrings that you’ll be proud to wear or gift.
Step 1: Download the Free DIY Jump Rings Tutorial
The focal point of these earrings is the pretty beaded tassel, which hangs from a mobius rosette. If you’ve been around here for a while, you may have heard me mention that I began my own wirework journey making chainmail jewelry. I’d been a beadweaver for decades by the time I started feeling drawn to working with wire. In the early 2000s, there was a company that specialized in selling jump rings for chainmail artists. And they ran some very striking ads in all of the beadwork magazines back in the day.
I took the bait. Those ads pulled me in and I started dabbling in chain weaving. Once I’d mastered a dozen or so different chain weaving patterns, though, I started to get a bit bored with that particular jewelry-making discipline. You see, the problem with chainmail jewelry is that it all kind of looks the same. It’s beautiful, but it’s not very unique. It’s kind of hard to tell one chainmail artist’s work from another. And I wanted my jewelry to be immediately recognizable as my own.
I gained two really important insights during my chainmail days, however. First, I discovered my passion for copper. I like wearing it and I like working with it. Secondly, I realized that I missed working with beads. So, I decided to figure out how to combine my newfound love of copper wire with my life-long love of beads, and that’s when I branched out into wirework and wire weaving.
The beautiful thing about my journey, though, is that during those several months that I dabbled in chainmail, I developed some highly refined motor skills. And that’s the beauty of making chainmail jewelry. It helps you refine your grip and your mastery of pliers like no other jewelry discipline.
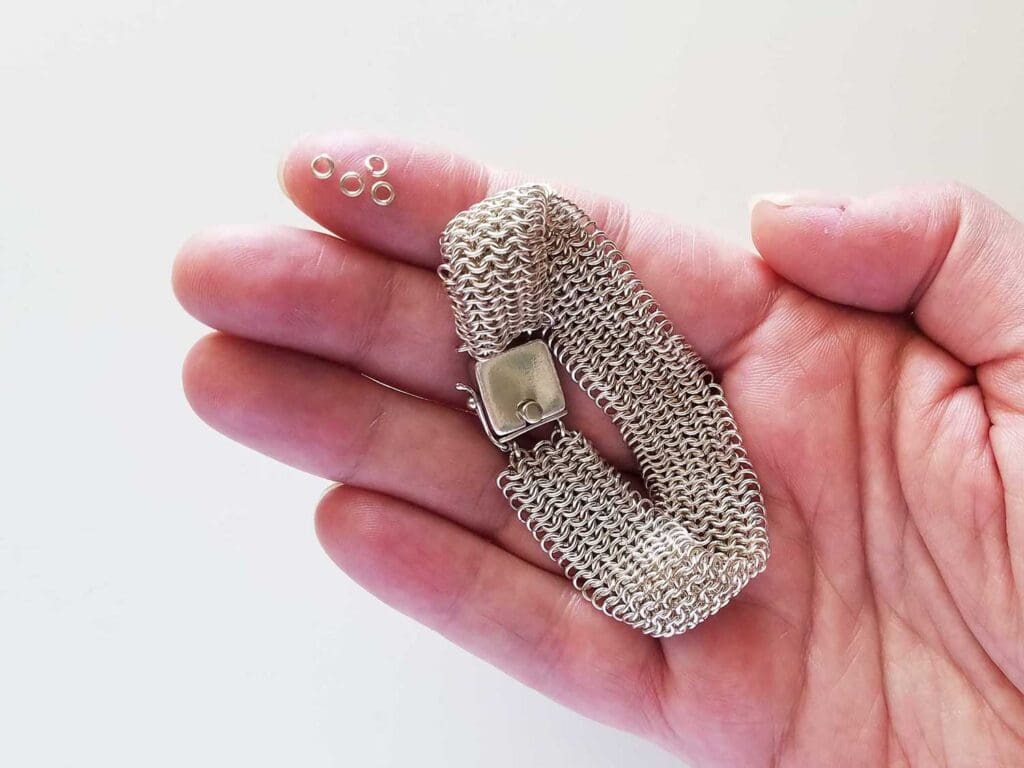
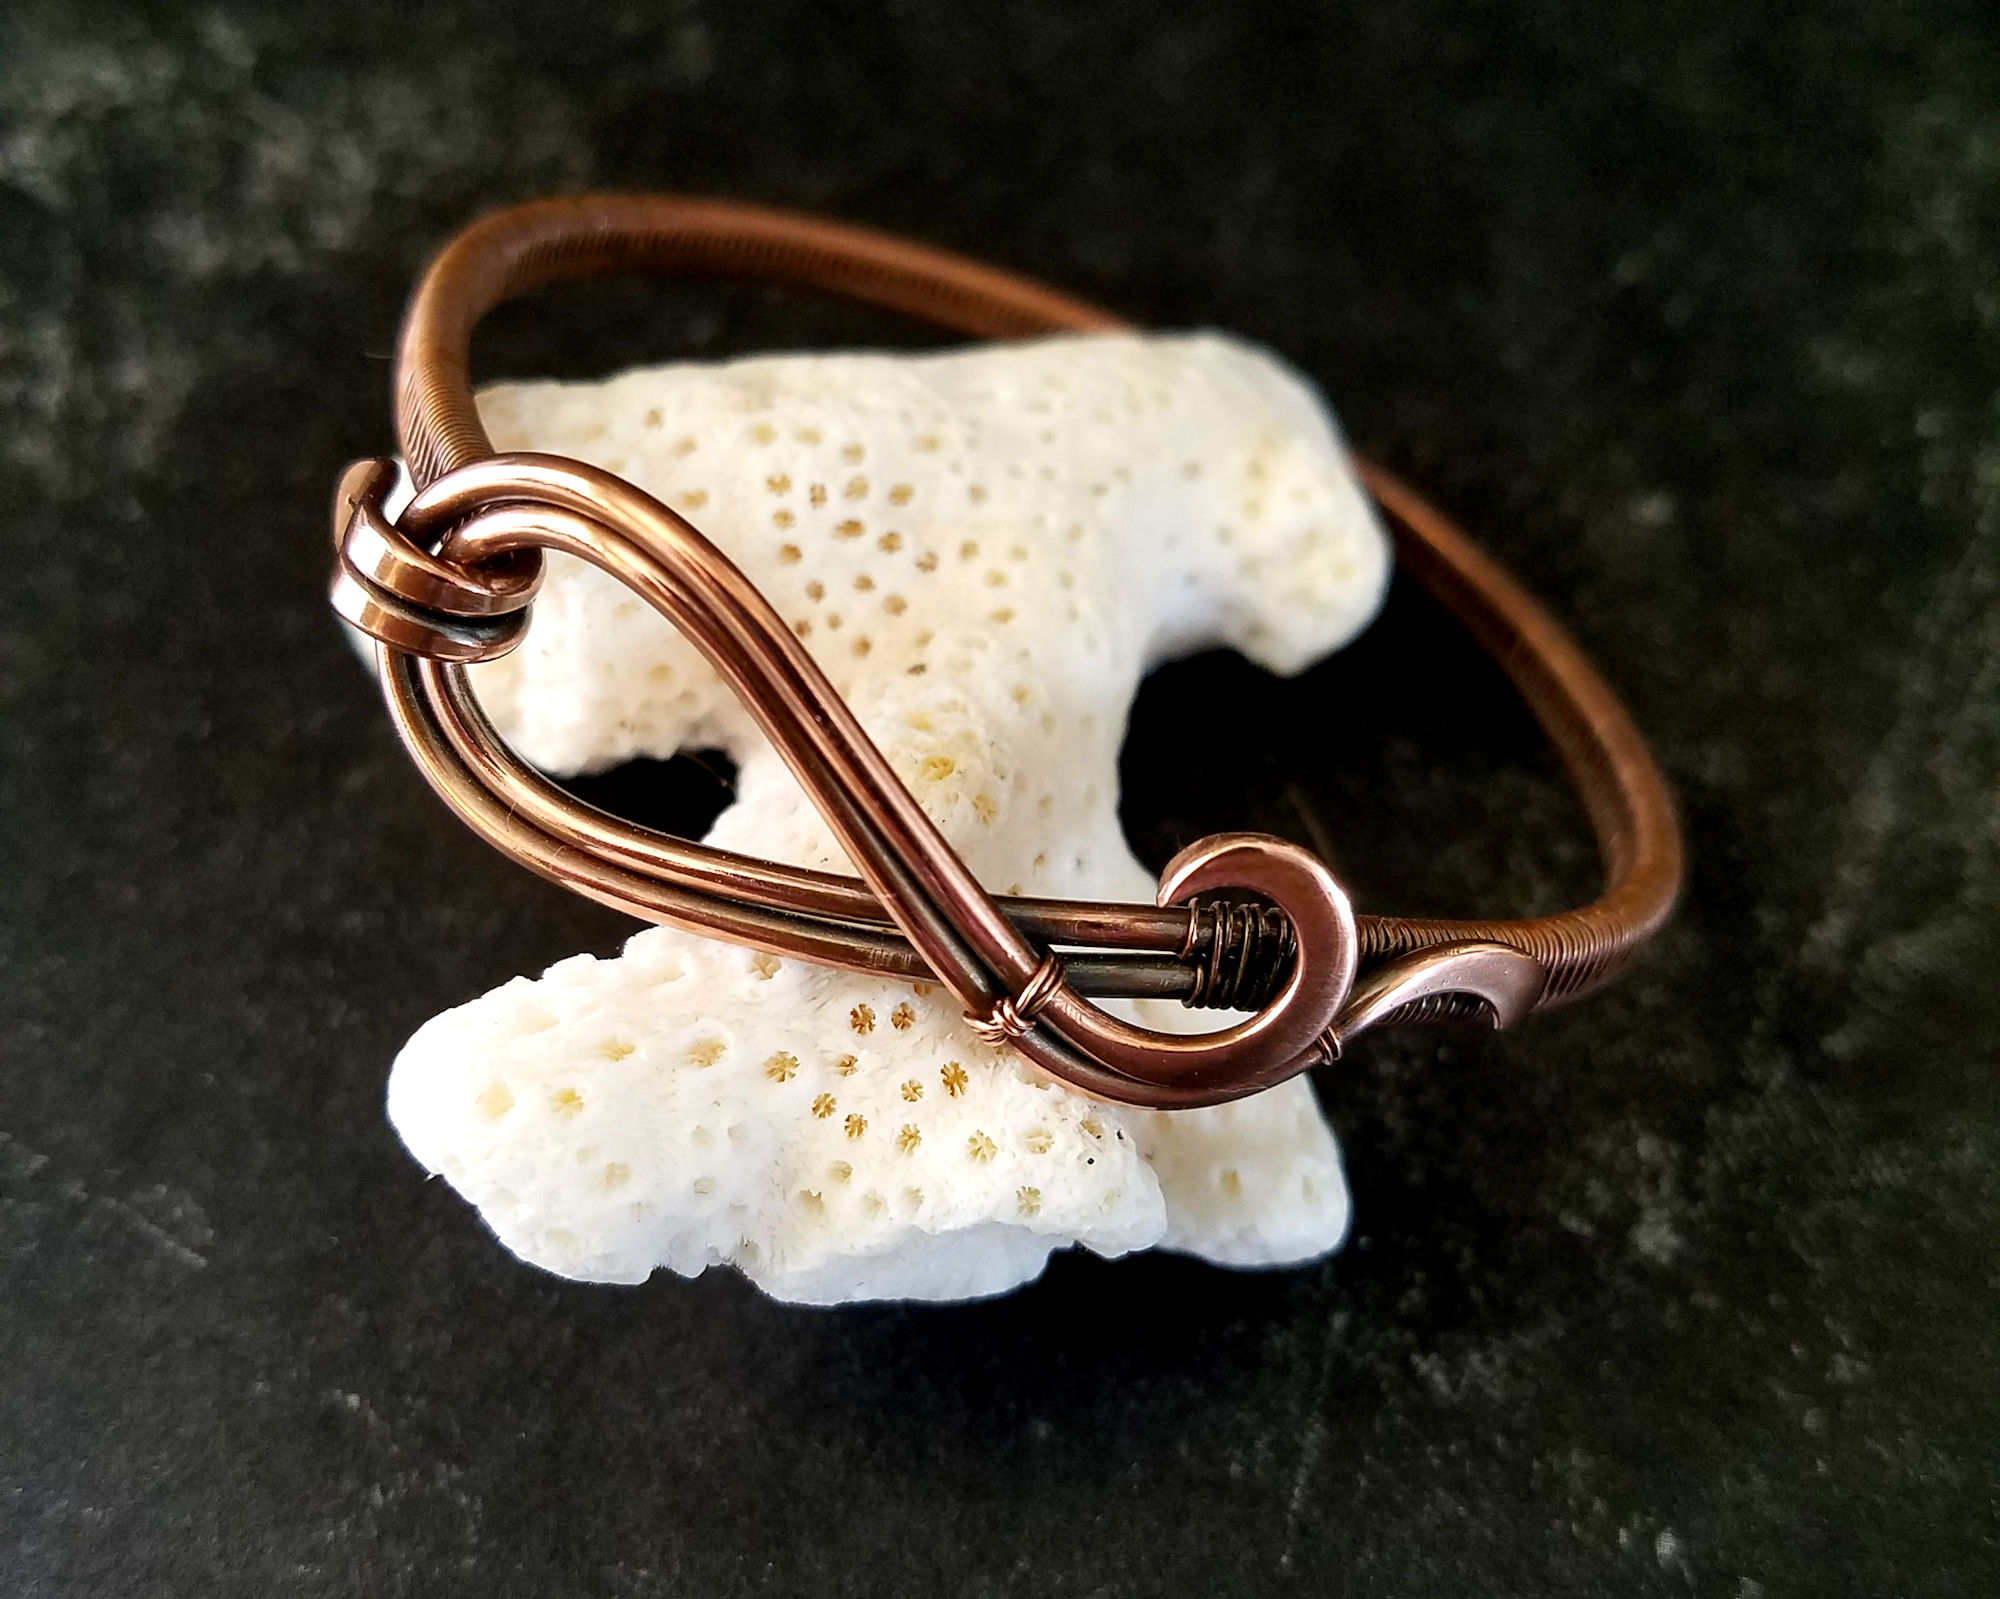
Take the bracelet pictured below, for example. This is a micromaille European 4-in-1 mesh bracelet. It’s woven with teeny tiny 22ga rings, which have an inner diameter (ID) of just 1.75mm! Those rings are about the size of a mustard seed, as you can see from the loose rings on my fingertip in the photo. And each of the hundreds of rings in this bracelet were opened and closed exactly as demonstrated in this video tutorial.
Refining your grip and mastering your use of pliers are such important skills for wire weaving that I wanted to add a little chainmail element to these earrings to help you develop those crucial skills.
So, we’re going to make some jump rings from scratch. And then we’ll weave our handmade jump rings into the pretty little mobius flowers that are featured in the Lucky-U earrings.
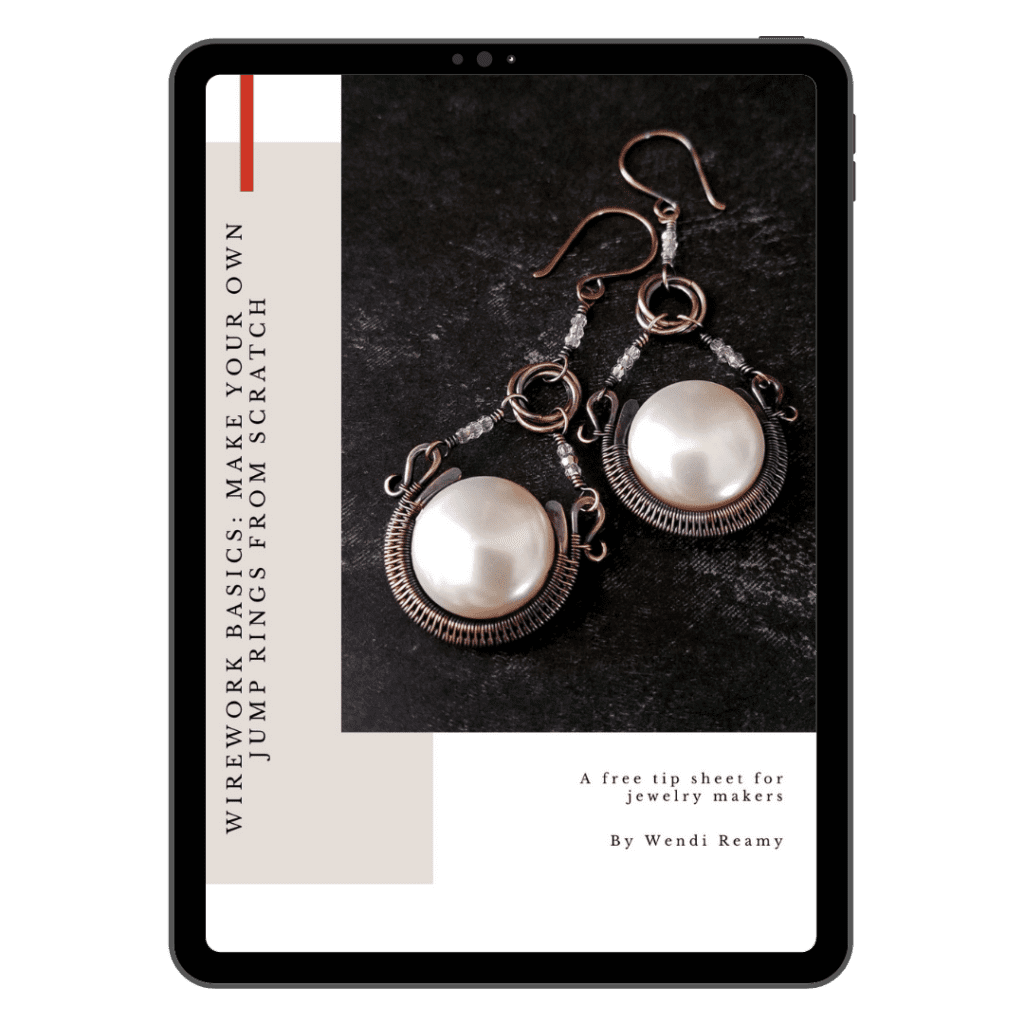
This process of creating your own jump rings and learning to make mobius flowers is the most complex aspect of this essential skills workshop. So, I put together a free tip sheet that walks you through the process of making your own jump rings, step-by-step. As always, you’ll find the free tutorial in my resource library. It’s file number 107.
Do you need a password to get into my resource library? No problem! Just complete and submit the form below (or the one at the bottom of this page) and you’ll receive a password instantly.
subscribe to my newsletter and get free stuff!
DIY Jump Ring Tutorial
Step 2: Gather Your Tools & Materials
You’ll find shoppable links to most of the tools and supplies that you’ll need for this project below. Wherever possible, I’ve linked to the same sources that I use myself. I’ve also linked to at least one alternative source for each item as well. Just in case you can’t find what you need through my primary source.
This post may contain affiliate links. If you click on a link and then make a purchase, I may earn a small commission (at no cost to you). As an Amazon Associate I earn from qualifying purchases. To learn more, please see my full disclaimer.
- TOOLS
- WIRE
- 16ga Dead Soft Wire:
- Rio Grande: 1-pound spool or 4-ounce spool
- Etsy: Copper wire by the foot
- 18ga Dead Soft Wire:
- Rio Grande: 1-pound spool or 4-ounce spool
- Etsy: Copper wire by the foot
- 22ga Dead Soft Wire:
- Rio Grande: 1-pound spool or 4-ounce spool
- Etsy: Copper wire by the foot
- 28ga Dead Soft Wire:
- Rio Grande: 1-pound spool or 4-ounce spool
- Etsy: Copper wire by the foot
- 16ga Dead Soft Wire:
- BEADS
- 3mm Copper Beads: Shop Rio Grande or Etsy
- Czech Glass Beads: My favorite source for Czech Glass Beads is Arte Bella Surplus.
- 6x8mm Drop Beads: 2 per pair
- 6mm Round Beads: 4 per pair
- 3mm Round Beads: 18 per pair
Step 3: Let’s Master Those 5 Essential Wire Jewelry Techniques Together!
Now that you’ve downloaded your free DIY Jump Rings Tutorial and gathered all the tools and supplies that you’ll need, let’s get started! Just click the video thumbnail below to watch the Lucky-U Wirework Basics Workshop.
Lucky-U Earrings Workshop: Part 1
In part one of this series, we’ll focus on creating perfectly matched horseshoe frames. Then we’ll add a pretty hammered texture to our frames and bind the connector loops using my favorite technique for binding loose wire ends.
Essential Wire Jewelry Techniques Workshop: Part 2
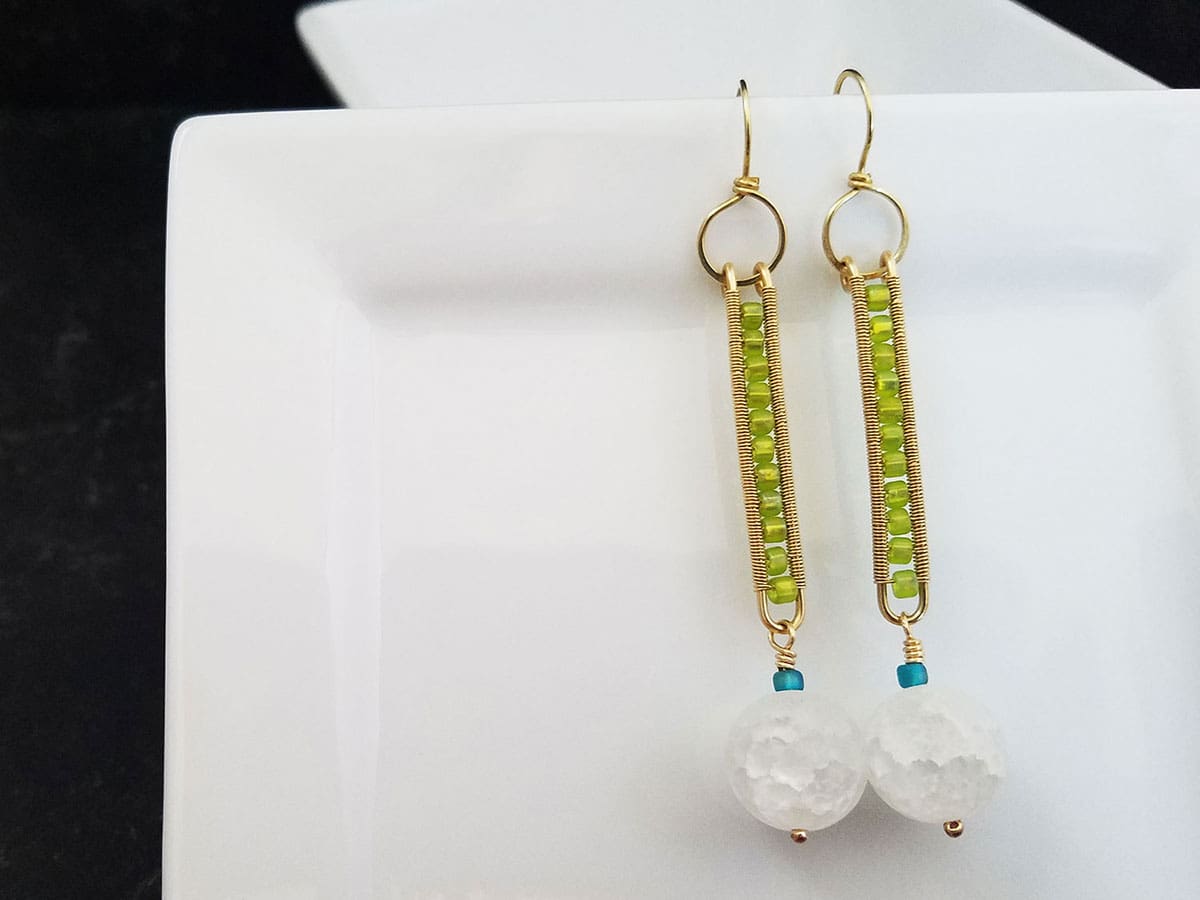
In part two of this series, we’re going to focus on making the pretty beaded tassels that are featured in these fun wire-wrapped chandelier earrings. We’ll use both simple loops and wrapped loops in our tassels, as well as some pretty mobius rosettes, which we’ll make using three simple jump rings.
I’ll also show you the secret to getting earring components to hang straight. Watch Part 2 of the Lucky-U series below:
Essential Wire Jewelry Techniques Workshop: Part 3
In Part 3 of this series, we’ll make some pretty beaded ear wires from scratch and then we’ll complete the earring assembly.
Don’t forget to grab the free DIY Jump Rings Tutorial, which will walk you through my simple process for making your own jump rings from scratch using nothing but a couple of basic tools that you probably own already.
You’ll find the free guide in my resource library, which is password protected.
Need a password? Just complete the form below and you’ll receive your password instantly!
Get my free diy jump ring tutorial
When you join our newsletter
Once you’ve made your jump rings, you’ll need to weave them together to form the pretty mobius rosettes that we’ll use in this earring workshop. Be sure to watch this video to learn how to properly close jump rings and how to make your own mobius flowers.
Discover More Behind Door 44
Thanks so much for joining my free Lucky-U Wire Jewelry Basics Workshop! I hope you enjoyed this project and that the accompanying video tutorials helped you master some of the most essential and commonly used wire jewelry techniques. By taking the time to really hone these skills, you’ve created a solid foundation for your wire weaving adventure.
Want to learn to make more fun wire jewelry designs like this one?
I like to share useful wire weaving tips and tricks on my social media channels, and we have some great conversations about wire jewelry in my private Facebook Group. Also, be sure to connect with me @door44studios on Instagram, and Facebook to keep up with everything that’s happening behind Door 44. And if you haven’t already done so, be sure to subscribe to my YouTube channel where you’ll find new wire jewelry videos weekly.
Until next time, my fellow jewelry maker, go make something beautiful!

Pin this Post for Later!

Hello Wendi 🙂
Sooooooooooooo I’m making these Chandelier earrings, 30 pair…. because that is how I roll lol… anywho, when you create the beaded dangle part, are they going to hang neatly like it is shown in your photos? Because mine are just hanging in a “clump” not like how yours are shown in the photo. I mean mine look like that if I put my finger behind the beads or if I lay them down… I mean they still look cute– but I’d like to know if they can hang side by side. I guess I could create the tighter hanging loops off of that 3 jump ring do-hickey so they don’t move so freely… I dunno, Just thought I’d ask the maker of this design!
big hugs! ~Cheryl
Hey, Cheryl! It really depends on the types and sizes of beads that you choose for your tassels. I’ve had some that hang nice and neatly fanned out, as they are in the flat-lay photos. And I’ve had other earrings that bunch up. But they all look beautiful while worn. If you really want your tassels to fan out neatly, choose smaller beads with large flat facets. Round beads and micro faceted beads will tend to bunch up. But then that’s the nature of tassels. And they really do look great while worn, regardless of how the tassels fall.