

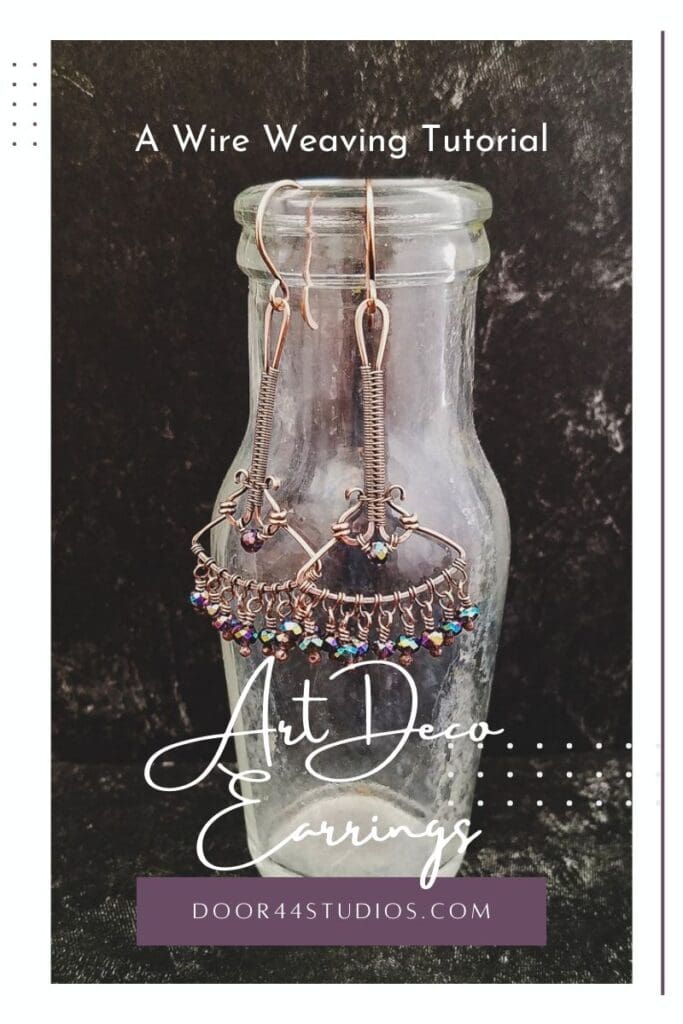
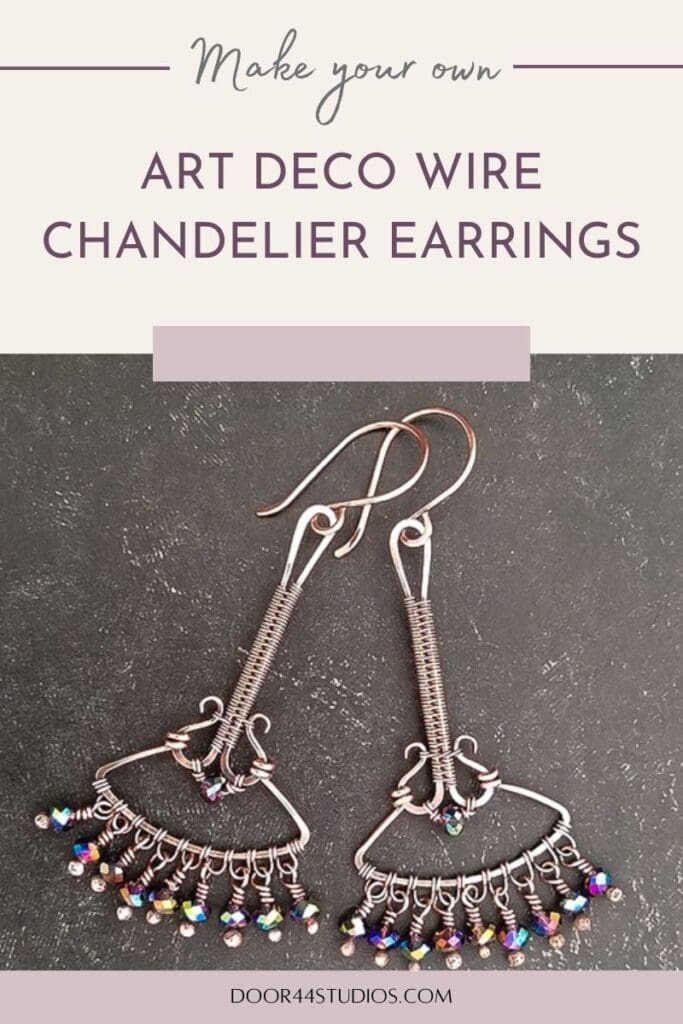
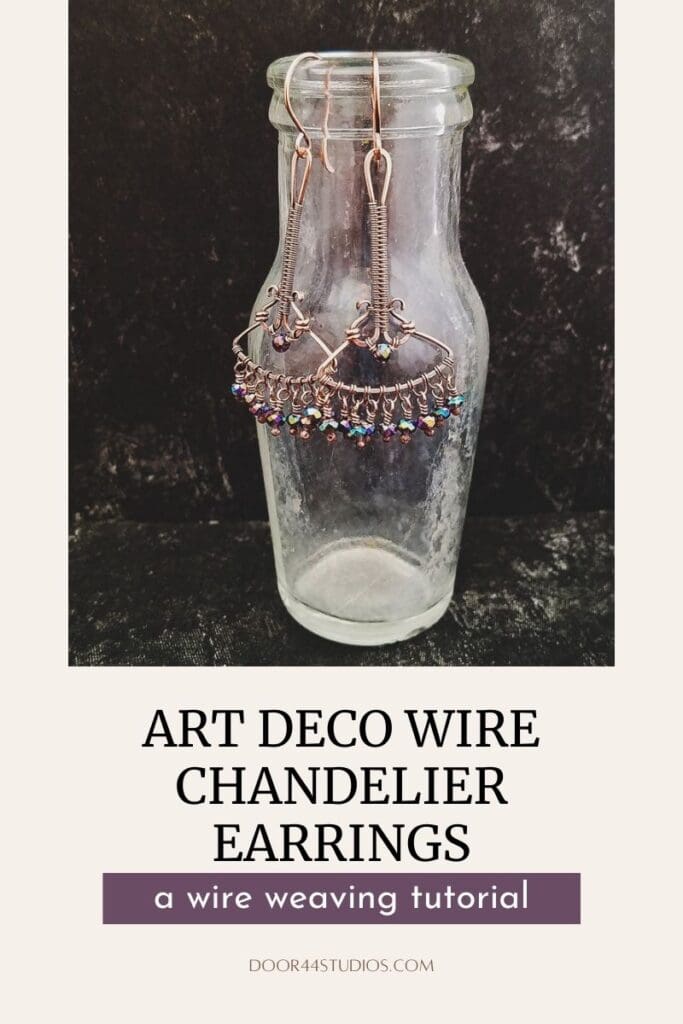
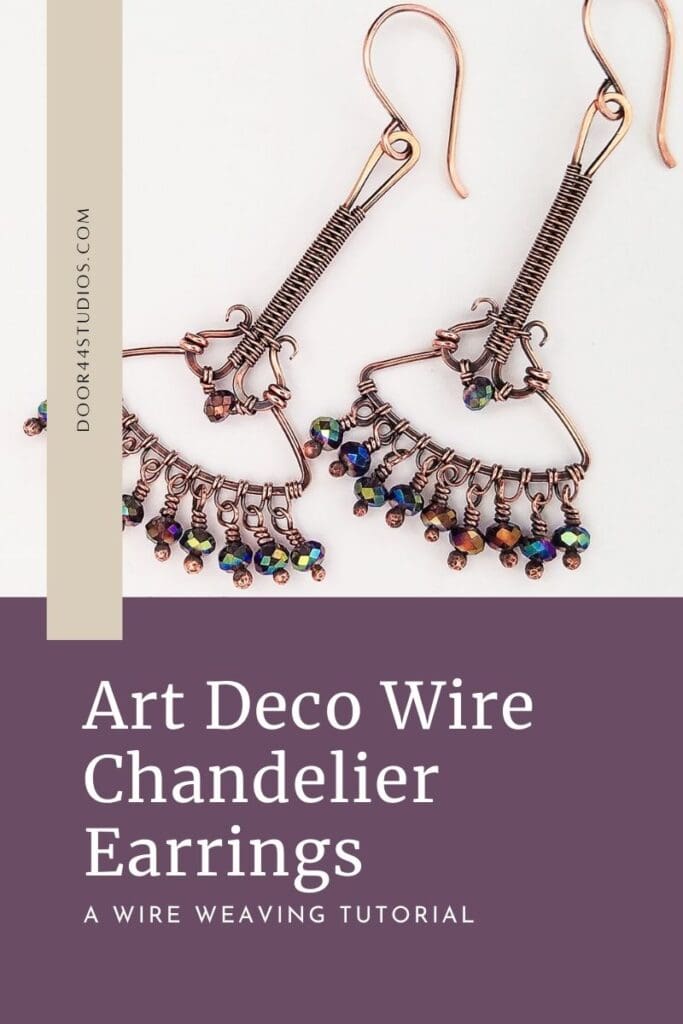
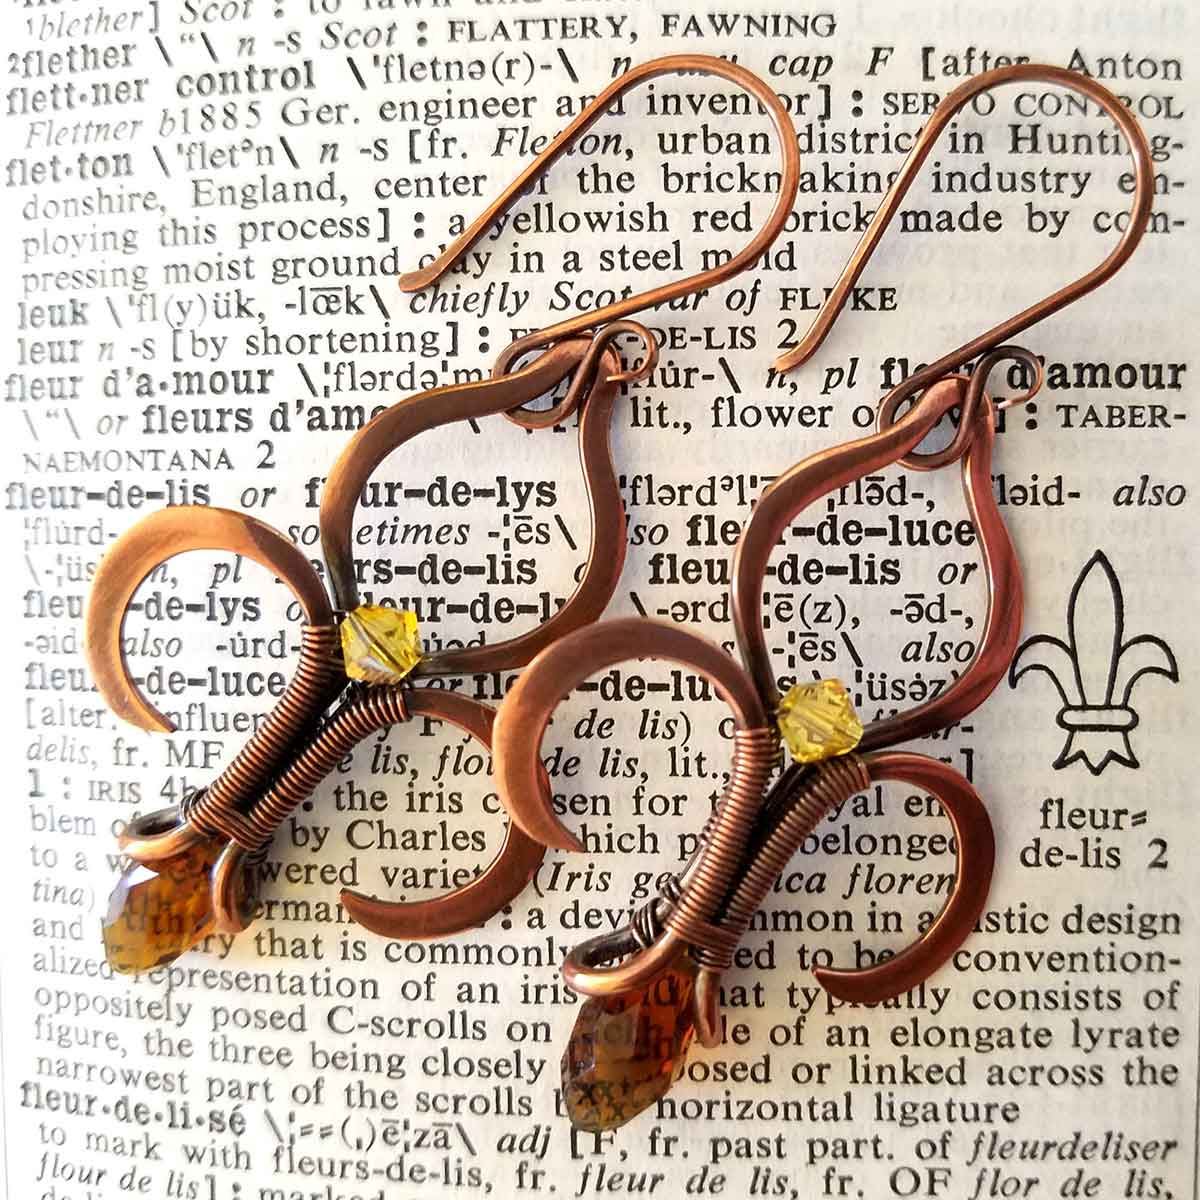
Art Deco Wire Chandelier Earrings
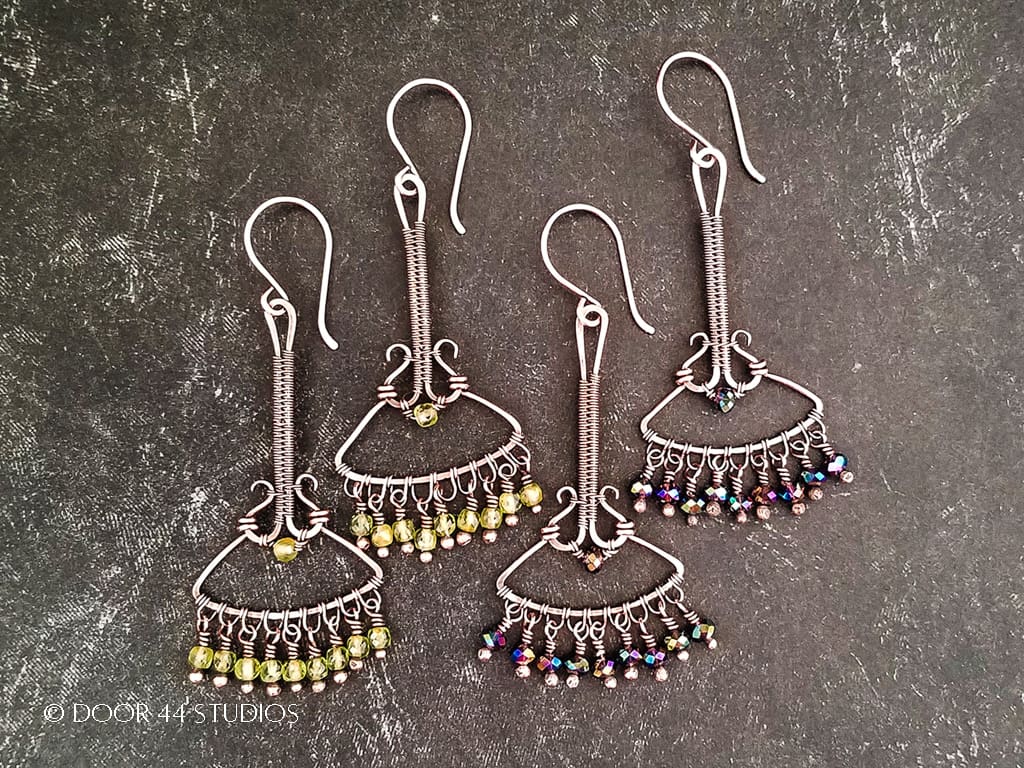

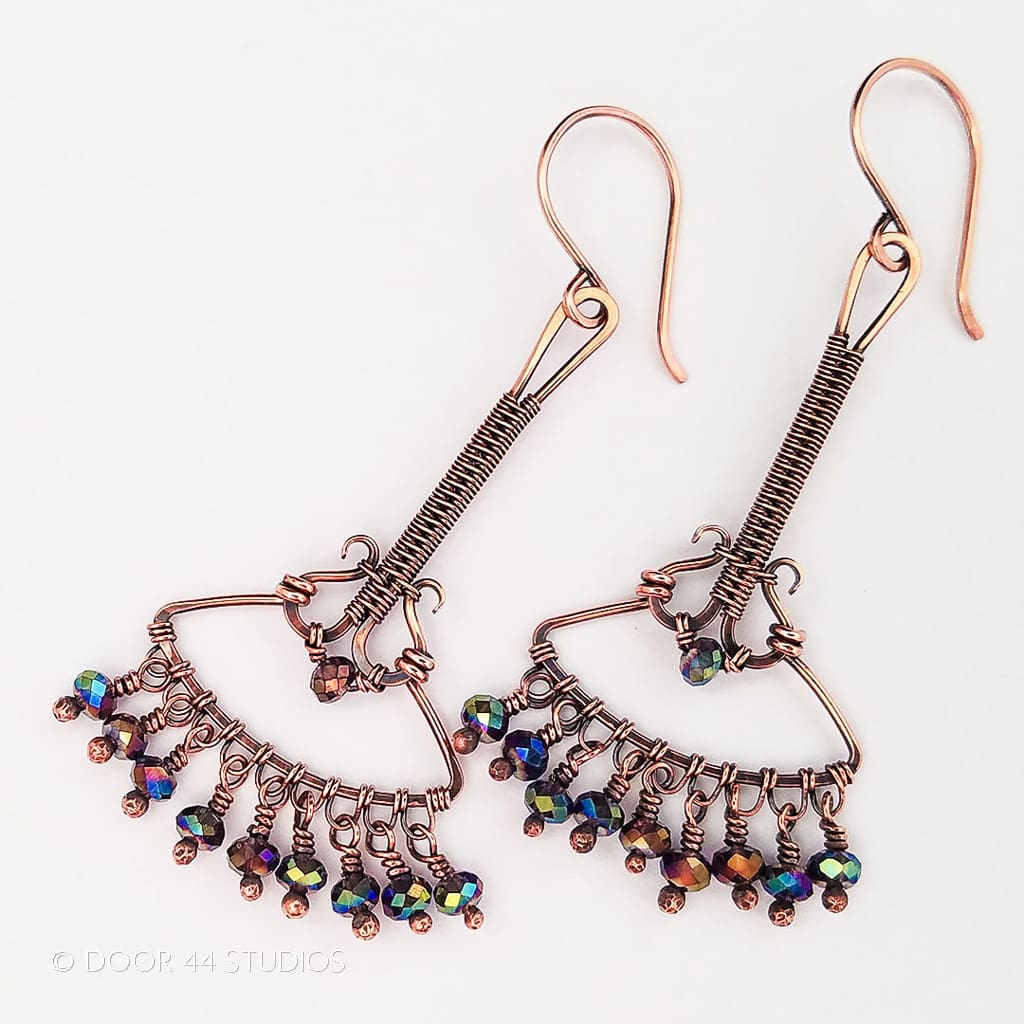
Don’t you just love a good pair of swingy earrings? I know I do, and these pretty Art Deco wire chandelier earrings have swing for days!
These elegant wire woven earrings have that classic fan shape that’s so characteristic of Art Deco style jewelry. And they feature a simple wire lace technique that creates the perfect base for some fun and flirty Flapper girl fringe.
This is what I’d consider an intermediate project because these earrings do involve a bit of wire weaving. That being said, the weaving is minimal, and the Modified Soumak weave is an easy one to learn. So, this project is also achievable for any adventurous beginner who appreciates a good challenge.
Let’s get started!
Copyright & Disclosure
You’re welcome to make and sell products from this tutorial. When it comes to my written tutorials, however, I reserve exclusive rights to all images and written content. You may not reproduce or redistribute any portion of this tutorial in any way, shape, or form.
This copyright applies to the printable PDF version of the Art Deco Wire Chandelier Earrings tutorial as well. You may share the free version of this tutorial only by linking directly to this page.
This post may contain affiliate links. If you click on a link and then make a purchase, I may earn a small commission (at no cost to you). As an Amazon Associate I earn from qualifying purchases. To learn more, please see my full disclaimer.
Because there’s a full video tutorial for these earrings, I don’t go into a lot of detail here on the blog. Experienced wireworkers will have no trouble following along with this abbreviated written tutorial. If at any time you get stuck, be sure to watch the video tutorial here. Or be on the lookout for the much more detailed written tutorial, which will be available soon.
Skill Level: Intermediate
This is a more challenging project that involves wire weaving. It can be achieved by someone who has some basic wirework skills.
Getting Started
For best results, use solid copper, sterling silver, brass, or bronze jewelry wire. You can use either dead soft or half-hard wire for these earrings. I like to use half-hard wire for earrings because it saves time. But you can always harden dead soft wire to make sure your earrings maintain their shape.
Because we’ll be doing some hammering and shaping in this project, I do not recommend using filled wire for this project. Anytime you hammer the ends of filled wires, you run the risk of exposing the center core wire. And that can result in discoloration or an uneven finish, which will become more apparent over time.

Tools & Materials
- 14 inches (36 cm) of 20ga Dead Soft Copper Wire
- 24 inches (61 cm) of 26ga Dead Soft Copper Wire
- 36 to 48 inches (92 to 122 cm) of 28ga Dead Soft Copper Wire
- 3mm beads of your choice (round, roundel, or teardrop – 12 to 20 beads per pair)
- Wire Cutters
- Stepped Bail-Making Pliers
- Chain Nose Pliers
- Flat Nose Pliers
- Nylon Jaw Pliers (Optional)
- Needle File
- Chasing Hammer
- Bench Block
- Ruler
- Fine Point Permanent Marker
Finished Size
- WIDTH: about 1 inch (2.54 cm)
- LENGTH: about 2 inches (5.08 cm)
Instructions
If you prefer video tutorials or if you’re very new to wirework, be sure to watch the detailed video version below. Otherwise, keep reading for the abbreviated written tutorial.
The following instructions are written for the 2-inch earrings that I demonstrated while writing this tutorial. You can easily modify the length and width of your earrings by changing the cut lengths of wire and the mandrel sizes. 20ga wire is sort of the sweet spot for this particular earring design, but you can use anything between 22ga and 18ga for the frames if you like.
Create the Woven Base for Your Wire Chandelier Earrings
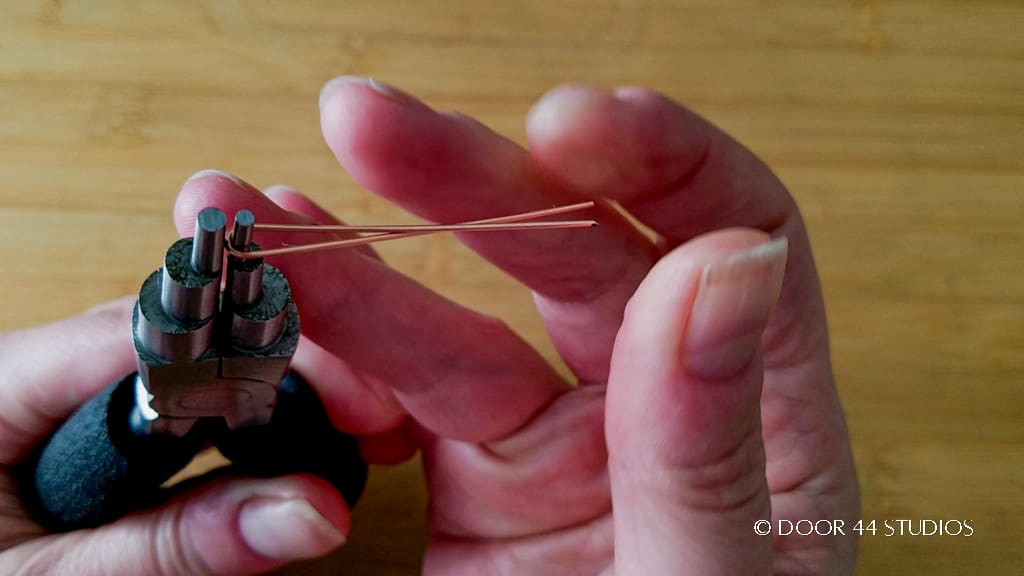
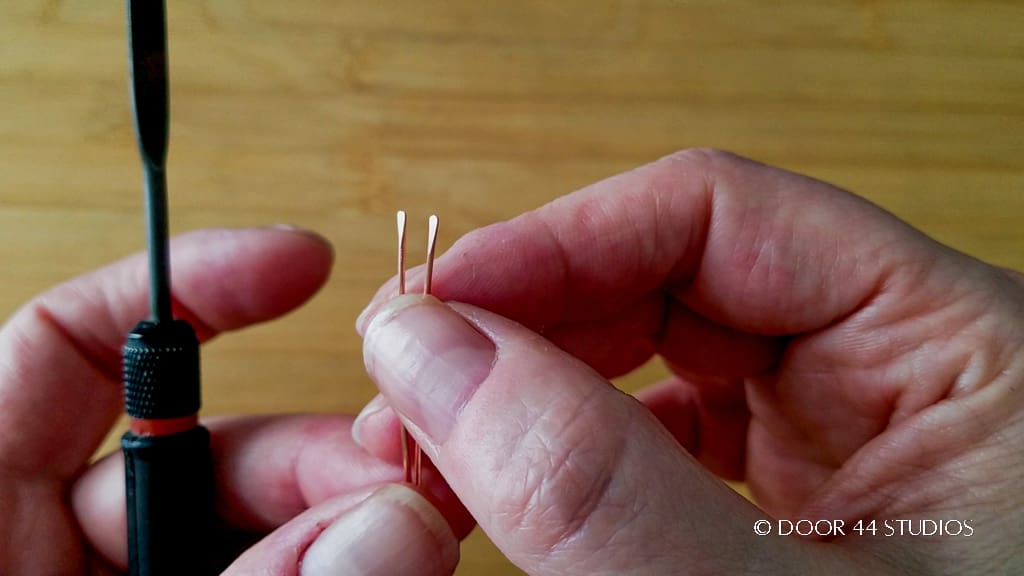
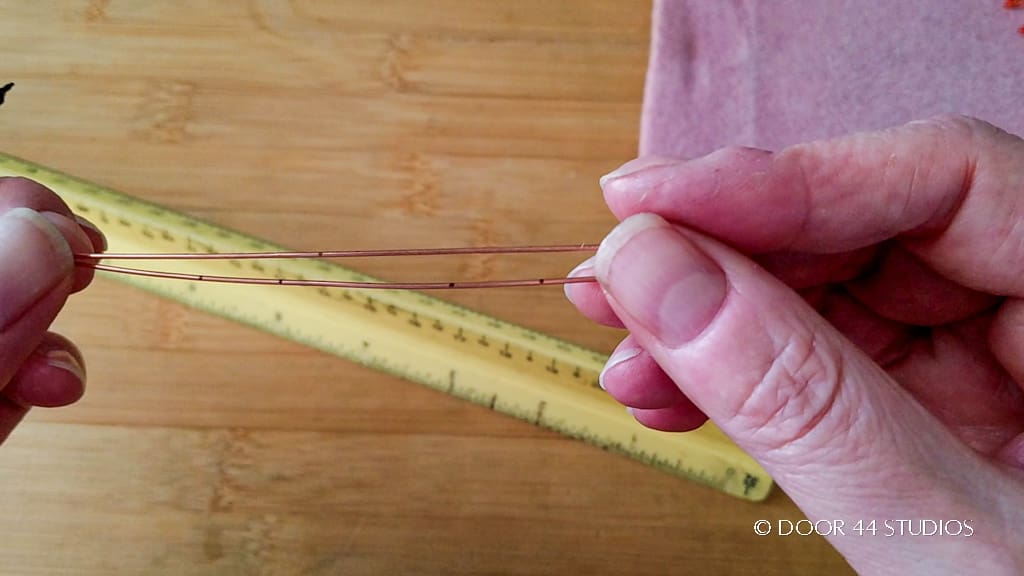
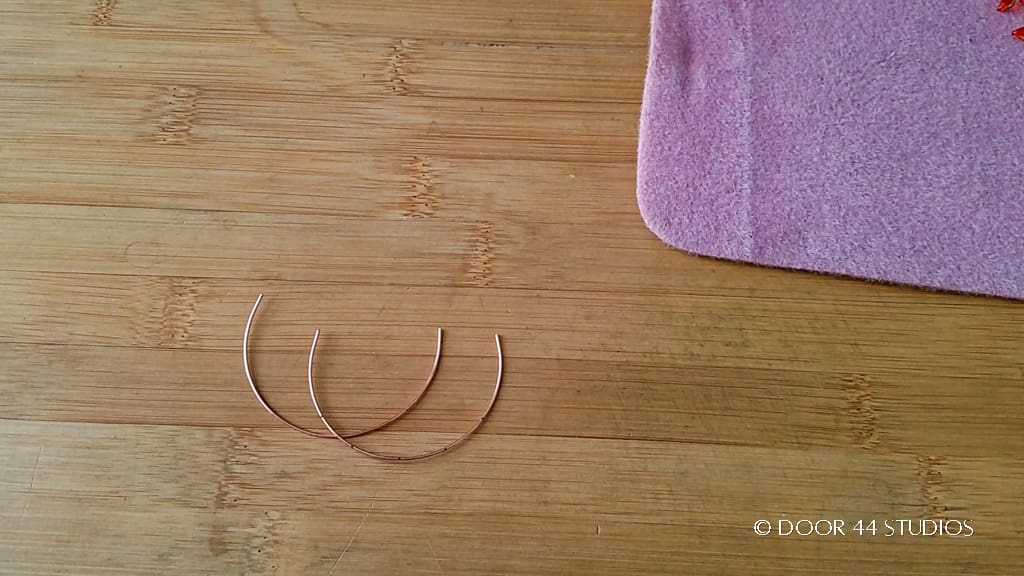
Cut two pieces of 20ga wire that are 3.5 inches (9 cm) long. Then mark the center point of each of your two wires. Next, use your stepped bail-making pliers to fold your wire in half, as shown. Trim the ends of your folded wires to even them out, if necessary.
Now use your chasing hammer and bench block to lightly paddle the cut ends of your folded wires. Refine the shapes of your paddled ends with a needle file, as needed. When finished, your wires should look something like the one shown below.
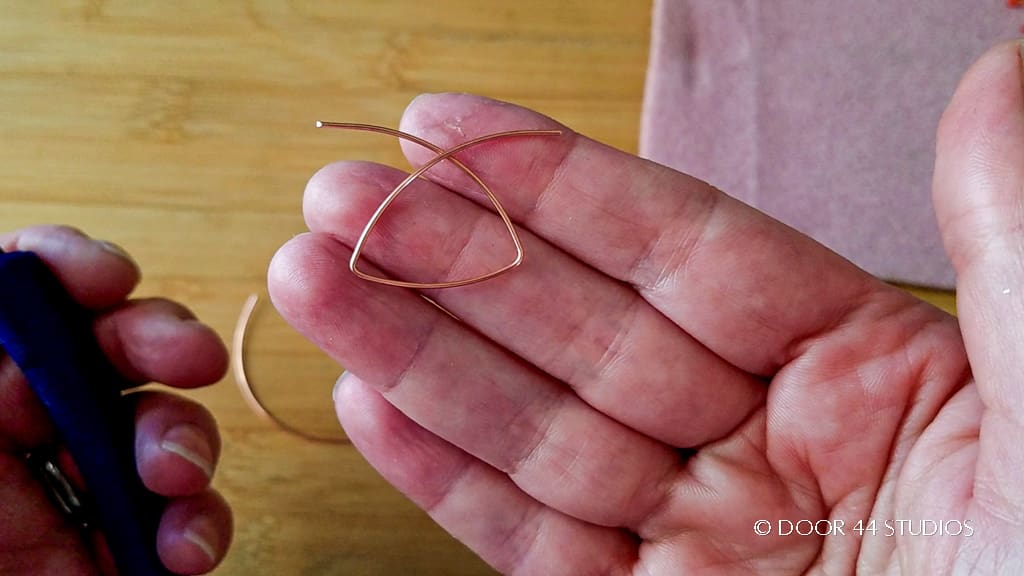
Next we’re going to begin forming the scrolled ends of the stick components. Using the smallest step on your stepped bail-making pliers, curl the ends of both folded wires inward, as shown.
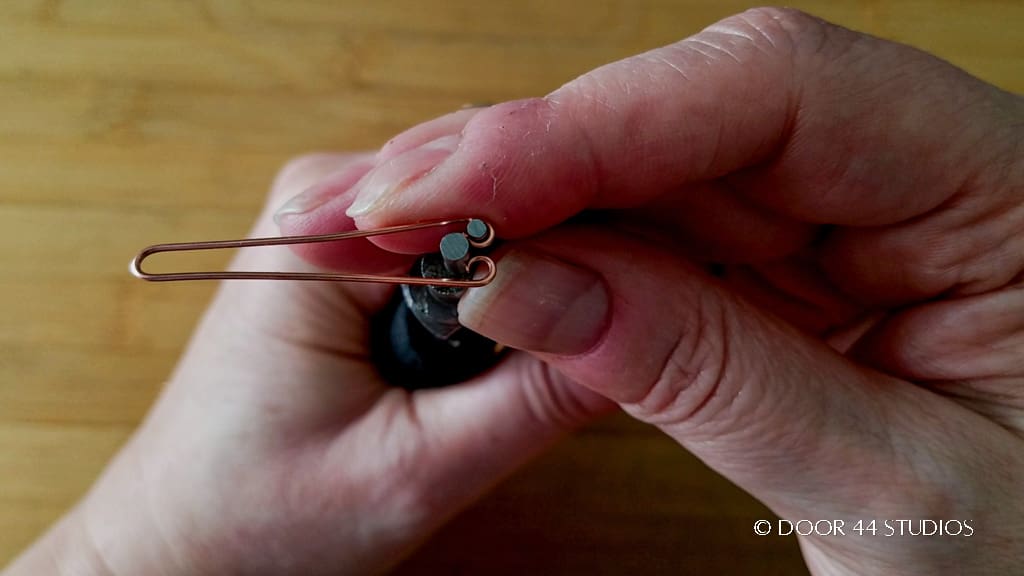
Now use the second step of your stepped bail-making pliers to complete the scrolled ends, as shown.
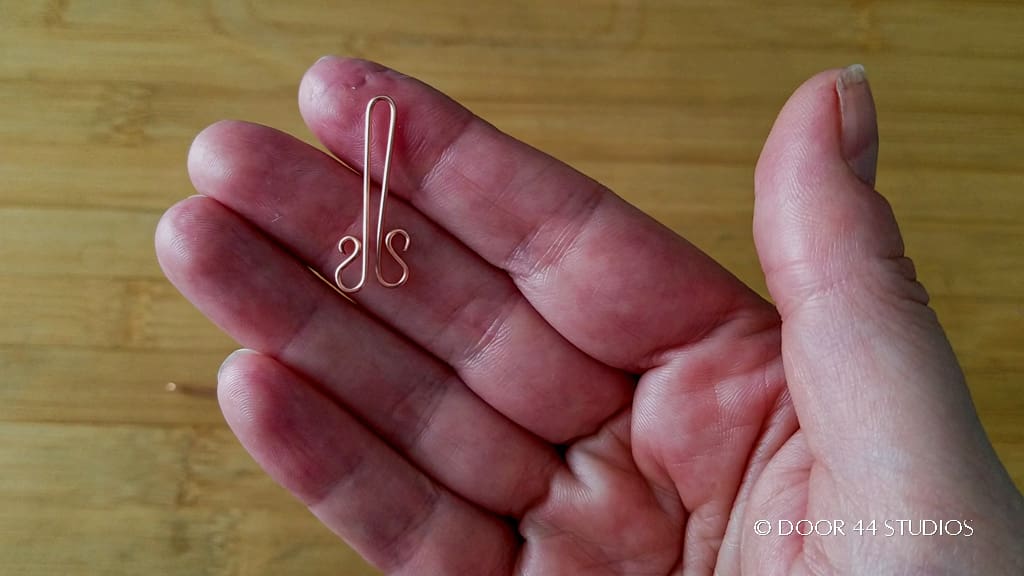
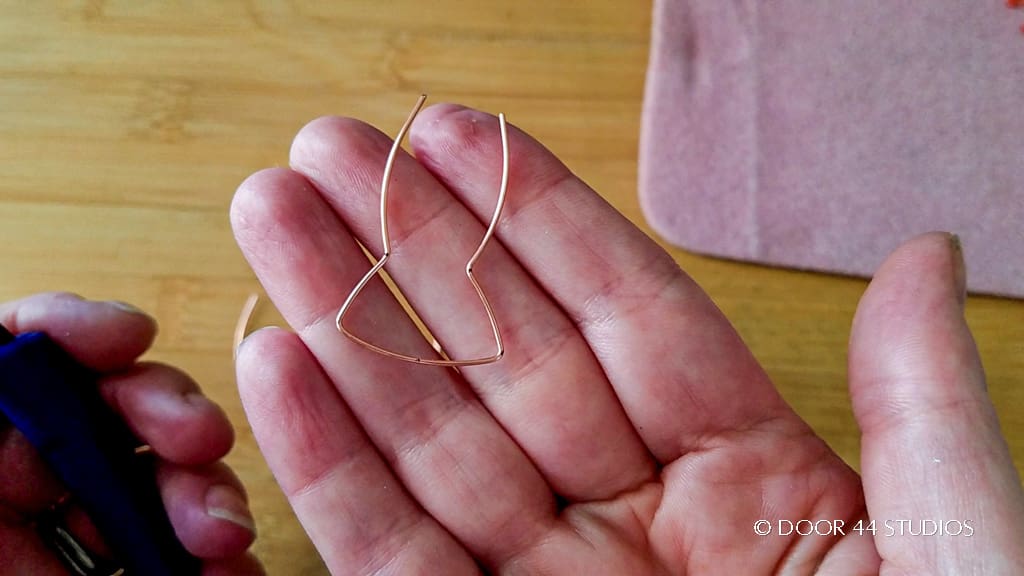
Next, press the two legs of each folded wire near the fold so they fall into line right next to one another, as shown.
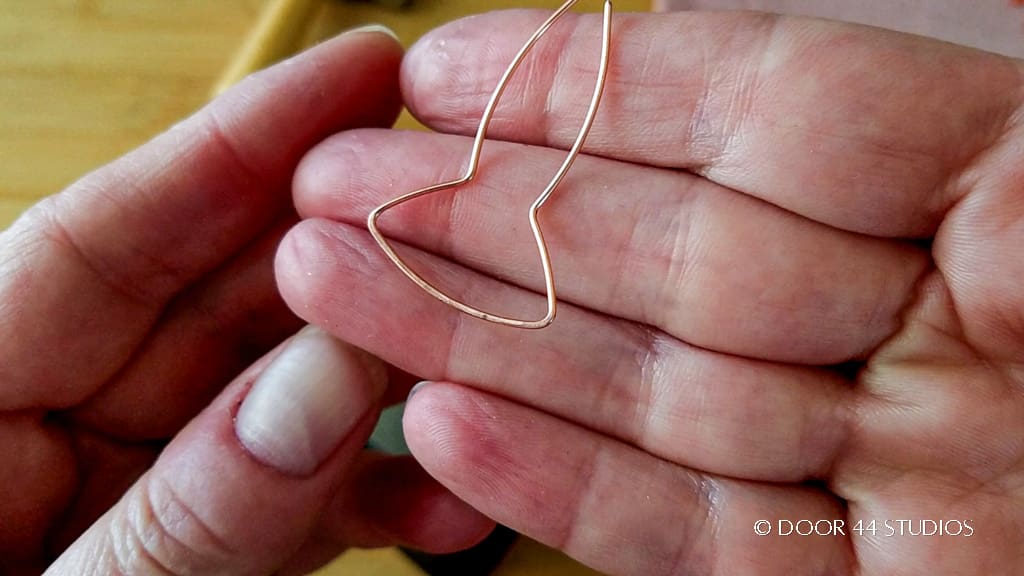
Now lightly hammer the fold at the tops of your stick frames as well as the larger curls of the scrolled ends. Be careful to avoid marring the smaller curls of your scrolled ends with the hammer as you do so. When finished hammering, your stick components should look something like the one pictured below.
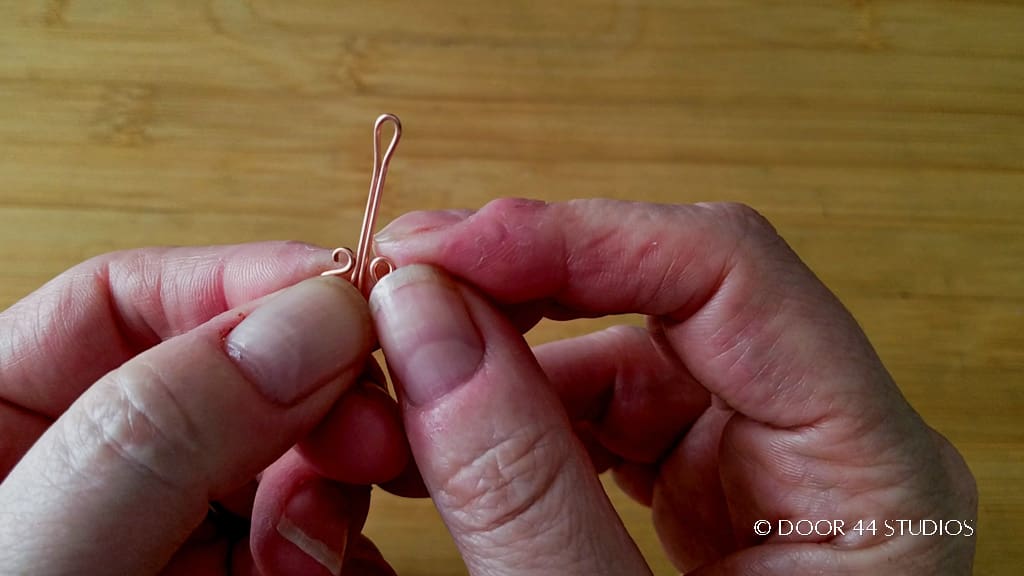
Our stick components are ready to weave. You’ll need about 18 to 24 inches of 28ga dead soft wire for weaving. Go ahead and cut that length from the spool and anchor one end of the wire to the top of your frame with two or three firm coils, as shown.
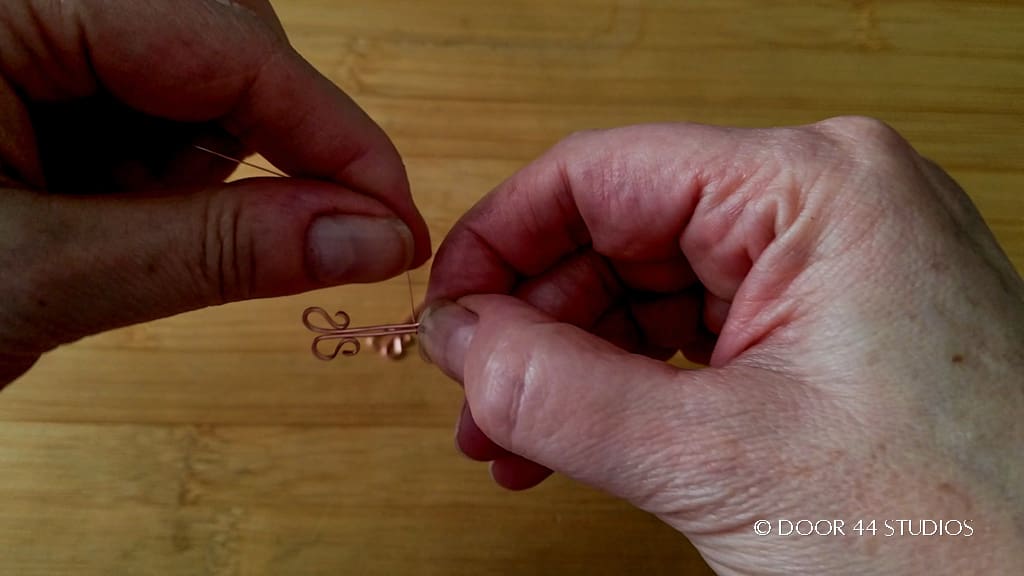
Then use the Modified Soumak weave to bind the two legs of each stick component together. Once you reach the scrolled ends, secure them with one pattern repeat and continue weaving until you’ve added three or four more pattern repeats beyond that point. Finally bind off your weaving wire with two or three secure coils around one side of the frame.
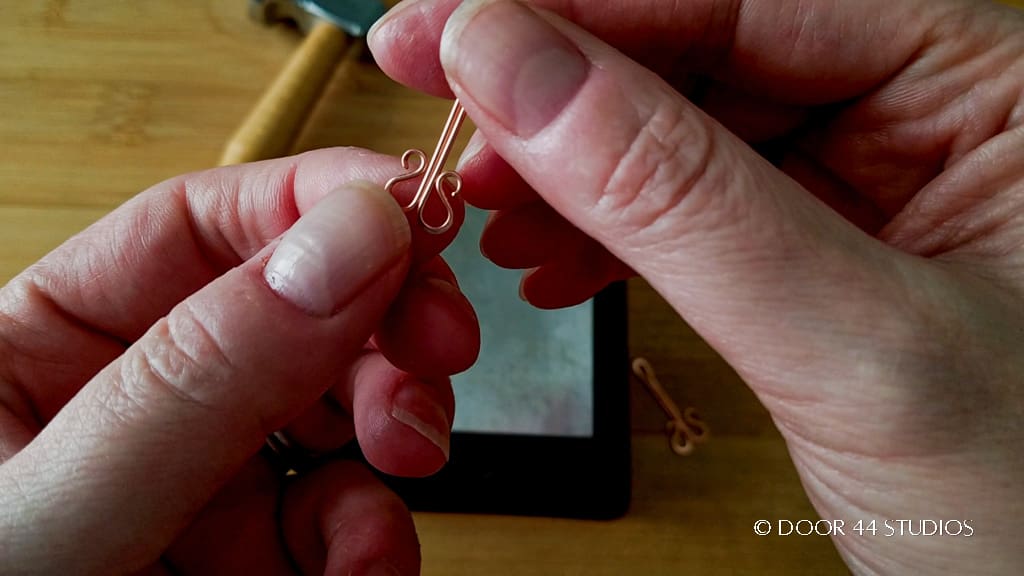
When finished, your woven stick components should look something like the one shown here.
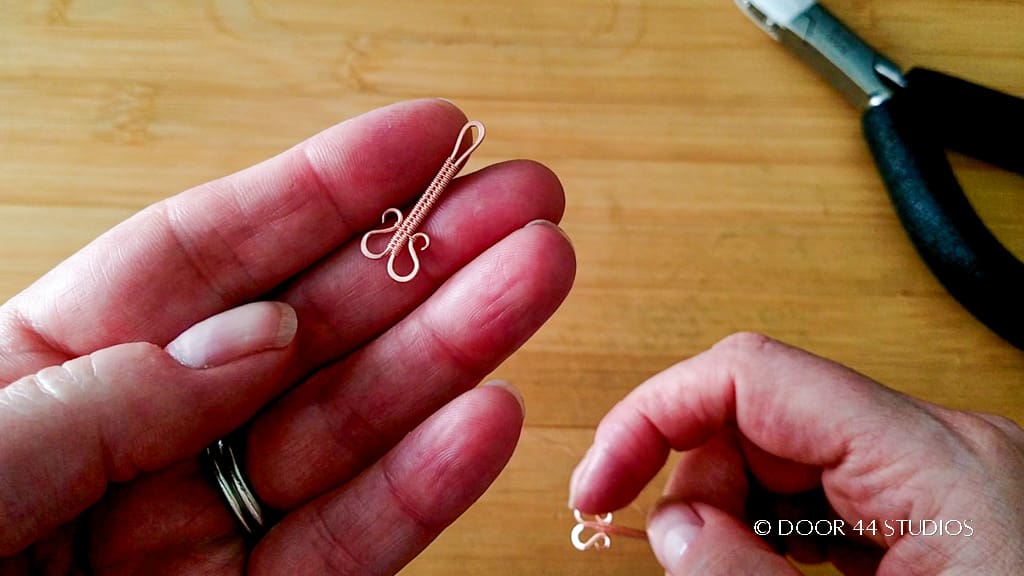
Finally, we’re going to add an accent bead to the bottom of our woven stick elements. Use about 5 inches of 26ga wire to neatly secure a bead in the V-shaped gap between the scrolled ends of each stick, as pictured below.
Add the Fan-Shaped Fringe Frame
Now let’s add the fan-shaped element to our earring frames. To begin, cut two pieces of 20ga wire 4 inches long. Then mark the center points of each wire. Then make two additional marks on either side of your center mark: the first at one half inch from the center point and the second at one inch from the center point.
When finished marking your wires, they should look something like those shown below.
Next, use a round mandrel of some sort (I used a 1-3/4″ copper pipe fitting) to form a soft, even curve on your two marked wires, as shown.
Then use your flat nose pliers to bend the wires up at the first marks to the left and right of center. When finished making your bends, your wire frames should look like the one pictured below.
Now use your flat nose pliers to bend the wires at the second marks upward. When finished, your fan frame should look like the one pictured below.
We’re just about finished with these frames, but before we can attach them to the beaded sticks, we need to work harden the fan shape. Use your chasing hammer and bench block to slightly flatten the bottom (widest) part of the frame. Be sure to include the corners to help lock that shape into place. When finished, your frame should look like the one pictured below.
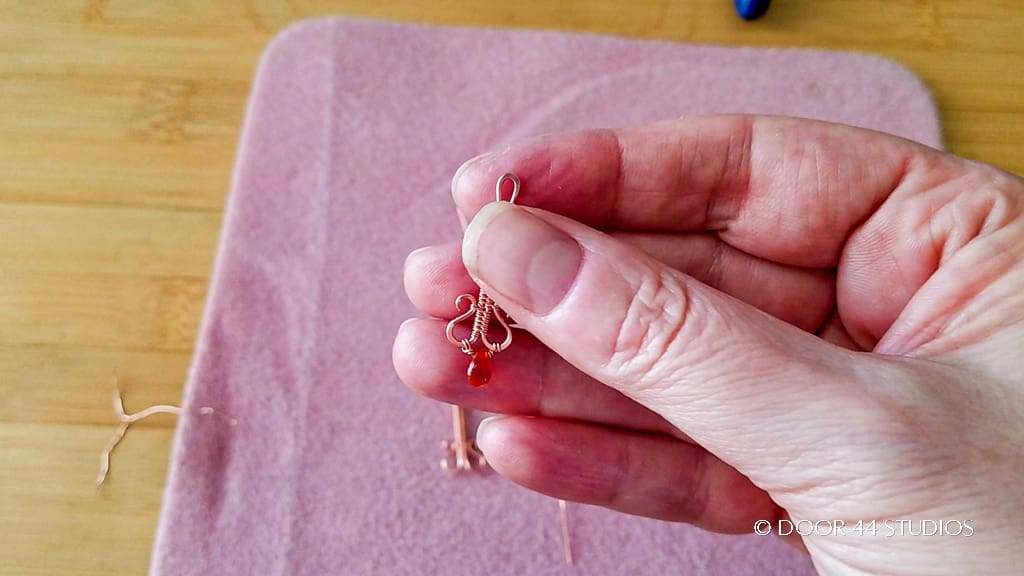
Now we can finally attach the fan frame to the woven components. Again, use your flat nose pliers to point the ends of the wires upward, as shown below.
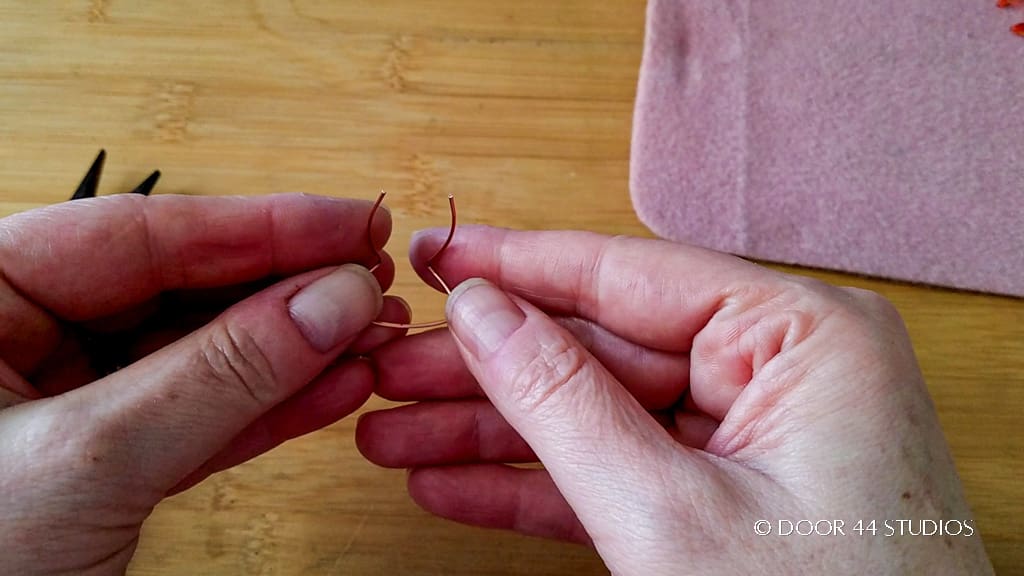
Then thread the ends of the wires from the back through the front of the scrolled ends of your beaded stick, as shown below.
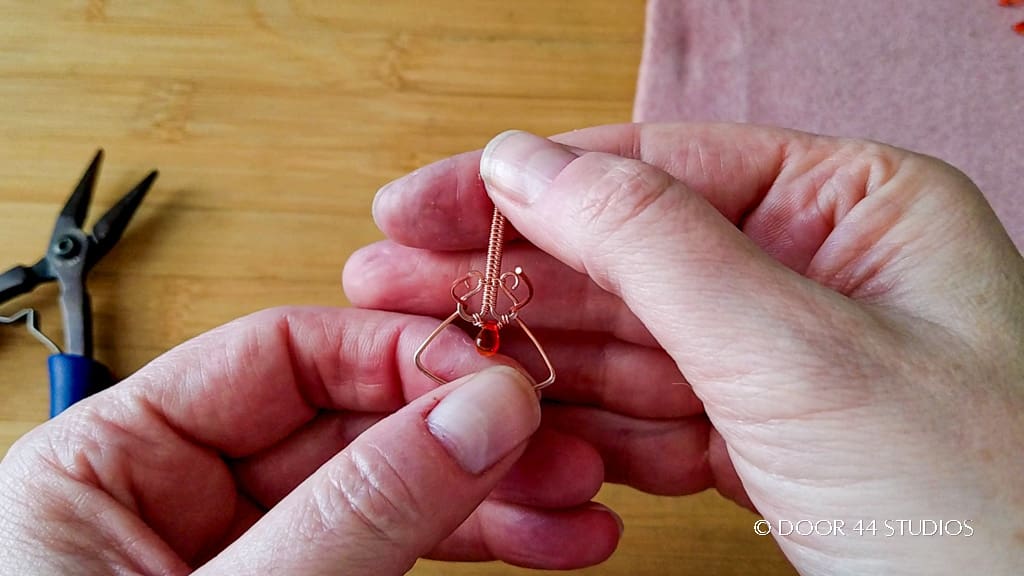
Finally, tightly wrap the wires twice around the outer edge of the scrolls and trim off the excess wire in the back of the earring frame. When finished, your earring should look like the one pictured below.
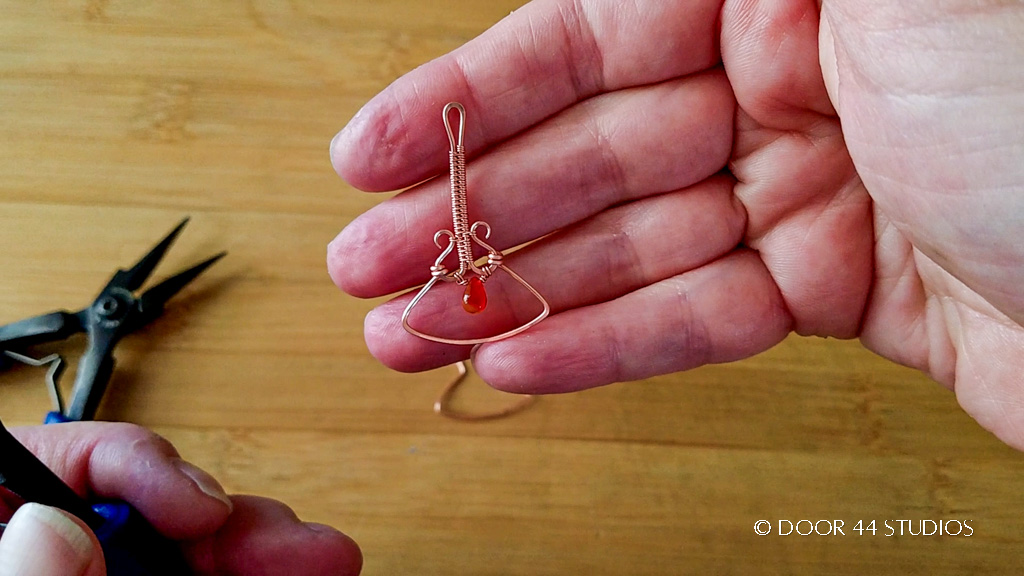
Add Beaded Fringe
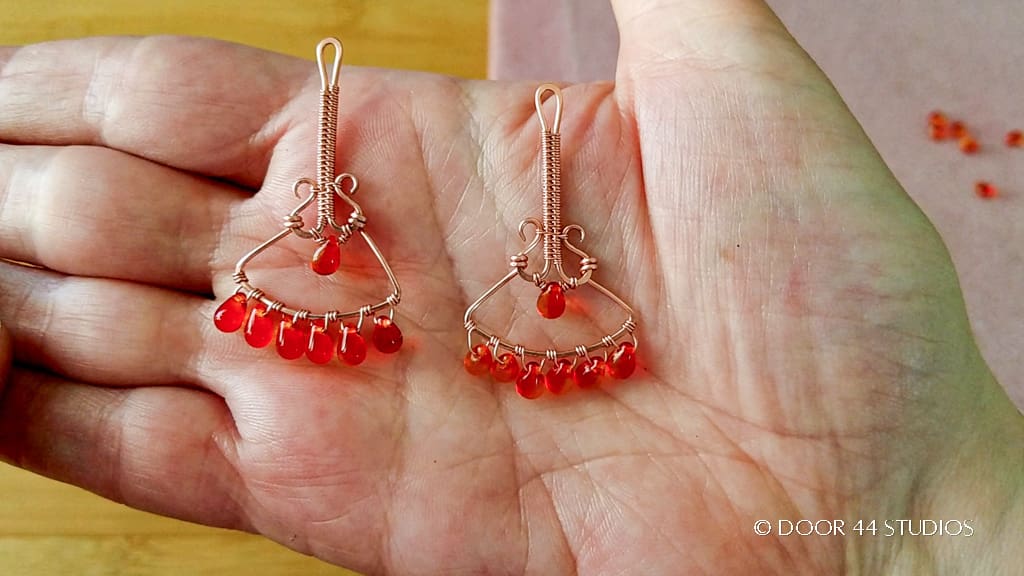
This is the fun part and it’s where you can really make these earrings your own. You can use any type of beads you like for your beaded fringe. I recommend sticking with fairly small beads that are between 3mm and 4mm wide. But you can use roundels, round beads, and even tiny teardrop beads (I used 4x6mm drops in the demo earrings that I made for this tutorial).
If you’re using top-drilled drop beads, like those pictured below, you can string your beads directly onto your wire lace. Otherwise, make your beaded dangles in advance with handmade head pins, and then string those onto your lace as you add each loop.
Not sure how to make your own headpins? You’ll find two different techniques here on my blog. If you’re comfortable using a torch, be sure to check out my balled wire ends tutorial. Or, if you’d rather not use a torch, I show you how to make some super cute and simple head pins in my Lucky-U Earring series.
We’ll get into some more wire lace techniques soon, but this is the simplest technique to learn for beginners. Cut two pieces of 26g dead soft wire that are about 7 inches (18 cm) long. Then secure one end of your wire to one side of the fan-shaped frame with two or three tight coils. Once your lacing wire is secure, use the tip of your round nose pliers to form a small loop, as shown below.
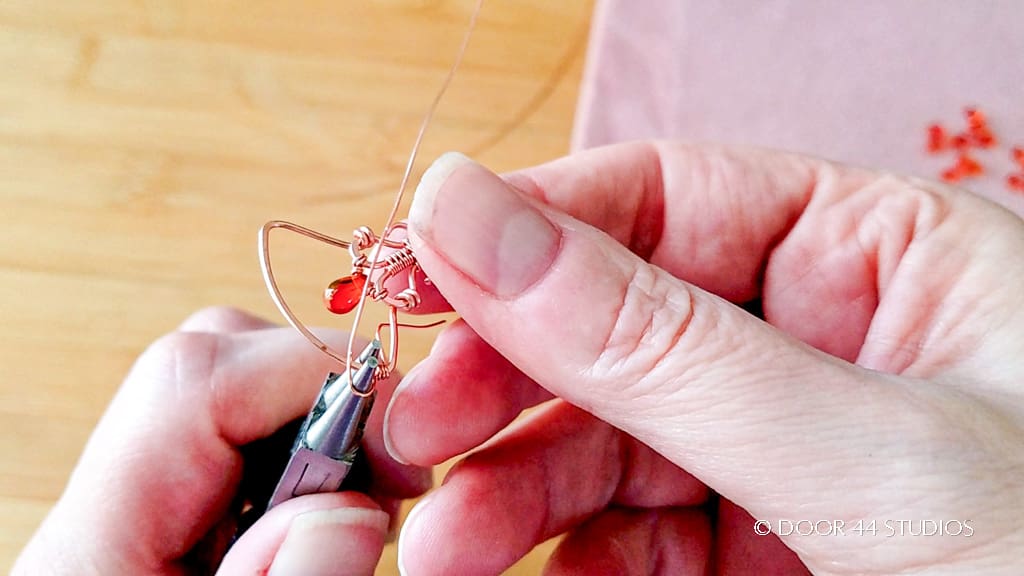
Now slide your first bead (or beaded dangle) onto that loop and secure the loop with two or three more tight coils around the fan-shaped frame. Keep repeating this process until the whole frame is covered evenly with beaded fringe. And once you’ve attached the last bead, bind off the lacing wire with two or three more tight coils and break the ends of that wire off in the back of the frame. Tuck in any pointy bits with your chain nose pliers.
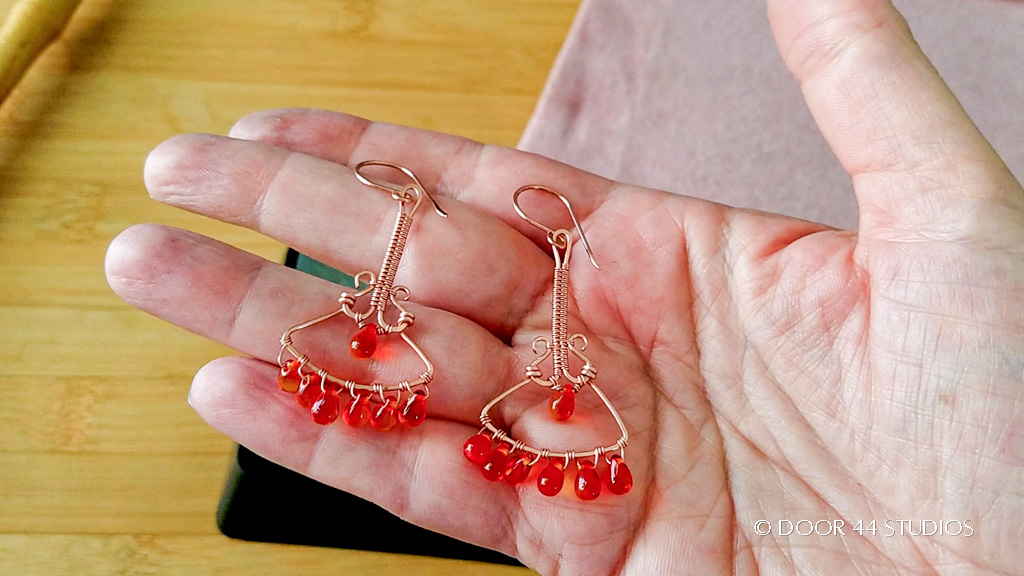
That’s it! Your earrings are finished. All that’s left to do is to attach some ear wires and they’ll be ready to wear.
Attach Ear Wires
Now that your earrings are fully assembled, all that’s left to do is to attach some matching ear wires. I like to make my own ear wires, and I sell a helpful bundle of tutorials that will teach you to make five different styles of perfectly matched ear wires. Click here or on the image below to purchase that ear wire bundle now!
The earrings pictured below feature my Perfectly Matched Ear Wires.
Finishing Suggestions
I antiqued the earrings that I made while writing this tutorial with Liver of Sulfur (LOS). Then I burnished them with super fine steel wool (Grade #0000) in warm water and original Blue Dawn dish soap. The steel wool brings back the bright copper highlights on the high spots.
Next, I rinsed the earrings thoroughly to remove any particles of steel wool. And then I put them into a tumbler barrel filled with warm water and a generous squirt of Blue Dawn. I tumbled these earrings for about three hours.
If you’re new to wire weaving, be sure to check out my 7-step patina process. And if you’re wondering why I recommend tumble polishing specifically, read this post. Also, be sure to clean your stainless steel shot regularly. Clean shot is necessary to achieve the best finish on your tumble-polished jewelry.
Discover More Behind Door 44
Thanks so much for joining me today. I hope you enjoyed creating these fun fringy Art Deco wire chandelier earrings.
Want more great wirework tips and tutorials?
I like to share practical wire weaving tips and tricks on my social media channels. And we have some great conversations about wire jewelry in my private Facebook Group. Also, be sure to follow me @door44studios on Instagram, and Facebook to keep up with what’s happening behind Door 44. And if you haven’t already done so, subscribe to my YouTube channel where you’ll find new wire jewelry videos weekly.
Until next time, go make something beautiful!

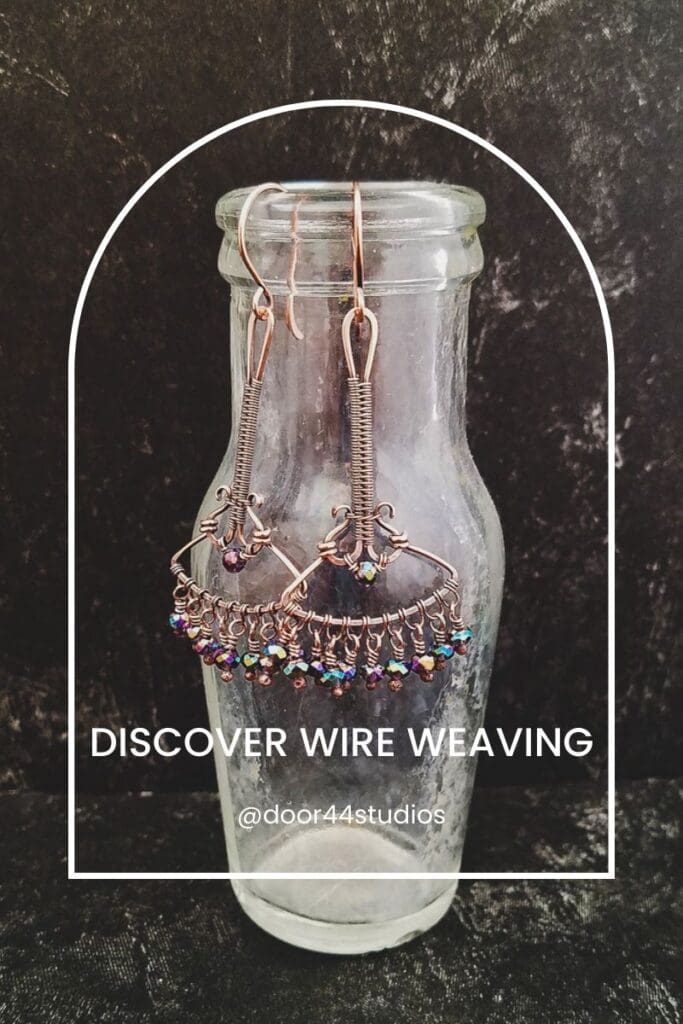
Pin the Art Deco Wire Chandelier Earrings Tutorial for Later!
Thanks for the guide! I love those red beads you used. What are they?
I’m so glad you enjoyed this tutorial! Those red beads (they’re more orange in person) are small Czech glass drops that have been in my bead stash for several years. I’ve not seen that particular color lately, but that particular bead style is still widely available. Check your local bead shop or use the links in my post that will take you directly to my favorite Etsy shops.