

The Modified Soumak Weave on Two Core Wires
Did you know that the Soumak weave actually originated in textile weaving? Some brilliant (and sadly, unknown) person decided to try weaving wire with a modified version of the Soumak textile weave. And just like that, the wire weaving craft was born. As was the Modified Soumak weave, which is by far my favorite weave to use. I have no idea who that person was, but I’m deeply grateful for their pioneering work.
My goal is to continue growing this wonderful craft through my blog. And that requires sharing everything I know with those who are coming along behind me. So this is the first of what will no doubt become a long series of How-To posts on several of the most popular weaves.
I’ll begin every weave series with just two core wires, and then I’ll follow up with an additional tutorial that will show you how to add three or more core wires. That can be tricky to do on certain weaves, so we’ll take things step-by-step. Eventually, you’ll be able to find an entire library of weaving instructions right here on my blog.
Just to clarify, this tutorial is focused on the Modified Soumak weave over two core wires. If you’re comfortable with that skill already, be sure to check out the second tutorial in this series, which will show you how to weave Modified Soumak over multiple core wires as well as how to increase and decrease the weave.
Alright. Let’s get started!
Copyright & Disclosure
Weaves are techniques used to create art, but they’re not art alone. Therefore, they’re considered public domain and are not eligible for copyrights. When it comes to my written tutorials, however, I reserve exclusive rights to all images and written content.
You may not reproduce or redistribute any portion of this Modified Soumak Weave tutorial in any way, shape, or form. You may share this free version of this tutorial only by linking directly to this page.
This post may contain affiliate links. If you click on a link and then make a purchase, I may earn a small commission (at no cost to you). As an Amazon Associate I earn from qualifying purchases. To learn more, please see my full disclaimer.
Choosing Wire Gauges for this Weave
One of the things that trips a lot of beginners up when they’re first learning to weave is choosing wire gauges. There are so many conflicting opinions out there about which weaving wire gauges you should use for which core wire gauges.
I’ll let you in on a little secret. I use 28ga wire almost exclusively to weave core wires from 20ga to 10ga and everything in between. There aren’t any hard and fast rules here. It’s all a matter of personal preference. But I find that 28ga gives me the most consistently neat and tidy weave, regardless of the core wire gauge. For very delicate work over core wires 20ga and smaller, I use 30ga wire for weaving. But that’s my only exception. Ever.
If choosing wire gauges is an area where you struggle, be sure to read this post. It’ll demystify the process of choosing the right wire gauges for the three main styles of wire jewelry. And if you’re still not sure which type of jewelry wire (silver, copper, brass, etc.) is right for you, this post will help you figure that out as well.
The Modified Soumak Weave Over Two Core Wires
If you prefer video tutorials over written tutorials, click here to watch the video on YouTube. Or just click the thumbnail below to watch it from this page. And of course, if you prefer written tutorials, just continue reading.
watch it on Youtube:
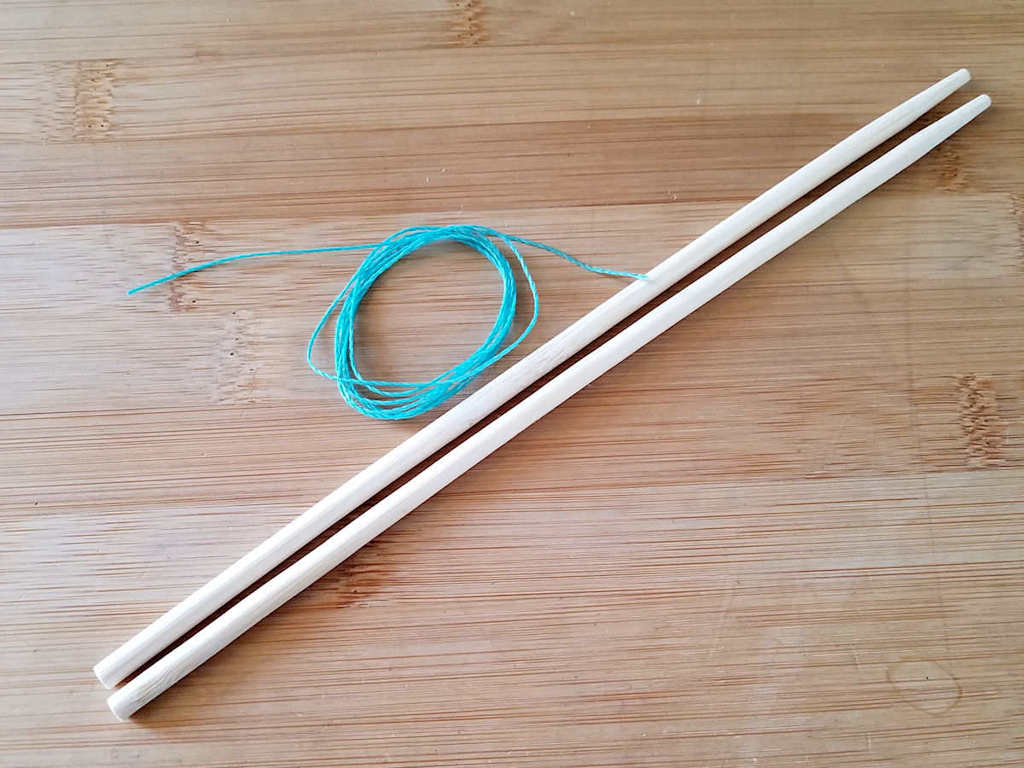
I’m demonstrating the Modified Soumak weave using wood chopsticks and a contrasting waxed jewelry cord for clarity. It’s easier to get clear close-up photos with something other than shiny copper wire. But the weaving principles that I’m about to show you are the same, no matter what materials you use.
The jewelry cord that I chose has a diameter of 0.5 mm and the chopsticks are 5 mm. Visually, that’s comparable to using 30ga wire to weave over 10ga core wires. In both cases, the cores are about 10 times larger than the weaving material.
I mention this because I want to emphasize my earlier point that there aren’t any hard and fast rules when it comes to pairing core wire gauges with weaving wire gauges. Personally, I wouldn’t use 30ga wire to weave 10ga core wires because the texture of the weave would be lost on that combo. I’d also have some concerns about long-term durability since I typically use 10ga wire for men’s bracelets, which tend to take a lot of abuse. But as you’ll see in the images that follow, there’s nothing wrong with that pairing from a purely aesthetic perspective.
When it comes to choosing wire gauges, use pairings that feel right to you. Feel free to ignore any unsolicited advice or criticism that you get from other weavers. It’s your jewelry and they’re not the wire gauge police.
Left-Hand Vs. Right-Hand Weaving
I’m a left-handed weaver, so that’s the easiest way for me to teach. But I understand that not everyone can learn easily while having to mentally mirror movements. So I’ve provided both left and right-handed instructions in this tutorial. If that works well for you, I’ll continue to do the same for all future wire weaving tutorials.
The differences between left-hand and right-hand Modified Soumak weave are very subtle, as shown below. Likewise, there’s not a big difference between the front and back of this weave.
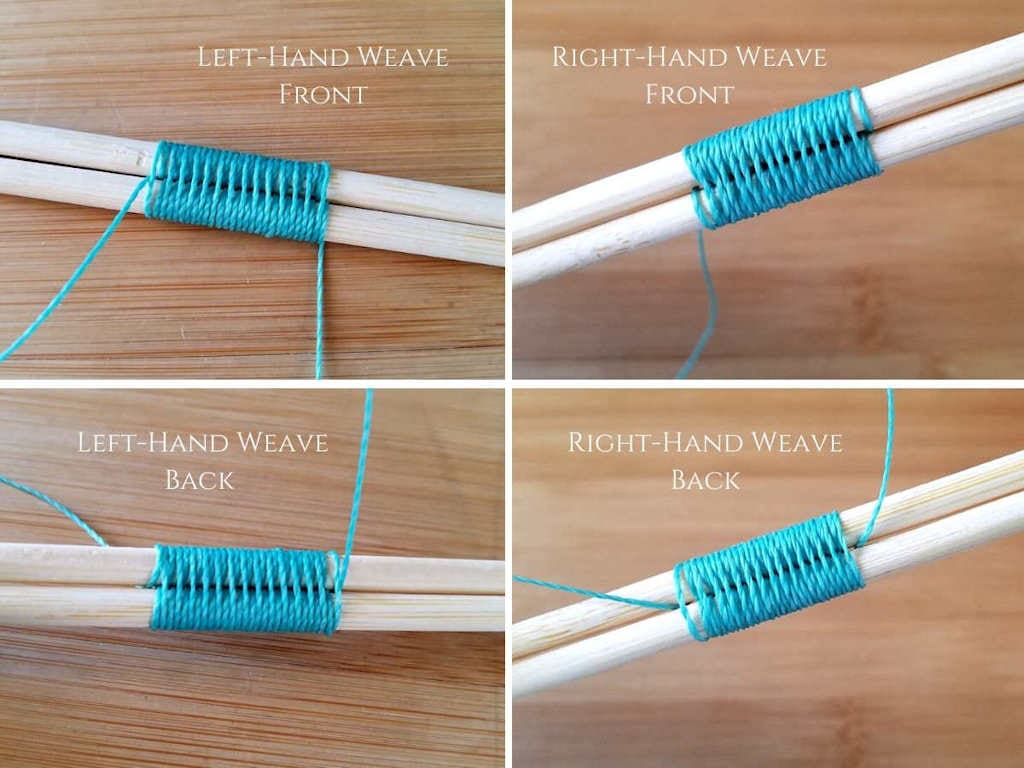
One of the things that I love about the Modified Soumak weave is that it looks virtually the same on both sides. That means that the back of my jewelry looks just as good as the front. That’s not true for every weave that we’ll cover in this series. And it’s something to consider when choosing weaves for your own jewelry.
Okay. At this point, we’re going to split into left and right-handed weaving. If you’re a lefty, just keep reading. If you’re a righty, click here to skip to the right-handed weave instructions.
Left-Handed Modified Soumak Weave
Everyone has their own way of starting out a weave, but I like to keep it super simple. I rarely anchor my wire to the first core wire with multiple wraps because I tend to start weaving my pieces from the middle. I’ll weave in one direction to the end point. And then I flip the piece over and continue the weave seamlessly in the other direction. Do what works for you, though. If you prefer to start at one end of the piece and weave all the way to the other, then go ahead and anchor your weaving wire with three or more wraps before beginning the weave.
Step 1
Position your weaving wire behind one core wire with the tail hanging down and the working wire pointing up, as shown.
Step 2
Hold the tail in position with your fingers and bring the working wire down over the front of the core wire and around the back, as shown.
This is the first single pass of your weave pattern.
Step 3
Now place your second core wire above the first core wire and in front of the weaving wire, as shown.
Step 4
Complete a single wrap around the second core wire, as shown. This is the second single pass of your pattern, and you’ve effectively bound your two core wires together.
Step 5
Next, bring your weaving wire down over the front of both core wires, as shown. This is the double pass, and it completes the first pattern repeat of your weave.
Step 6
Let’s repeat the pattern again. Wrap your weaving wire once around the bottom core wire, as shown.
Step 7
Then bring your weaving wire up behind the second core wire, as shown.
Step 8
Wrap once around the second core wire as shown. this completes the single wrap pass. Notice that we work that pass from the bottom up.
Step 9
To complete the pattern repeat a second time, bring your weaving wire down over both core wires. That’s it! Just continue repeating this same pattern of two single wraps followed by one double wrap.
I like to repeat, “Single, single, double” in my mind like a mantra while I weave. Weaving is a very meditative task for me and it’s something I enjoy doing.
That’s all there is to the Modified Soumak weave. Not only is this weave beautiful, but it’s also really easy to learn.
Tip: Compact Your Weave for Best Results
There’s just one last tip to keep in mind. Your weave will always look cleaner and neater if it is tightly compacted. Again, every weaver has a different technique for compacting their weave, but this is the way that I do it. As I complete each single wrap, I gently nudge the wire into position so it lays snugly next to the previous weave, as shown.
I also stop weaving every few pattern repeats to push the weave together so it’s nicely compacted. This is particularly important when weaving around curves because the weave will naturally want to separate.
Now that you know how to do the Modified Soumak Weave over two core wires, be sure to try some of my favorite wire jewelry tutorials that feature this pretty weave.
Right-Handed Modified Soumak Weave
Every weaver has a different way of starting their weaves. I tend to begin weaving from the middle of a piece. I work outward in one direction, and then I flip my piece over and continue the weave seamlessly in the other direction. Because of this, I don’t anchor my weave to the first core wire with multiple wraps. If you prefer to work from one end to the other, go ahead and anchor your weaving wire with a few wraps before beginning the weave.
Step 1
Begin by holding one core wire in your free hand and place your weaving wire behind the core wire with the tail hanging down and the working wire above your core wire, as shown.
Step 2
Bring your weaving wire over and around the core wire, as shown.
Step 3
Place the second core wire above the first and in front of your weaving wire, as shown.
Step 4
Complete a single wrap around the second core wire, as shown.
Step 5
Bring the weaving wire down across both core wires. This completes your first pattern repeat.
The pattern for this weave is that you do single wraps around each core wire on the upward pass. Then you do a single wrap across both core wires on the downward pass. Think, “Single, single, double” as you weave to maintain this pattern.
Step 6
We’re now going to repeat our pattern. Start with a single wrap around the bottom core wire, as shown.
Step 7
Bring the weaving wire up behind the core wires, as shown.
Step 8
Bring the weaving wire over and around the second core wire, as shown.
Step 9
Complete your second pattern repeat with a single wrap over both core wires, as shown.
From here, it’s just a matter of repeating the pattern over and over again. Remember, you make single wraps around each individual core wire on the way up. Then you make a single wrap across both core wires on the way down.
Single, single, double. Single, single, double.
Tip: How to Keep Your Weave Neat & Tidy
Now that you know how to do the Modified Soumak weave, the next step is to learn to make your weave neat and tidy. And the way to do that is to keep the weave tightly compacted.
I compact my weave by gently pushing each wrap into place with the tip of my finger as I lay down each wrap, as shown. Then, every few pattern repeats, I stop to compact the weave further, if necessary. Just use your fingers to gently push the weave together as if you’re compressing a spring. Pay particular attention to this when weaving around curves because the weave will naturally tend to separate at certain points on curves.
Where to Use the Modified Soumak Weave Over Two Core Wires
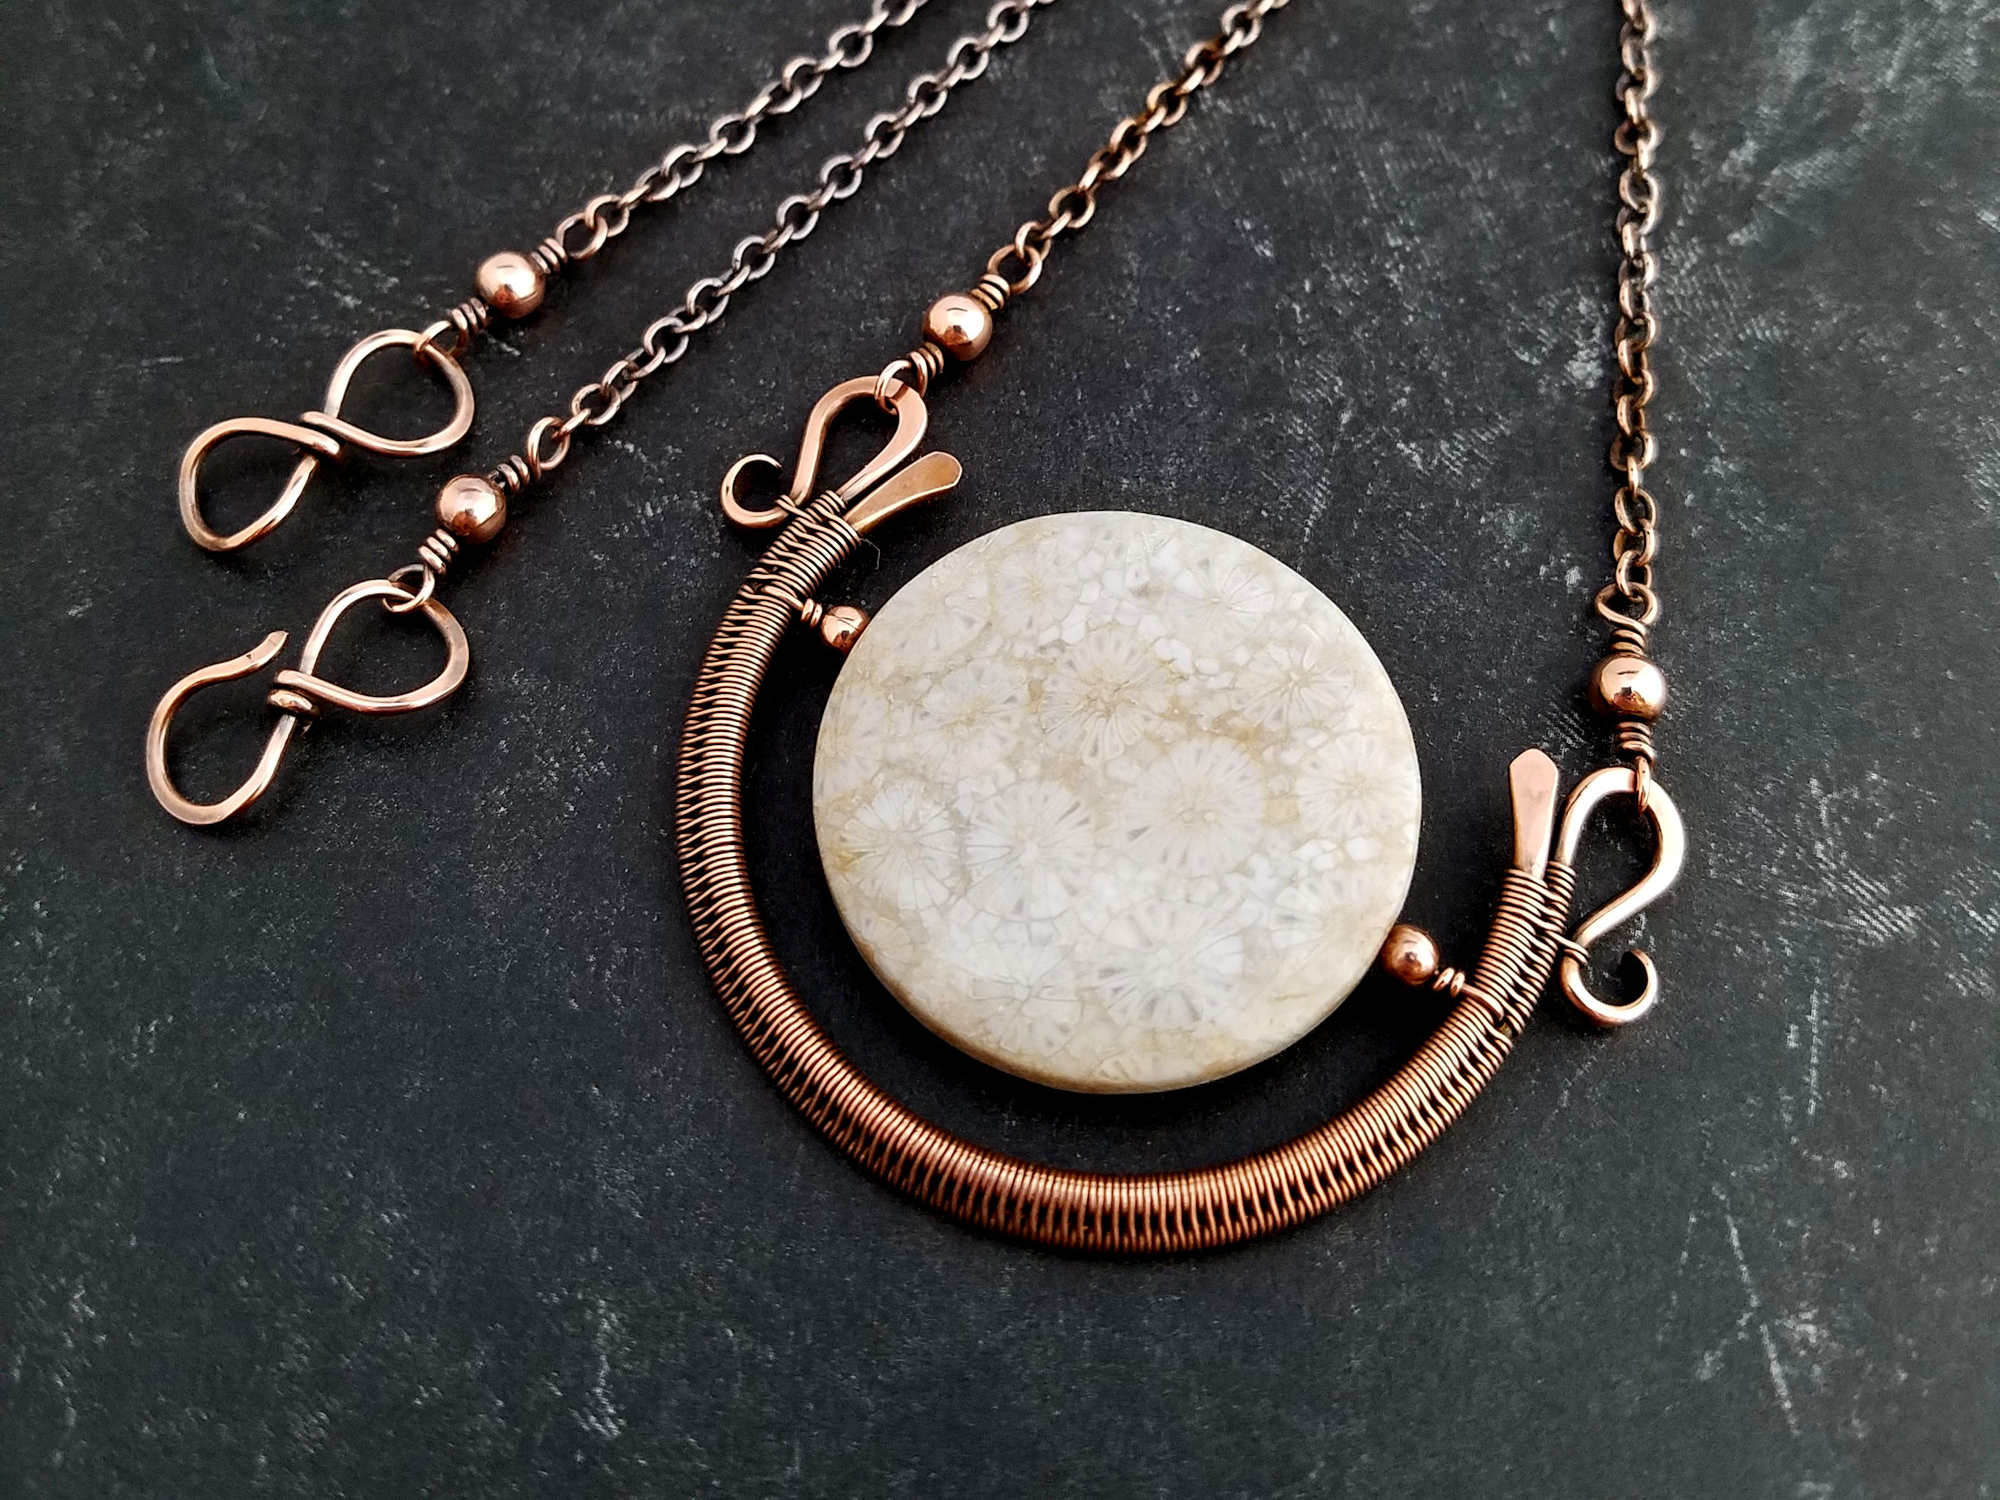
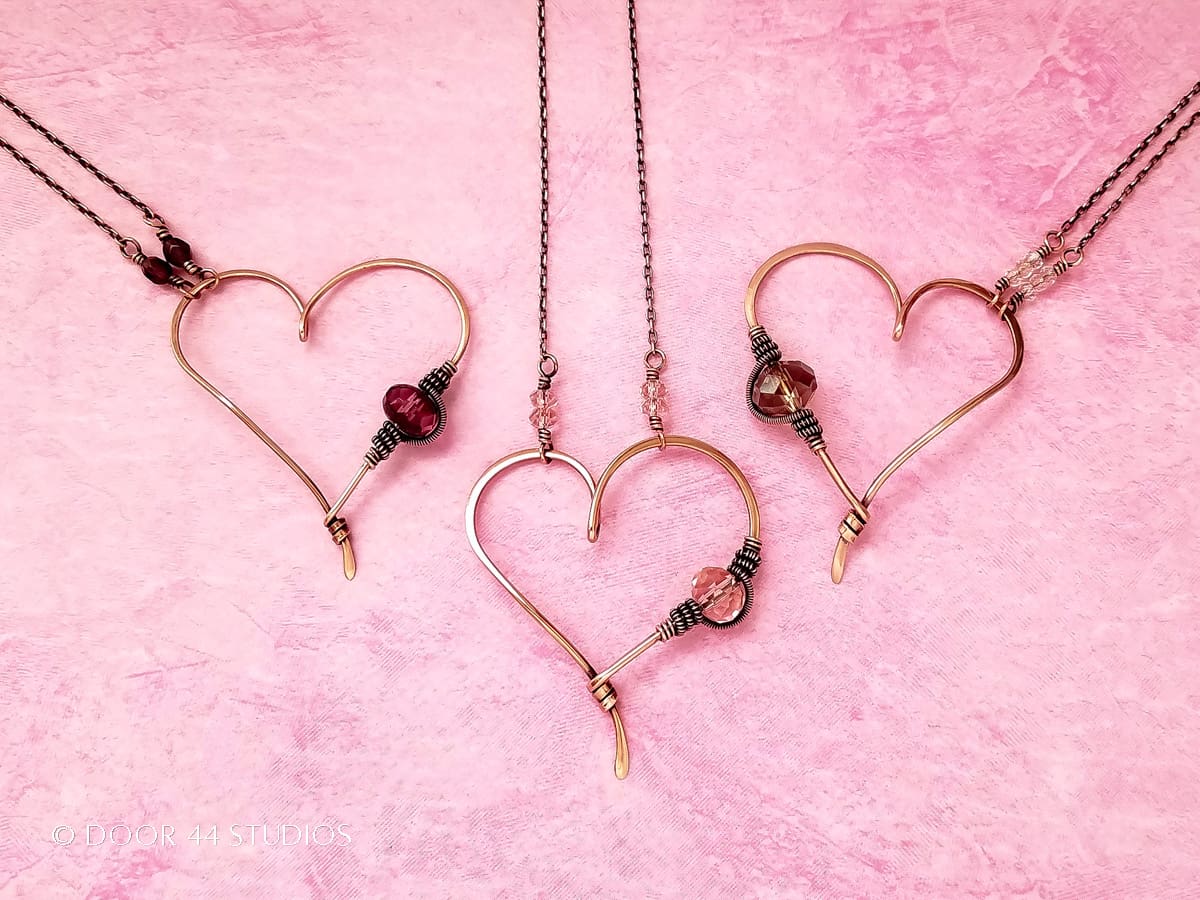
If you’re familiar with my wire weaving tutorials, you may have guessed that the Modified Soumak Weave is my favorite weave. This two-core wire version is featured in the following Door 44 Studios jewelry tutorials.
- The Chalice Earrings
- The Chalice Necklace
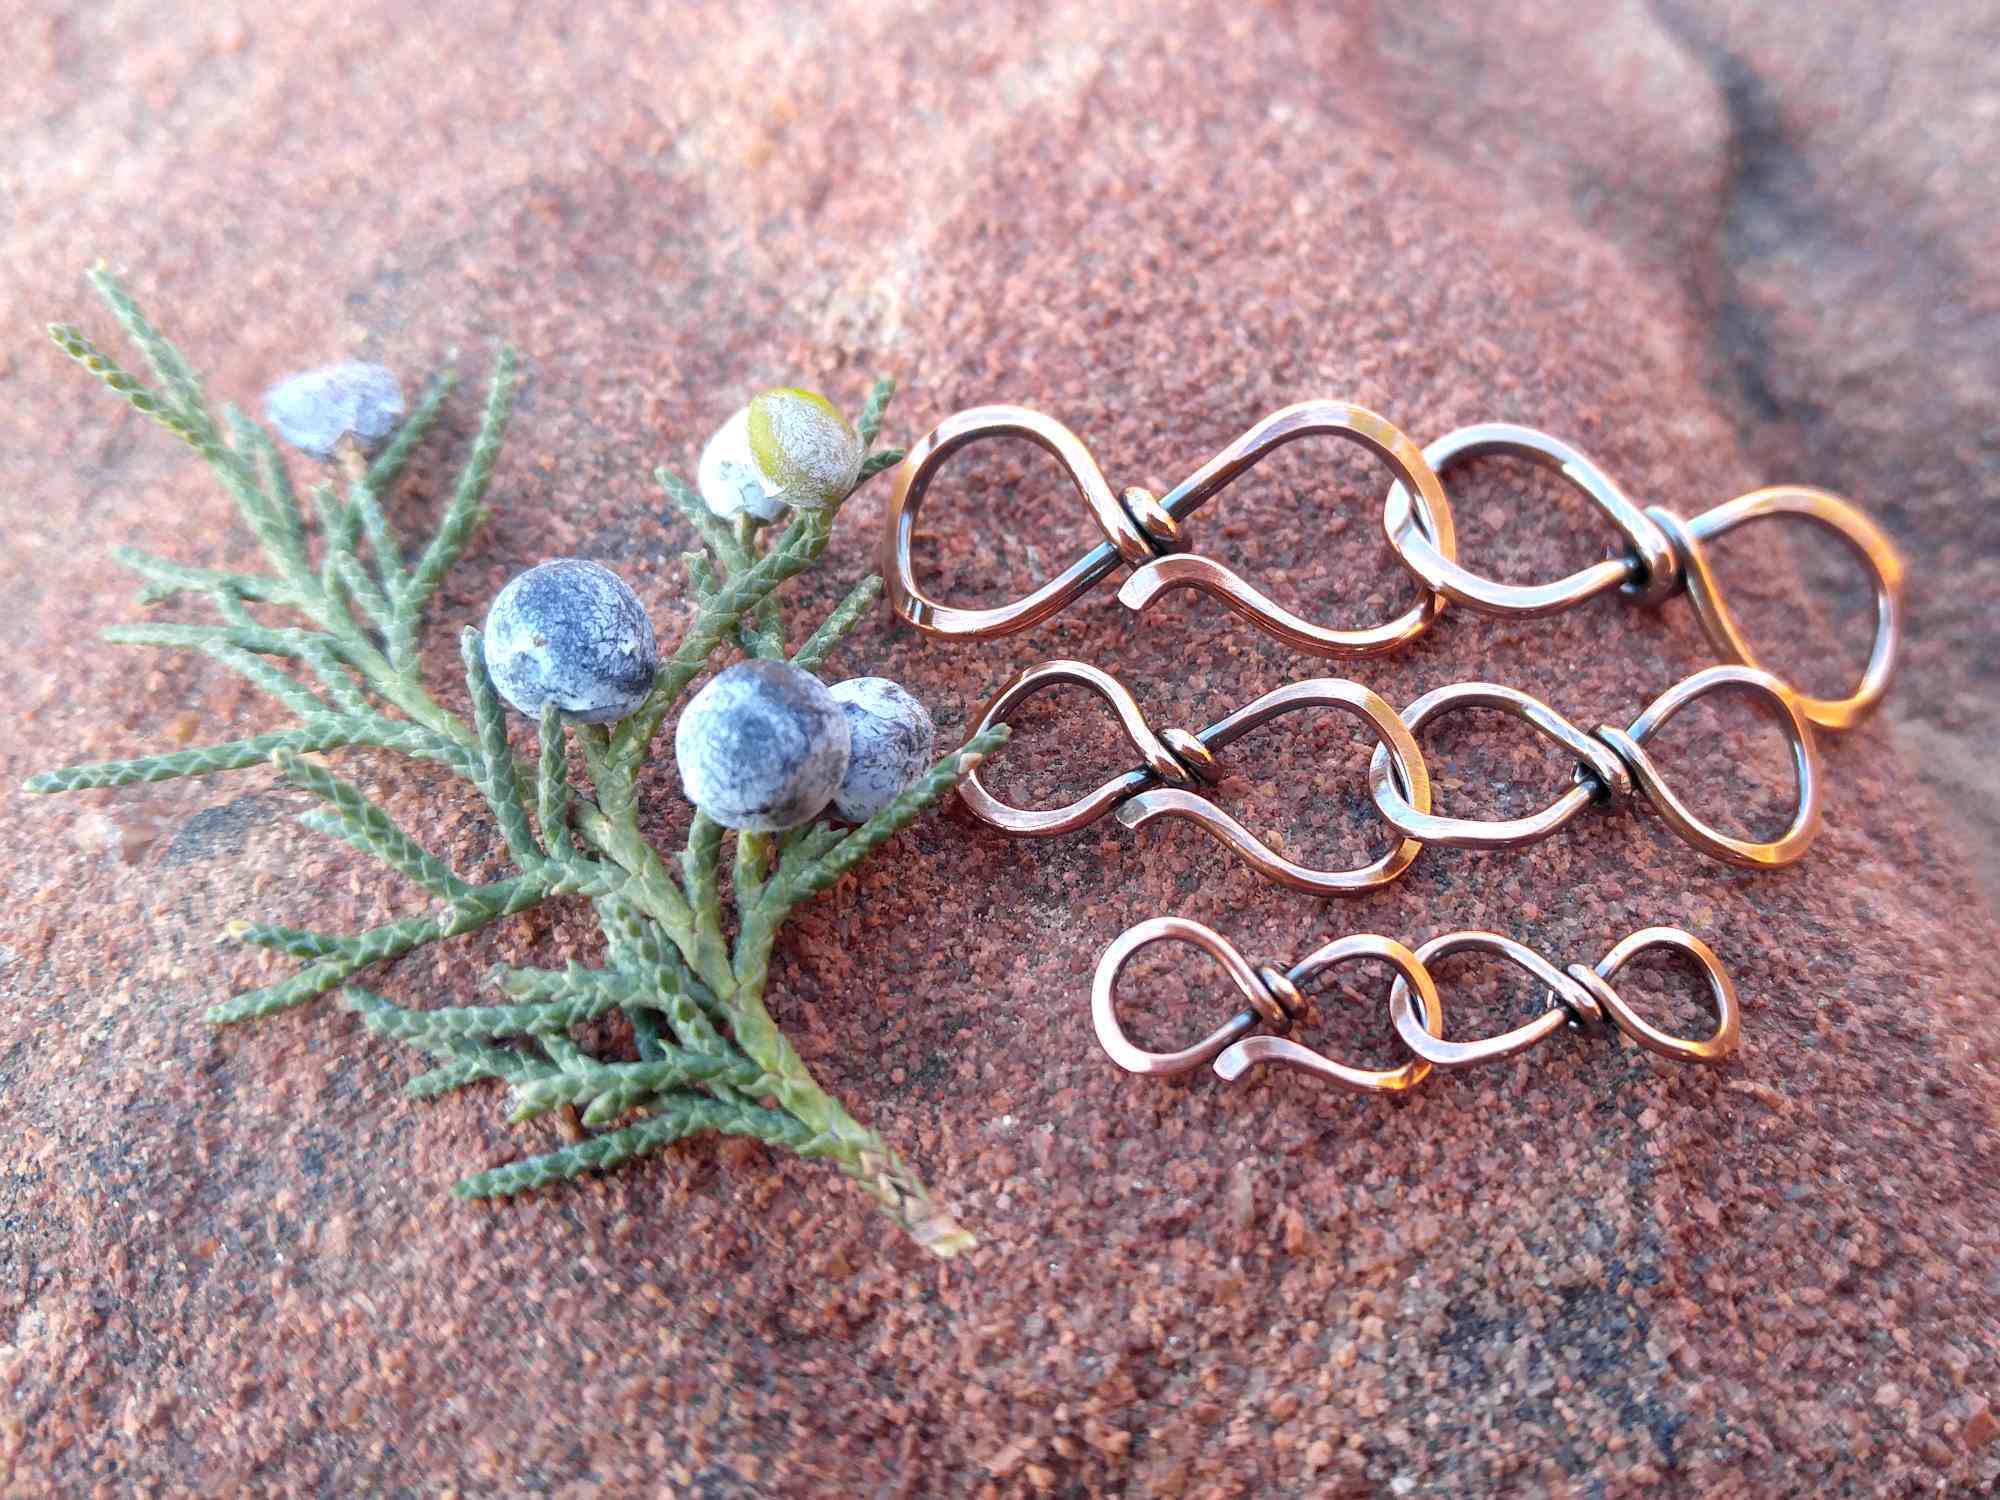
- The Lover’s Knot Stacked Bangle
- The Egyptian Sun Pendant
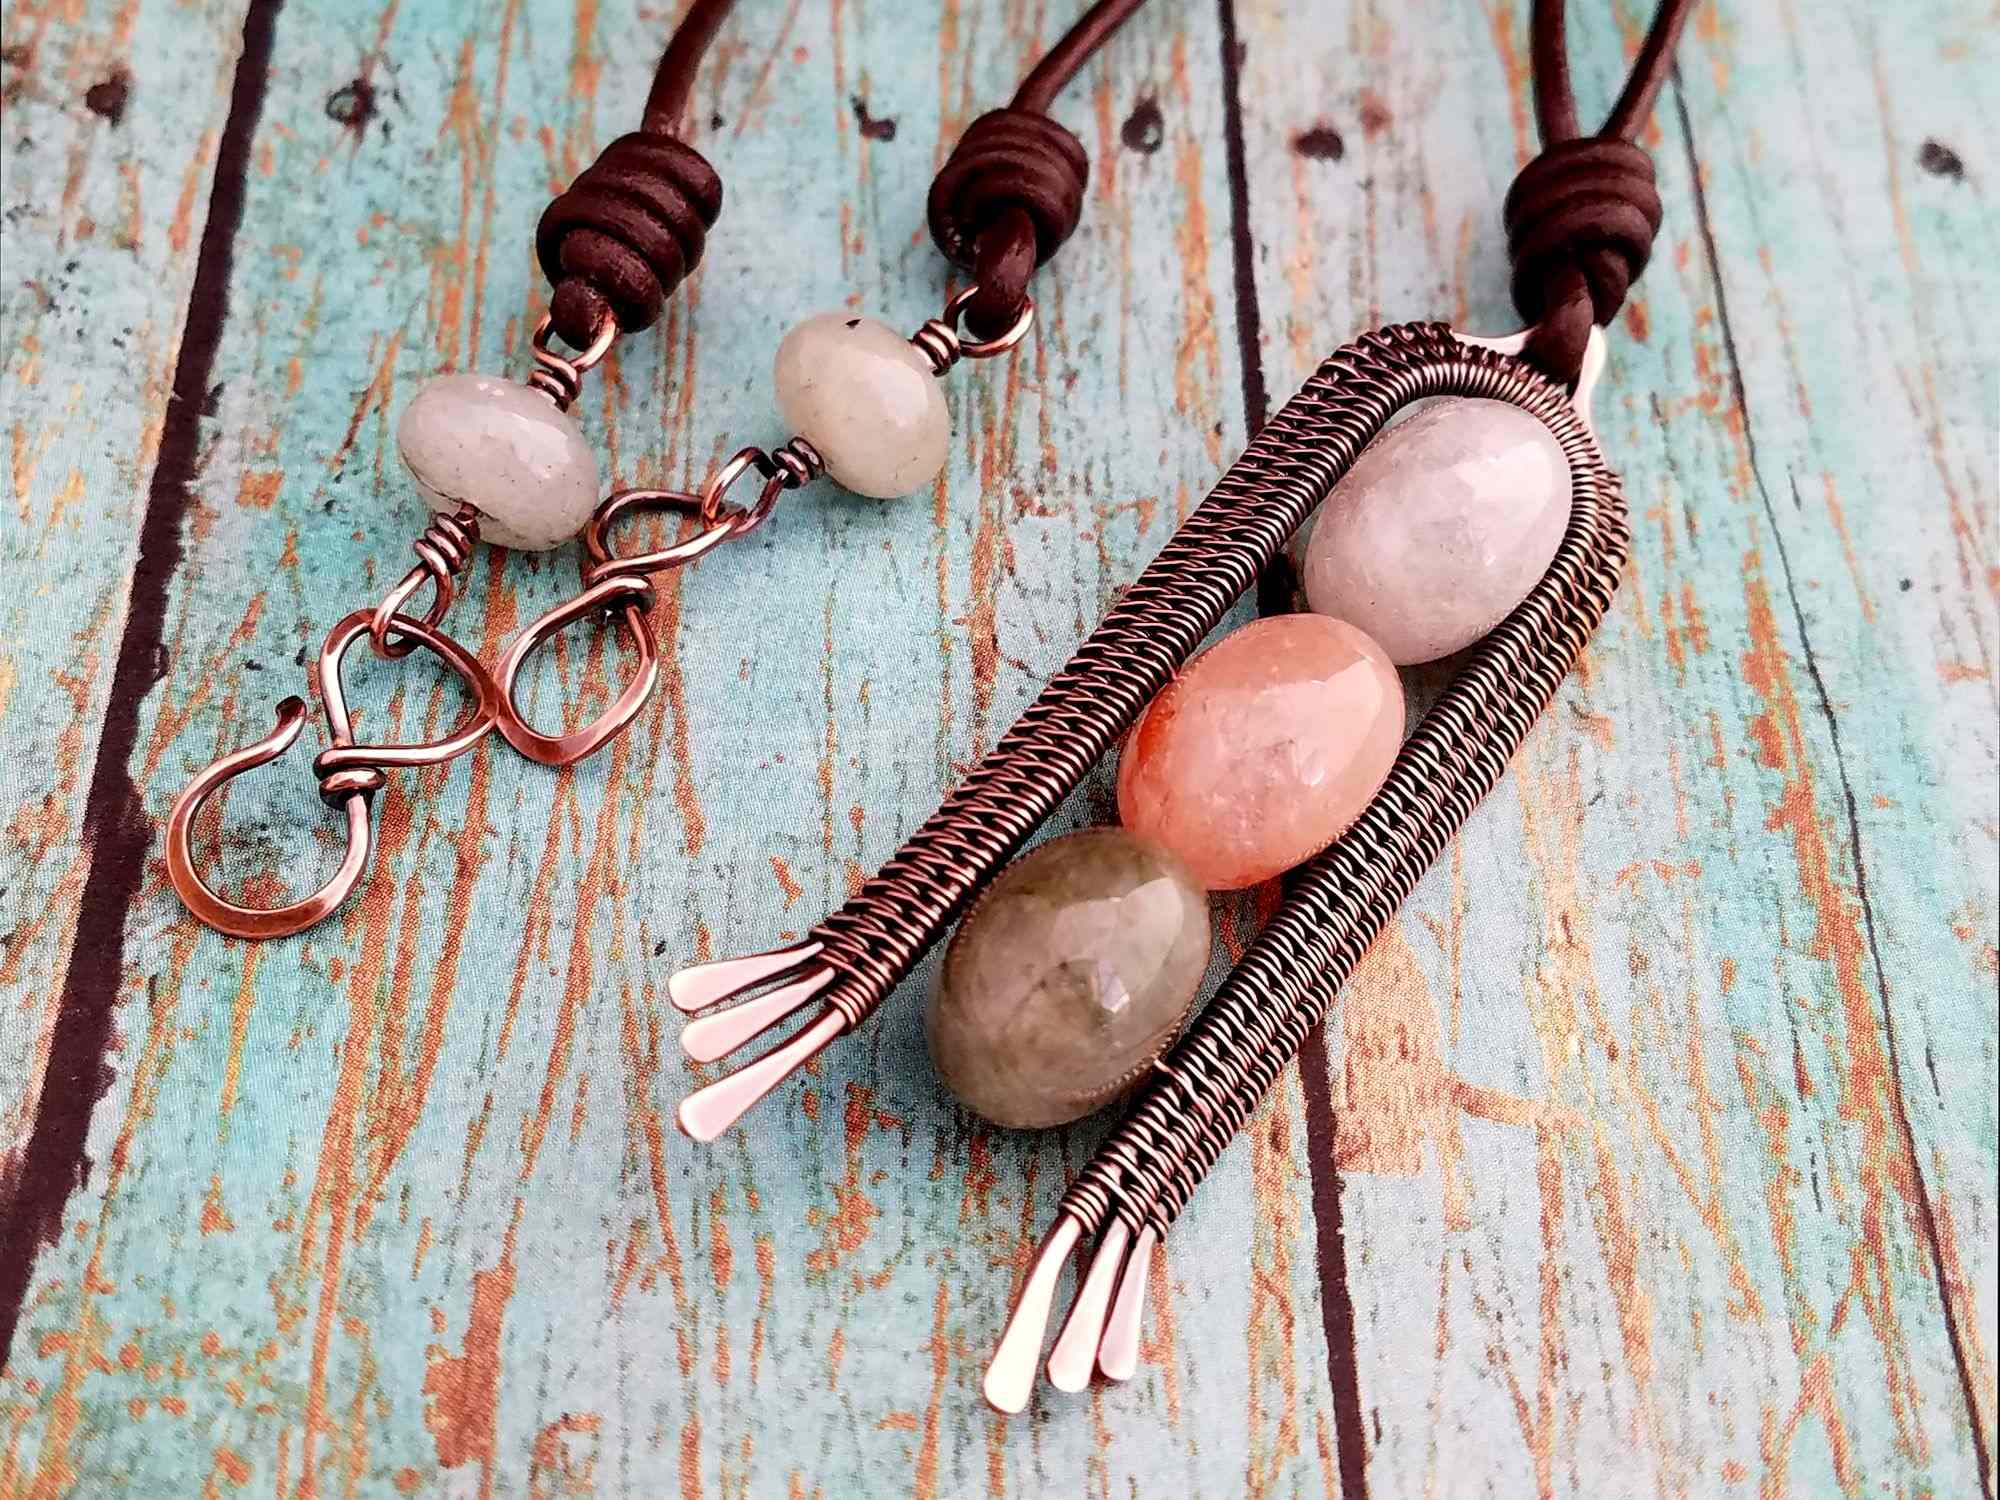
- The Delicate Bar Pendant
- The Rosewood Pendant
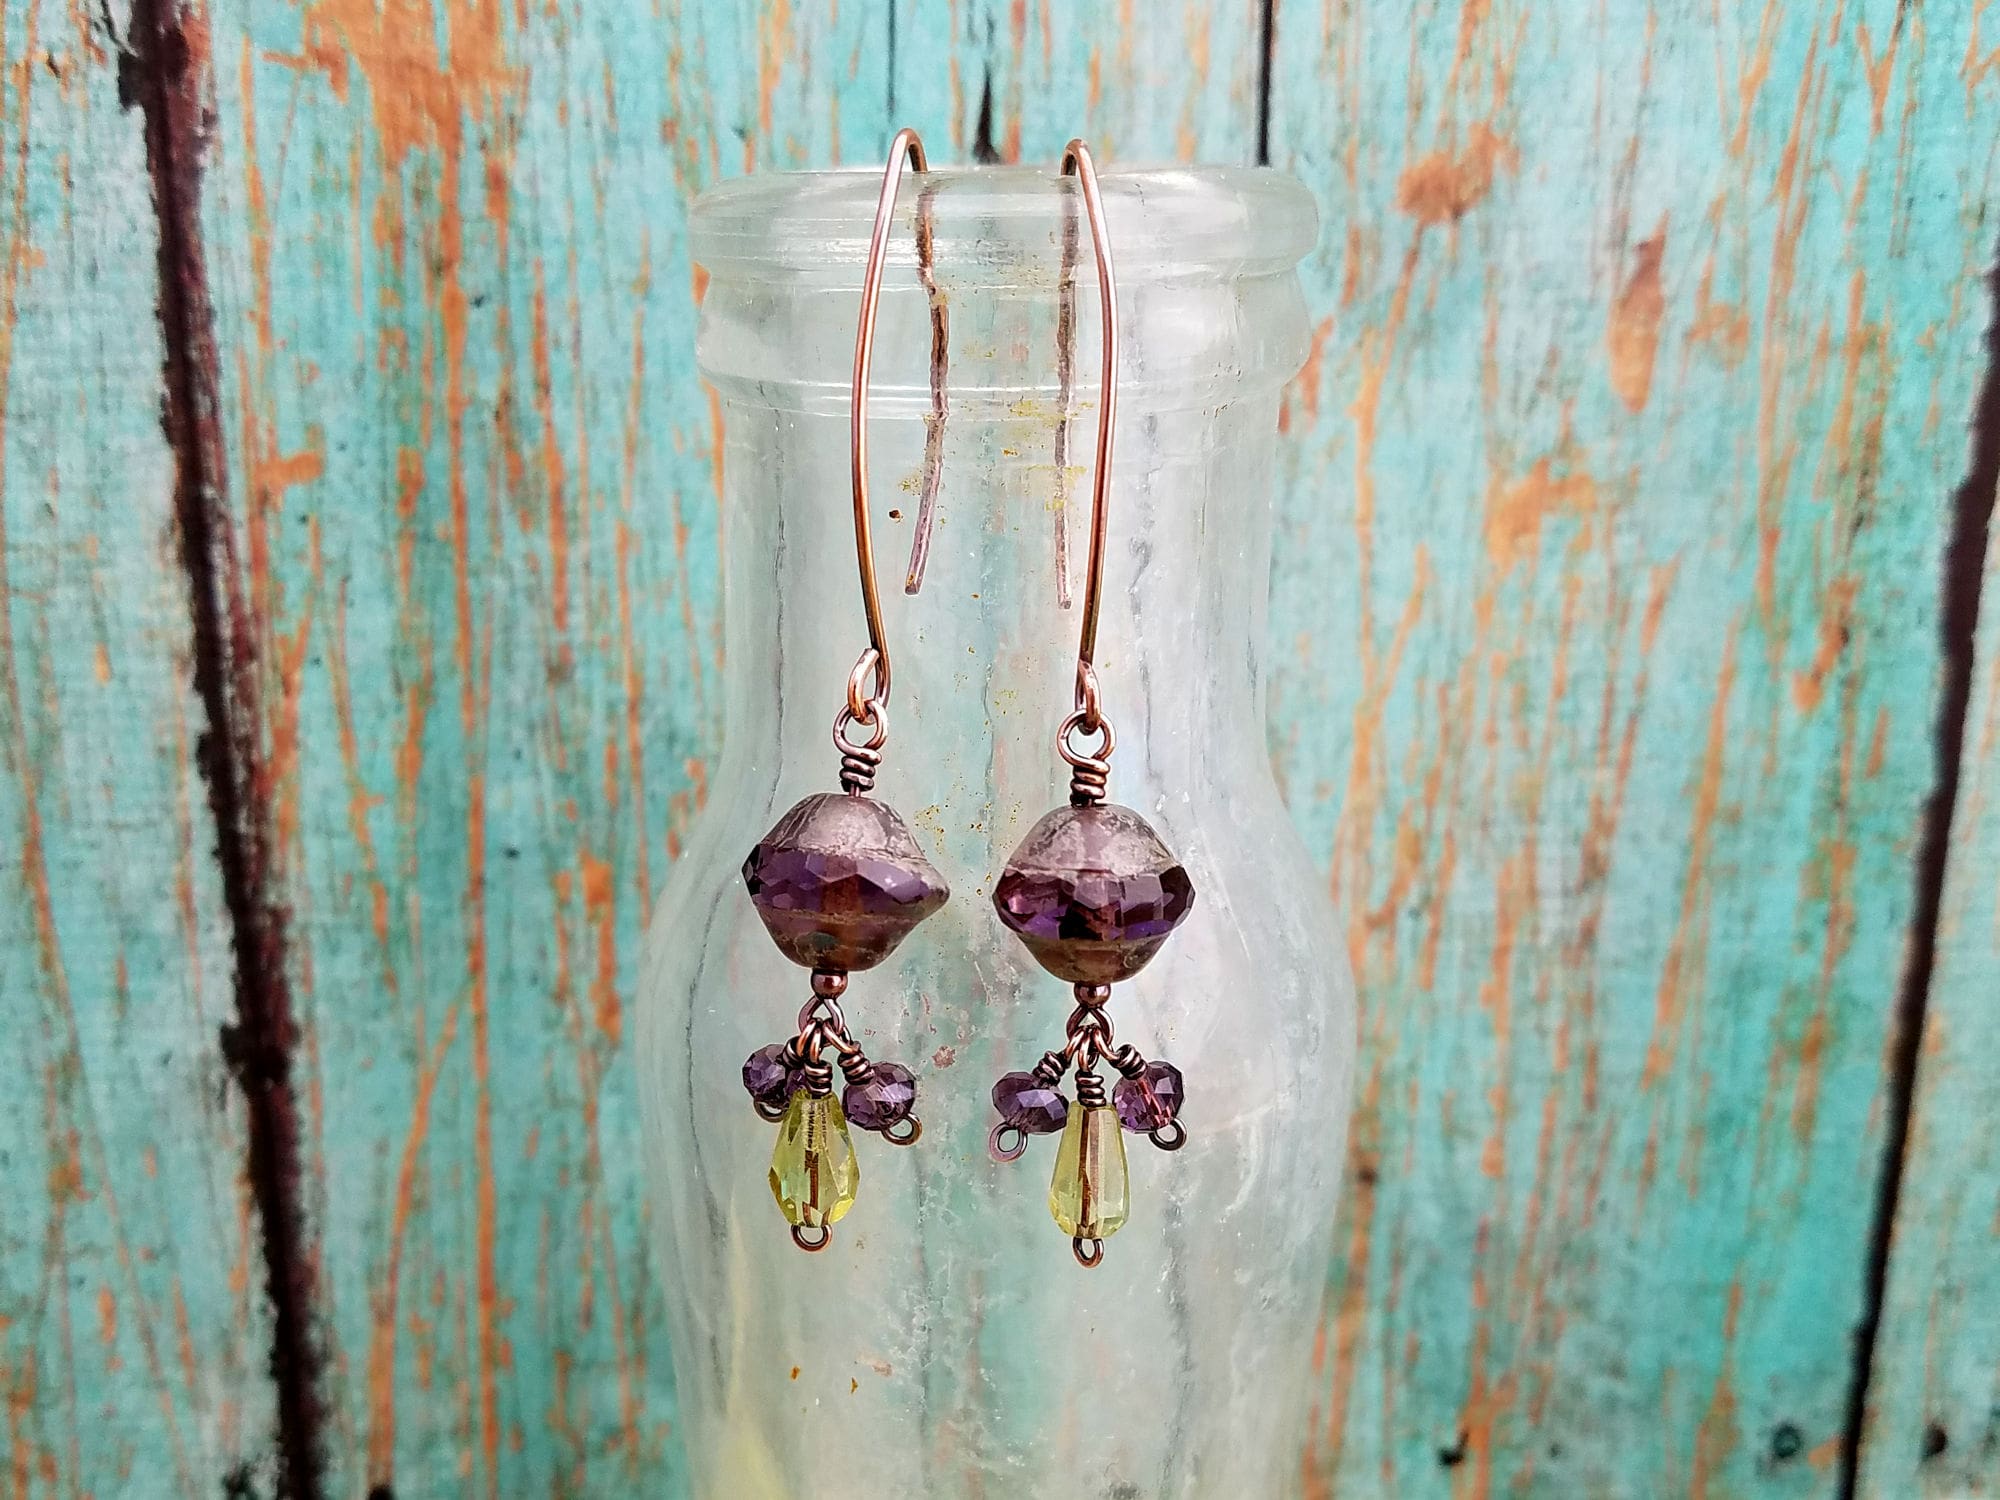
- The Rosewood Earrings
- The Ride the Wave Bracelet
Now that you know how to do this weave, try some of the tutorials mentioned above. All of my wire jewelry tutorials are suitable for both beginners and experienced wire weavers alike.
As soon as you’re ready to step up to the next level, be sure to check out my follow-up tutorial where I show you how to increase and decrease the Modified Soumak weave over multiple core wires.
Discover More Behind Door 44
Thanks so much for joining me today! I hope you enjoyed the first of many wire weaving pattern tutorials. Is it helpful to have both left and right-handed weaving instructions? Or do you find it easy enough to follow my left-handed instructions, even if you’re right-handed? Let me know in the comments so I can refine future weave tutorials for you.
Want to learn more wire jewelry tips and tricks?
I like to share useful wire weaving tips and tricks on my social media channels, and we have some great conversations about wire jewelry in my private Facebook Group. Also, be sure to connect with me @door44studios on Instagram, and Facebook to keep up with everything that’s happening behind Door 44. And if you haven’t already done so, be sure to subscribe to my YouTube channel where you’ll find new wire jewelry videos weekly.
Until next time, go make something beautiful with the 2-core Modified Soumak Weave!

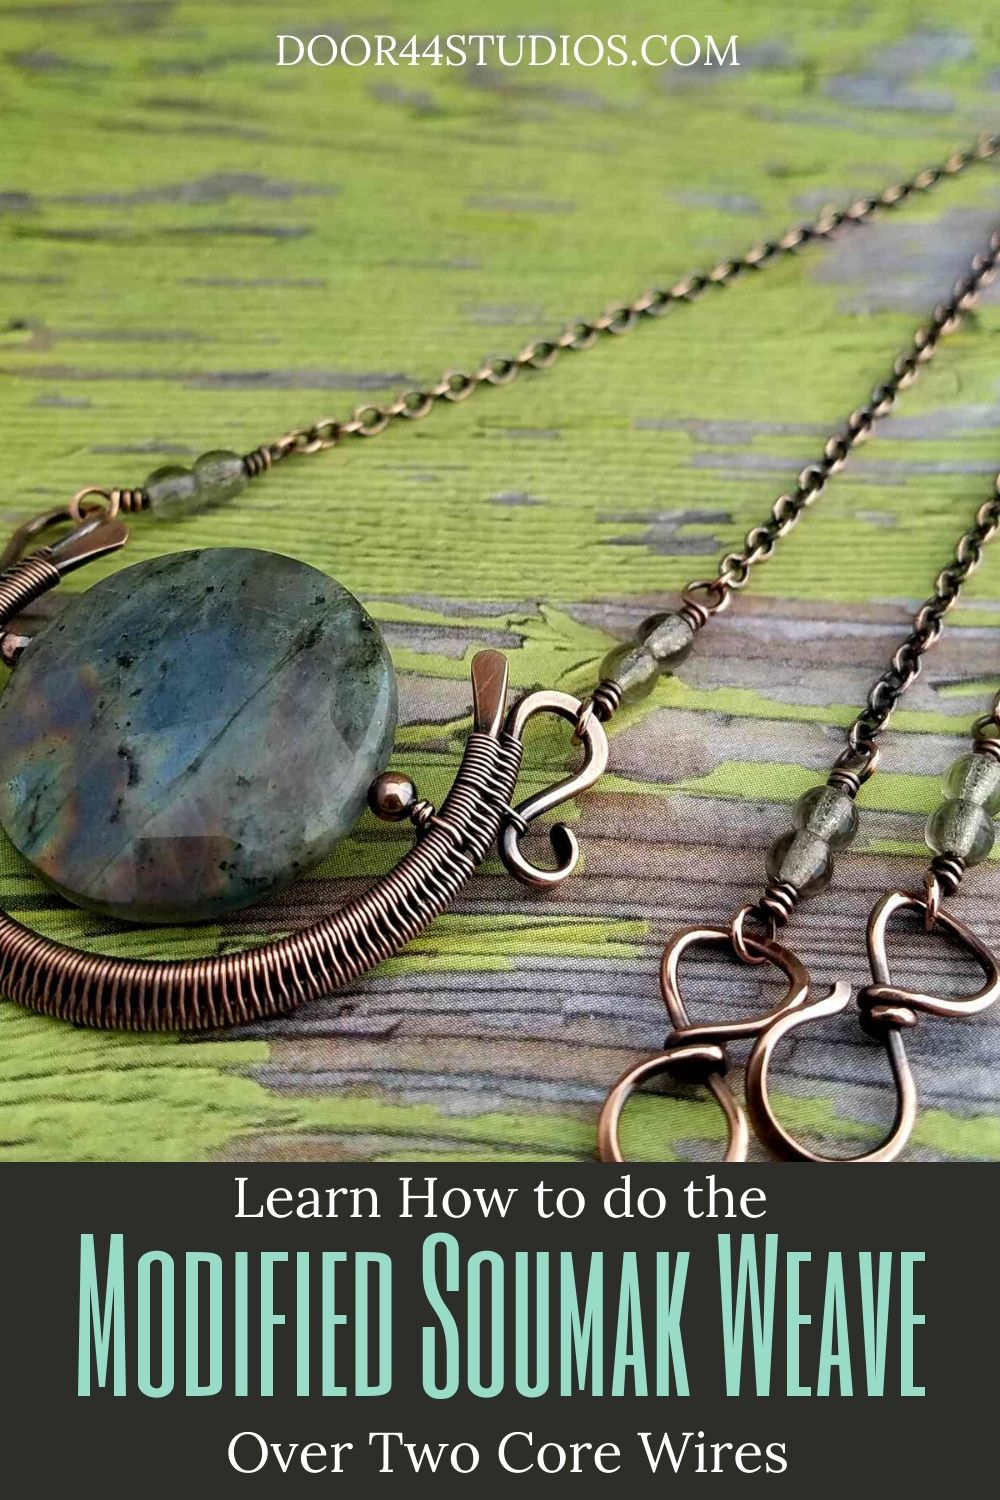
Pin This Post for Later

Wendi,
Thank you so much showing me how to do your wonderful weave. I bought your tutorial for Love Knot and I tried to do the weave without knowing. Your weaving tutorial was the easiest I have ever seen. I am right handed and I love the clear right handed directions. Keep those tutorials coming.
I’m so glad my tutorials are helpful, Shar! Thank you for the feedback. I appreciate it. And I will keep the tutorials coming. I’m a long way from running out of ideas for new tutorials!