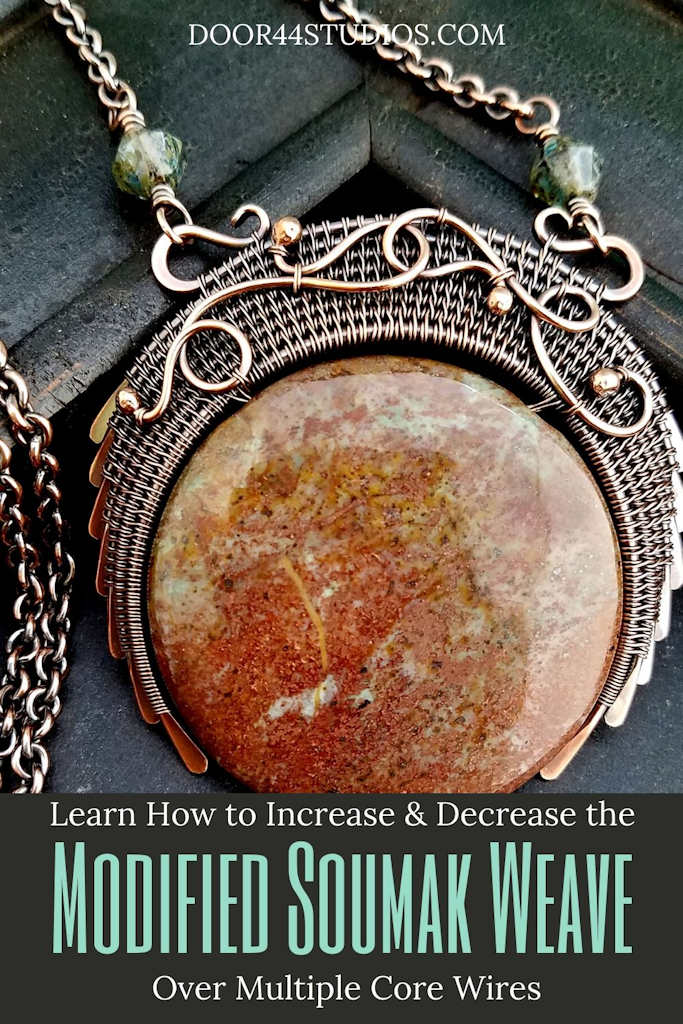
Increase & Decrease the Modified Soumak Weave
In a previous post, we learned the Modified Soumak weave over two core wires. Now, we’re going to expand on that first lesson and learn to increase and decrease the Modified Soumak weave over three or more core wires.
You can use this increase and decrease technique to create some really beautiful graphic textures. And you can also use it to finish off your weave in a neat and tidy manner. So, whether you’re going for maximum visual impact or soothing symmetry in your design, it pays to understand how, when, and where to increase or decrease Modified Soumak stitches.
Copyright & Disclosure
Weaves are techniques used to create art, but they’re not art alone. Therefore, they’re considered public domain and are not eligible for copyrights. When it comes to my written tutorials, however, I reserve exclusive rights to all images and written content.
You may not reproduce or redistribute any portion of this Modified Soumak Weave tutorial in any way, shape, or form. You may share the free version of this tutorial only by linking directly to this page.
This post may contain affiliate links. If you click on a link and then make a purchase, I may earn a small commission (at no cost to you). As an Amazon Associate I earn from qualifying purchases. To learn more, please see my full disclaimer.
Choosing Wire Gauges for the Modified Soumak Weave
As I mentioned in my first Modified Soumak tutorial, one of the biggest challenges for beginners while they’re learning to weave is choosing wire gauges. There are so many conflicting opinions out there about which weaving wire gauges you should use for which core wire gauges.
Personally, I use 28ga wire almost exclusively to weave core wires from 20ga to 10ga and everything in between. Regardless of what you may have heard from other sources, there are no hard and fast rules when it comes to choosing wire gauges. It’s merely a matter of personal preference.
I find that 28ga gives me the most consistently neat and tidy weave, regardless of the core wire gauge. So that’s my go-to wire gauge for weaving. For very delicate work over core wires 20ga and smaller, I often switch to 30ga wire for weaving. But that’s pretty much my only exception.
When it comes to choosing wire gauges, just select pairings that feel right to you. And feel free to ignore any unsolicited advice or criticism that you get from other weavers. In the end, it’s your jewelry and there are no wire gauge police who have jurisdiction over your work.
If choosing wire gauges is an area where you still don’t feel confident, be sure to read this post. It’ll demystify the process of choosing the right wire gauges for the three main styles of wire jewelry. And if you’re still not sure which type of jewelry wire (silver, copper, brass, etc.) you prefer, this post will help you figure that out as well.
The Modified Soumak Weave Over Three or More Core Wires
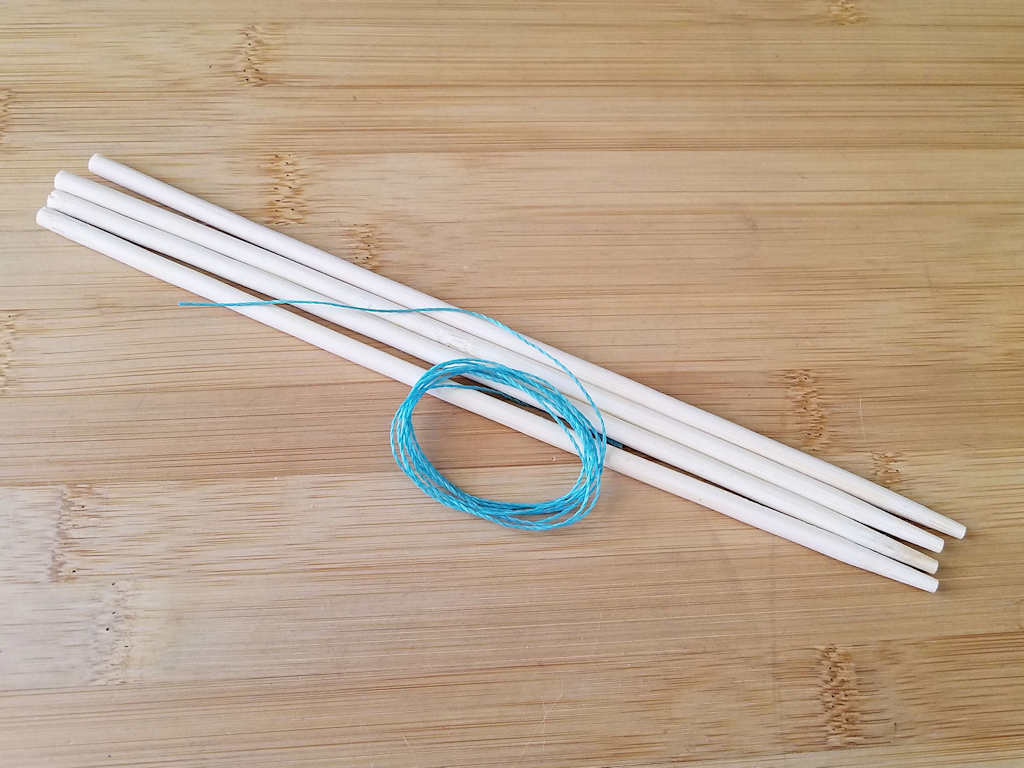
As with my dual core Modified Soumak tutorial, I’ll demonstrate the Modified Soumak weave in this tutorial using wood chopsticks and a contrasting waxed jewelry cord. I do this for clarity. It’s easier to get clear close-up photos with something other than shiny copper wire. But the weaving principles that I’m about to show you are the same, regardless of the materials you use.
The jewelry cord that I’m using for this tutorial has a diameter of 0.5 mm while the chopsticks have a 5 mm diameter. That’s visually comperable to using 30ga wire to weave over 10ga core wires. In both instances, the cores are roughly 10 times larger than the weaving material.
Left-Hand Vs. Right-Hand Weaving
I’m a left-handed weaver, and that’s the easiest way for me to teach. I understand that not everyone can learn easily while having to mentally mirror my movements. But after writing my last weave tutorial, it became pretty clear that creating two versions of every tutorial will significantly slow down my publication schedule. So, I’m going to try to strike a healthy balance in that regard.
I’ll continue to write left and right-handed instructions for the most basic 2-core weaves. And all subsequent weaves will be illustrated only with left-hand images to which I’ll add additional written instructions for right-handed weavers wherever appropriate.
I hope that’s a workable compromise for everyone. But if you’re a right-handed weaver who’s having trouble following this tutorial, please let me know. And I’ll see what I can to accommodate your learning style.
As discussed in the 2-Core Modified Soumak tutorial, the differences between left-hand and right-hand Modified Soumak weave are quite subtle. Likewise, there’s not a big difference between the front and back of this weave.
Basically, the only difference that you’ll see between the front and back faces of a properly woven Modified Soumak pattern is that the weave pattern shifts by 1/2 of the pattern repeat. Take a closer look at the image below to see exactly what I mean by that.
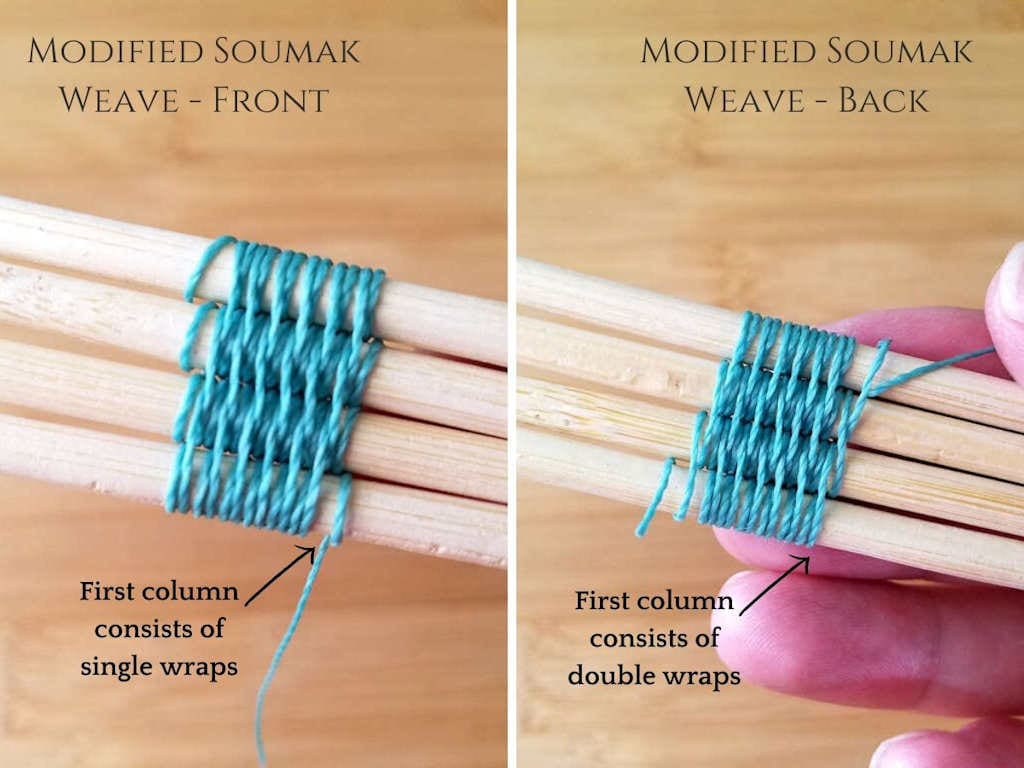
Remember, we always begin the Modified Soumak weave with single wraps over each core wire on the upward pass of the weave. And we return on the downward pass by crossing over two core wires. Those two passes, up and down the stack of core wires, make up a single pattern repeat.
Note that the pattern created on the back side of the weave is just the opposite. The weaving wire crosses over two core wires on the first pass and wraps over each individual core wire on the second pass. So, the weave pattern shifts one half of the full pattern repeat when viewed from the front versus the back.
Understanding this shift in the weaving pattern from front to back will help as you increase and decrease the Modified Soumak weave. That awareness will do three things for you. First, it’ll help you maintain better symmetry throughout your weave. Secondly, it’ll minimize confusion and frustration when working increases and decreases into your weaves. Finally, it’ll make it much easier to quickly figure out where you left off and what you were doing if you’re interrupted mid-weave or have to put your work down to do something else.
We’ll talk more about how to increase and decrease the Modified Soumak weave in a few minutes. But first, let’s talk about how to weave Modified Soumak over three or more core wires.
Multi-Core Modified Soumak Weave
There are probably as many methods of starting the Modified Soumak weave as there are wire weavers. Many tutorials will instruct you to anchor your weaving wire with two or three wraps around the first core wire before beginning your weave.
This is fine if you’re starting at one end of your core wires. But I tend to start my weaves in the middle of the core wires. I then weave in one direction until I reach the ends of my core wires. And then I flip the piece over and continue the weave seamlessly to the other ends of the core wires.
Do whatever works best for you. If you find it easier to weave from one end of the core wires to the other, feel free to add some additional anchoring wraps before beginning your first upward pass.
Step 1
Take your first core wire and hold it comfortably in your non-dominant hand. Then place your weaving wire behind the core wire with the tail hanging down and the working wire pointing up, as shown.
Step 2
Hold the tail in position with your fingers and bring the working wire down over the front of the core wire and around the back, as shown.
This is the first single pass of your weave pattern. Also note that this is where the difference between weaving left-handed or right-handed becomes apparent. We lefties weave from right to left. So the working wire will always fall to the left of the starting tail (or the previous wrap), as shown in the image below.
Right-handed weavers weave from left to right, which means the working wire will always land to the right of the starting tail (or previous wrap). Beyond that directional difference, the weaving instructions are exactly the same.
Step 3
Now place your second core wire above the first core wire and in front of the weaving wire, as shown.
Step 4
Complete a single wrap around the second core wire, as shown. This is the second single pass of your pattern, and you’ve effectively bound your two core wires together.
Step 5
Add your next core wire to the top of the stack and in front of the weaving wire, as shown.
Step 6
Bind the third core wire to the previous two cores with a single wrap, as shown. If you only need three core wires for your design, you can begin the downward pass now by crossing over wires 3 and 2. Or, if you need more core wires, you can keep stacking and binding them, one core at a time.
Step 7
I’m using four core wires for this demonstration. So I’m going to repeat this single binding wrap one last time. Add the next core wire to the top of the stack and in front of the weaving wire, as shown.
Step 8
Bind the fourth core wire to the stack with a single wrap over and around that core wire, as shown.
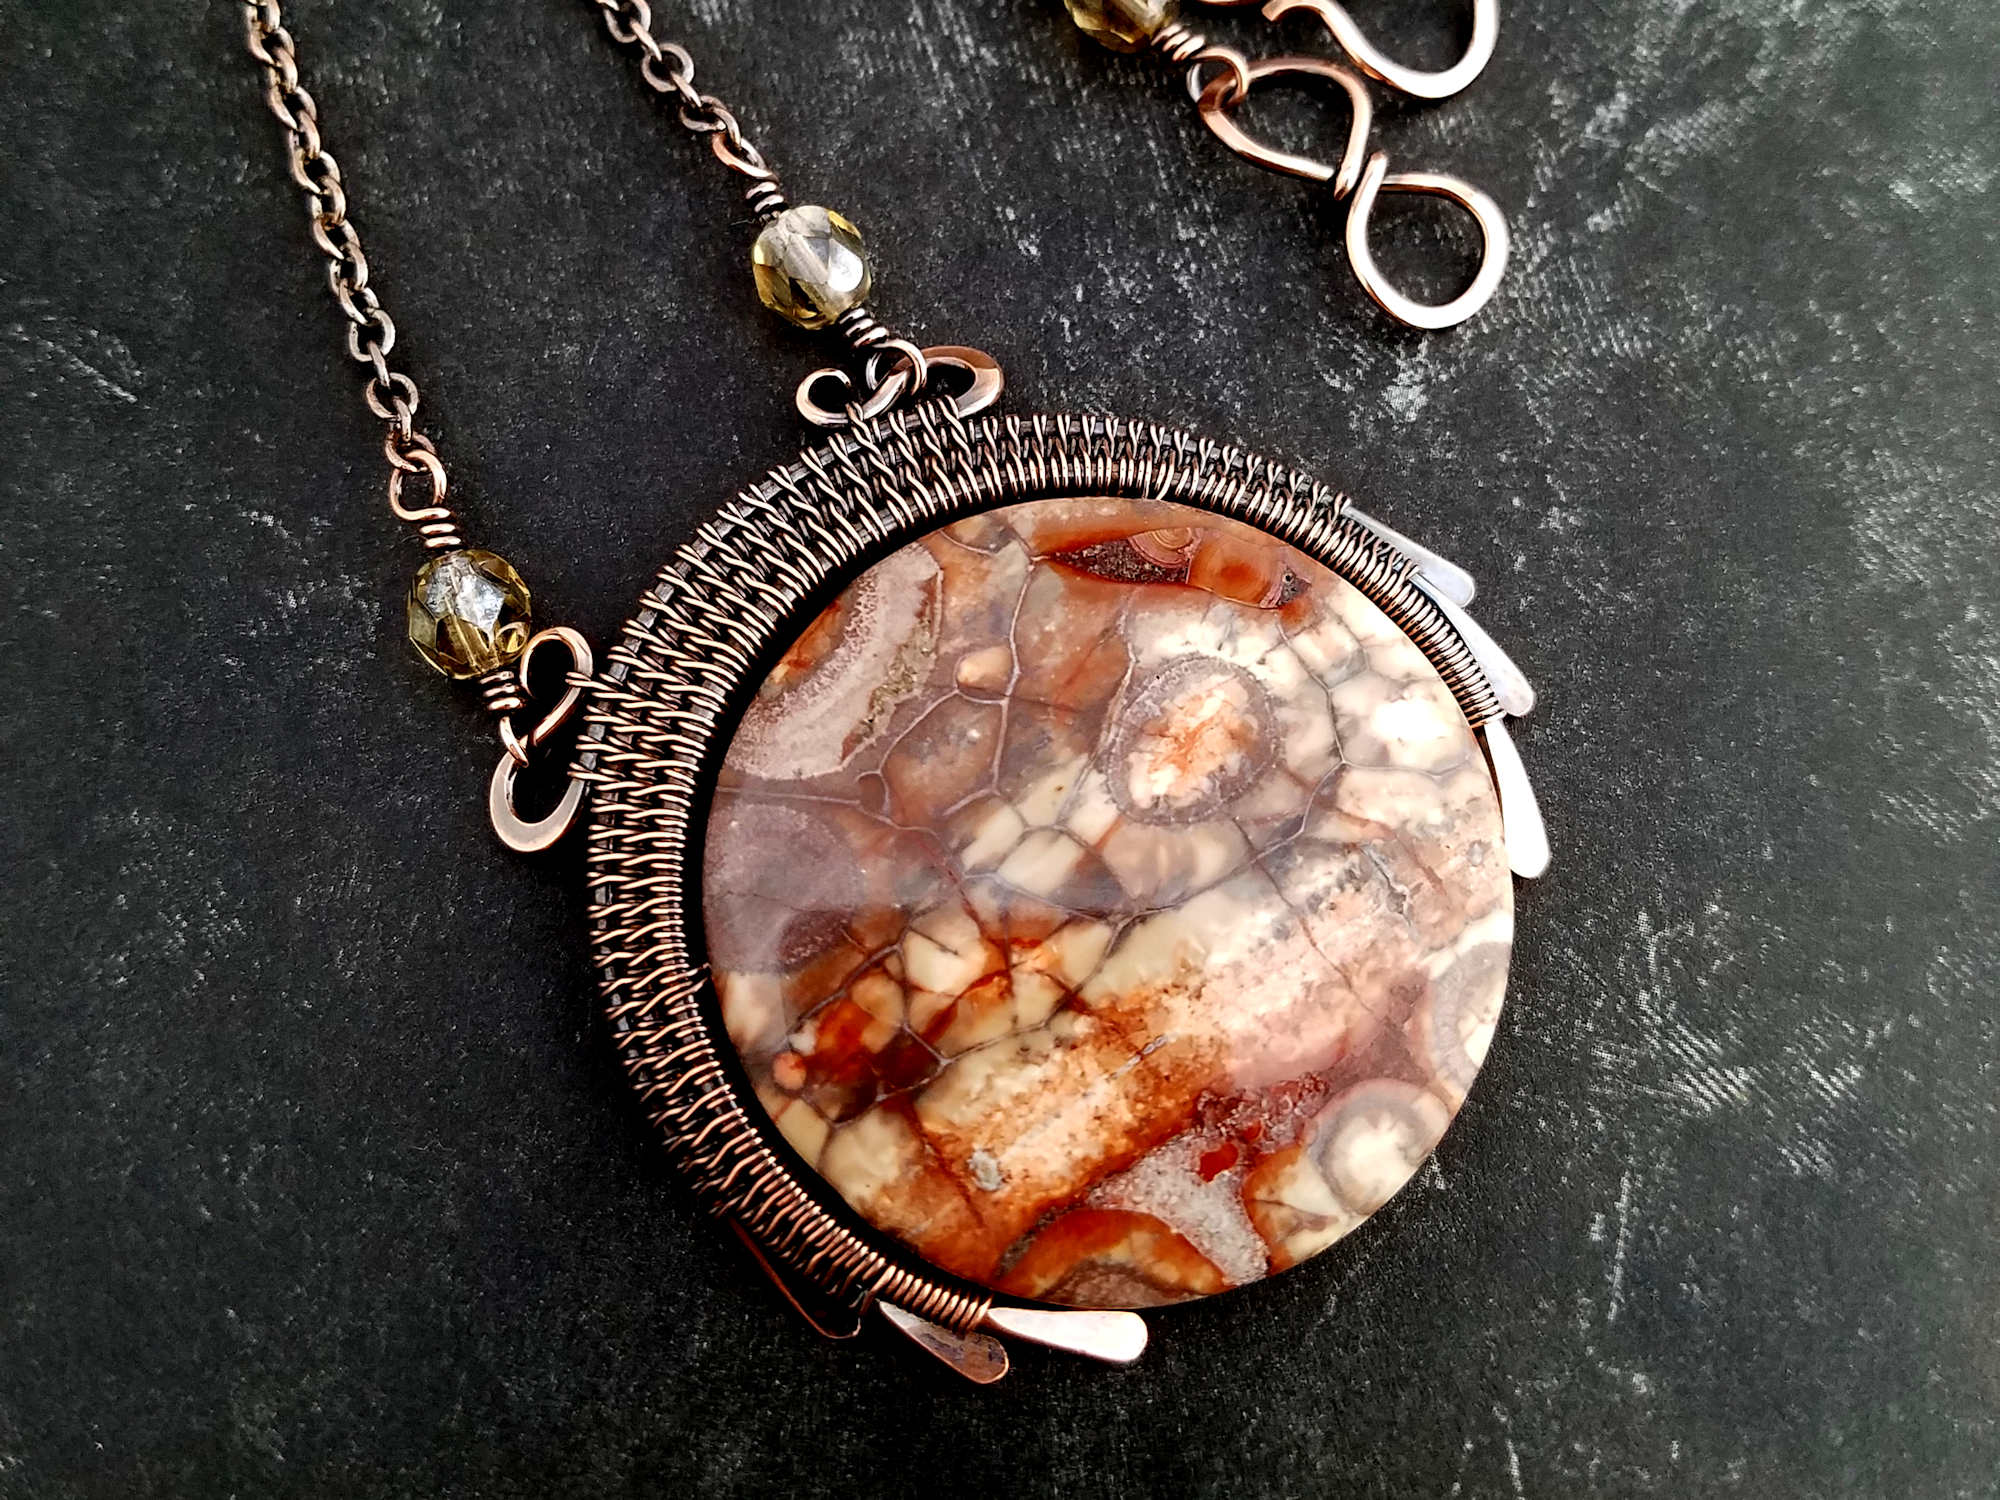
Again, you can continue stacking and binding as many core wires as you need. My Ancestor Pendant, for instance, uses ten core wires. And they’re all bound just like this at the beginning of the weave.
The beautiful thing about the Modified Soumak weave is that the pattern isn’t dependent upon the number of core wires. So whether you have an odd or even number of core wires, the pattern remains the same.
Step 9
Now we’re ready to begin the downward double pass. Bring your weaving wire over the top two core wires and then between wires 2 and 3 , as shown.
Step 10
Now bring your weaving wire back to the front of the weave by passing it between wires 3 and 4, as shown. That completes the first double wrap of the downward pass.
Step 11
We’re now going to repeat the double wrap across wires 3 and 2. Bring your weaving wire over the next two core wires. Then pass it between Wires 2 and 1, as shown.
Step 12
To begin the third and final double wrap, bring your weaving wire to the front of the weave by passing it between wires 3 and 2, as shown.
Remember, the number of double wraps will always be one fewer than the number of single wraps. In this case, we have four single wraps on the upward pass (four core wires) and we’ll end up with three double wraps on the downward pass. Do you see how that works?
Step 13
Complete the first downward pass by wrapping around to the back of wire 1. Then bring your weaving wire to the front by passing between wires 2 and 1, as shown.
You just completed the first pattern repeat. Remember, the pattern doesn’t change, regardless of how many core wires you have. You’ll always complete single wraps on the upward pass and double wraps on the downward pass. Okay. Let’s begin our second pattern repeat. I’m going to go through this quickly.
Step 14
Complete a single wrap around wire 1.
Step 15
Complete a single wrap around wire 2.
Step 16
Complete a single wrap around wire 3.
Step 17
Complete a single wrap around wire 4. This completes your second upward pass.
Step 18
To begin your downward pass, complete a double wrap across wires 4 and 3.
Step 19
Then across wires 3 and 2.
Step 20
Complete the third and final double wrap to finish off your second downward pass. You’re now ready to being the third upward pass.
That’s all there is to it! Just keep repeating the pattern as many times as needed to complete your weave. Single, single, single, single on the way up. And double, double, double on the way down. Easy peasy!
Can you see why I like this weave so much? It creates a beautiful texture. It has a simple and meditative rhythm, no matter how many core wires you’re weaving together. And it looks nearly identical on the front and back, which makes it a great weave to use when you want the back of your piece to look as good as the front.
Tip: A Compact Weave is a Tidy Weave
Remember to compact your weave every few pattern repeats. I do this in two ways. First, for every single wrap that I make, I gently nudge the wire into position so it lays snugly next to the weave section, as shown above. Secondly, I stop weaving every few pattern repeats and compact the weave with my fingers so it’s neat and tidy. This is particularly important when weaving around curves because the weave will naturally tend to separate.
Now that you know how to weave Modified Soumak over multiple core wires, let’s talk about increasing and decreasing the weave.
How to Increase and Decrease the Modified Soumak Weave
As I mentioned earlier in this tutorial, you can create some super fun textures on your work by strategically increasing and decreasing your weave over multiple core wires. Let’s take a closer look.
Increasing the Modified Soumak Weave
First, let’s talk about how to increase the Modified Soumak weave. If you’re right handed, the next image may appear to show the decreasing side of the weave. It’s a little confusing, I know. But remember that I weave from right to left while you weave from left to right. Everything else is the same, so these instructions will apply to you as well as to my left-handed weavers.
The key to increasing your weave from two to three core wires (or from three to four wire, etc.) is to pay attention to your weaving pattern.
Always increase on the upward pass with a single wrap.
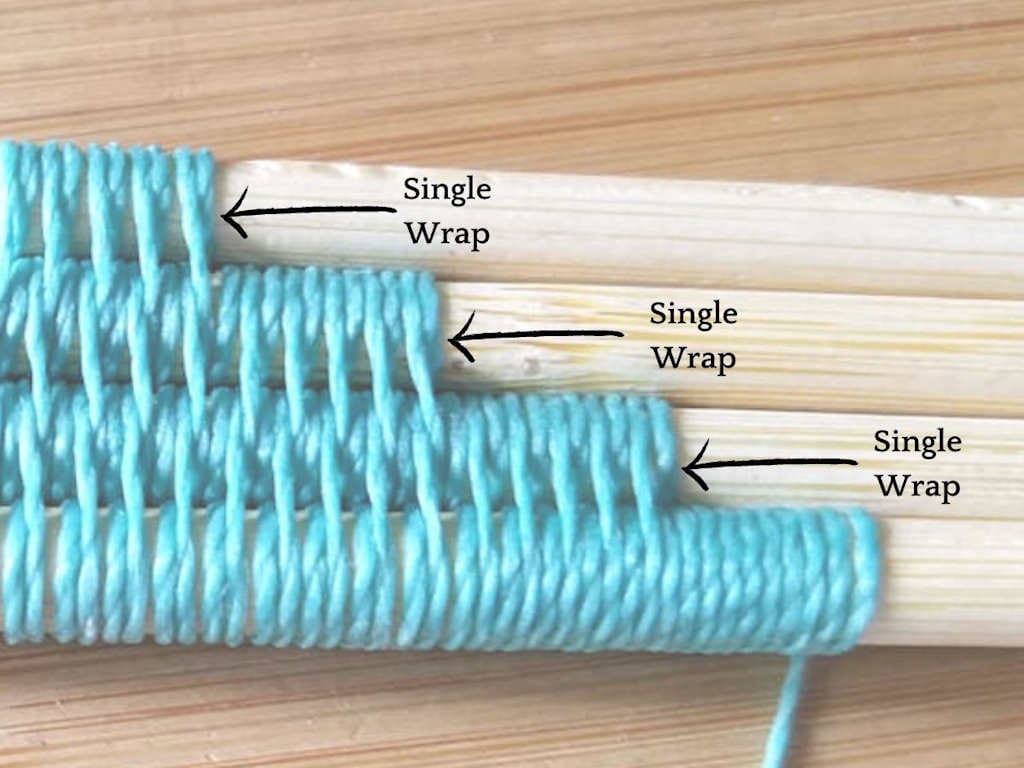
I’ve pointed out each increase on the image above so you can see exactly how that works. Note that I completed five pattern repeats between each increase. And to balance the stepped effect of the weave, I began my weave with ten coils around the first core wire before making my first increase on the upward pass.
Tip: Count Your Pattern Repeats
Easily count your pattern repeats by counting the long bars that cross over two core wires. I worked five pattern repeats on each step of my increase above. So, there are five bars per step.
Decreasing the Modified Soumak Weave
Now you might think that because you begin the increase on the upward pass that you should begin the decrease on the downward pass. That seems logical enough, but it doesn’t work out that way. If you try to decrease on your downward pass, it’ll disrupt your weaving pattern.
Just like the increase, always begin a decrease on the upward pass with single wraps. To do this, just skip the last core wire and begin your downward pass instead.
Look carefully at the image below. I’ve pointed out each decrease transition so you can see exactly how that transition happens. This method gives you the cleanest edges on your decrease steps.
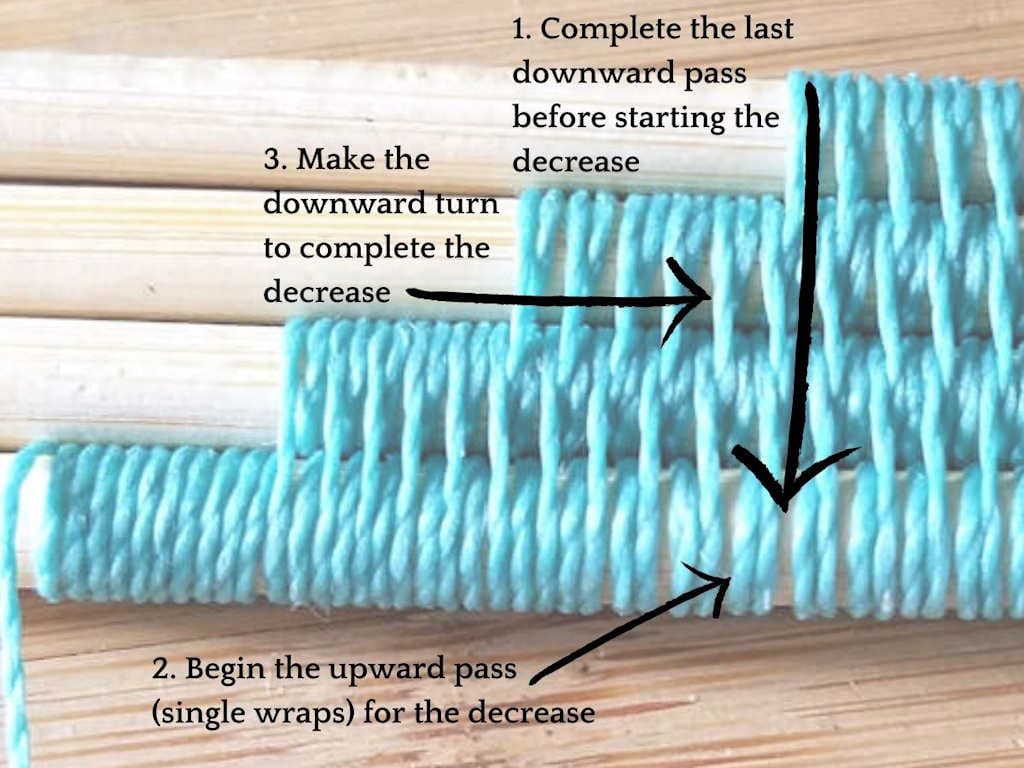
Again, if you’re a right-handed weaver, this image may look backwards to you. The way that you can tell that this is a decrease rather than an increase is that there’s a double wrap at the edge of each step. Remember, the double bar always indicates the completion of a pattern repeat.
If this were an increasing pattern, the edge of each step would be marked with a single wrap, as we saw on the previous image. Just follow the directions for the decrease, exactly as they’re written, and you’ll be fine.
Practice Increasing and Decreasing the Modified Soumak Weave
If you’re familiar with my wire weaving tutorials, you may have guessed that the Modified Soumak Weave is my favorite weave. This multi-core wire version is featured in the following Door 44 Studios jewelry tutorials.
- Portico Earrings
- Portico Pendant
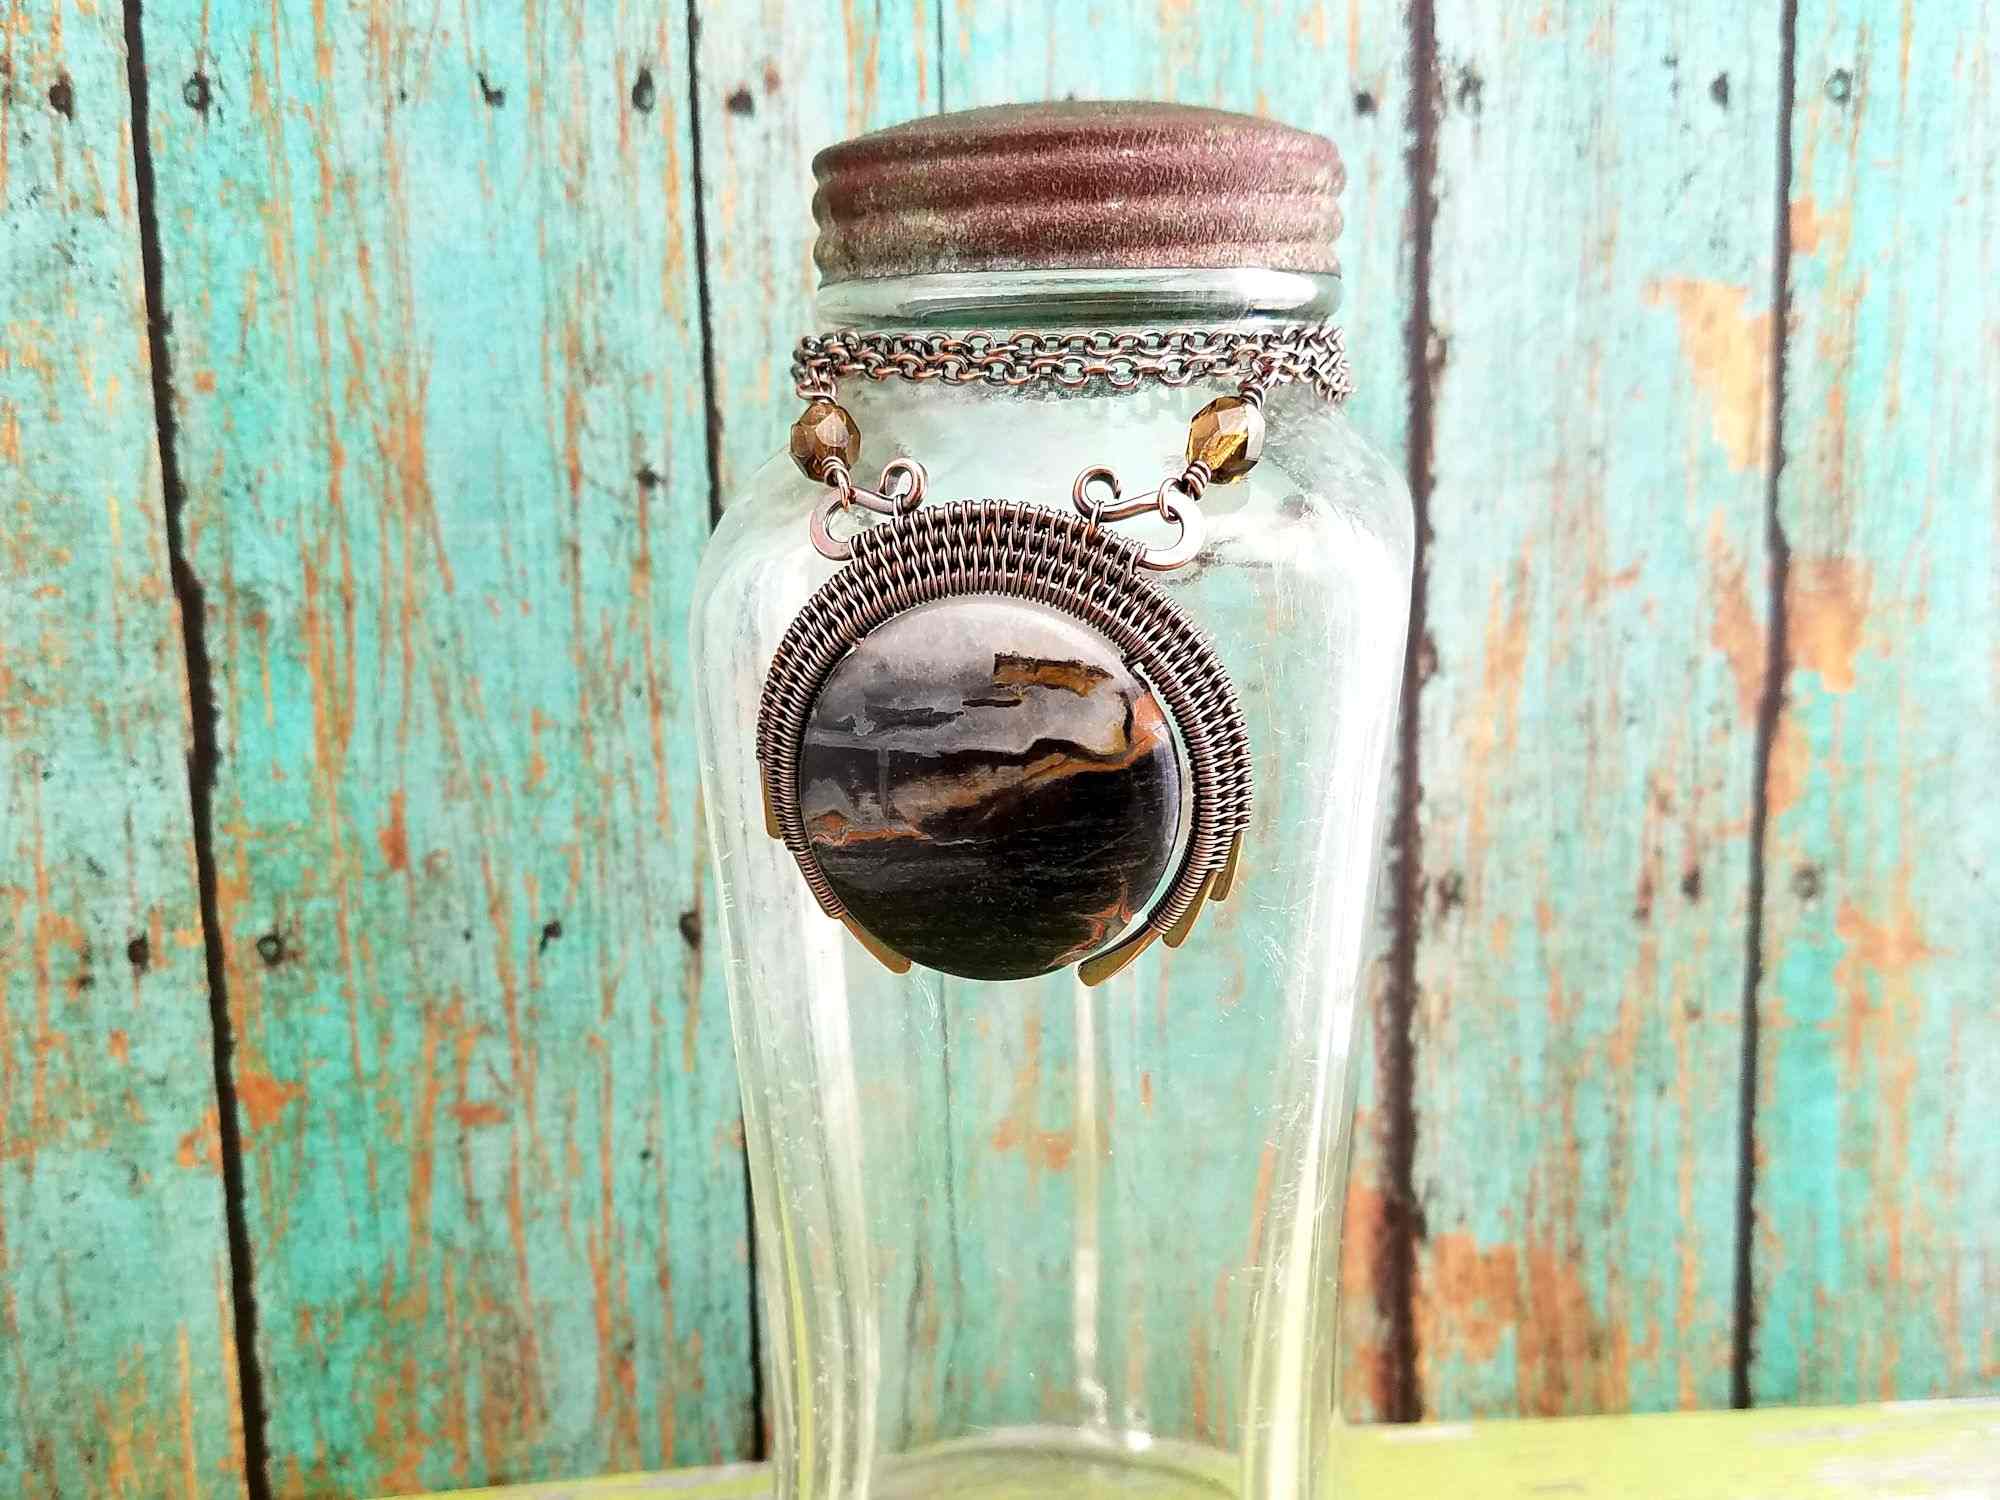
- New Moon Pendant
- Ancestor Pendant
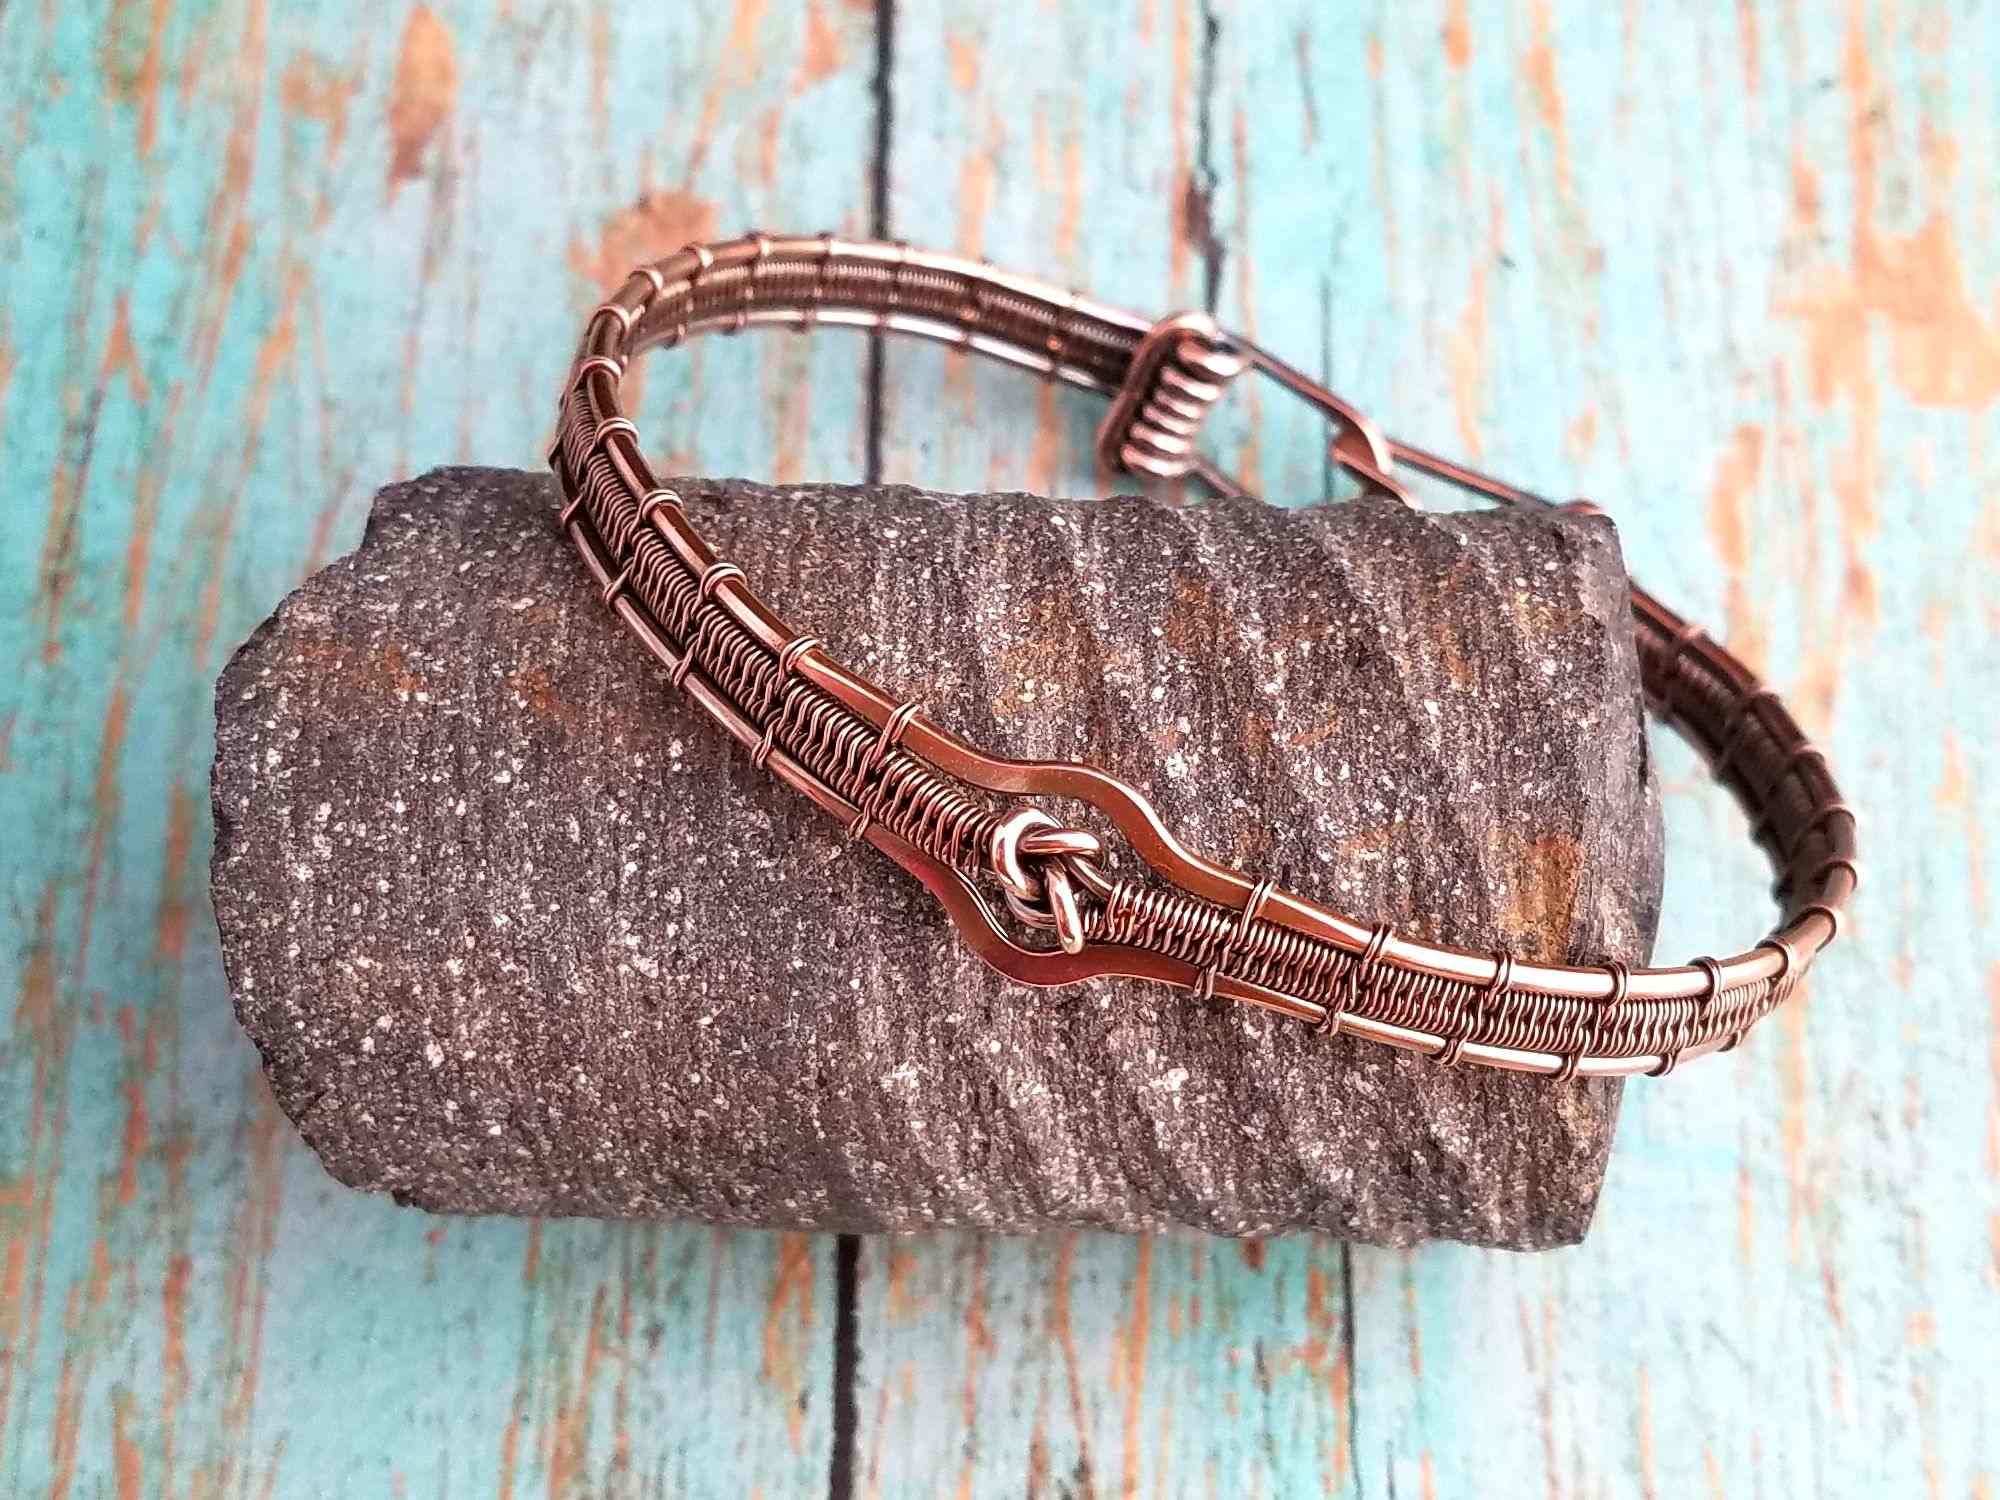
- Lover’s Knot Bracelet
- Lyonesse Pendant
Now that you know how do the Modified Soumak weave over multiple core wires, be sure to try some of the tutorials mentioned above. Each of these tutorials give you a great opportunity to practice increasing and decreasing your weave. And all of my wire jewelry tutorials are suitable for both beginners and experienced wire weavers alike.
Discover More Behind Door 44
Thanks so much for joining me today! I hope you enjoyed the second wire weaving pattern tutorial that I’ve written to date.
Is it helpful to have both left and right-handed weaving instructions? Or do you find it easy enough to follow my left-handed instructions, even if you’re right-handed? Let me know so I can refine future weave tutorials for you.
I like to share useful wire weaving tips and tricks on my social media channels, and we have some great conversations about wire jewelry in my private Facebook Group. Also, be sure to connect with me @door44studios on Instagram, and Facebook to keep up with everything that’s happening behind Door 44. And if you haven’t already done so, be sure to subscribe to my YouTube channel where you’ll find new wire jewelry videos weekly.
Until next time, go make something beautiful using the Modified Soumak Weave!

Pin This Post for Later