

How to Ball Copper Wire with a Butane Torch
Have you wanted to learn how to ball copper wire, but you’re nervous about using a torch? I get it. Working with fire can be scary at first. So, today we’re going to talk about how to set up a safe and functional workspace when using a torch. I’ll share everything you need to know to safely and confidently use a torch to ball copper wire.
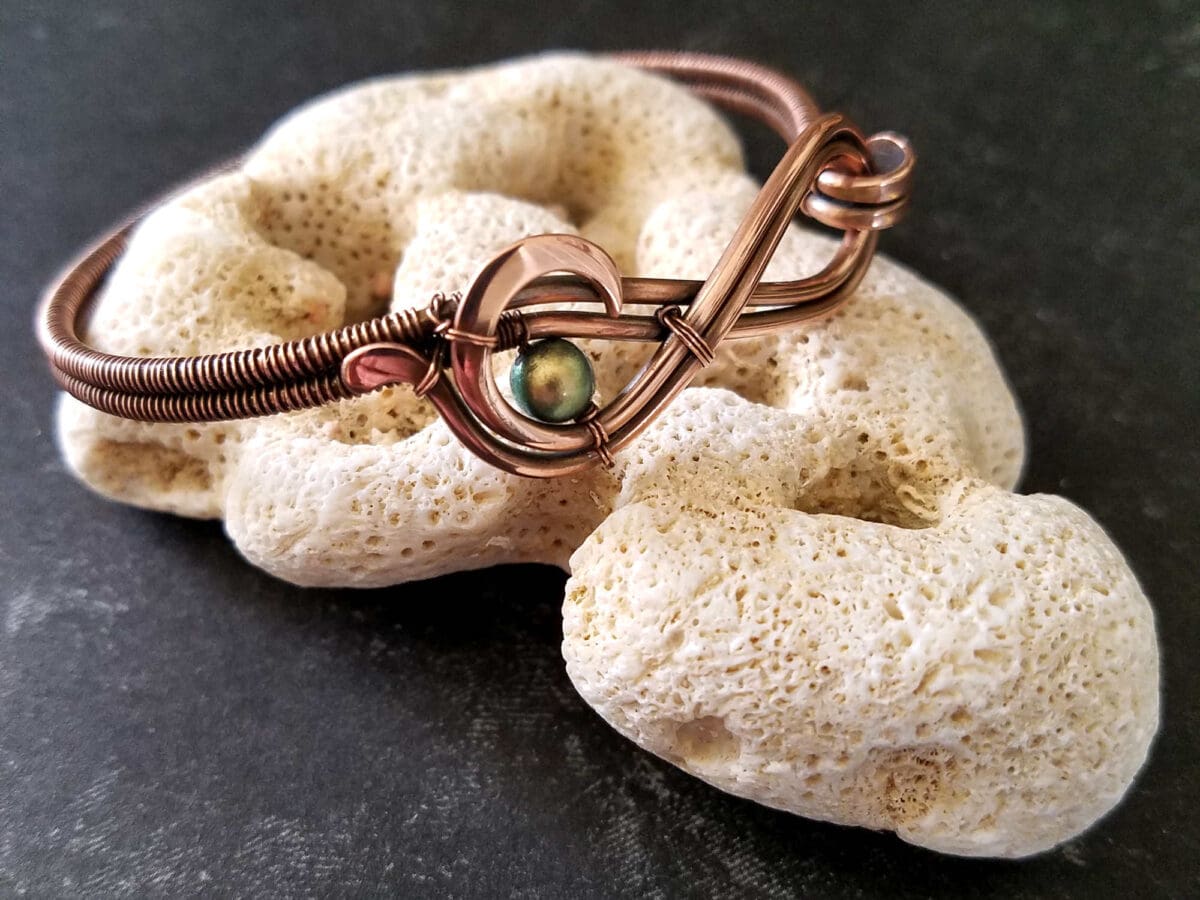
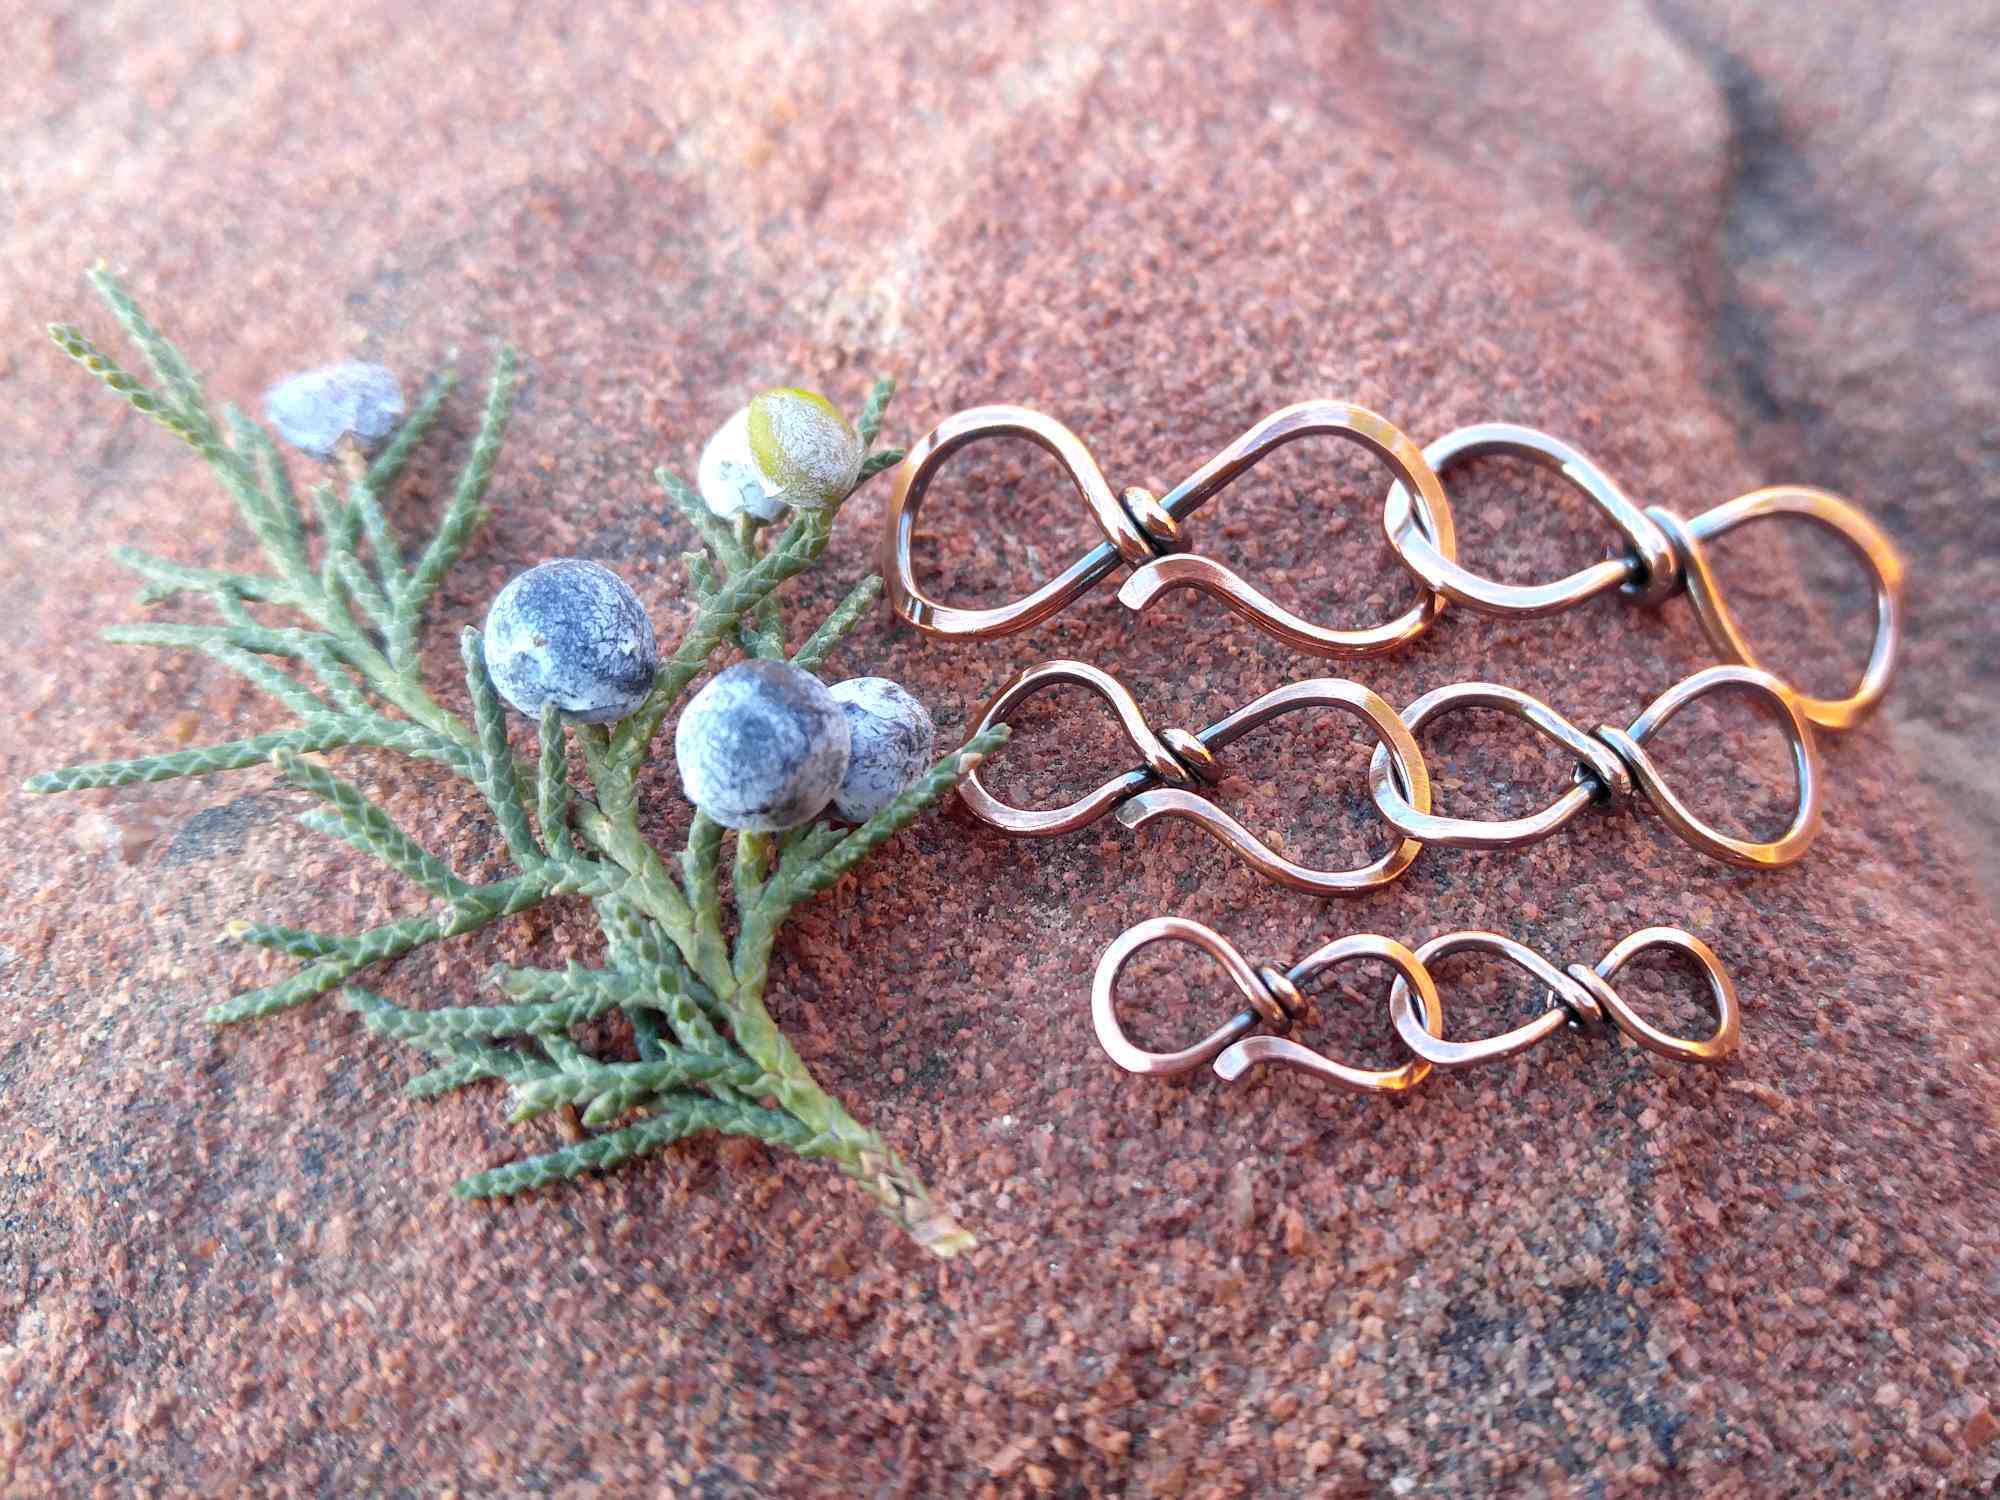
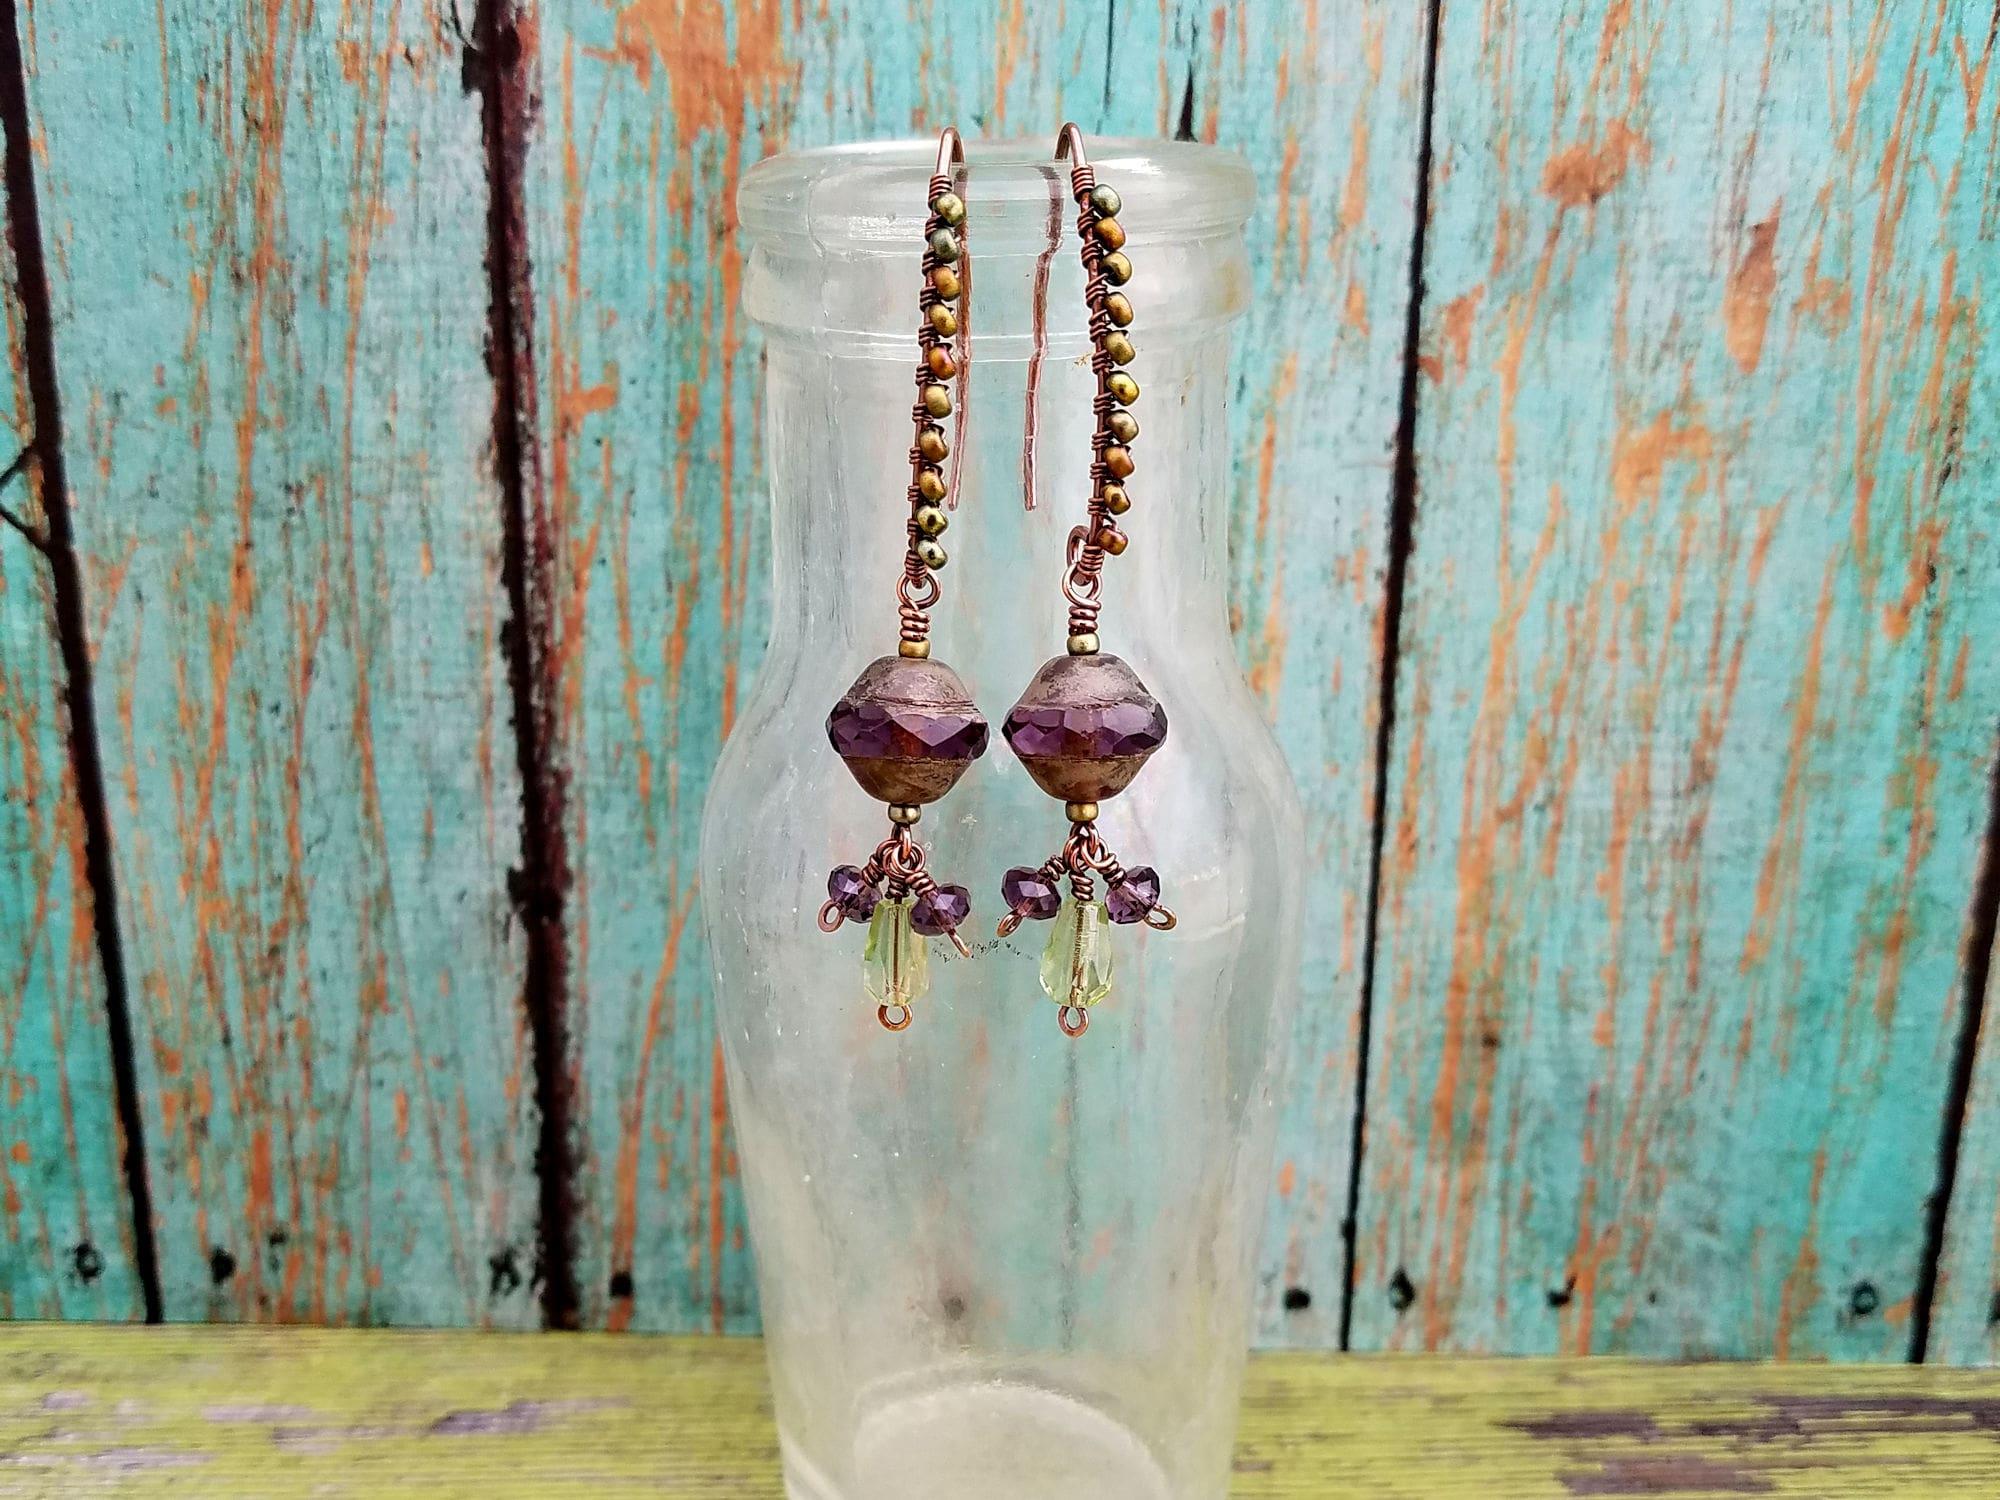
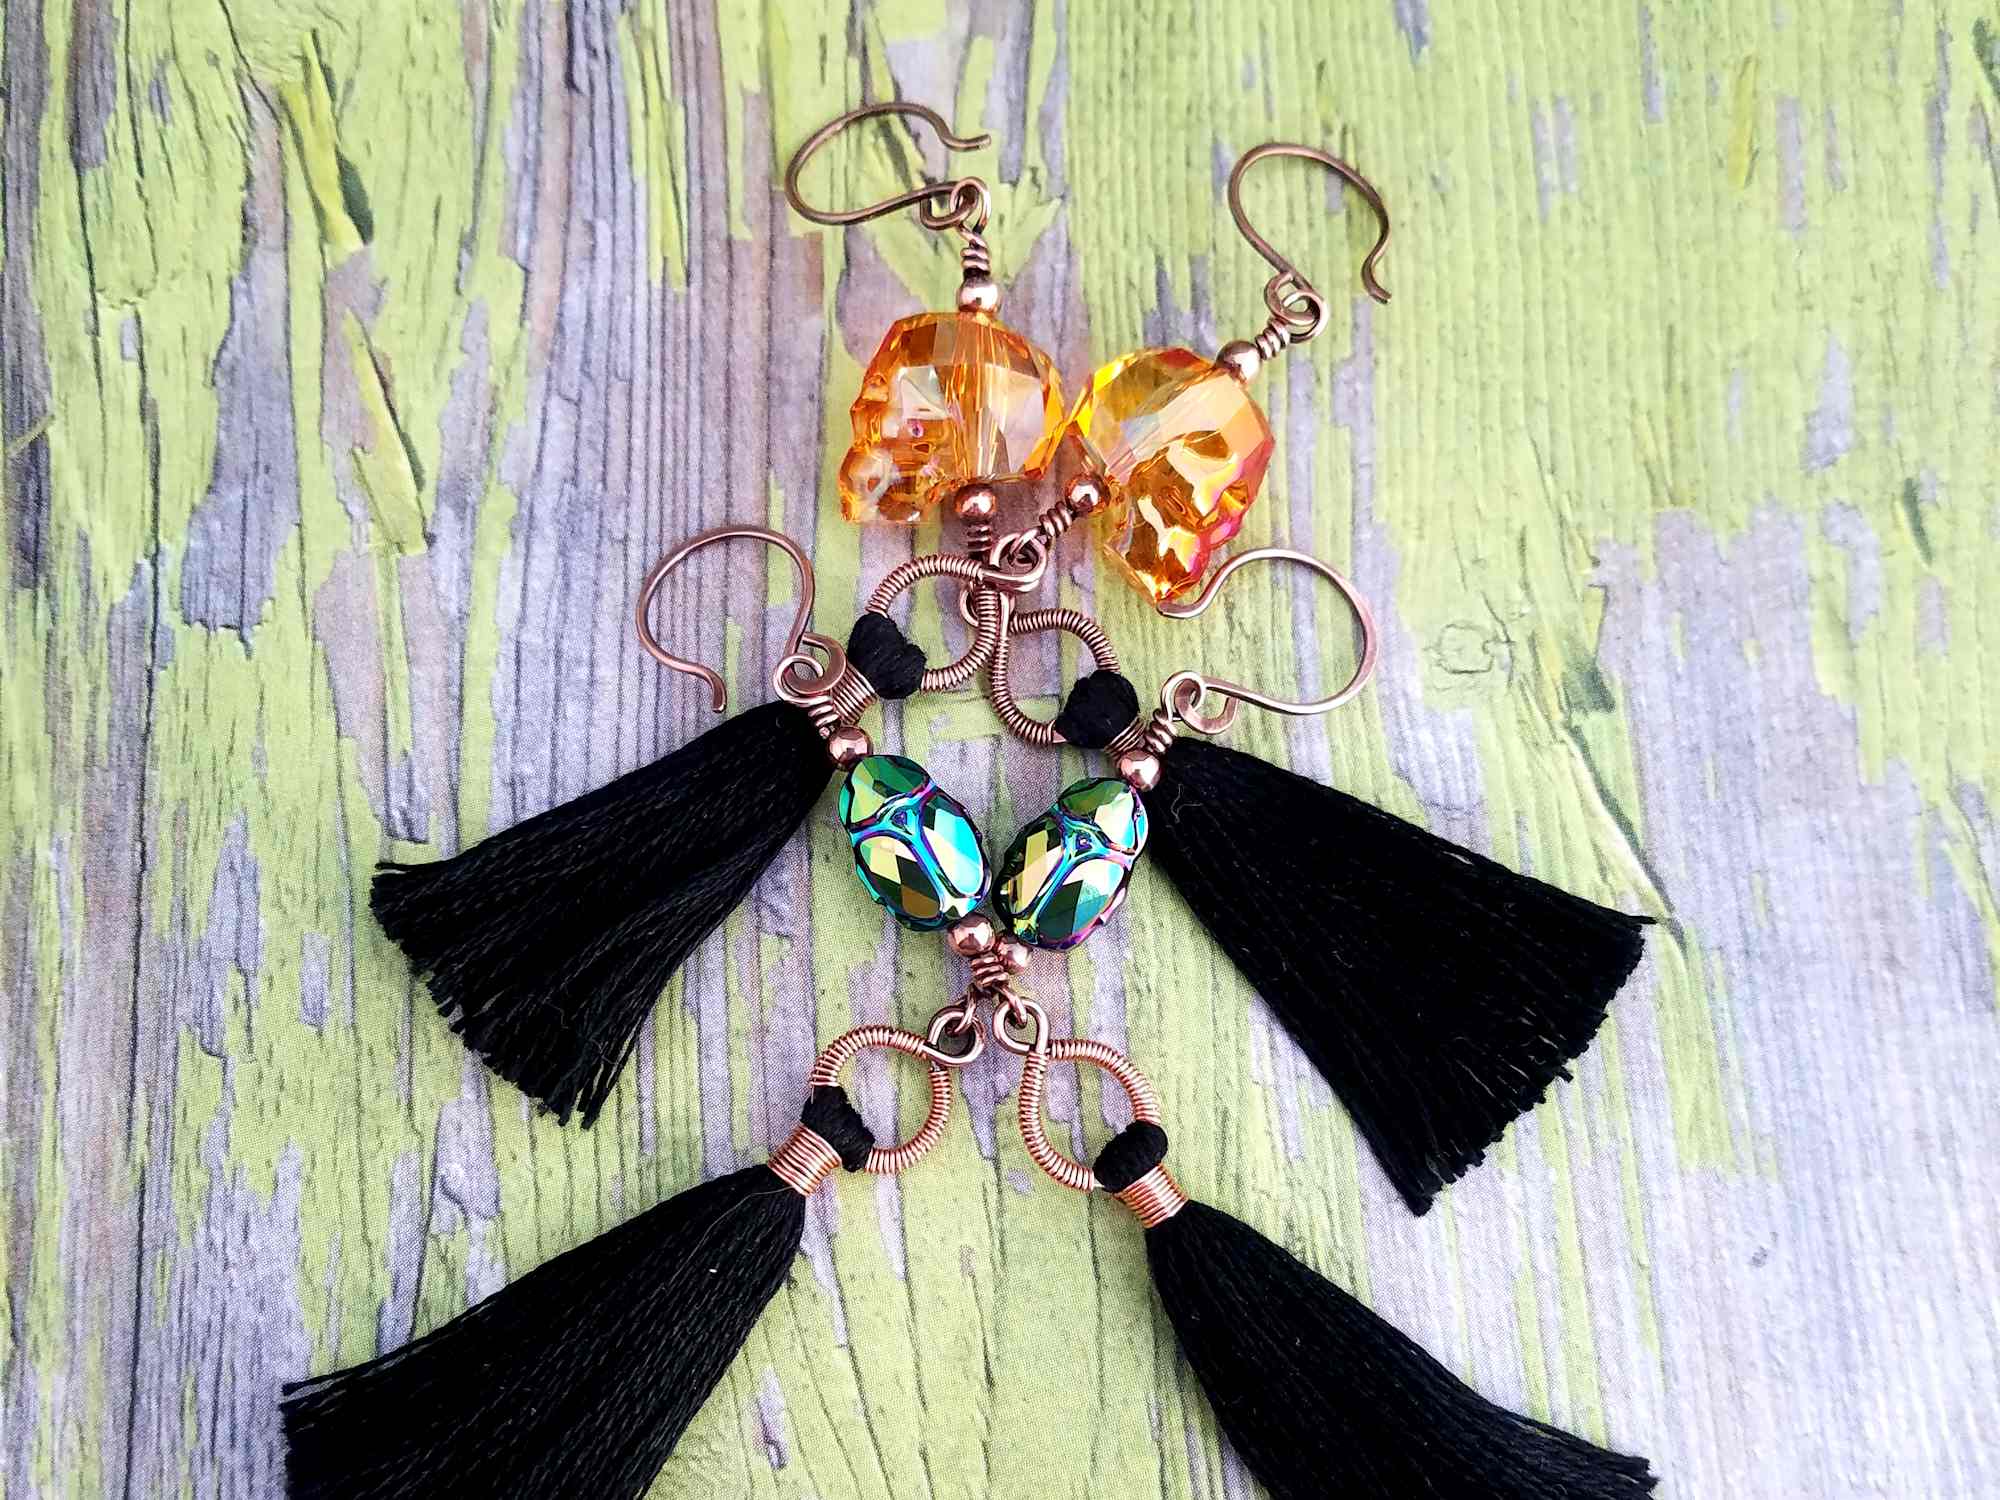
This skill is one of the crucial elements on my Twig Pendant and Twig Earrings designs. And we’re about to kick off the Twig Jewelry Make-Along series on my YouTube channel. So grab your torch, and let’s start balling some copper wire! By the time the make-along begins, you’ll have already mastered this fun technique.
This post may contain affiliate links. If you click on a link and then make a purchase, I may earn a small commission (at no cost to you). As an Amazon Associate I earn from qualifying purchases. To learn more, please see my full disclaimer.
Gather Your Tools
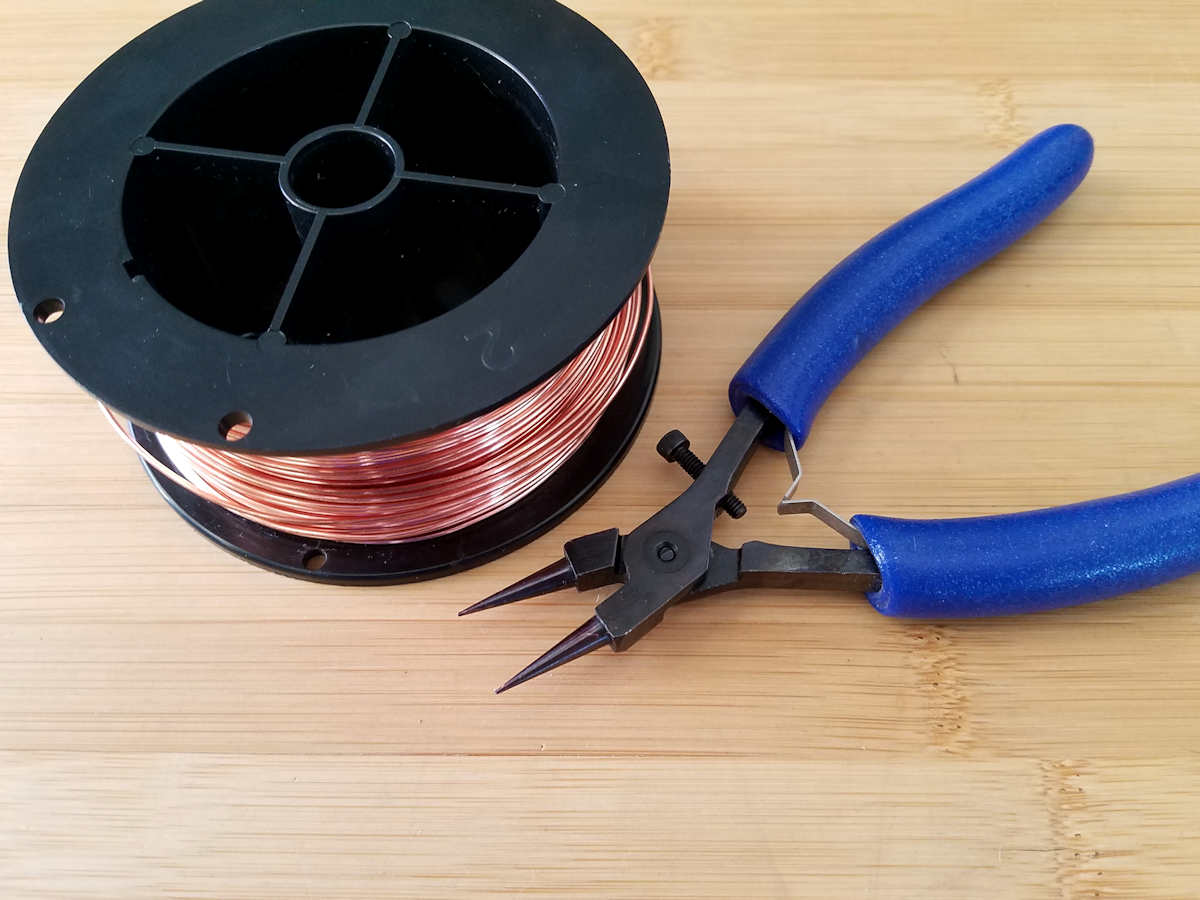
There are just a few basic tools that you’ll need to begin your foray into ‘hot work’. That’s metalsmith speak for “playing with fire”. And I’ll bet you’ll be surprised to learn that you already have most of those tools in your kitchen. Seriously! Here’s what you’ll need to get started:
Butane Micro Torch
Butane torches are inexpensive and they’re readily available at your local hardware store. Or maybe even in your husband’s tool collection. Just click the link above if you want to use the same torch that I use. I’ve owned this torch for years, and it hasn’t let me down yet. Here’s another good option available through Etsy.
Butane Fuel
Most butane torches don’t have large fuel reservoirs. And the more you use your torch, the more frequently you’ll need to refuel it. So be sure to keep a can or two of butane fuel on hand at all times. Again, you can buy this fuel at your local hardware store. And you’ll probably find the best price locally. But if you can’t get to the store, you can also buy it online and have it delivered. I’ve provided a link for your convenience.
Stainless Steel Cross-Lock Tweezers
Stainless steel cross-lock tweezers are designed specifically for soldering. So, the handles stay cool to the touch while you’re working with your torch. I strongly recommend investing in this inexpensive tool. Because they lock in the neutral position, they’ll allow you hold onto your wire securely while you work with flame. Here are lots of options available through Etsy. Make sure you get the kind with the wood or phenolic handles as they’ll stay cooler than the plain stainless steel tweezers.
Safety Glasses
I wear glasses all the time. They’ve become so much a part of my face that I always forget to recommend safety glasses when I’m teaching. But, it goes without saying that you need to protect your eyes whenever you’re working with your torch. Copper wire is particularly notorious for spitting tiny bits of metal all over when you heat it with a torch. So, please be sure to wear some sort of eye protection when working with a torch.
Fire Extinguisher
Wherever there’s a flame, there’s potential for an accidental fire. I strongly recommend keeping a fully charged fire extinguisher within easy reach whenever you’re working with your torch.
Pickle Pot
I use a small slow cooker for my dedicated pickle pot (the same one that I’ve linked to here). You can find inexpensive used slow cookers at your local thrift store. Or use one that you already own. Just make sure that it’s something you’re willing to use exclusively to jewelry making. Pickle solution starts out non-toxic, but it will eventually become toxic as copper leaches into your pickle solution. So, whatever you do, don’t use the same slow cooker for heating your pickle solution and cooking food.
Bamboo Tongs
The #1 rule of maintaining your pickle solution is to never ever mix steel tools with pickle. This is mainly important if you work with silver wire but it’s a smart practice to adopt regardless of what kind of wire you use to make jewelry. I use inexpensive bamboo tongs to pull items out of my pickle solution. You can also use plastic or silicone tools. Just avoid using metal tools for this purpose.
Quenching Bowl
This is one of those items that you probably already have in your kitchen. I use a small glass bowl that I picked up at my local thrift store for under a dollar. If you do pull something from your kitchen, choose a bowl that you don’t mind removing from food service. You should dedicate this bowl exclusively to jewelry making duty.
Heatproof Surface
Again, you can find something in your kitchen for this purpose. I use an 8-inch x 8-inch baking pan. That pan also came from a thrift store and cost less than a dollar. You can use a large cookie sheet or an old baking pan. Look for something with a rim that will catch and contain any hot drops of metal or fire scale. The larger, the better. But be sure to balance the size of your heatproof surface with your available workspace. My workspace is small and my torch gear is sized accordingly.
Setup Your Workspace
You don’t need a lot of space to ball copper wire. But you do need a clear open space that’s free of things like paperwork or fabrics that are flammable. Give yourself at least a couple square feet of uncluttered space to set up your torch station. If you want to see what my torch setup looks like, be sure to watch this video.
Besides having a clear space to work in, you’ll also need a comfortable place to work. For instance, I’m left-handed. So, I place my wire, tools, and my quenching bowl to the left of my torch and heatproof surface. This allows me to move from the flame to my quenching bowl without crossing the flame or moving my torch. Work smarter, not harder.
Think about how you’ll move between your torch and your quenching bowl. Then set up your torch and tools accordingly. Again, I show you exactly how I set up my torch station in this video.
If you have the space to spare, set up a permanent area in your craft studio for hot work. But if you’re an apartment dweller like me, choose items that you can store easily. My little torch setup lives on a shelf when I’m not using it. And it only takes a few seconds to set it up whenever I need to use my torch.
Set Up Your Pickle Pot
My pickle pot is the only part of my hot work setup that is permanently stored on my bench. That’s mainly for convenience. But it’s also so I can keep an eye on my pickle and maintain it as needed. As I mentioned earlier, your pickle solution starts out with two non-toxic ingredients: regular household vinegar and salt. However, as you use your pickle to clean fire scale, it will become more saturated with copper sulfate, which is toxic.
To dispose of the toxic copper salts, let the fluid evaporate. Then dump the salt crystals in a sealable disposable container. Store your pickle waste container in a safe place until you can take it to your local hazardous waste facility. Do not pour used pickle down the drain or dump it out in your yard. It’s harmful to children and pets. And it’s not going to do your plants much good, either.
My Pickle Recipe
You can buy commercial pickle solutions, but I don’t bother with that. I just mix up my own solution using two simple household ingredients that I always have on hand. It’s less expensive. And since I already use vinegar and salt for other purposes, it’s one fewer chemical taking up valuable storage space in my studio.
To make your own pickle solution, simply mix the following ingredients:
- 1 Cup distilled white vinegar
- 1 Tablespoon salt
Get to Know Your Torch
Most butane torches are very simple devices, but it’s important to know your own torch well. So, read the instructions carefully. Make sure you know where all of the controls are and what each control does before working with wire. Most torches have a trigger, which may or may not include a safety lock. There will also likely be an air switch and a flame regulator. And, ideally, a trigger lock that allows you to keep the flame burning continuously. Finally, there will be a fuel valve (most likely on the base of the torch) for adding fuel.
Every brand of torch is different, so I can’t give you specific instructions here for lighting and fueling your torch. But if you purchase the same torch that I use (see link above), be sure to watch this video. There you’ll see exactly how that torch is operated and fueled. I also show you where all the controls are located and how they work.
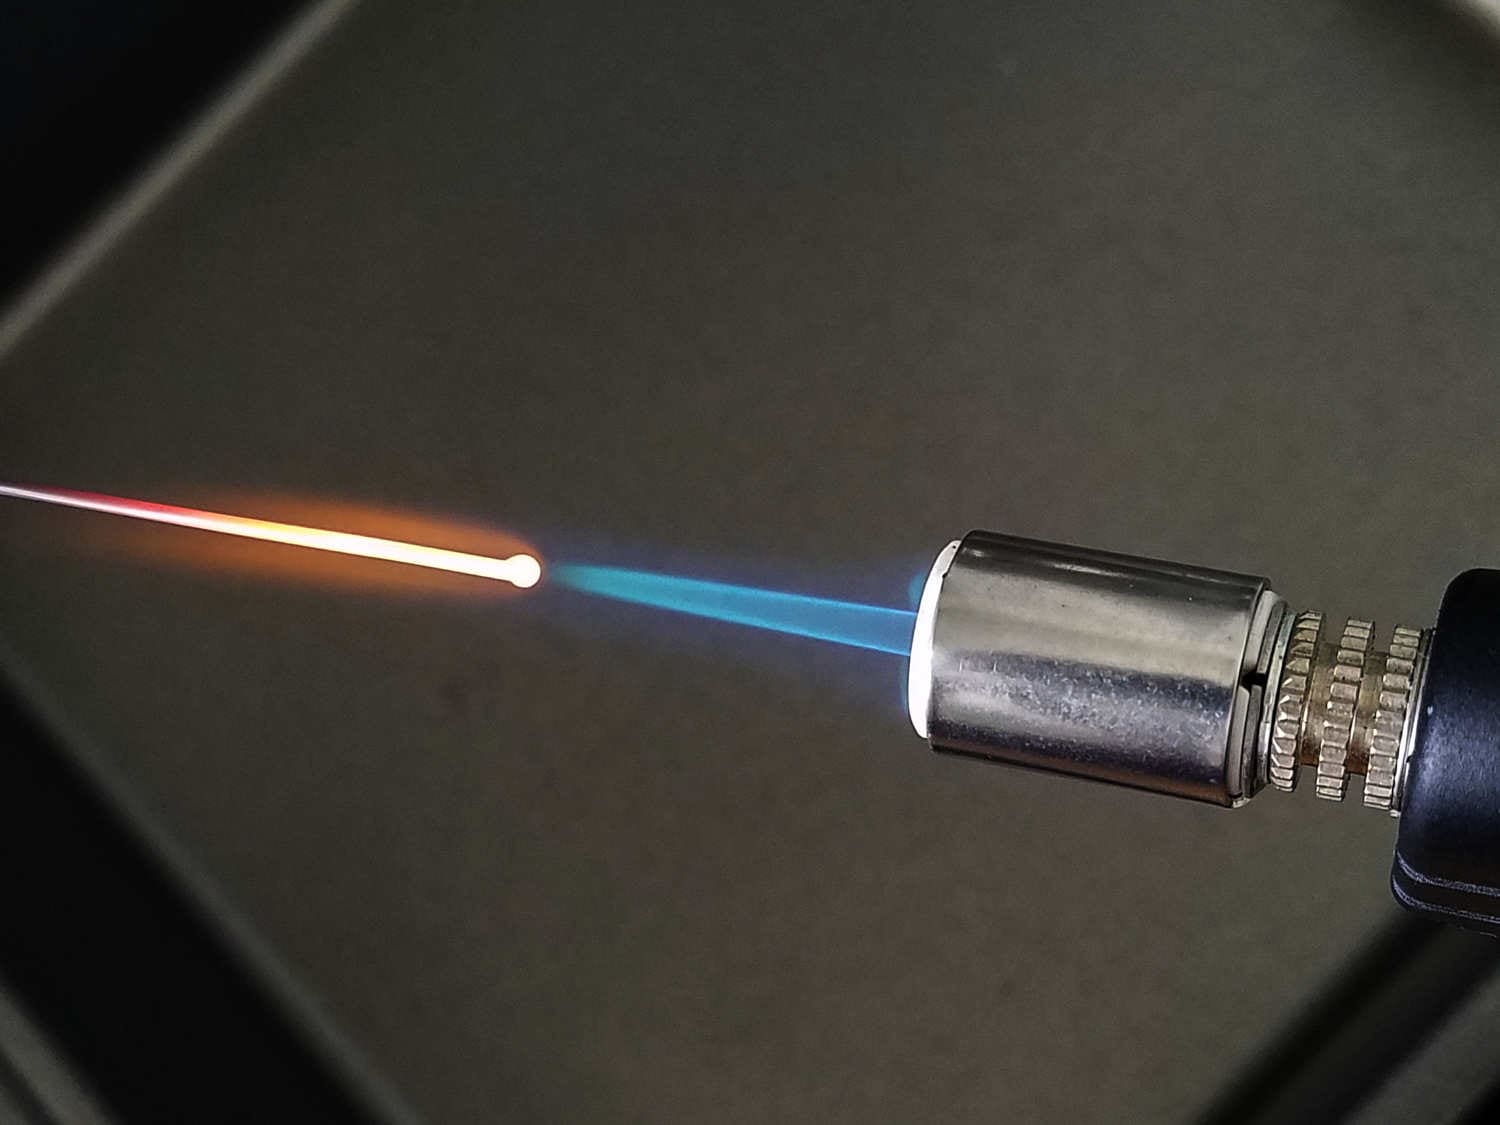
Understand the Anatomy of Your Torch’s Flame
The flame on any torch has a distinct form with two different parts. The outer flame is a pale translucent blue color, and it completely surrounds the inner flame. The inner flame has a very distinct cone shape. It’s much brighter in color and the color is more opaque.
Although it looks like it would be the hottest point of the flame, the inner flame is actually cooler. The hottest point of your torch’s flame is just in front of the tip of that inner flame. That’s the sweet spot. So, for best results, concentrate the tip of your wire in that sweet spot. Then wait for the magic to happen.
How to Ball Copper Wire with a Butane Torch
The process of balling the ends of jewelry wire is surprisingly simple. But it’s much easier to demonstrate in a video than it is to describe in writing. Watch the video below to see how it’s done. If you want to skip over everything that I’ve already covered in this post, just jump to 12:51 on the video timeline.
The latest on Youtube:
The Key to Controlling Wire Lengths and Ball Sizes
Every torch behaves a bit differently. So much depends on the flame settings, the quality of your fuel, and even your environment. So, the key to controlling the length of balled wires and the size of balled ends is to become very familiar with your torch.
I’ve found that my torch consumes between 1/4-inch and 1/2-inch of copper wire for each balled end. The actual length depends on the wire gauge that I’m working with. And even on the same gauge of wire, I’ll often get some variations because I held the wire in the heat a smidge too long or the tip of my wire wasn’t quite in the sweet spot of my flame. But over the years, I’ve learned to achieve pretty consistent wire lengths and ball sizes.
This is a skill that comes with experience. So, set aside some time to make a bunch of balled head pins in various wire gauges. Measure your wires before and after you’ve balled one end and compare the difference. Once you get the hang of it, I’ll bet you’ll find that you can consistently predict how much wire each ball will consume. And once you know that, you’ll be able to achieve much more precise measurements on your balled wires.
Troubleshooting and Improving Your Results
Not all torches are created equally. I’ve heard lots of people complain that they can’t get good results on copper wire using a butane torch. So they stepped up to the hotter flame of a propane torch. Personally, I prefer my butane torch. It’s much better suited to my tiny workspace, and I like the control that I have with my trusty little torch.
If you’re having trouble balling copper wire with your butane torch, first make sure you’re using your torch correctly. See if you can adjust the flame or try a different brand of fuel. Make sure you’re placing the tip of your wire in the sweet spot of your flame and that you’re heating enough of the wire shaft to reach the melting point.
Copper wire has a higher melting point than silver. So you have to more evenly heat the shaft of copper wire in order to reach that melting point. This is totally doable with a butane torch. I’ve used my little butane torch to ball the ends of up to 14g wire without any problems. So, I know it can be done. But if you’ve tried all of my suggestions and you’re still not satisfied with your results, it may be time to step up to a propane torch.
Again, propane torches (and propane fuel) are readily available at your local hardware store. You’ll find them in the tool section. And, of course, you can always purchase a propane torch and online. Propane torches are a bit more complicated than their butane counterparts, though. Mostly what you’ll find are control nozzles that attach to a fuel tank, either directly or with a hose. Some nozzles will come with built-in igniters. Others will need to be manually ignited with a spark from a flint lighter. But the principles of using a propane torch are essentially the same as for a butane torch. You’ll just get faster results on copper wire because of the hotter propane flame.
If you decide to make the switch to propane, shop around. Spend some time picking the brains of the salesman at your local hardware store. My dad is a plumber and a welder, so I was lucky enough to be exposed to all sorts of torches from a very young age. As a result, I’m comfortable shopping for and working with torches on my own. But if you’re not lucky enough to have a torch expert in your immediate family, don’t hesitate to put the salesmen at your local hardware stores through their paces.
If possible, talk to two or three of them to see if you get any conflicting advice. Propane torches are very affordable, but they do cost more than their butane counterparts. And unfortunately, not all salespeople at big box hardware stores know much about the tools that they sell anymore. It used to be that you could walk into one of those stores and get expert advice from seasoned tradesman, but that’s no longer the case. So, ask lots of questions. And maybe see if you can find a jeweler who can give you a specific recommendation for the propane torch that will best suit your needs.
Discover More Behind Door 44
Thanks so much for joining me today. I hope this blog post and the accompanying video tutorial help you feel more confident about delving into the wonderful world of hot work. Be safe and have fun!
Want to learn more wire jewelry techniques like this one? I like to share useful wire weaving tips and tricks on my social media channels, and we have some great conversations about wire jewelry on Instagram. So be sure to connect with me @door44studios on Instagram, and Facebook to keep up with what’s happening behind Door 44. And if you haven’t already done so, be sure to subscribe to my YouTube channel where I post new wire jewelry videos weekly!
Until next time, my friend, go make something beautiful!

Pin This Post for Later
Was this post helpful? If so, please help spread the word about Door 44 Studios by pinning this post to your jewelry making boards on Pinterest. Also, feel free to share links to my posts with everyone you know who wants to learn to make wire jewelry!
G’day
First thanks for making such comprehensive guides. I’m a newbie and it’s really helpful. I have a question regarding the pickle pot. Is it in a slow cooker, because it needs the solution needs to be constantly heated? Or is it simple because it’s non-corrosive?
Hi there, JB! It’s in a slow cooker because the solution works much faster when it’s hot. It doesn’t need to be constantly heated, but it does help to heat it up to about 120 degrees while you’re using it. Also, the fact that the slow cooker pot can withstand the corrosive effect of the solution doesn’t hurt. Because I no longer have time to work on jewelry every day, I now mix just enough pickle solution for my weekend projects. Then I neutralize and dispose of it rather than storing it in the slow cooker as I did when I was making jewelry full time.