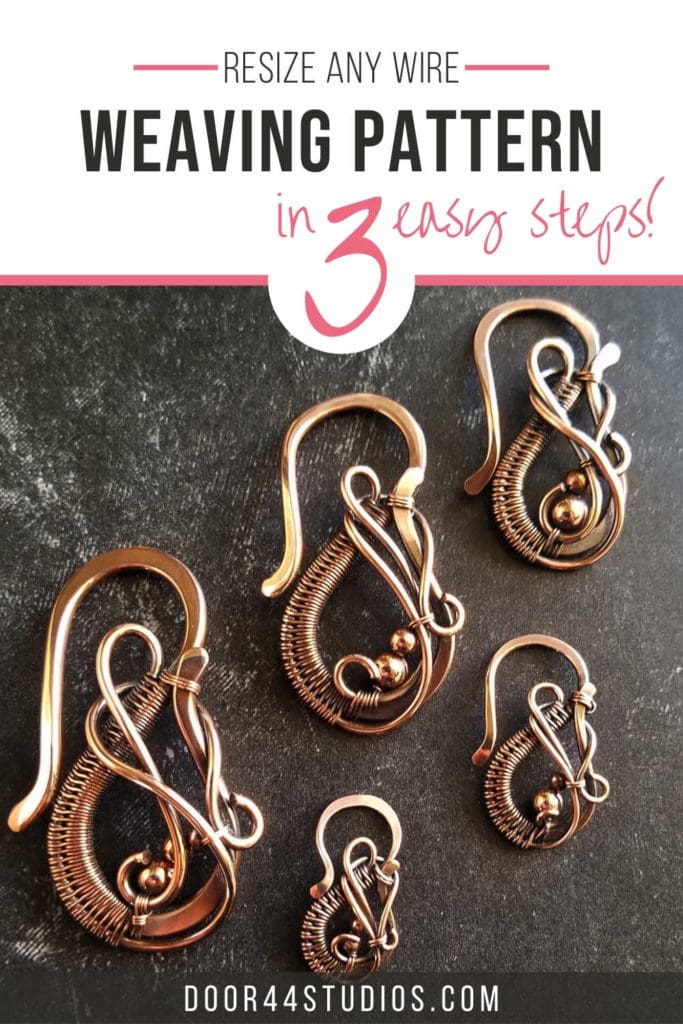
Resize Any Wire Weaving Pattern in 3 Easy Steps
When it comes to jewelry, size matters. We’ve all created a bracelet that was too large or a pendant that was too small. It’s frustrating, isn’t it? I used to get so annoyed when my pieces didn’t turn out to be just the right size. So I developed a simple 3-step process to resize virtually any wire weaving pattern. And today I’m sharing my process with you.
You might have noticed that I usually include resizing recommendations in my own jewelry tutorials. I do that because I found sizing to be such challenge when I first started making wire jewelry. But not all designers shares sizing information in their videos, books, and tutorials. So, I’ve chosen to demonstrate this technique using a popular Sarah Thompson design, just to show you how you can apply my technique to any design.
This post may contain affiliate links. If you click on a link and then make a purchase, I may earn a small commission (at no cost to you). As an Amazon Associate I earn from qualifying purchases. To learn more, please see my full disclaimer.
3 Steps to Scale Any Wire Jewelry Design
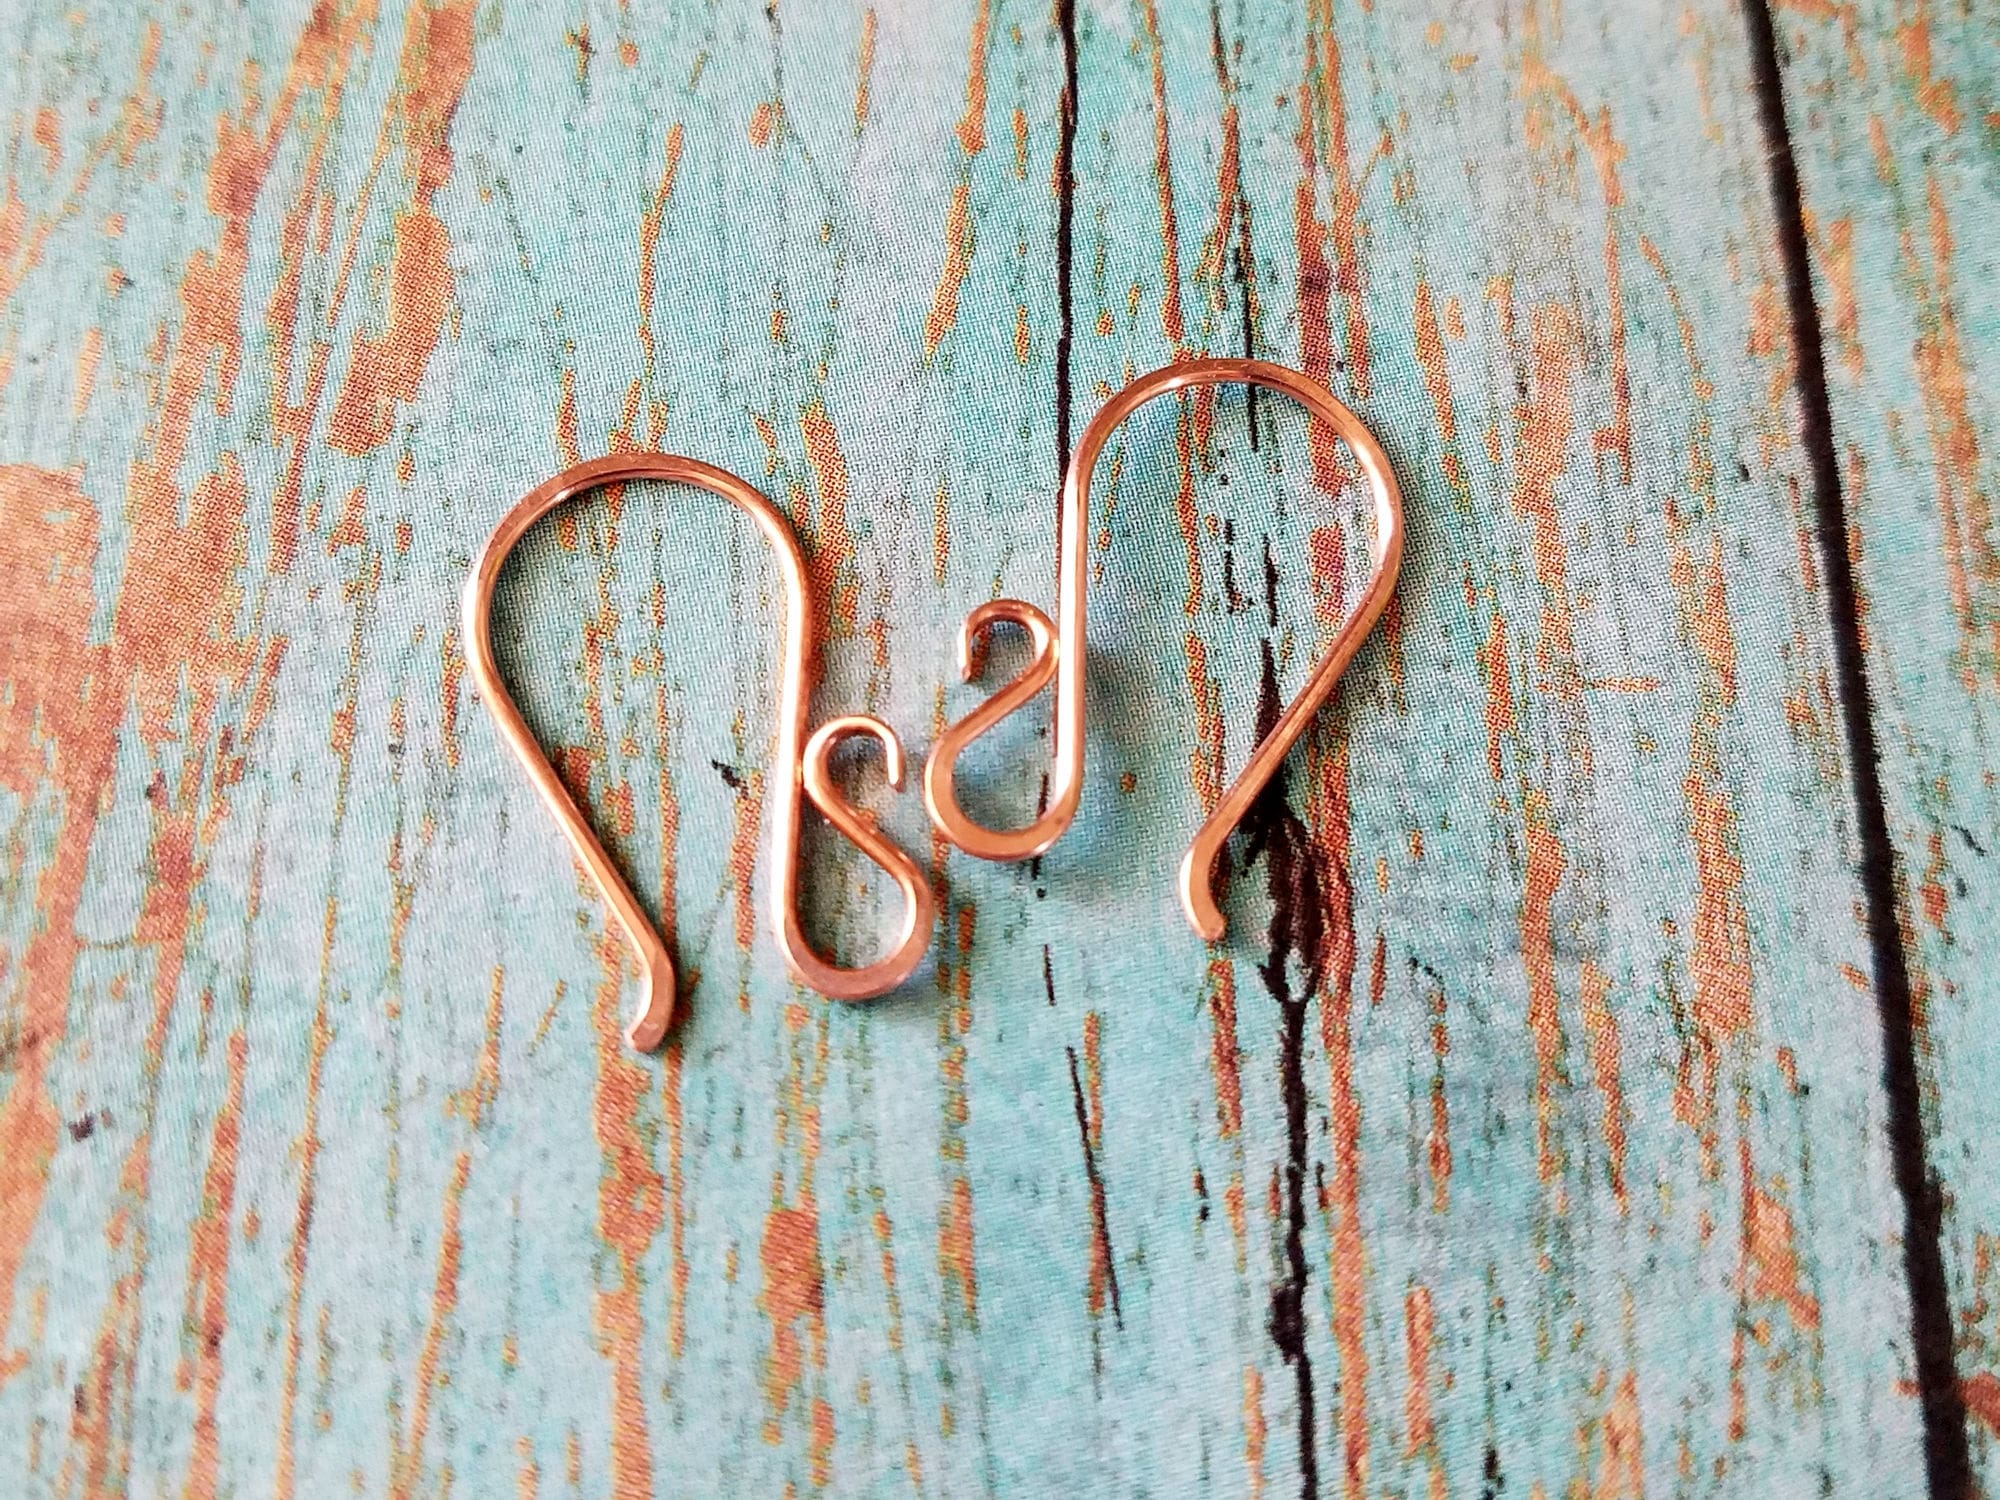
I chose Sarah Thompson’s Decorative S-Clasp design for this demonstration. That clasp is featured on page 43 of Sarah’s first book, Fine Art Wire Weaving. It’s an elegant clasp design that scales beautifully. So it’s the perfect piece to illustrate my resizing process.
Before scaling this design, I first made Sarah’s clasp exactly as specified in her instructions. I used four inches of 14g and six inches of 18g wire. My finished clasp measures 1-1/2 inches long by 3/4 inches wide.
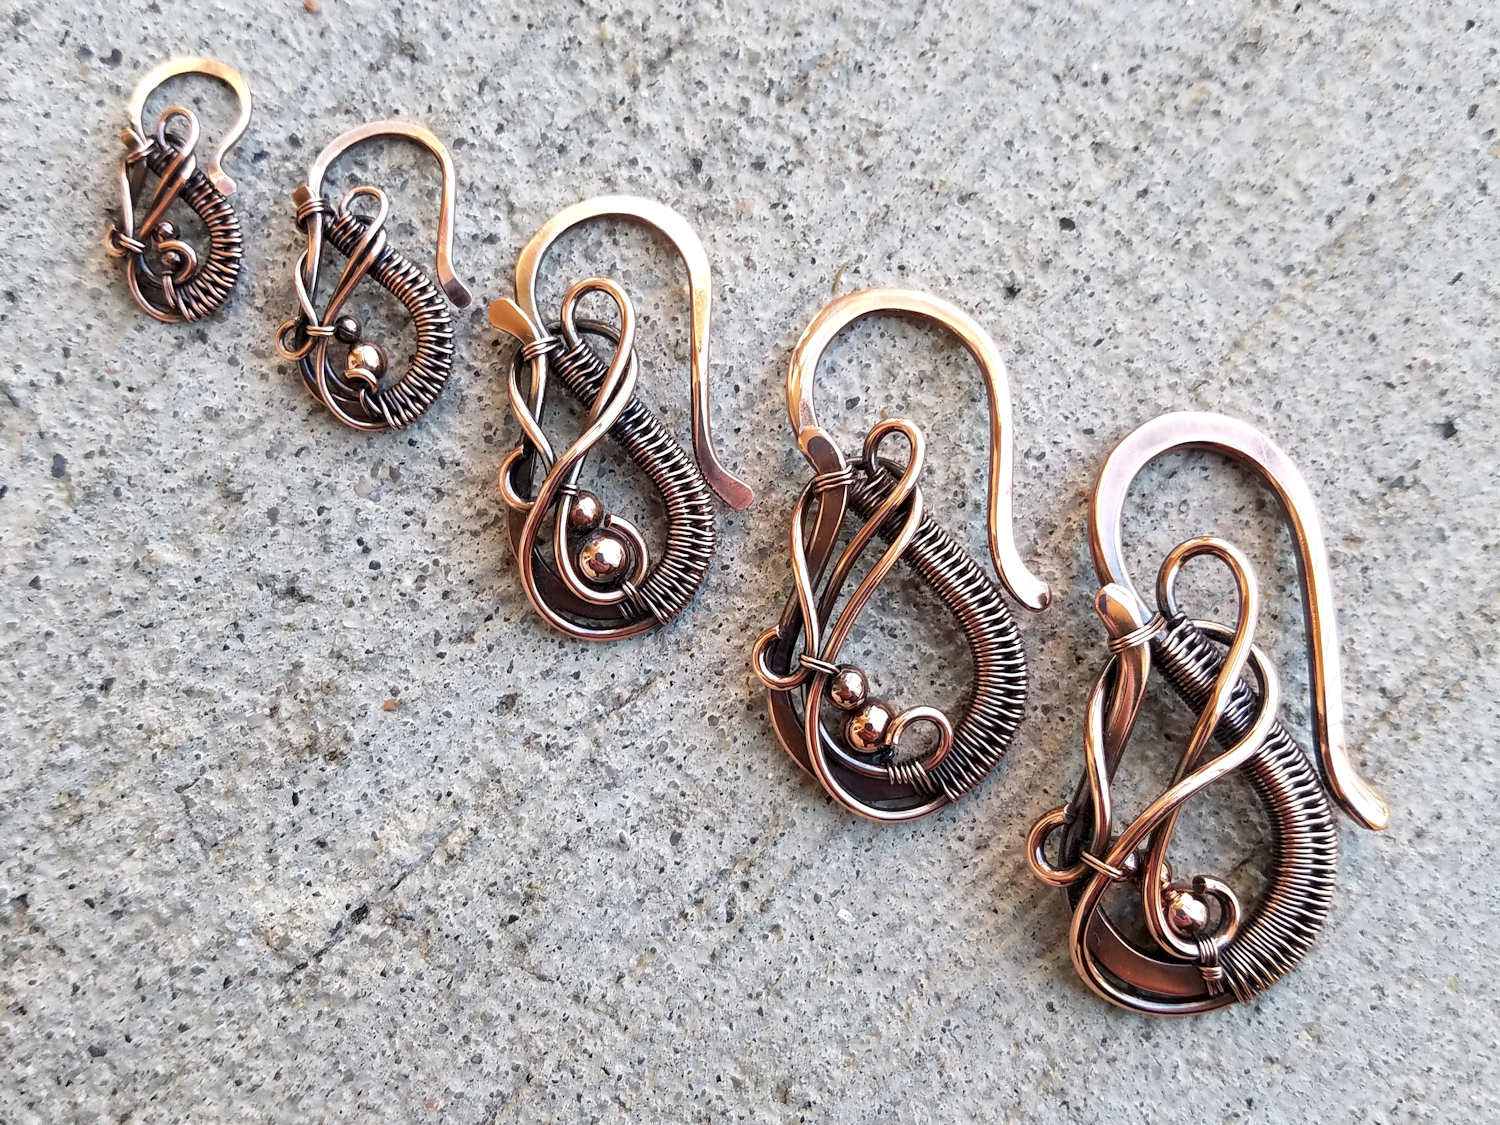
Watch the video below to see how all five sizes compare and exactly how I scaled them.
The latest on Youtube:
If you prefer a quick summary of the process, here’s how it works.
Step 1 – Choose Your Wire Gauges
The most important aspect of scaling any design is maintaining the proportions of the original piece. And it’s really challenging to do that without changing your wire gauges as you scale a piece either up or down. So I recommend stepping your wire gauges up to enlarge a piece or down to reduce the size.
For best results, stick with the same wire gauge span that was used in the original piece. For instance, Sarah specifies 14g and 18g wire in the instructions for her Decorative S-Clasp. So, I stepped up in one-gauge increments to enlarge the clasp (12g and 16g). Then I made three smaller versions by stepping down to 16g and 20g, 18g and 22g, and finally 20g and 22g wire.
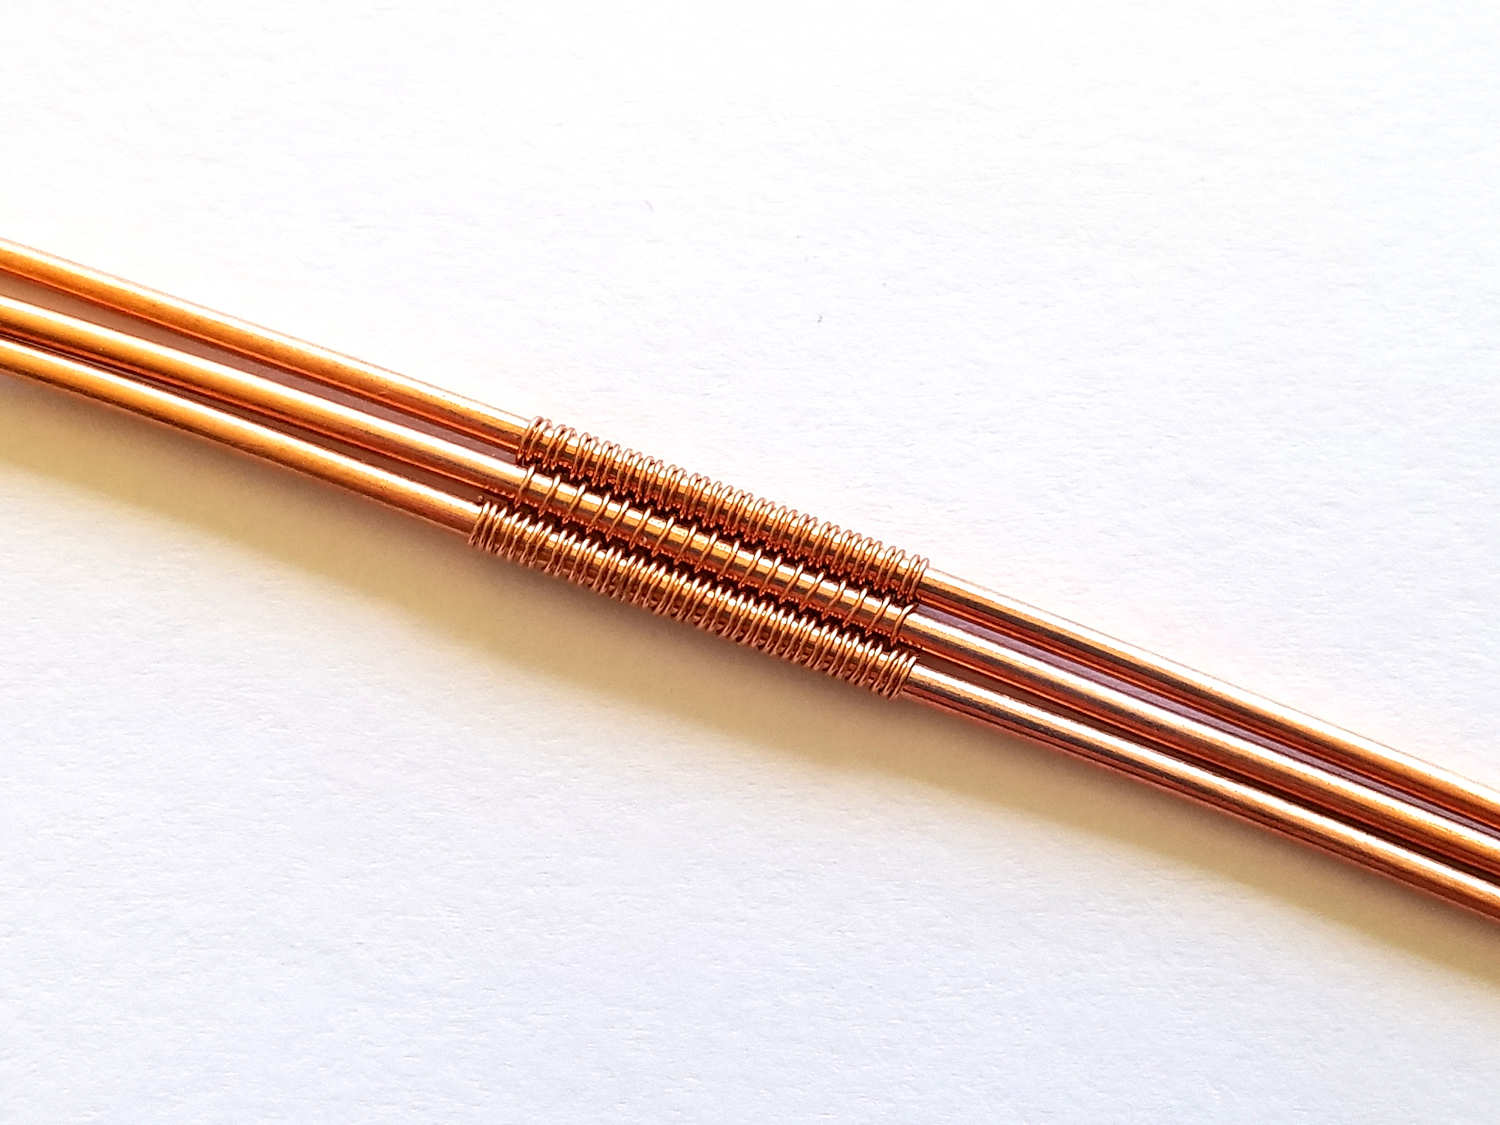
Step 2 – Adjust the cut lengths of your wires
As you become a more experienced wire weaver, you’ll begin to notice certain patterns in your work. And one of the patterns that I’ve noticed is that I can maintain the original proportions of a scaled design by adjusting my wire lengths in half-inch increments. So, start there.
Add a half inch per wire gauge increment to the original wire lengths when increasing the size of a design. Or subtract a half inch from the original length specifications. This length adjustment, paired with the wire gauge adjustment will result in proportionally scaled pieces, almost every time.
And if it doesn’t? Just make additional adjustments in 1/4 to 1/2-inch increments until you get exactly the look you’re going for. In my case, I was able to adjust my wire lengths by 1/2 inch for all but one of my scaled decorative s-clasps. And in that instance, I jumped a full inch between the medium and small sizes.
See the chart below, which includes all of the wire specifications that I used for this demonstration.
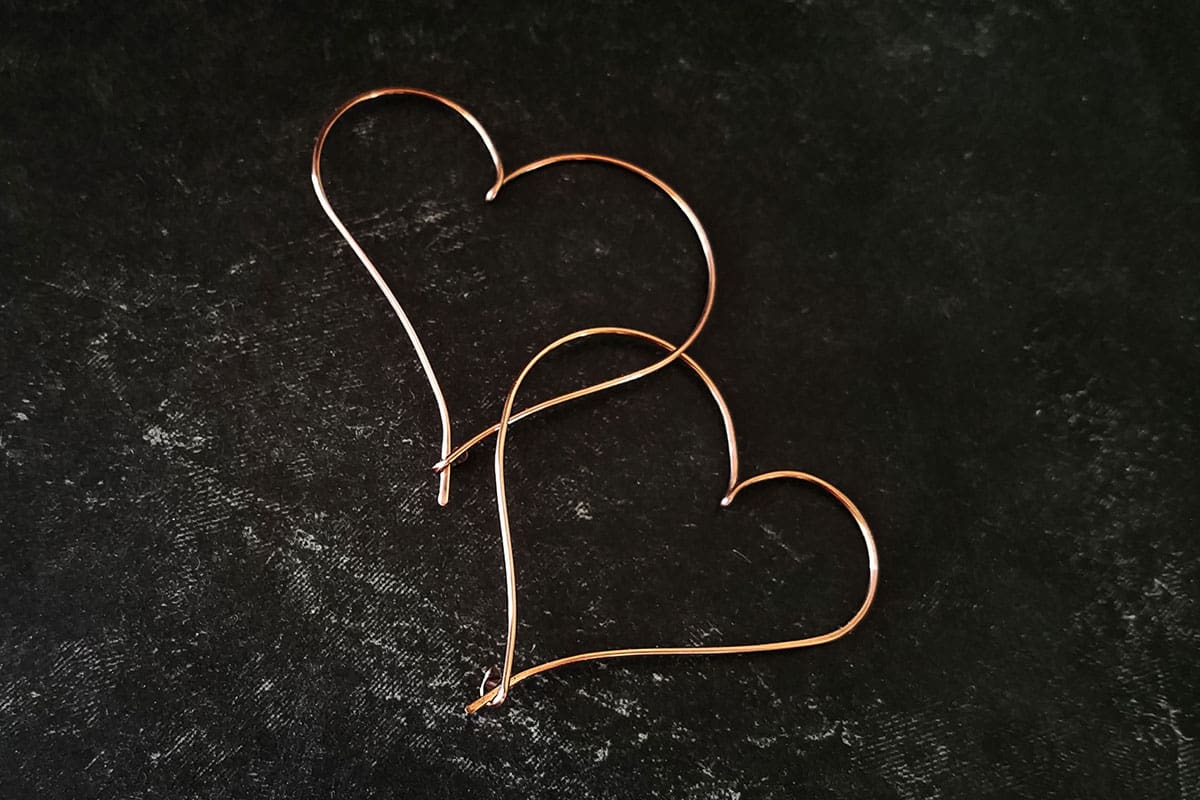
Step 3 – Adjust the mandrel sizes
Now that you’ve determined your wire gauges and adjusted the cut lengths of your wires, it’s time to choose your mandrel sizes. Again, this is an area where a distinct pattern emerged for me. I’ve found that stepping my mandrels in 2mm increments gives me consistently good results when scaling pieces.
Sarah recommends using the tip of a standard ring gauge to form the S-curves on her clasp. And that works out to a 12mm mandrel for forming her clasp exactly as she designed it.
I stepped my mandrels up and down from that 12mm reference in 2mm increments, as you will see in the reference chart below.
Wire Specifications for this Resizing Demonstration
That’s it! It’s as easy as 1-2-3 to scale almost any wire jewelry pattern. I’ve included all of the specifications for the decorative S-Clasps that I made for this demonstration. The chart below illustrates exactly how I applied my 3-step resizing process to scale Sarah’s original wire weaving pattern.
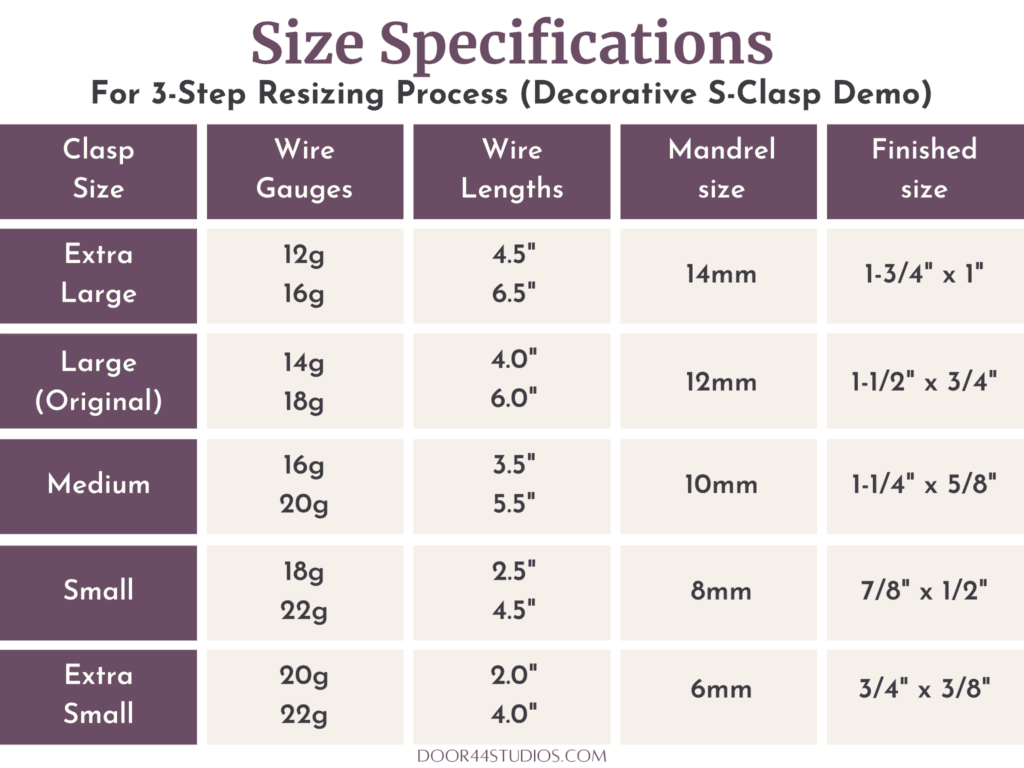
Notice that I opted to use 22g wire instead of 24g on the extra small clasp. A 24g wire would have better maintained the proportion of the original design. However, I felt that 24g wire was too light for this particular application. So I bumped that wire gauge up to 22g.
Think of these tips as guidelines more than hard and fast rules. They give you a great starting point. But, just as with anything else in life, you’ll need to use your own judgment and make adjustments where you see fit. In the case of the extra small clasp, I did just that. And the result is a tiny but sturdy miniature of the original clasp design.
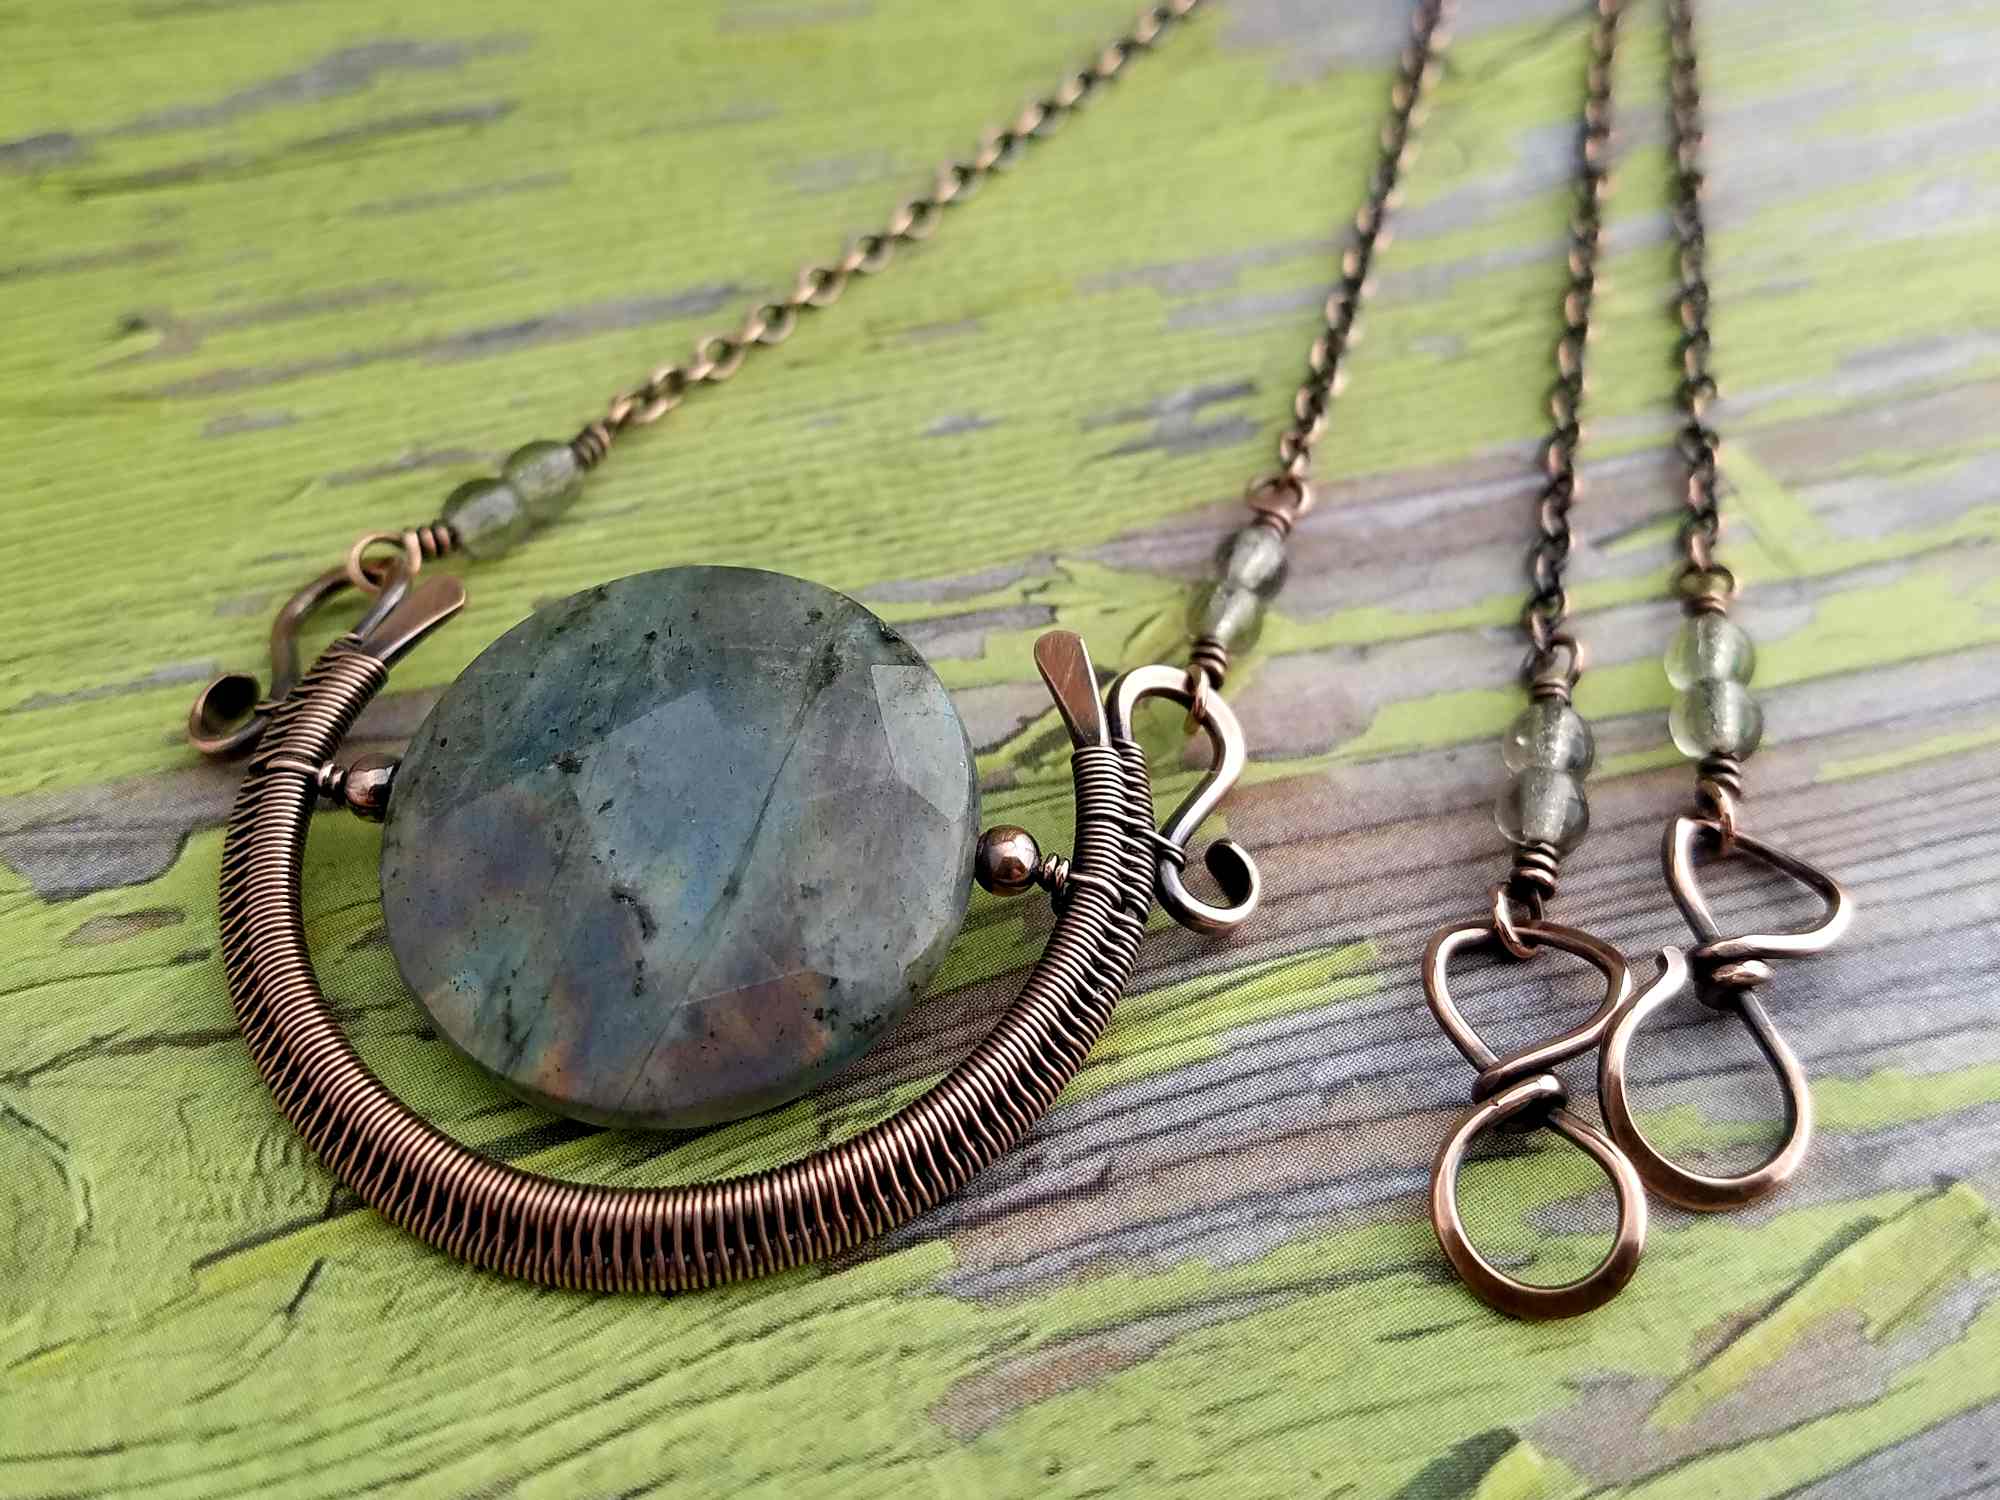
In case you’re wondering, this is the same sizing technique that I use to modify all of my own jewelry designs. Try it on the following Door 44 jewelry tutorials to see how it works!
Discover More Behind Door 44
Thanks so much for joining me today. I hope this simple pattern scaling technique spares you some frustration down the road. There’s nothing more annoying than having a piece turn out to be the wrong size.
I like to share useful wire weaving tips and tricks on my social media channels, and we have some great conversations about wire jewelry in my private Facebook Group. Also, be sure to connect with me @door44studios on Instagram, and Facebook to keep up with everything that’s happening behind Door 44. And if you haven’t already done so, be sure to subscribe to my YouTube channel where you’ll find new wire jewelry videos weekly.
Until next time, my friend, go make something beautiful!

Pin This Post for Later
Was this post helpful? If so, please help spread the word about Door 44 Studios by pinning this post to your jewelry making boards on Pinterest. Also, feel free to share links to my posts with everyone you know who wants to learn to make wire jewelry!