Fleur de Lis Earrings Make Along
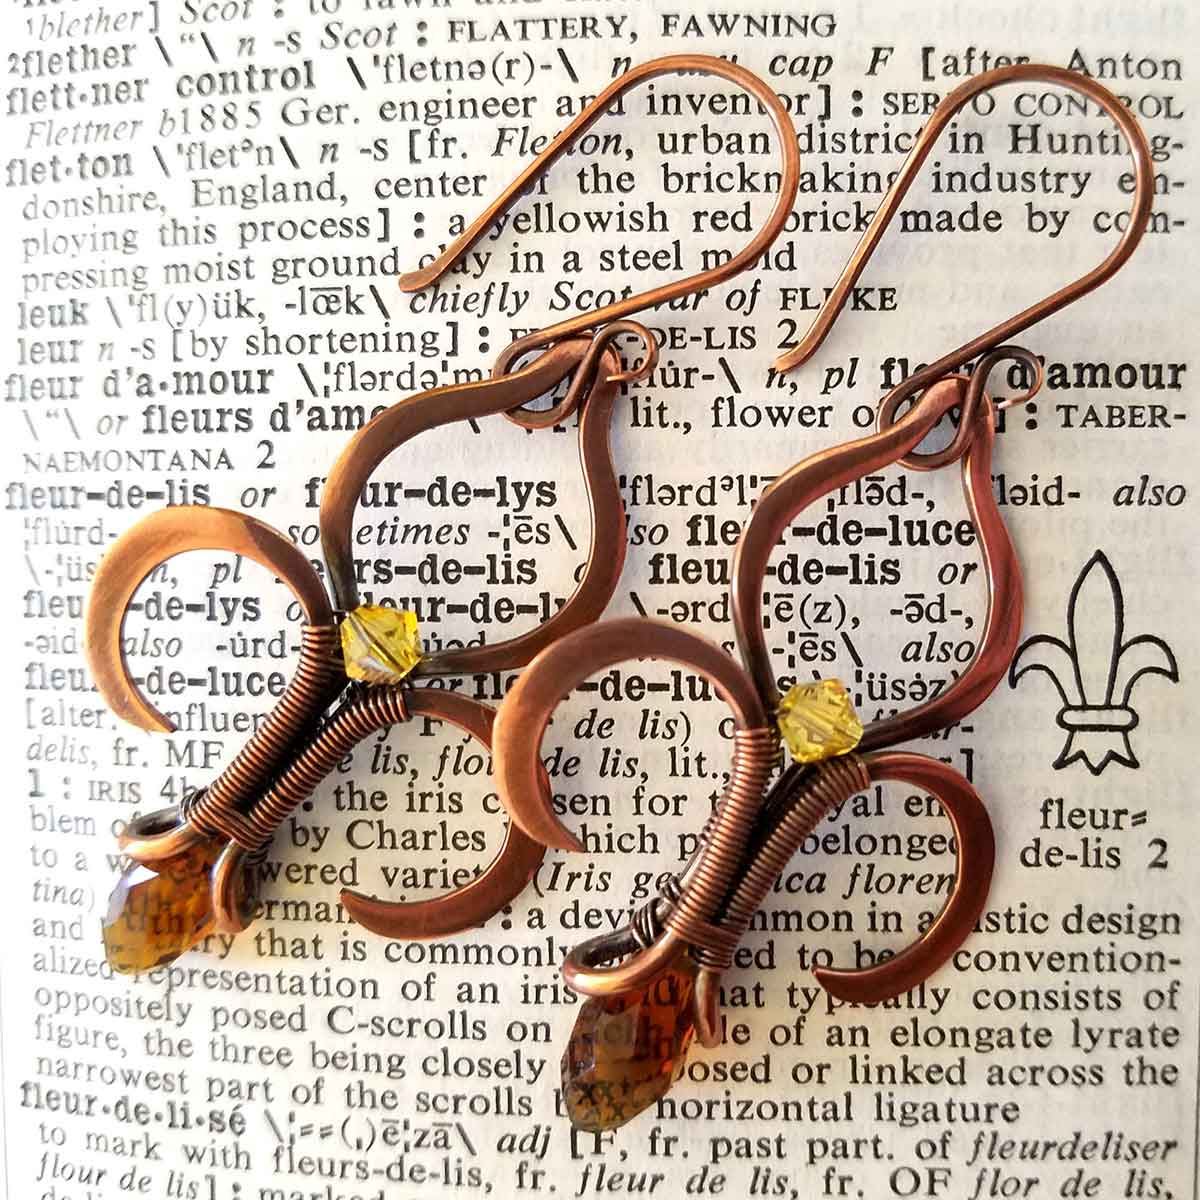
Welcome to the Fleur de Lis Earrings Make Along! I’ve changed the way that I present tutorials here on the blog. I used to publish a condensed version of my tutorials for free in this space. But now I’m going to host a Make Along for all of my wire weaving tutorials instead.
Here’s how the Fleur de Lis Earrings Make Along works. This one is available for free! That gives you an opportunity to decide if my teaching style works for you. And it gives me an opportunity to work the bugs out of the make-along process. Win/Win!
From now on, my written tutorials will only be available for sale through my shop. But you’ll still have access to the guided video tutorials for free on my brand new YouTube channel. So, the only thing that’s really changing is that my free tutorials will be in video format from now on.
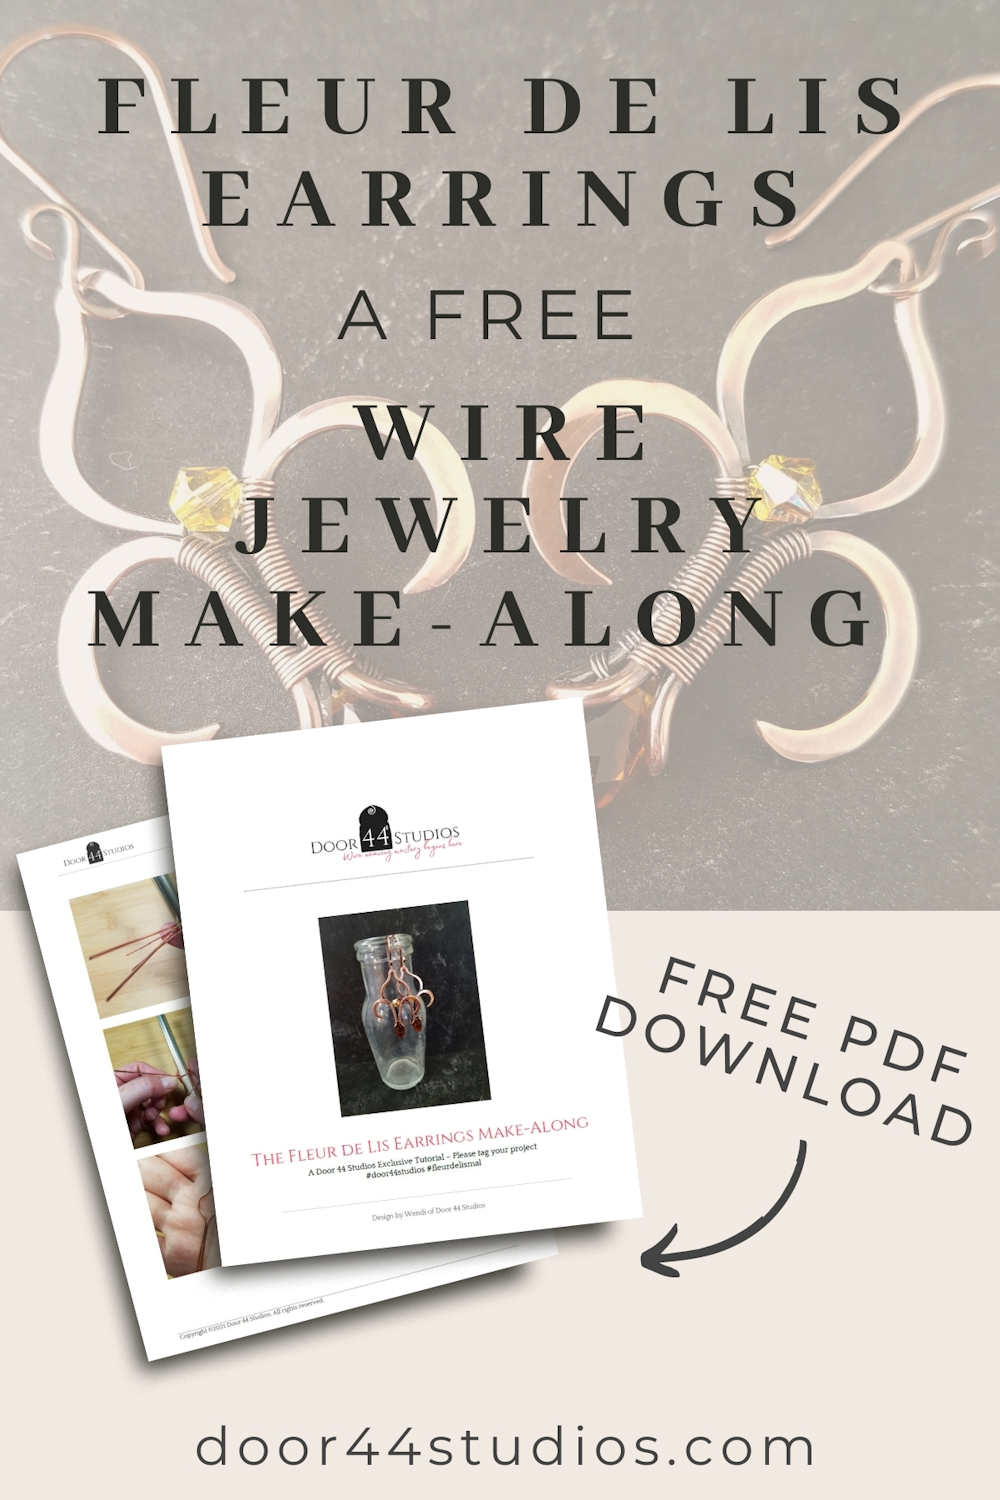
As always, the PDF tutorial, which you’ll find in my FREE Resource Library, contains all the information you’ll need to complete these pretty earrings all on your own. But if you’d like to make them along with me, just grab the free tutorial and follow along with the tutorial video series.
You can get a password to my resource library by completing the form below.
Get the free fleur de lis tutorial
When you join my newsletter
Follow Along with Guided Video Tutorials
We’ll make these earrings in three phases:
- First, we’ll form the wire frames.
- Next, we’ll refine and polish the frames to perfection.
- Finally, we’ll add the beads and wrap the frames.
In each of the three guided make along videos, I answer the most common questions I get about working with wire. And I also demonstrate my favorite tips and tricks to help you achieve a professional finish on your handmade jewelry.
Skill Level: Beginner
This is a basic wirework project that can be achieved by someone who has never worked with wire before.
Before we get started on making the earrings, though, let’s talk about the tools and supplies you’ll need to complete this guided tutorial.
This post may contain affiliate links. If you click on a link and then make a purchase, I may earn a small commission (at no cost to you). As an Amazon Associate I earn from qualifying purchases. To learn more, please see my full disclaimer.

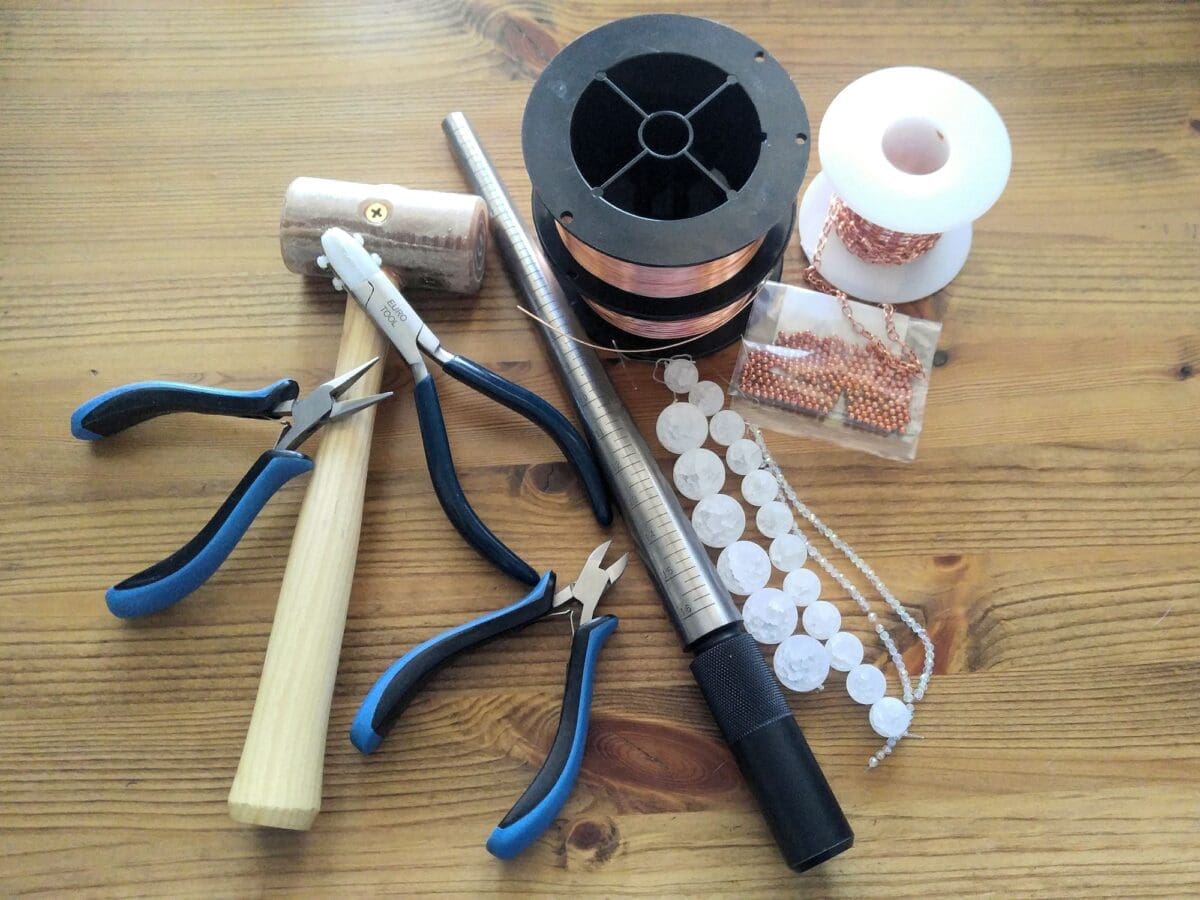
Tools & Materials
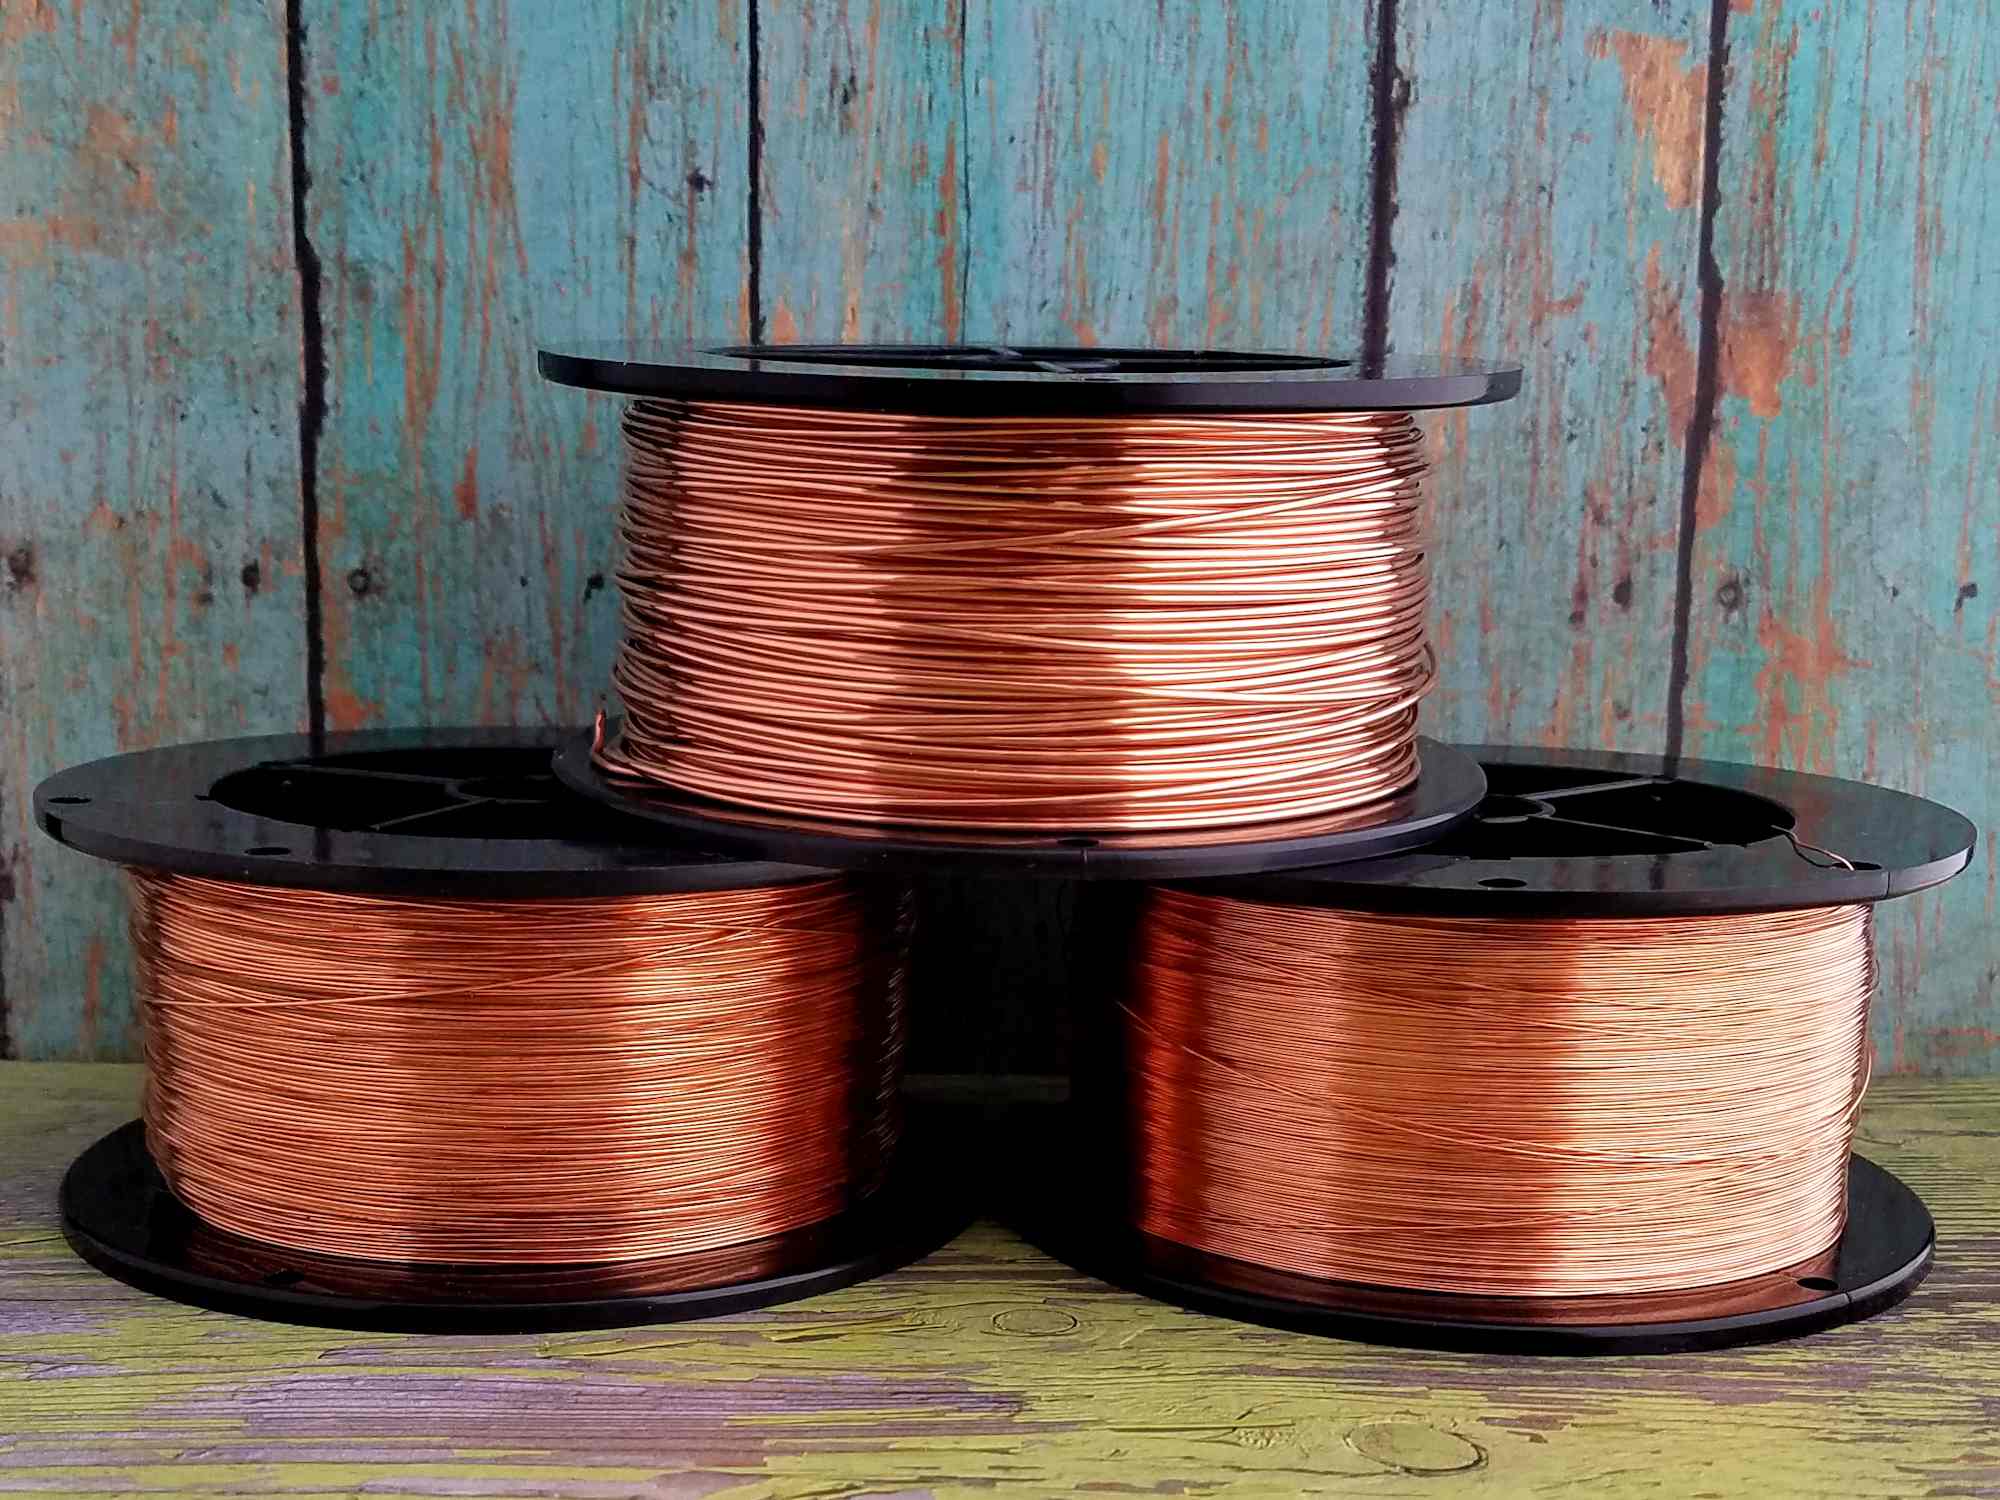
- 12 inches of 16ga Dead Soft Copper Wire
- 5 feet of 28ga Dead Soft Copper Wire
- 4mm crystal bicone or rondelle beads (2 each)
- 11-15mm top-drilled crystal briolettes (2 each)
- Wire Cutters
- Flat Nose Pliers
- Stepped Bail-Making Pliers
- Nylon Jaw Pliers (optional)
- Needle File
- Chasing Hammer (optional)
- Bench Block
- Ruler
- Fine Point Permanent Marker
- 10mm mandrel (I use these knitting needles)
- 800, 1500, and 2000 grit wet/dry sandpaper and/or sanding sticks in an assortment of grits from 400 to 3000
- #102 – Fleur de Lis Earrings Tutorial – Available in my Free Resource Library.
Finished Size
- WIDTH: about 1 inch (2.54 cm)
- LENGTH: about 1-1/8 inches (4.13 cm)
I added my Flourish Ear Wires to these earrings to complete the look. Ear wires will add between 1/2-inch (1.27 cm) to 3/4-inch (1.91 cm) to the overall drop length, depending on the ear wires that you choose. The Flourish Ear Wires are on the high side of that range.
About the Fleur de Lis Earrings
I’ve been wanting to make a Fleur de Lis design for ages. But I never quite worked out the design in my mind. I wanted something simple with clean lines that would be an easy project for beginners. And that simple design finally broke through recently.
You see, back in December, I was struggling with creative block while working out some structural issues on a private commission. And one of the ways that I combat creative block is to make something just for the fun of it.
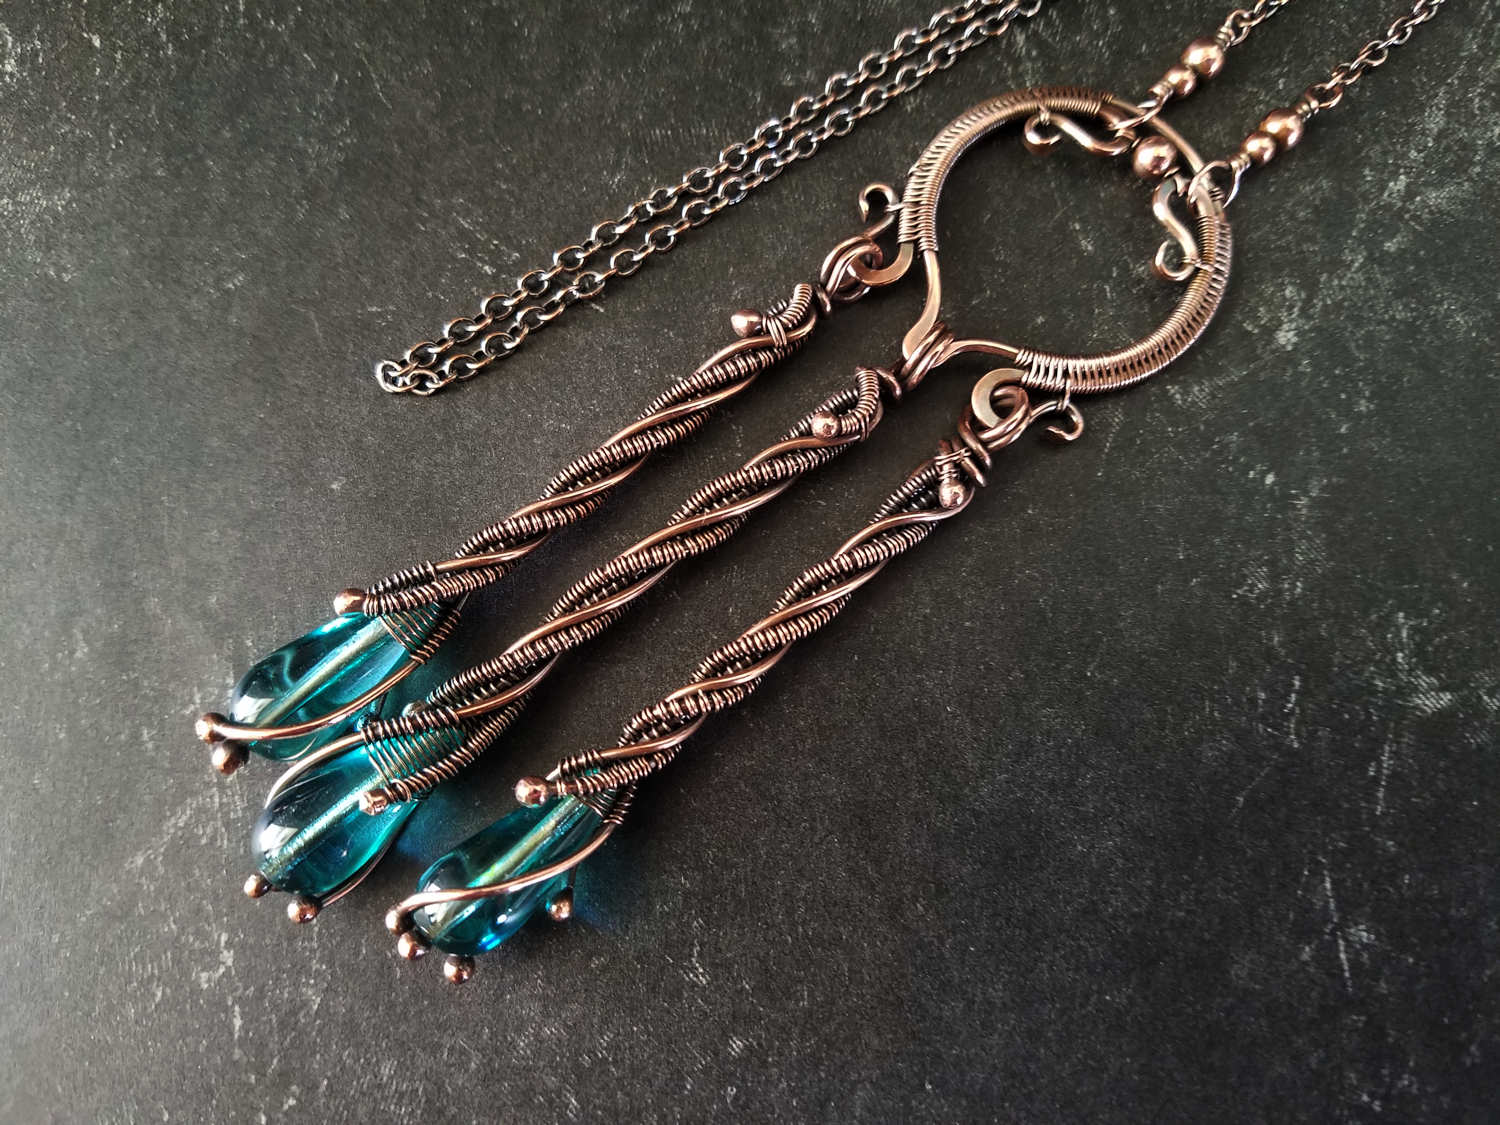
This helps me get out of my own head while I follow someone else’s instructions. And this process inevitably helps me unlock my own creative flow. In this instance, I turned to one of my favorite projects from Sarah Thompson’s first book, Fine Art Wire Weaving.
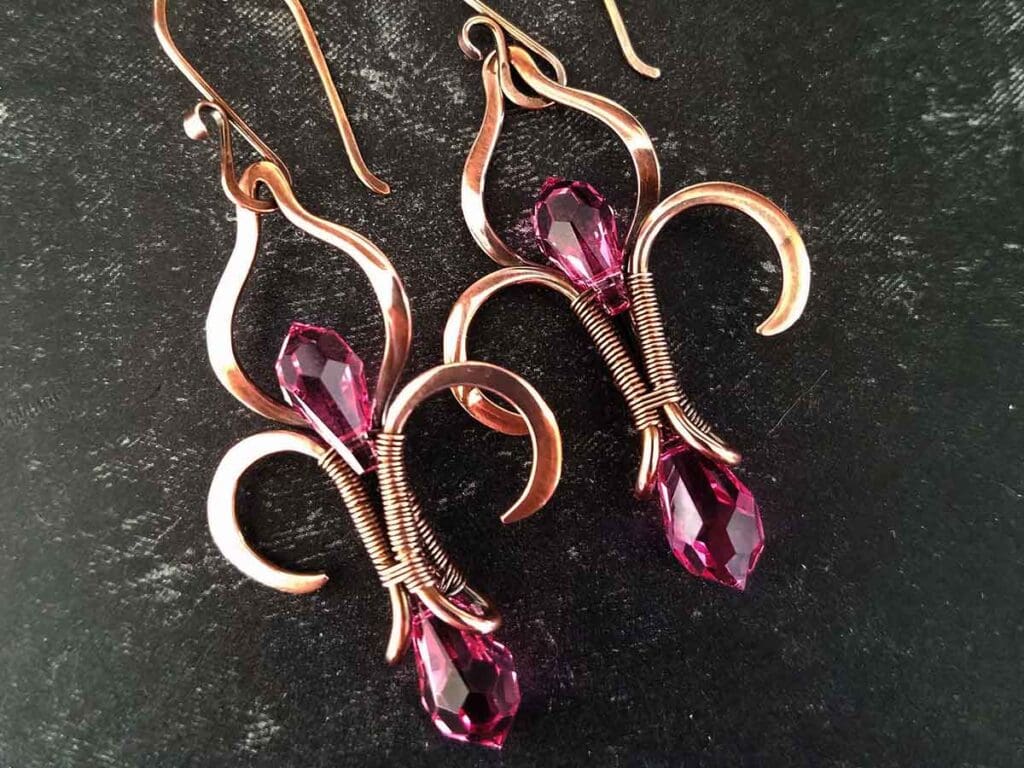
I made the Florence Pendant pictured below, using beads from my personal bead stash. I had no agenda besides escaping from the sticky problem that I was trying to solve on my own design. And the Fleur de Lis earrings (also pictured below) came from that exercise.
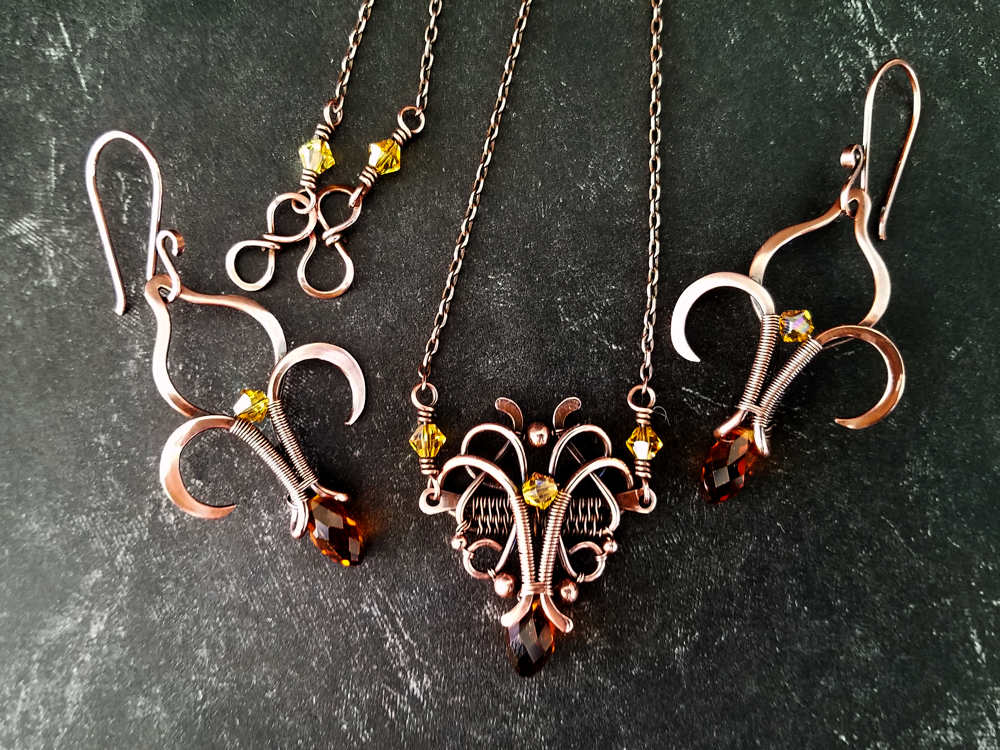
As an added bonus, I also worked out a solution to that sticky problem on my private commission. So that brief sojourn into Sarah’s brilliantly designed pendant really paid off!
Learn more about the inspiration behind the Fleur de Lis Earrings in this post. There, I share how I use inspiration from other designers without crossing the line into copycat territory.
Do you need some solid sources for inspiration that will help you find your own design style? If so, I highly recommend both of Sarah’s books, Fine Art Wire Weaving and Woven in Wire.
Sarah is a master of structural engineering. So, her designs aren’t just beautiful. They’re functional and durable as well. You’ll learn so many innovative construction techniques from these books that I truly feel they’re essential references for every wire weaver’s library.
Download Your Free Copy of the Fleur de Lis Earrings Tutorial!
Now, let’s make some Fleur de Lis Earrings! The make-along videos are linked below, but you’ll also find links in the free tutorial. So, be sure to grab your free copy of that tutorial. The download is available in my free resource library, and it comes with a subscription to my weekly newsletter. That way, you’ll always be among the first to know about what’s happening behind Door 44!
To subscribe and get instant access to the resource library, complete and submit the form below.
Get the free fleur de lis tutorial
When you join my newsletter
Fleur de Lis Earrings Make-Along: Part 1
I like to start all of my jewelry tutorials with a simple wire frame. And the Fleur de Lis earrings gave me a unique opportunity to create an elegant frame that’s formed completely with a single piece of 16ga wire.
In this first part of the wire wrapped earring make-along, we’ll talk about earring symmetry, how to form perfectly round curls, and basic hammer techniques. And I’ll also give you a behind the scenes look at the simple system that I use to document all of my jewelry designs.
Fleur de Lis Earrings Make-Along: Part 2
Several of my readers pointed out recently that no one teaches finishing techniques in their tutorials. And I realized that they’re absolutely right. So, Part 2 of the wire wrapped Fleur de Lis Earrings Make-Along is fully devoted to showing you exactly how I refine and finish my wire frames.
Spoiler alert: the finishing doesn’t happen at the end. It’s actually more of a refining process that I approach strategically, from the moment that I begin shaping my wire frames.
Fleur de Lis Earrings Make-Along: Part 3
We’re going to wrap up this project (see what I did there?) by adding the beads and ear wires in this third and final video of the Fleur de Lis Make-Along series. The highlights of this video include a discussion about some easy variations you can do to make these earrings your own. And I also answer some of the most frequently asked questions about using a patina on wire jewelry.
Discover More Behind Door 44
Thanks so much for joining me today! I hope you enjoyed this video-guided wire wrapped jewelry make along series. I’ll be doing several more make-alongs this year. So, if you haven’t already joined my email list, be sure to subscribe today!
I like to share useful wire weaving tips and tricks on my social media channels, and we have some great conversations about wire jewelry in my private Facebook Group. Also, be sure to connect with me @door44studios on Instagram, and Facebook to keep up with everything that’s happening behind Door 44. And if you haven’t already done so, be sure to subscribe to my YouTube channel where you’ll find new wire jewelry videos weekly.
Until next time, wire weaver, go make something beautiful!

Pin This Post for Later!
