

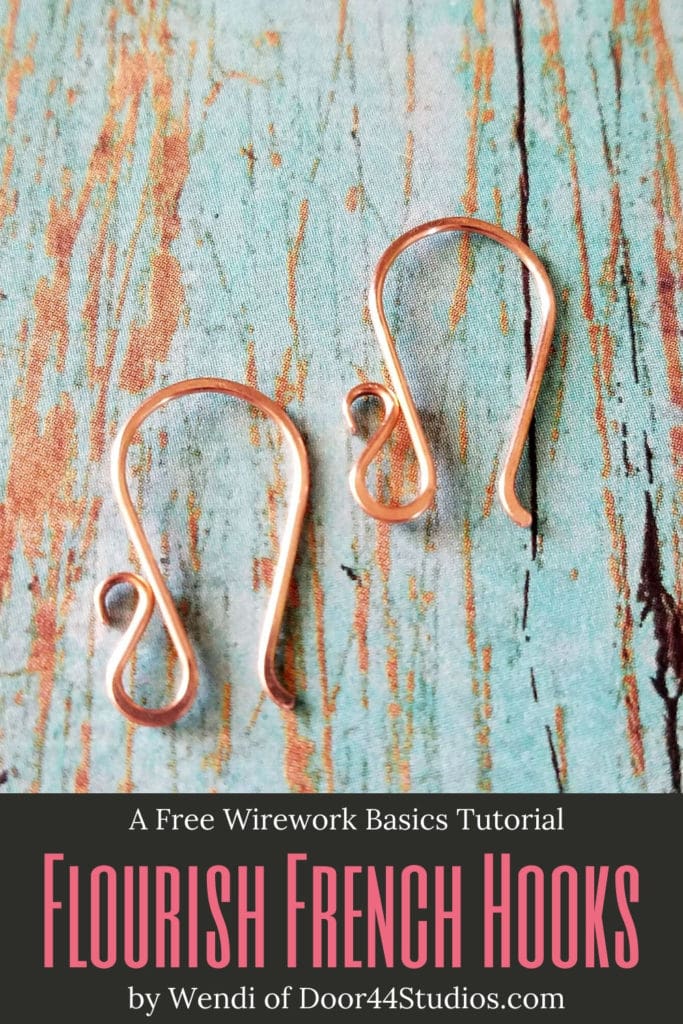
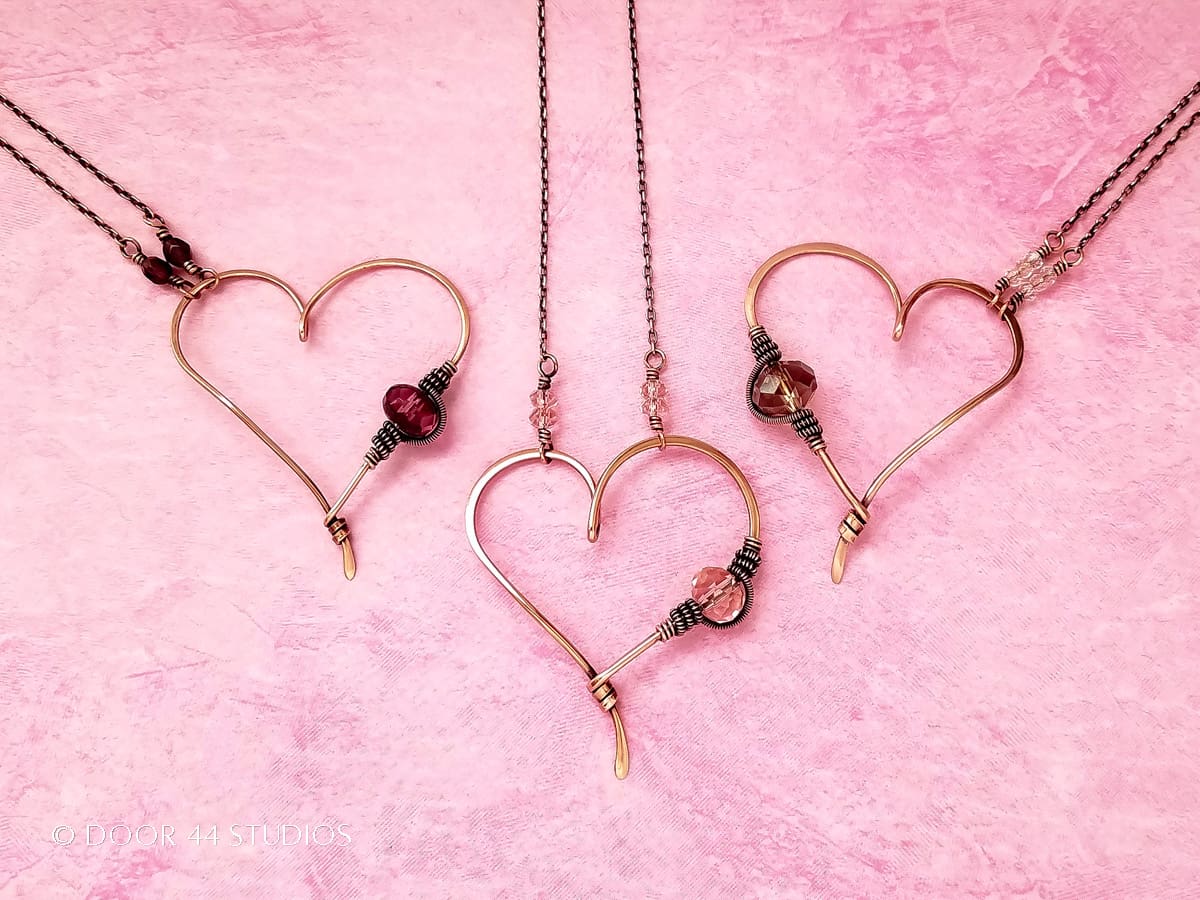
The Flourish French Hooks: A Free Tutorial

These pretty ear wires are the fifth and final installment of my 5-part ear wires series. I call these the Flourish French Hooks because of their sensuous soft curves. You may recognize the flourish as one that I use frequently in many of my jewelry designs. It’s a simple but effective way to treat the ends of core wires. And the loops double as both pretty design elements and functional connection points.
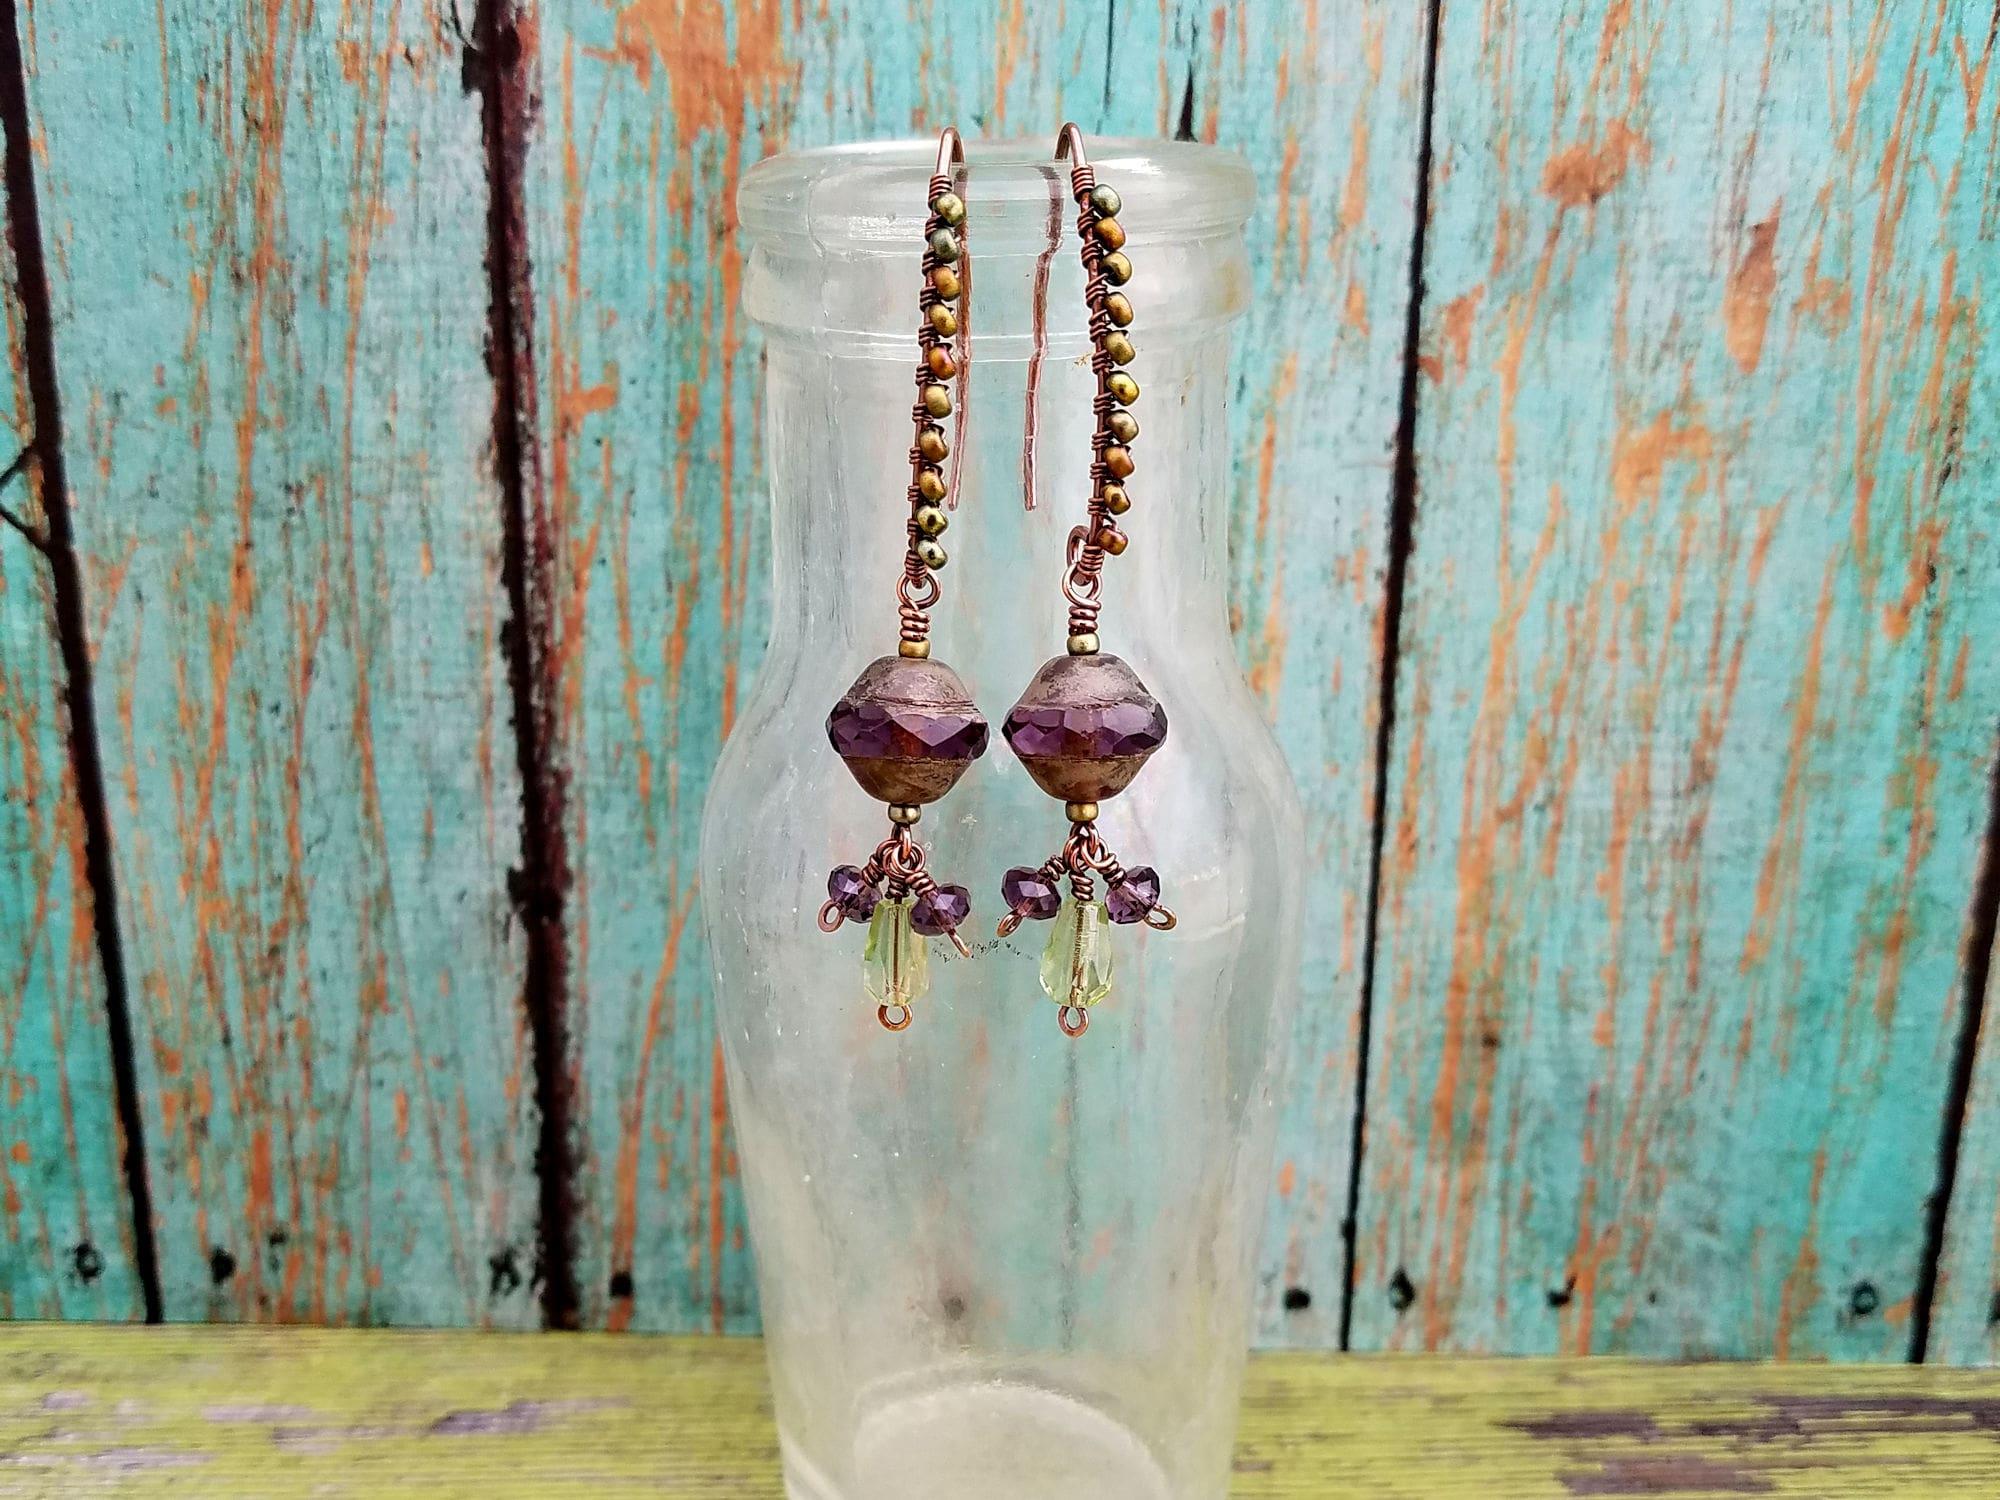
The Flourish French Hooks are best suited for classical and romantic earring designs. I don’t use these ear wires frequently in my own earring designs, but they’ll work beautifully with both the Chalice Earrings and the Rosewood Earrings. They’ll also look great with these easy Beaded Tassels.
Ear wires are a small and often overlooked detail in jewelry design. But I believe strongly that it’s the smallest details that will set your jewelry apart from the crowd. So pay attention to the wires that you choose for your earrings. And always choose an ear wire silhouette that compliments your earring designs.
Copyright & Disclosure
You’re welcome to make and sell products from this tutorial. These ear wires are a common design, so I claim no exclusive rights to the design itself.
When it comes to my written tutorials, however, I do reserve exclusive rights to all images and written content. You may not reproduce or redistribute any portion of the Flourish French Hooks tutorial in any way, shape, or form.
This copyright applies to the printable PDF version of the Flourish French Hooks tutorial as well, and it’s included therein. You may share the free version of this tutorial only by linking directly to this page.
This post may contain affiliate links. If you click on a link and then make a purchase, I may earn a small commission (at no cost to you). As an Amazon Associate I earn from qualifying purchases. To learn more, please see my full disclaimer.
Skill Level: Beginner
This is a basic wirework project that can be achieved by someone who has never worked with wire before.
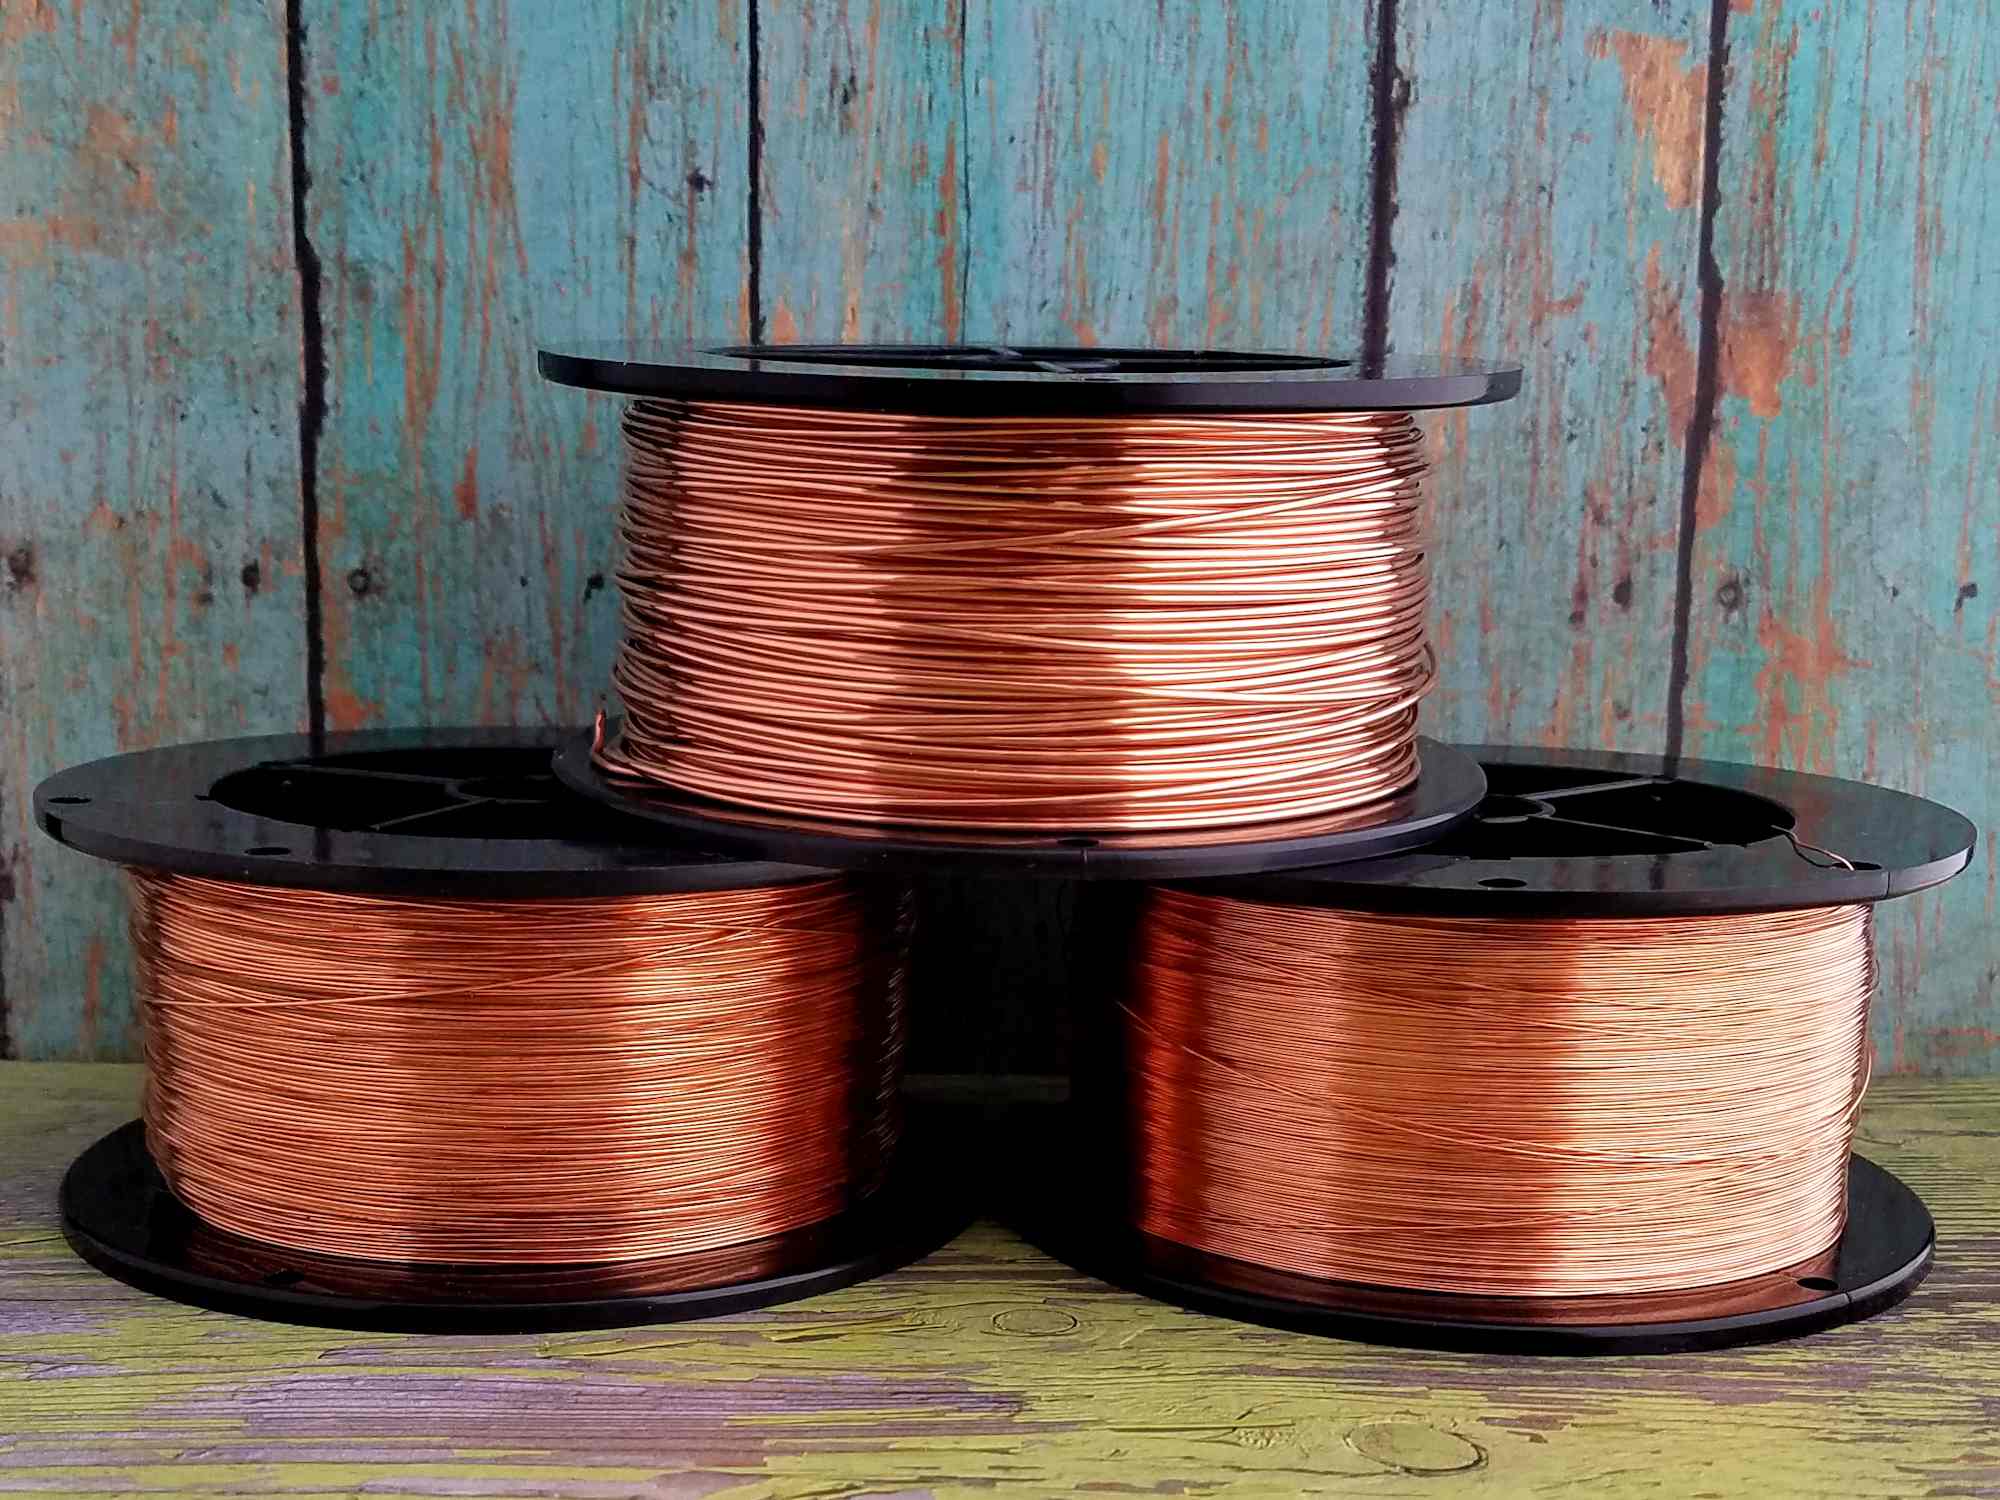
Choosing the Right Jewelry Wire for Your Flourish French Hooks
For best results, use half-hard or dead soft solid copper or sterling silver wire. Half-hard wire will always save you time when it comes to making ear wires, but dead soft works well, too. You’ll just have to spend a bit of extra time work hardening ear wires that you make with dead soft wire. I used dead soft wire for the square ear wires that I made while writing this tutorial.
As a general rule, I don’t recommend using a filled wire when you’ll be hammering the ends of the wire, as we will do in this tutorial. I also don’t recommend plated or anodized craft wire for this tutorial because those types of wire are rarely hard enough to retain their shape, and even a soft mallet can ruin the finish coat on craft wire.

Tools & Materials
- 20ga half-hard wire – 5 inches (13 cm) per pair
- Wire Cutters
- Flat Nose Pliers
- Stepped Bail-Making Pliers
- Needle File
- Nylon Mallet or Rawhide Mallet
- Chasing Hammer (optional)
- Bench Block
- Ruler
- Fine Point Permanent Marker
- Cup Burr Tool (optional)
- Sunshine® polishing cloths (optional)
*I usually use half-hard copper wire to make ear wires, but I used dead soft copper wire while writing this tutorial. The only difference between the two tempers is that you’ll need to spend more time work hardening dead soft ear wires. That’s why I prefer to use half-hard wire for earring findings — it saves time. I’ve provided links above to my preferred source (riogrande.com) for both tempers. Choose whichever temper you like to work with best.
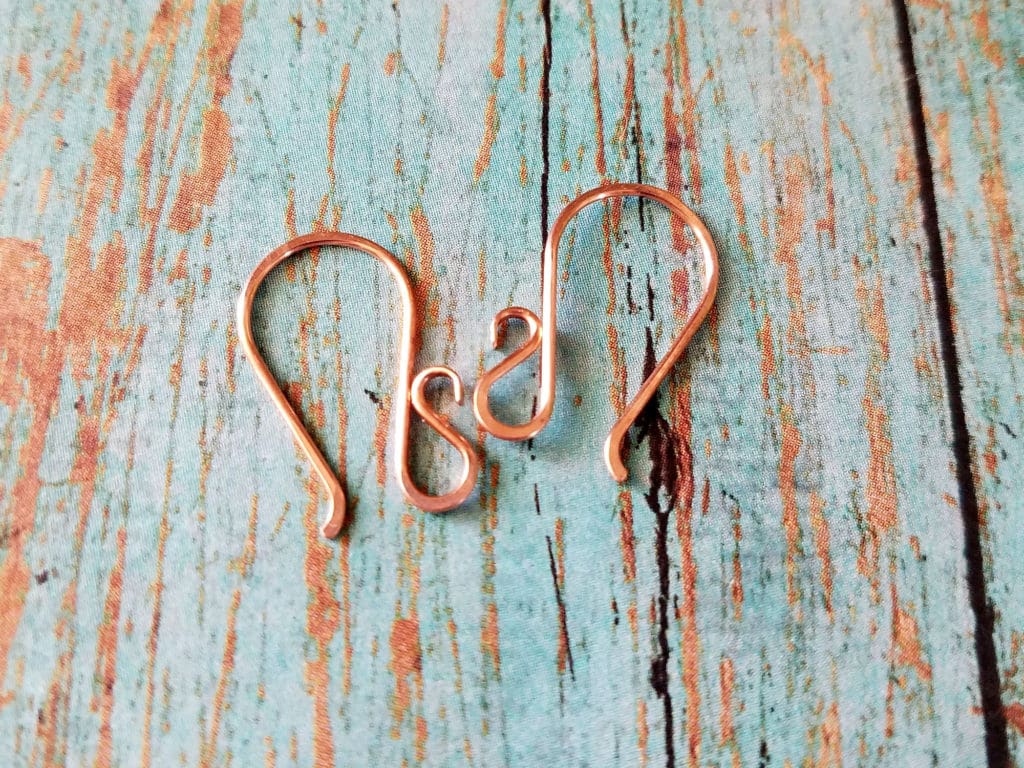
Finished Size
- WIDTH: About 1/2 inch (1.25 cm)
- LENGTH: About 3/4 inch (1.90 cm)
20g wire is my preference for pierced ear wires. It’s the only gauge that I use for ear wires unless someone specifically asks for a smaller or larger gauge. Commercial ear wires typically range between 18g and 22g. So 20g is a comfortable size for almost everyone with pierced ears.
How to Make the Flourish French Hooks
The Flourish French Hooks are quick and easy to make. And you can easily change them up a bit by simply choosing different mandrel sizes for the curves.
If you’re making these ear wires for very dainty earrings, use round nose pliers instead of the stepped bail-making pliers to form the flourish. Round nose pliers will allow you to make smaller and more delicate curls.
Step 1
Straighten a length of 20ga wire by running it between your fingers or the jaws of your Nylon jaw pliers a few times. Once the wire is nice and straight, measure and cut a 5-inch length of wire.
Use your fine-point permanent marker to mark the center point of your wire.
Step 2
The key to making matched sets of ear wires is to create both wires at the same time, which is what we’re going to do today.
Use your flat nose pliers to form a sharp 90-degree bend at the center mark of your 5-inch wire. Then carefully fold the wire in half by gradually tightening that bend until the two ends of your wire are parallel.
Step 3
Tighten the fold by squeezing it closed with the tips of your flat-nose pliers, as shown.
Step 4
Check the ends of your wire to make sure they’re even. If not, trim the wire so that both ends are the same length.
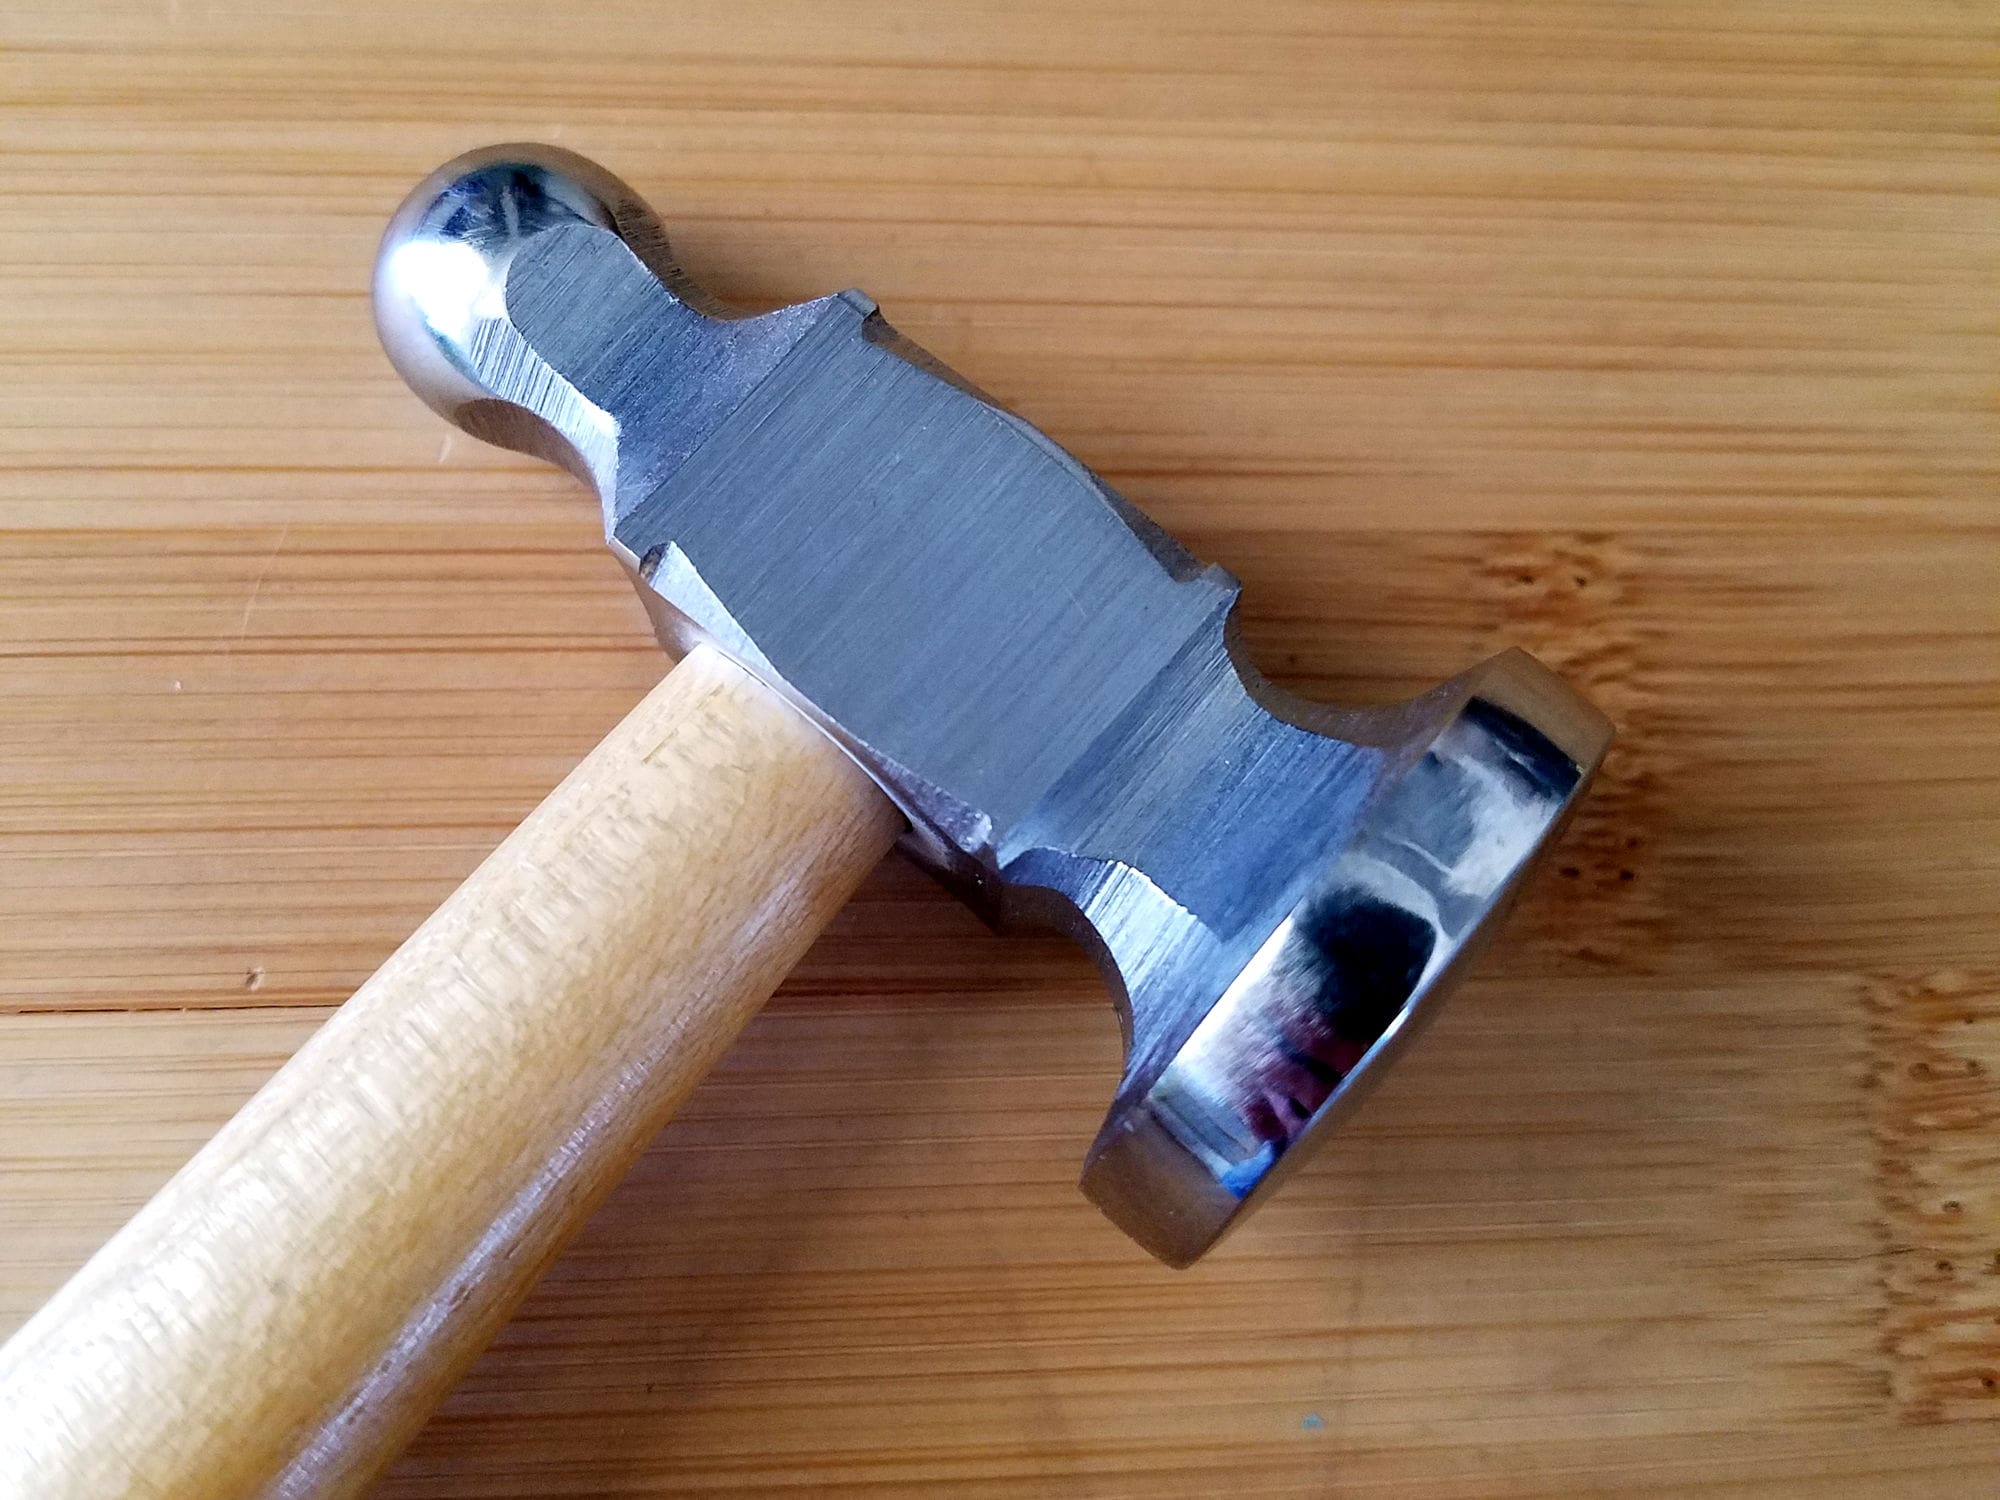
Step 5
Use your chasing hammer and bench block to paddle about 1/4-inch of the cut ends of your folded wire, as shown.
Use your needle file to smooth and shape the paddled ends, if necessary.
Step 6
Grasp the paddled ends of the wire with the 2mm step (the smallest step) of your bail-making pliers, as shown.
Step 7
Using the thumb of your free hand, firmly roll the wires about 3/4 of the way around the 2mm mandrel, as shown.
Step 8
Now grasp the curled ends of the wire between the 2mm and 3mm steps of your bail-making pliers.
Make sure that the open ends of the curls are resting on the top of the 2mm mandrel, as shown.
Step 9
Now, roll the straight length of wire around the 3mm step until the wire shafts touch the small curls made in Step 7.
This completes the decorative flourish on your ear wires.
Step 10
Grasp the straight shaft of your ear wires between the two largest steps of your bail-making pliers.
Make sure that the curled ends of your wire are resting against the 8mm step (the second largest step) of your bail-making pliers, as shown.
Step 11
Use your fingers to roll the straight length of wire all the way around the 9mm step of your bail-making pliers, as shown.
Step 12
Grasp the folded tip of your ear wires with the 3mm step (the second step) of your bail-making pliers, as shown.
Step 13
Then use your fingers to roll the folded wire end partially around the 3mm mandrel on your pliers, as shown.
We’re creating just a slight curve on the end of the ear wires that will make them easier to slip into the ear piercing.
Step 14
Snip the folded end off your ear wires with your wire cutters.
Make sure that the beveled side of your wire cutters is facing the fold, as shown. This gives you the cleanest cut.
Step 15
Use your chasing hammer and bench block to slightly flatten the large loops of your flourish, the tips of the ear wires, and the top curve of your wires, as shown.
Step 16
Now use your soft mallet and bench block to further harden your ear wires. Just tap gently and evenly all around the wires. But be careful to avoid flattening the small curl on your flourish.
Step 17
Use your needle file to smooth and round off the cut ends of your Flourish French Hooks.
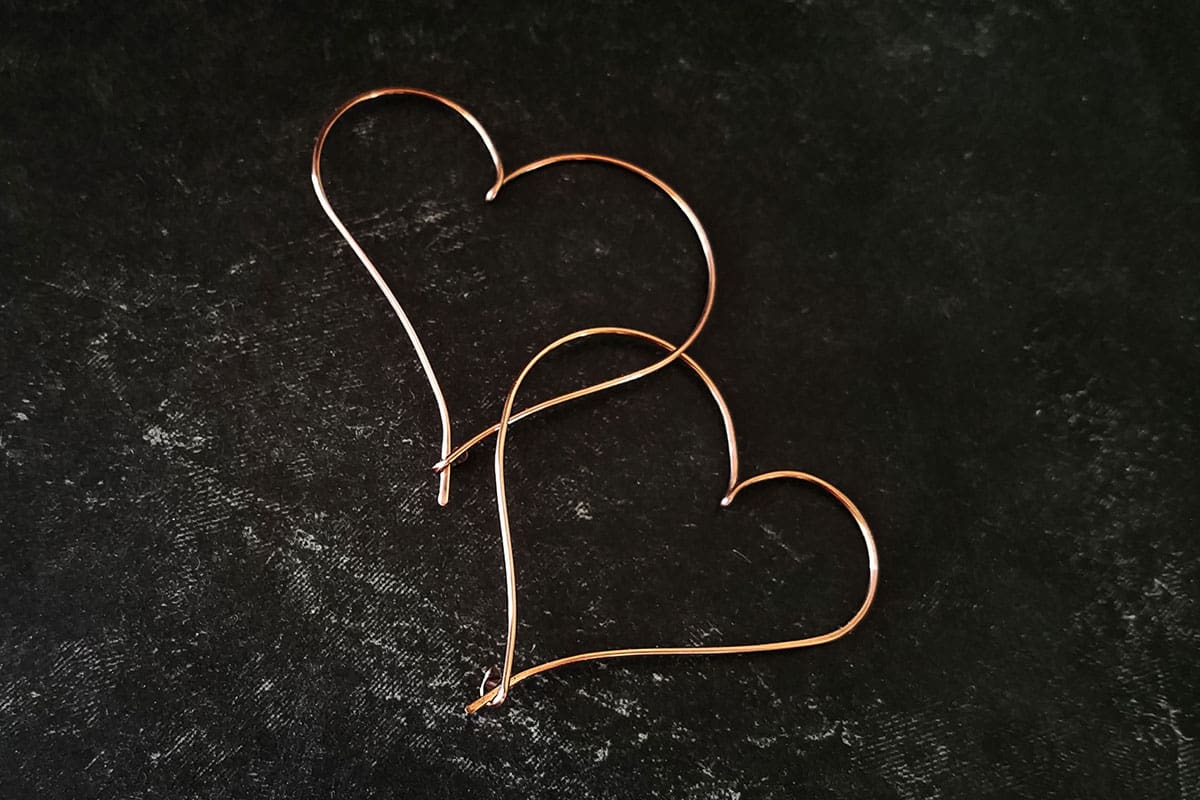
That’s it. Your romantic Flourish French Hooks are now complete and ready to use. You can patina them now if you like. Or just leave them bright and patina along with whatever you decide to attach them to.
More Ear Wire Styles
As I mentioned above, the Flourish French Hooks are the fifth in a 5-part series of ear wire tutorials. The other ear wire shapes that we covered in the series are linked below.
All of these ear wires are formed using the same basic principal of shaping both wires at the same time. This allows you to create perfectly matched pairs of ear wires. In any shape. Every time.
Discover More Behind Door 44
Thanks so much for joining me today. I hope you enjoyed creating the Flourish Ear Wires. If you’d like a printable PDF version of this tutorial, you can find it here.
Would you like more great wirework content?
I like to share useful wire weaving tips and tricks on my social media channels, and we have some great conversations about wire jewelry in my private Facebook Group. Also, be sure to connect with me @door44studios on Instagram, and Facebook to keep up with everything that’s happening behind Door 44. And if you haven’t already done so, be sure to subscribe to my YouTube channel where you’ll find new wire jewelry videos weekly.
Until next time, go make something beautiful!

Pin the Flourish French Hooks Tutorial for Later

Your tutorials are the best I’ve seen! I am a quilter, but have “played” a little on the side, mostly making earrings for me and loved ones. I’m ready to grow up and make better and better ones!
I’m so happy to help you grow your wirework skills. Happy weaving!