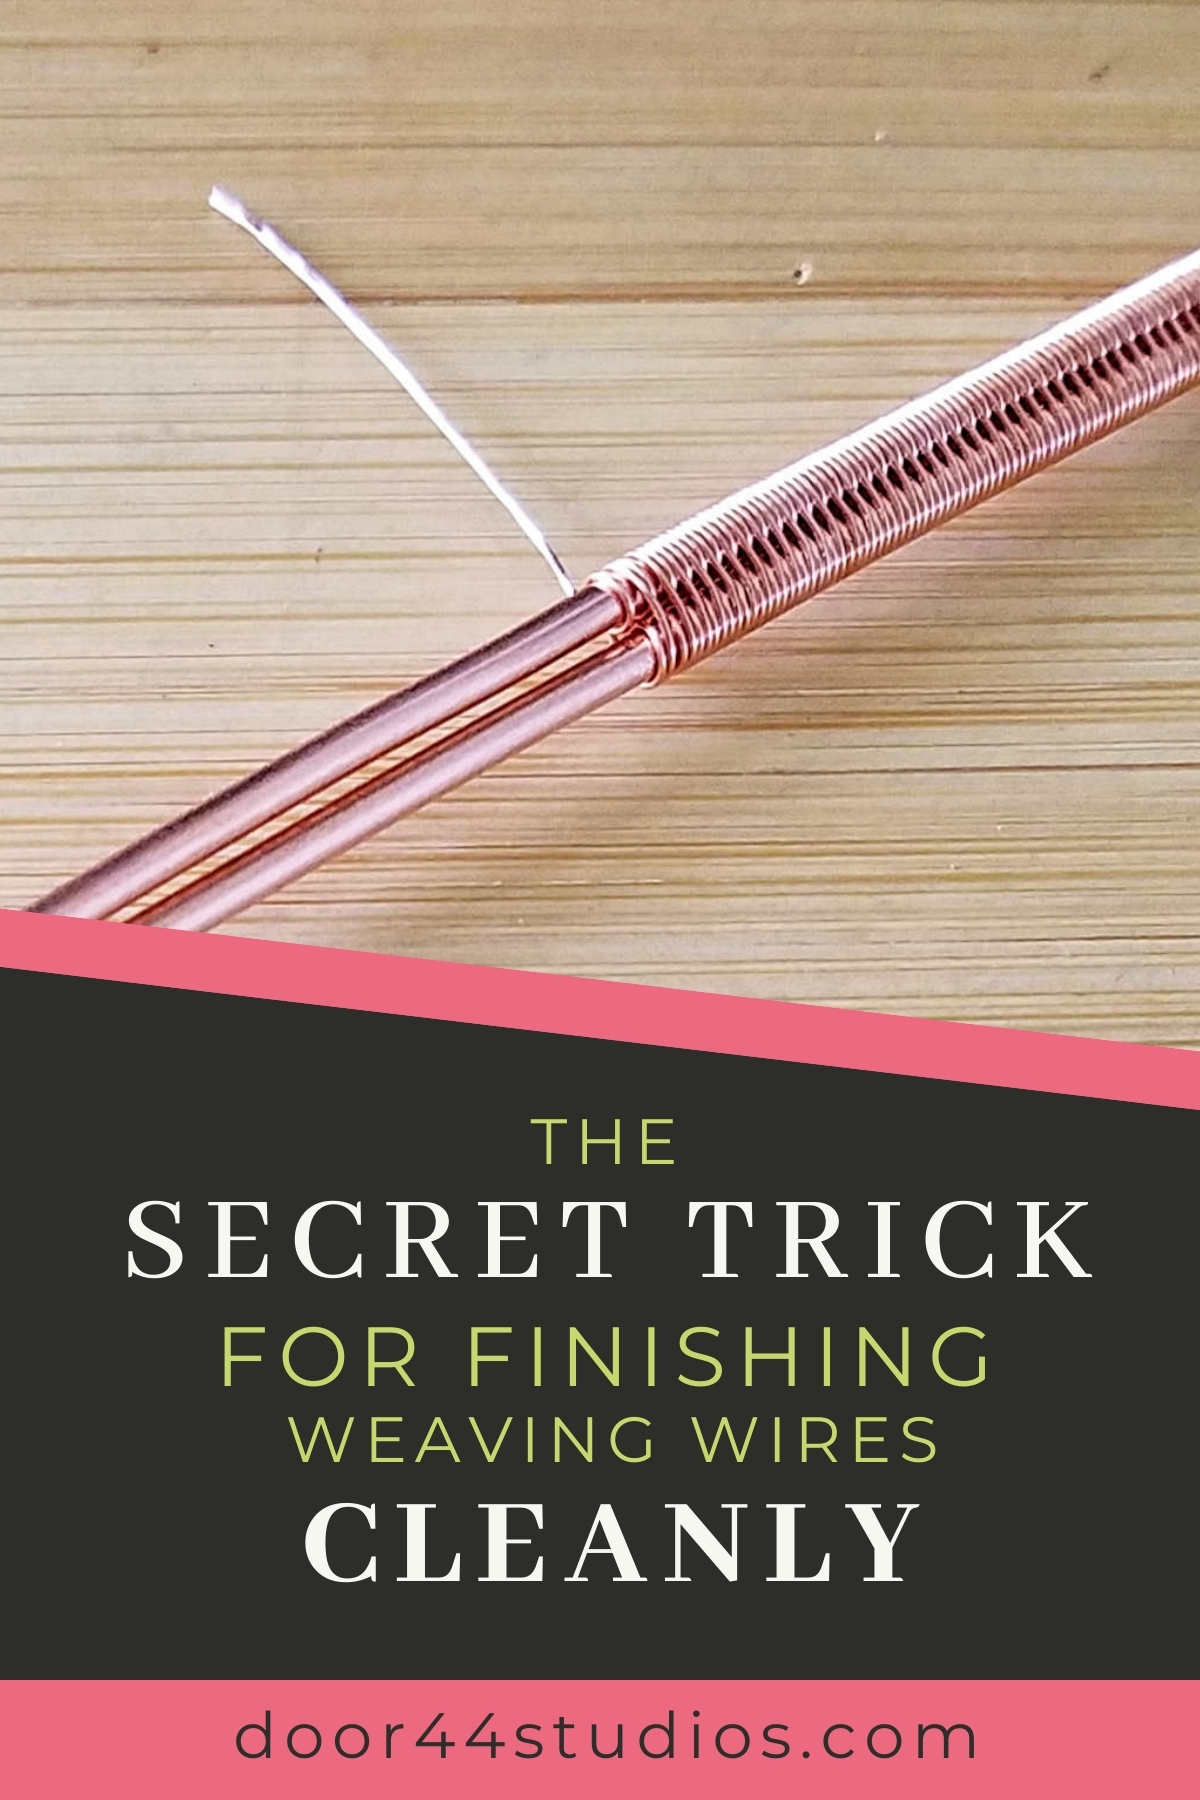
Finish Weaving Wires Cleanly, Every Time!
Today we’re going to talk about a little known trick that will help you finish your weaving wires cleanly. Every time.
Most wire weaving tutorials instruct you to trim your weaving wire when you reach the end of a weave. But that doesn’t work very well, does it? Even the best flush cutters will leave a sharp bit of wire sticking up out of your weave.
So, then you’re told to tuck that sharp point in somewhere in the weave where it won’t catch on anything. But again, that doesn’t always work. As long as the end of your weaving wire is exposed above the surface of the weave, it’s a liability. It can catch on hair or clothing. It can irritate delicate skin. And it can even unravel, which could potentially weaken the structural integrity of the entire piece.
So, how can we solve this problem, once and for all? The answer to that question is surprisingly simple. We’re going to work with the natural properties of our wire to achieve a clean and smooth finish on weaves. Instead of trimming those wire tails off, we’re going to break them instead.
This post may contain affiliate links. If you click on a link and then make a purchase, I may earn a small commission (at no cost to you). As an Amazon Associate I earn from qualifying purchases. To learn more, please see my full disclaimer.
The Secret to Finishing Weaving Wires Cleanly
Trimming wire tails with wire cutters will always leave a tiny bit of wire sticking up out of the weave. It’s pretty much inevitable. You can minimize the problem to some degree by using a pair of good quality flush cutters. But you’ll never eliminate that problem entirely. Not by using a tool, that is.
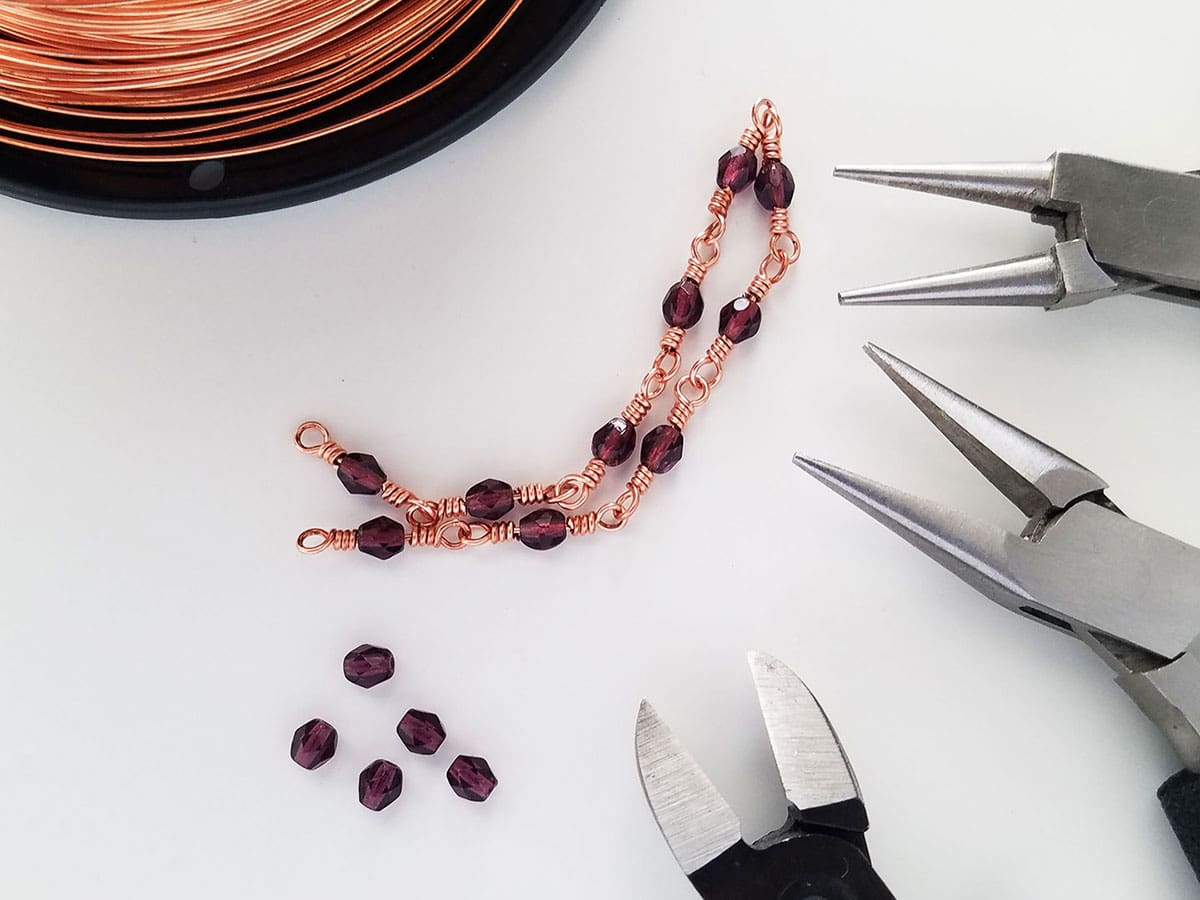
A better way to finish your weaving wires neatly is to use your wire’s tendency to break to your advantage. The beauty of this trick is that it works on any weave, or even on coils. And it works for pretty much any small gauge wire that you’ll use for weaving or for securing light-weight beads.
Here’s how to break your weaving wire tails:
Step 1
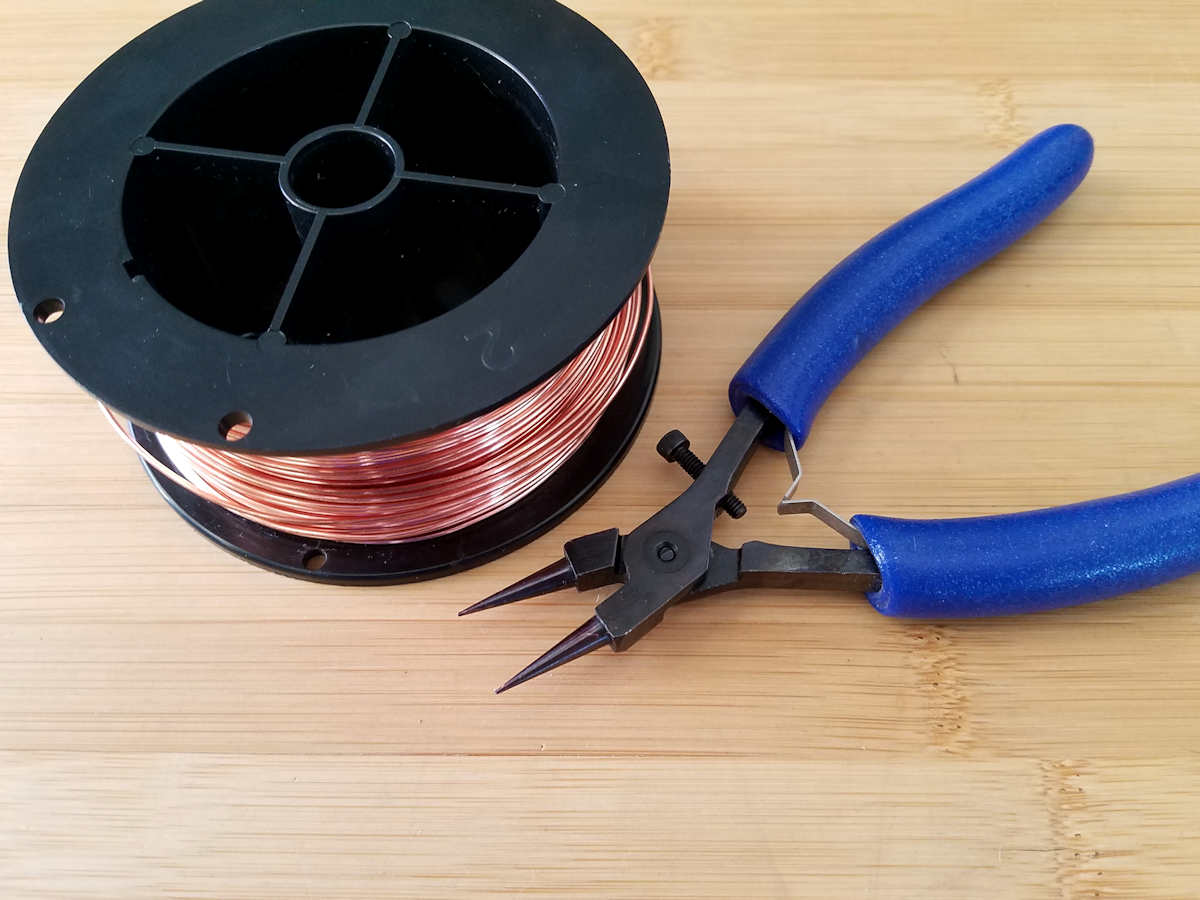
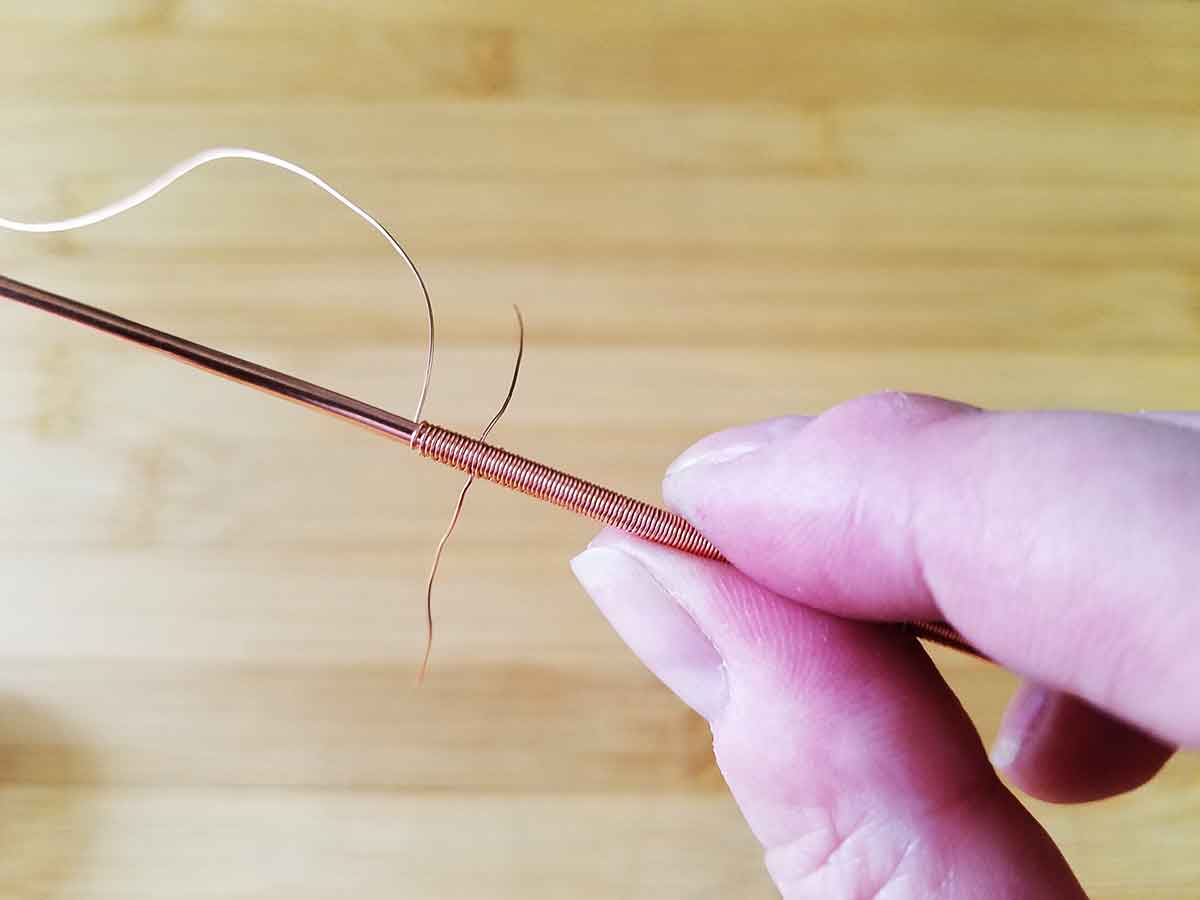
Make sure your weave is nice and compact. Then grip the wire tail firmly about a half inch above the surface of the weave.
Step 2
While pulling the wire tail taut, gently swirl it around in a circle. Make sure you keep even tension on the wire the whole time.
This will cause the wire to work harden just at the point were the wire passes between two core wires. And as you know, wire will only work harden to a certain point before it becomes brittle and breaks.
As you swirl the tail in a circle, you’ll actually be able to feel the wire reach its breaking point. And when it does break, it nearly always does so just beneath the surface of your weave.
That means no more sharp pointy bits sticking up out of your weaves. Yes!
Common Questions about This Finishing Technique
Does it work on every type of wire?
To the best of my knowledge, yes. I’ve used this technique extensively on solid copper, silver, brass, and bronze jewelry wires. I’ve even tested it on several brands of craft wire. I don’t personally work with stainless steel wire, but I’ve received comments on my YouTube channel from those who do thanking me for sharing this technique. So, I presume it works on hard wires like stainless, too.
What if it doesn’t work and my wire breaks off above my weave?
This does happen occasionally. I find that it’s usually because I didn’t keep even tension on my wire tail while I was work hardening it. Or because I didn’t leave myself a long enough tail, and I tried to grasp it with my chain nose pliers instead of my fingers. But if your wire tail does break off above your weave, are you really any worse off than you’d have been if you didn’t attempt this technique first? Nope! Simply trim your wire as close to the weave as you can with your flush cutters, and move on. This trick isn’t 100% foolproof, but it works far more often than it fails.
Why have I never heard of this trick before?
That is the million dollar question, my friend. In all the years that I’ve been making wire jewelry, I’ve only seen a handful of wireworkers actually use this technique, and I can only think of one who shared the technique in a tutorial. There seems to be some sort of unspoken rule that this trick shouldn’t be shared publicly. Personally, I think that’s nonsense. Unnecessarily frustrating those who are new to our craft doesn’t serve our craft well. So, I’m happy to share this trick (along with all the other tricks I know) with you.
Would you like to see a video of this technique? Watch me demonstrate it on three common weaves. And while you’re there, don’t forget to subscribe to my YouTube channel.
The latest on Youtube:
Seven Helpful Tips to Get the Most Out of This Wire Finishing Technique
- This technique works best on small wire gauges (24ga and lighter)
- Even tension is key. If you relax your grip while work hardening the wire, it could break above the surface of the weave. And then you’ll have a sharp pointy bit sticking up out of your weave. Just like when you trip wire tails with your wire cutters. Darn it! I hate it when that happens.
- Always break your weaving wires off between two core wires, if you can.
- If your weave spans four or more core wires, break the tails off in the center of the weave. Between core wires 2 and 3, for instance. The closer to the center of your weave, the less likely your weave will ever unravel.
- Always look for a point in the weave where the wire is wrapped completely around a single core wire. That’s the most secure place to break your weaving wires.
- When breaking off tails on a coiled wire, it’s not always possible to do so between two core wires. In that case, use the thumbnail on your free hand to firmly press the weaving wire against the core wire. Then swirl the wire tail as instructed above. This will help the broken end of the wire conform to the shape of the core wire.
- Pair this technique with the seamless wire splice to achieve nearly invisible splices.
Discover More Behind Door 44
Thanks for joining me today. I hope this simple wire finishing technique spares you some frustration down the road. There’s nothing more annoying than having a piece returned for a refund or repair because a stray bit of weaving wire popped up out of the weave.
I like to share useful wire weaving tips and tricks on my social media channels, and we have some great conversations about wire jewelry in my private Facebook Group. Also, be sure to connect with me @door44studios on Instagram, and Facebook to keep up with everything that’s happening behind Door 44. And if you haven’t already done so, be sure to subscribe to my YouTube channel where you’ll find new wire jewelry videos weekly.
Until next time, go make something beautiful!

Pin This Post for Later
Was this post helpful? If so, please help spread the word about Door 44 Studios by pinning this post to your jewelry making boards on Pinterest. Also, please feel free to share links to my posts with anyone you know who wants to learn to make wire jewelry!