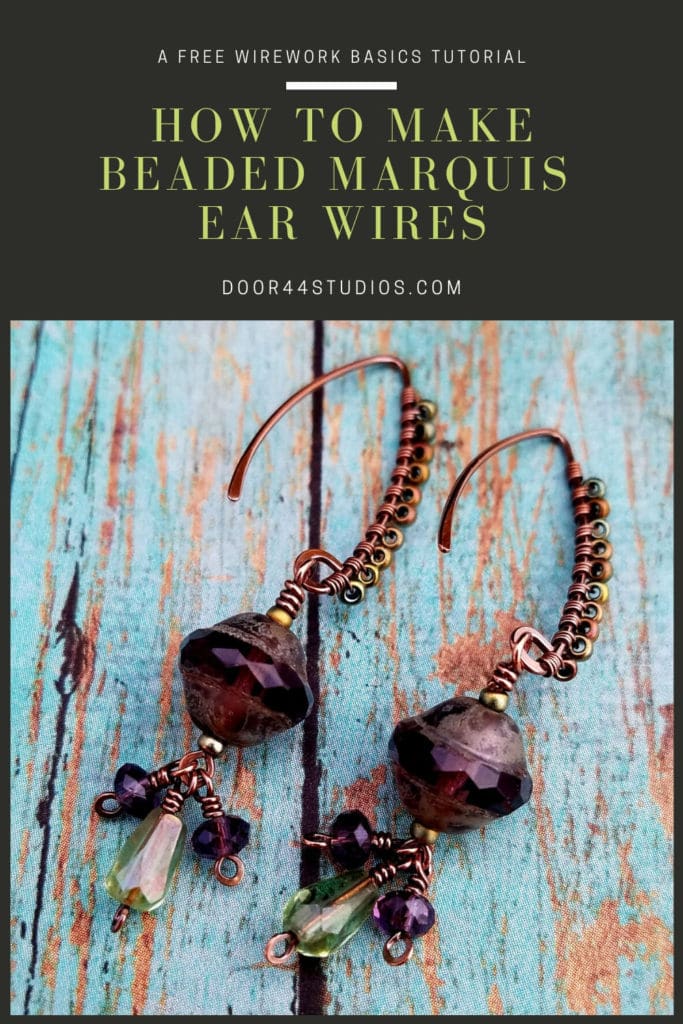
Beaded Marquis Ear Wires: Wire Jewelry Basics

Welcome to the final installment of my 3-part Marquis Earrings tutorial series! In this tutorial, I’m going to show you how to quickly and easily add a beaded wrap to basic Marquis ear wires. This simple technique allows you to take plain ear wires and embellish them with loads of color, texture, and sparkle.
In case you missed the other parts of this series, here’s what we’ve covered so far.
- Marquis Ear Wires: How to make perfectly matched pairs – Part 1
- The Beaded Tassel Marquis Earrings: A free tutorial – Part 2
- How to add additional detail and sparkle to your marquis ear wires with wire-wrapped beads – Part 3 (you’re here)
Copyright & Disclosure
You’re welcome to make and sell products from this tutorial. Wrapping ear wires with beads is a common jewelry making technique, so I claim no exclusive rights to the technique.
When it comes to my written tutorials, however, I do reserve exclusive rights to all images and written content. You may not reproduce or redistribute any portion of this tutorial in any way, shape, or form.
This copyright applies to the printable PDF version of the Beaded Marquis Ear Wires tutorial as well, and it’s included therein. You may share the free version of this tutorial only by linking directly to this page.
This post may contain affiliate links. If you click on a link and then make a purchase, I may earn a small commission (at no cost to you). As an Amazon Associate I earn from qualifying purchases. To learn more, please see my full disclaimer.
Skill Level: Beginner
This is a basic wirework project that can be achieved by someone who has never worked with wire before.
For best results, use dead soft solid copper or fine silver wire for wrapping. You can use a variety of beads for this technique, but I find that seed beads or tiny (2mm – 4mm) round or rondel beads work best. Faceted beads work particularly well because they have flat surfaces that can help keep the beads in position as you wrap.

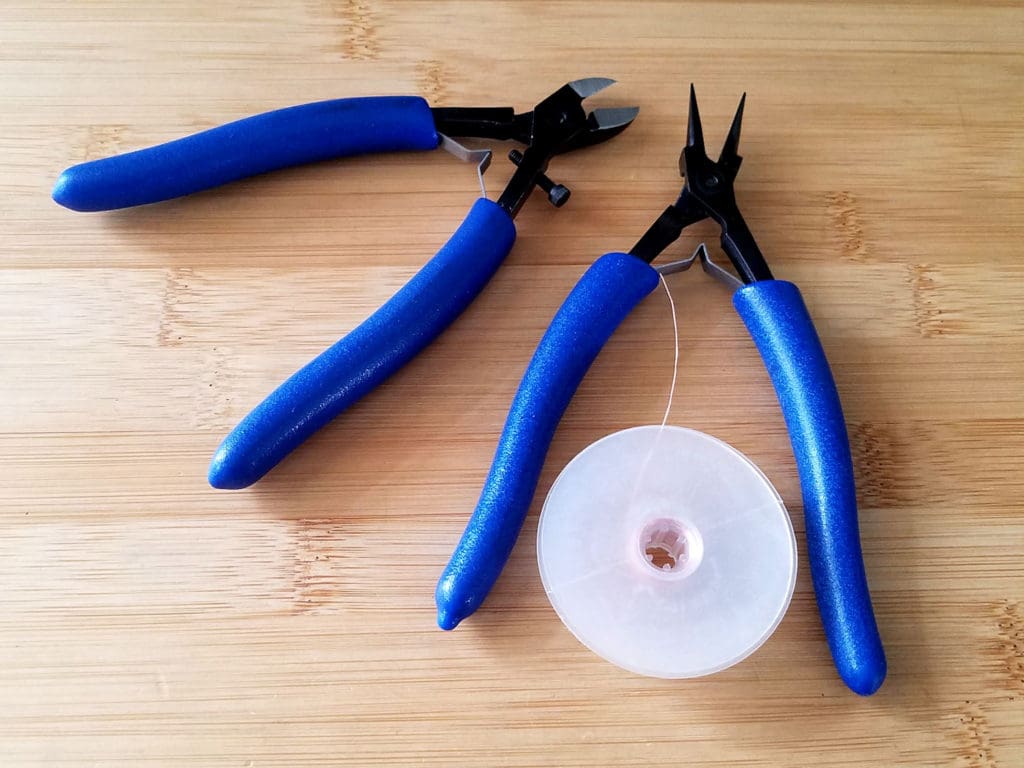
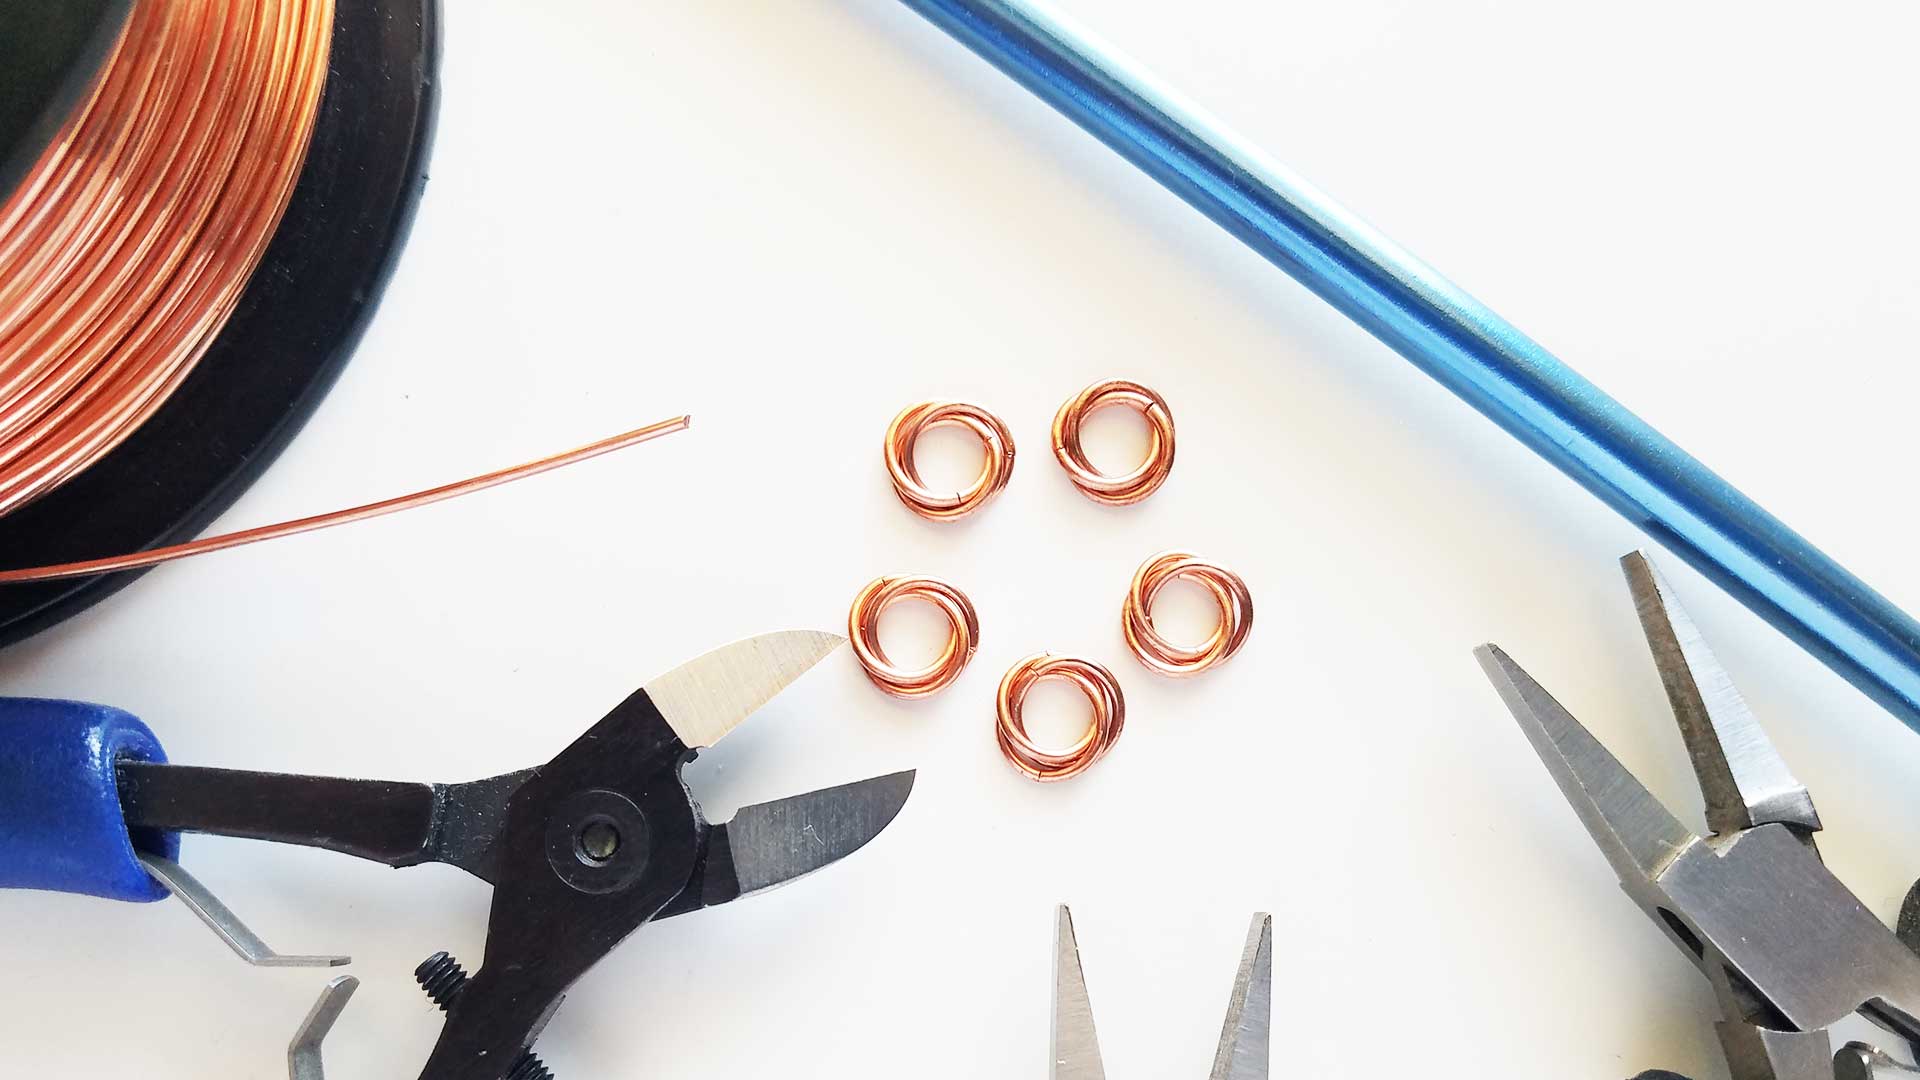
Tools & Materials
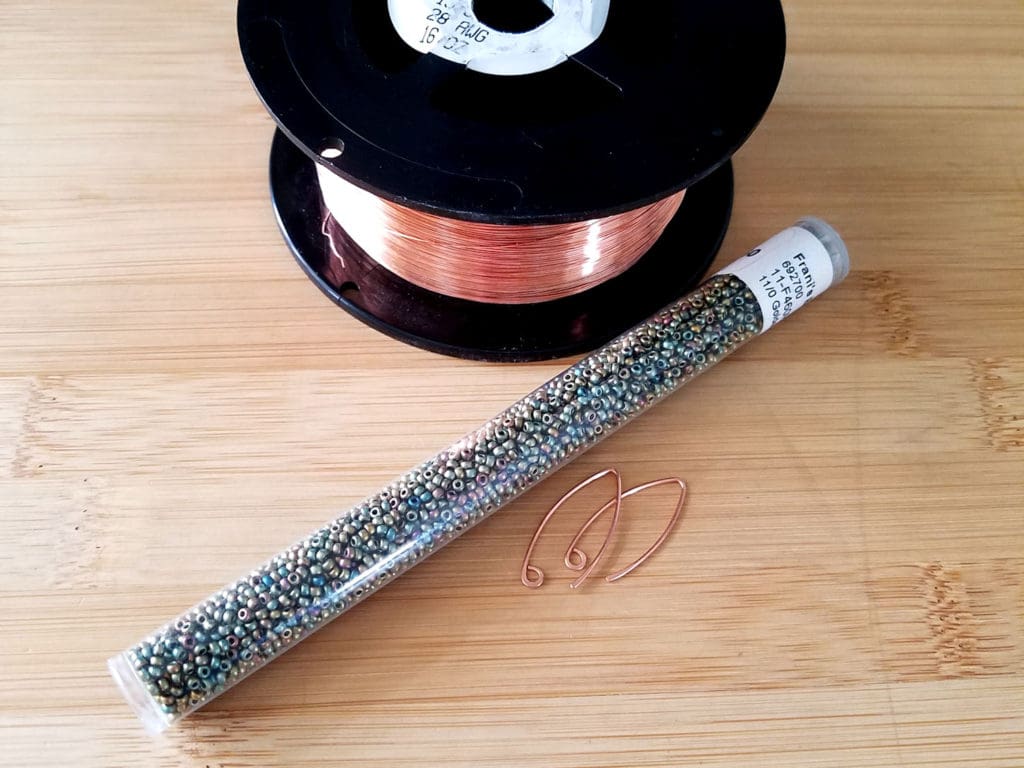
- 28ga wire – 16 inches (40 cm) per pair
- Small accent beads of your choice (I used 11/0 seed beads)
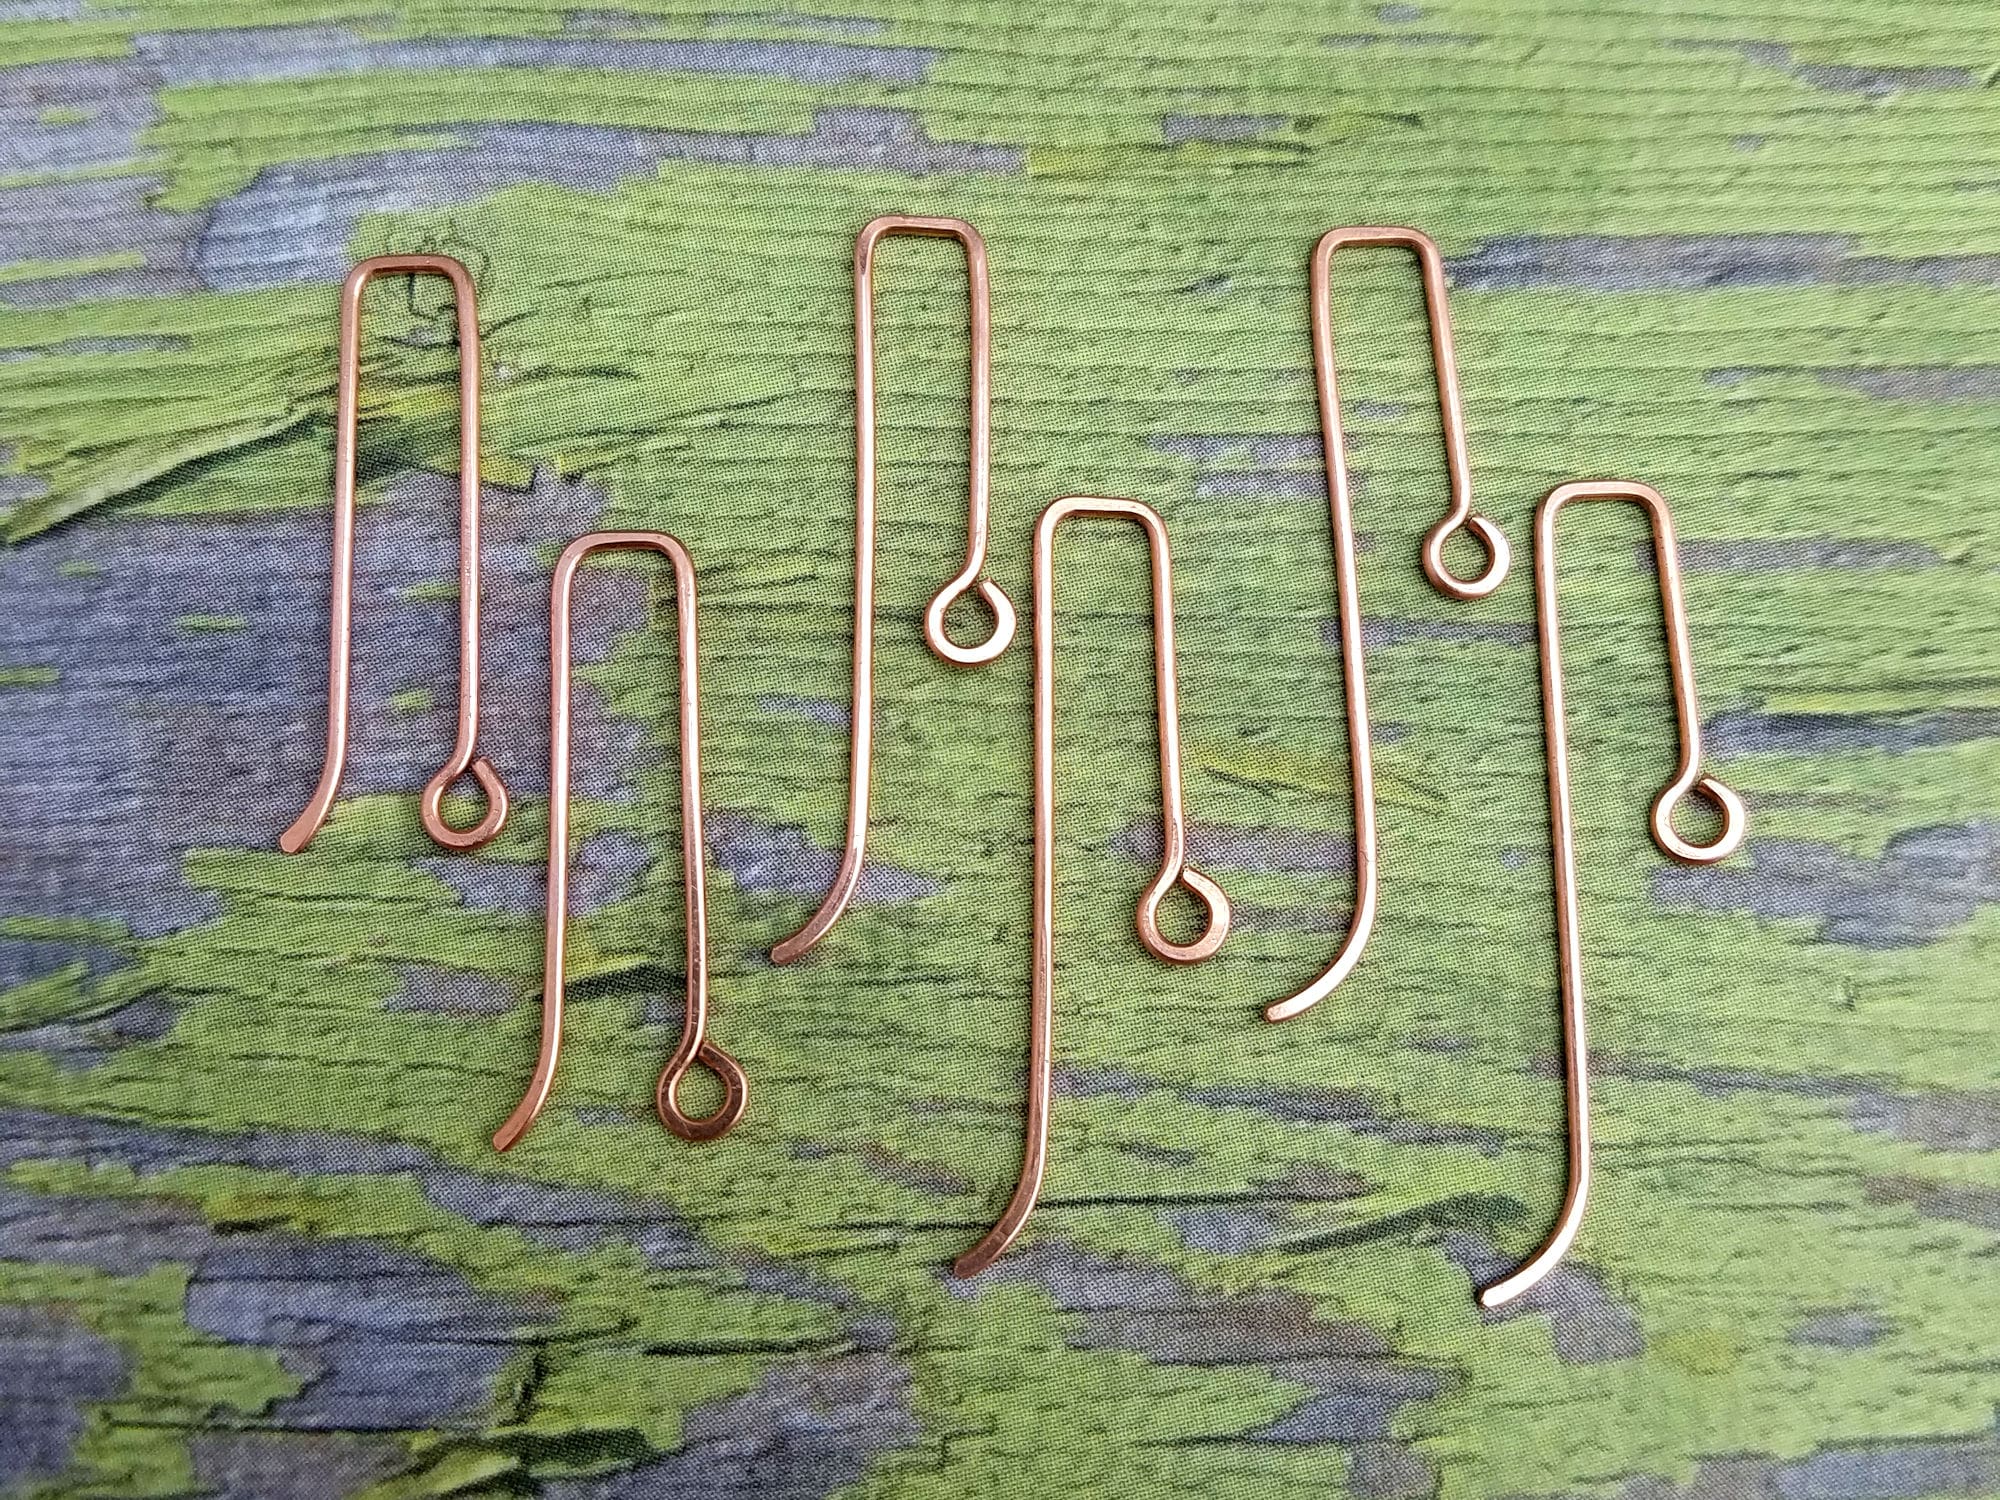
- 1 pair of Marquis Ear Wires (I chose wires with an inside loop, as shown.)
- Wire Cutters
- Chain Nose Pliers
- Plastic Kumihimo Bobbin
Finished Size
- WIDTH: about 1 inch (2.5 cm)
- LENGTH: about 1/2 inch (1.3 cm)
In Part 1 of this series, I show you how to make these ear wires yourself. However, this technique works just as well on the Marquis ear wires available for purchase from most jewelry suppliers.
Let’s Make Some Beaded Marquis Ear Wires
The instructions for the Beaded Marquis ear wires are written for the 1-inch ear wires made in Part 1 of this series. However, you can easily apply this technique to a variety of wire components by simply changing the length of your wrapping wire and the number of beads that you include in your wrap.
See the Variations section of this tutorial for ideas on how you can use this technique for other earring or pendant components.
Step 1
I like to work from a bobbin of wire, as shown. Just wind several feet of your chosen weaving wire onto a plastic Kumihimo bobbin. Then thread more beads onto your wire than you think you’ll need to complete your wrap.
I added a dozen of my chosen 11/0 seed beads onto my weaving wire.
Step 2
Secure the tail of the wrapping wire to the simple loop on a Marquis ear wire with three snug and neat wraps.
Leave a 3-inch tail so you have enough wire to make any final adjustments to your wrap later.
Step 3
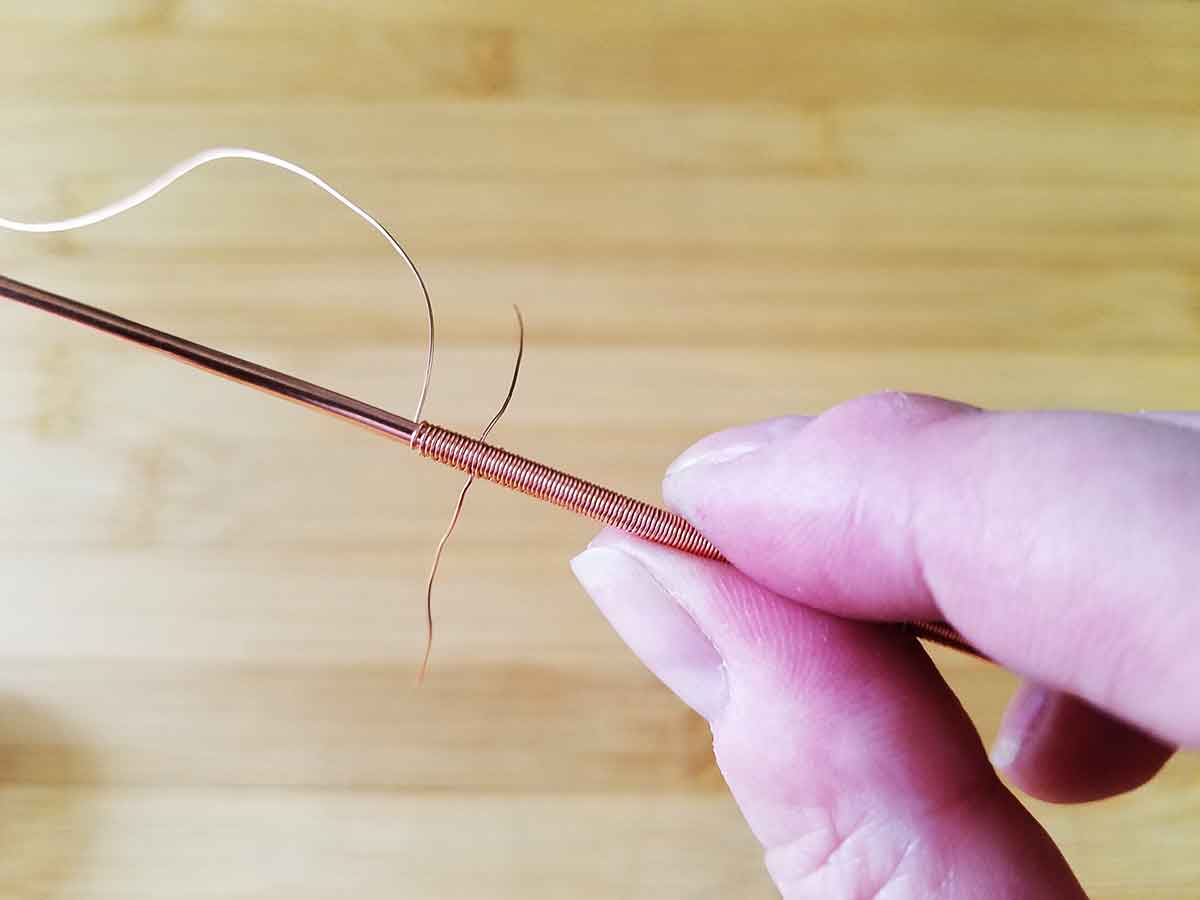
Slide one bead into position on your Marquis ear wire.
Then while holding the bead securely in place, wind your wrapping wire snugly around the ear wire once.
Check the position of your bead and make any necessary adjustments. When you’re satisfied with the position of your bead, add two more wraps around the ear wire.
Step 4
Slide the next bead into place and wrap it snugly in place as you did with the first bead. Finish with two additional wraps around the ear wire.
Step 5
Continue adding one bead at a time to your ear wire until you reach a point about 1/4-inch from the peak of the Marquis ear wire.
Step 6
Secure your wrap with 5 wraps around the ear wire. Double check your beads and make sure they’re evenly spaced. Make any final adjustments that may be necessary. Then break your wrapping wire.
Feel the point where you broke your wrapping wire. If there is a sharp edge, tuck it tightly around the ear wire with your chain nose pliers.
Make sure there are no sharp edges that could make these ear wires uncomfortable to wear. Use a file or sandpaper to smooth any rough spots, if necessary.
Step 7
Wrap the starting tail of your wrapping wire two more times around the simple loop for a total of five wraps.
Then break the remaining wire tail and tuck it in neatly with your chain nose pliers.
Repeat Steps 1 through 7 on the remaining ear wire to complete your pair of beaded ear wires.
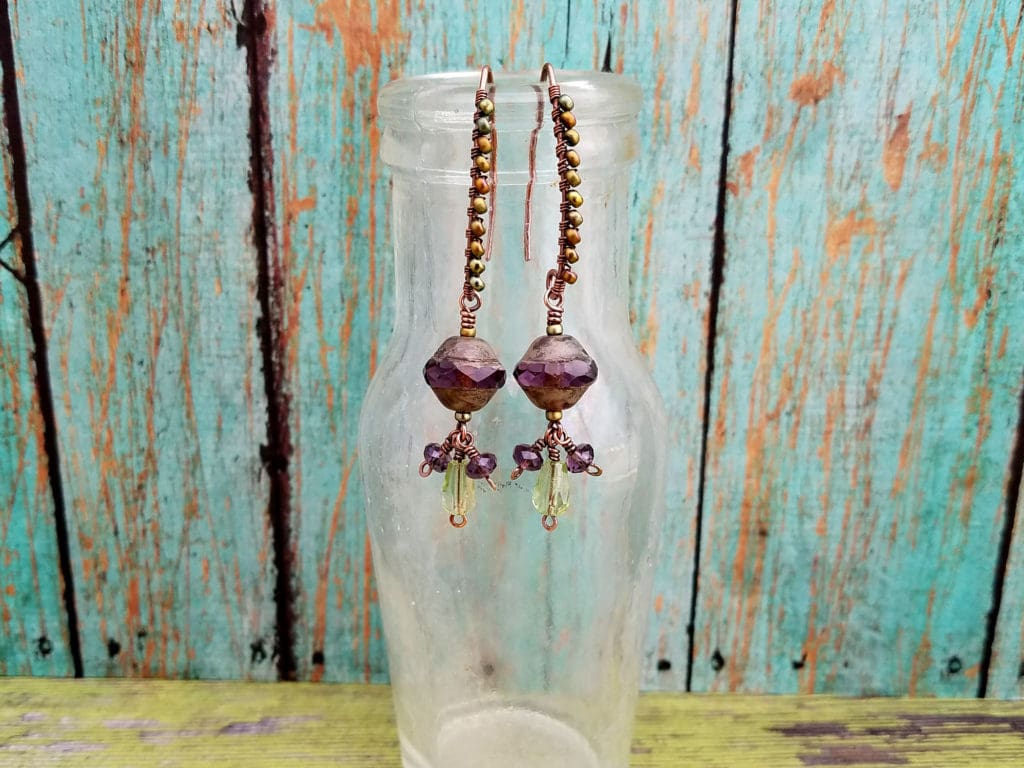
Your bead-wrapped ear wires are now complete! At this point you can add whatever dangles you like to your ear wires.
I added the beaded tassels that we made in Part 2 of this series, but these ear wires also look beautiful with simple pearl drops or silk tassels. Or make fun and trendy earrings by hanging pom-poms or felt balls from your beaded ear wires.
Use your imagination to make the Marquis earrings uniquely your own.
Variations of the Beaded Marquis Ear Wires
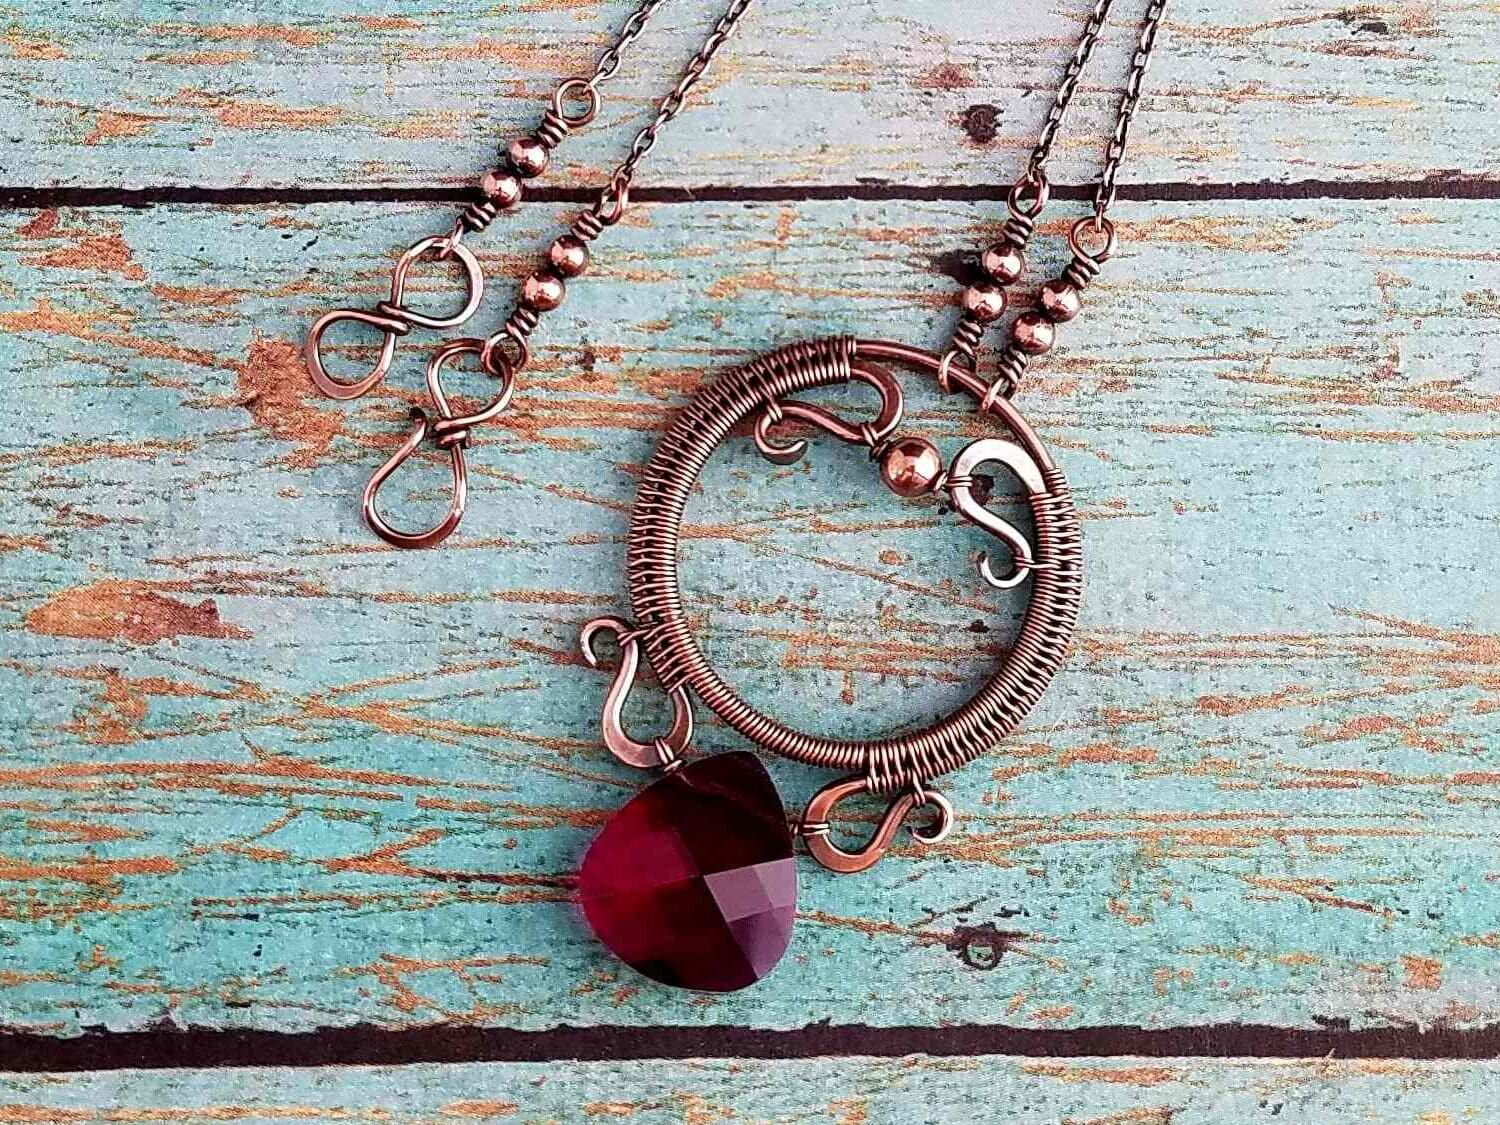
This beaded wrap technique can be applied to almost any wire earring or pendant component – not just ear wires.
Notice the two pairs of horseshoe chandelier earrings on the left and top center in the image below. Those earrings are from my personal jewelry collection. And they’re about ten years old
You may recognize them as variations of the Lourdes Earrings, which are featured in The Earring Style Book by Stephanie Wells, the founder of Double Happiness Jewelry.
If you’d like to explore this method of embellishing wire jewelry components with beads further, I highly recommend Stephanie’s book. That’s where I first learned this technique myself and it’s a timeless look that I still use frequently in my own jewelry designs.

Finishing Suggestions
I patina all of my copper and silver jewelry with Liver of Sulfur (LOS). And then I burnish the antiqued pieces with super fine steel wool (Grade #0000) in a warm bath of water and original Blue Dawn dish soap. The steel wool brings back the bright copper highlights on the high spots.
Once that’s done, I rinse the jewelry thoroughly to remove any particles of steel wool. Then I put the jewelry in a tumbler barrel filled with warm water and a generous squirt of Blue Dawn. As a general rule, I tumble all of my finished jewelry for a minimum of two hours.
If you’re new to wirework, read this detailed tutorial that walks you through my 7-step patina process. And if you’re wondering why I recommend tumble polishing specifically, check out this post. Also, be sure to clean your stainless steel shot regularly. Because clean shot gives you the best possible final finish on your jewelry.
Discover More Behind Door 44
Thanks so much for joining me for this fun wirework basics series. I hope you enjoyed creating your own Beaded Tassel Marquis Earrings from scratch. If you’d like a printable PDF version of this tutorial, you can find it here.
Want more fun and easy wire jewelry stuff?
I like to share useful wire weaving tips and tricks on my social media channels, and we have some great conversations about wire jewelry in my private Facebook Group. Also, be sure to connect with me @door44studios on Instagram, and Facebook to keep up with everything that’s happening behind Door 44. And if you haven’t already done so, be sure to subscribe to my YouTube channel where you’ll find new wire jewelry videos weekly.
Until next time, go make something beautiful!

Pin the Beaded Marquis Ear Wire Tutorial for Later