The Twig Pendant Make-Along Project Resource Guide
It’s springtime in the Rockies, my friend. And I can’t think of a better time to kick off the Twig Pendant Make-Along series!
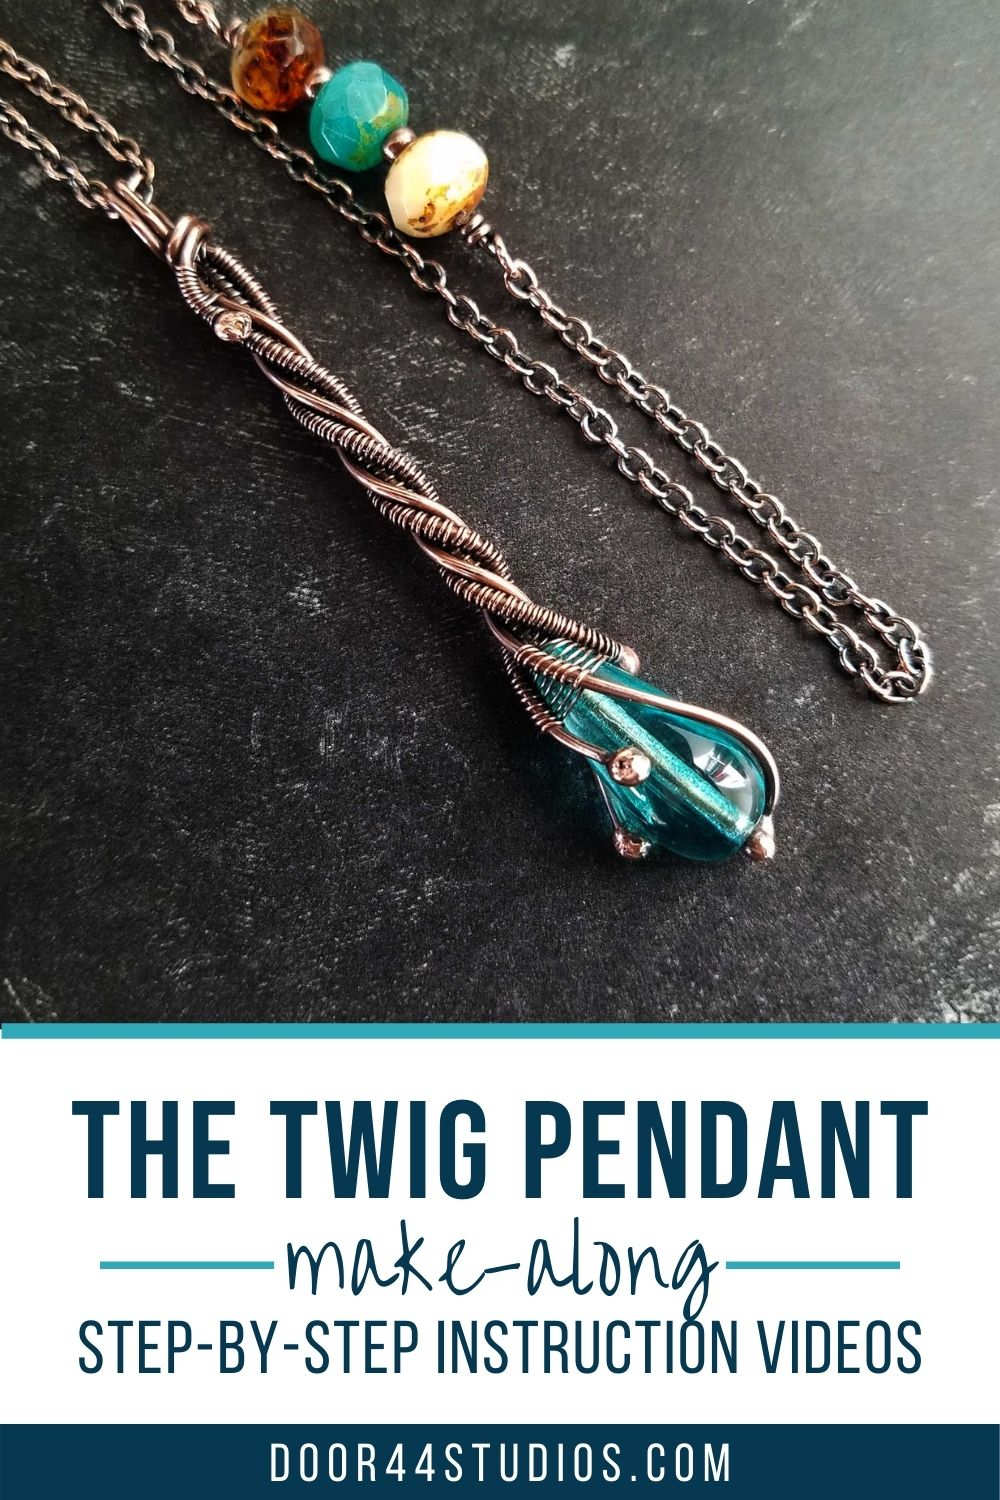
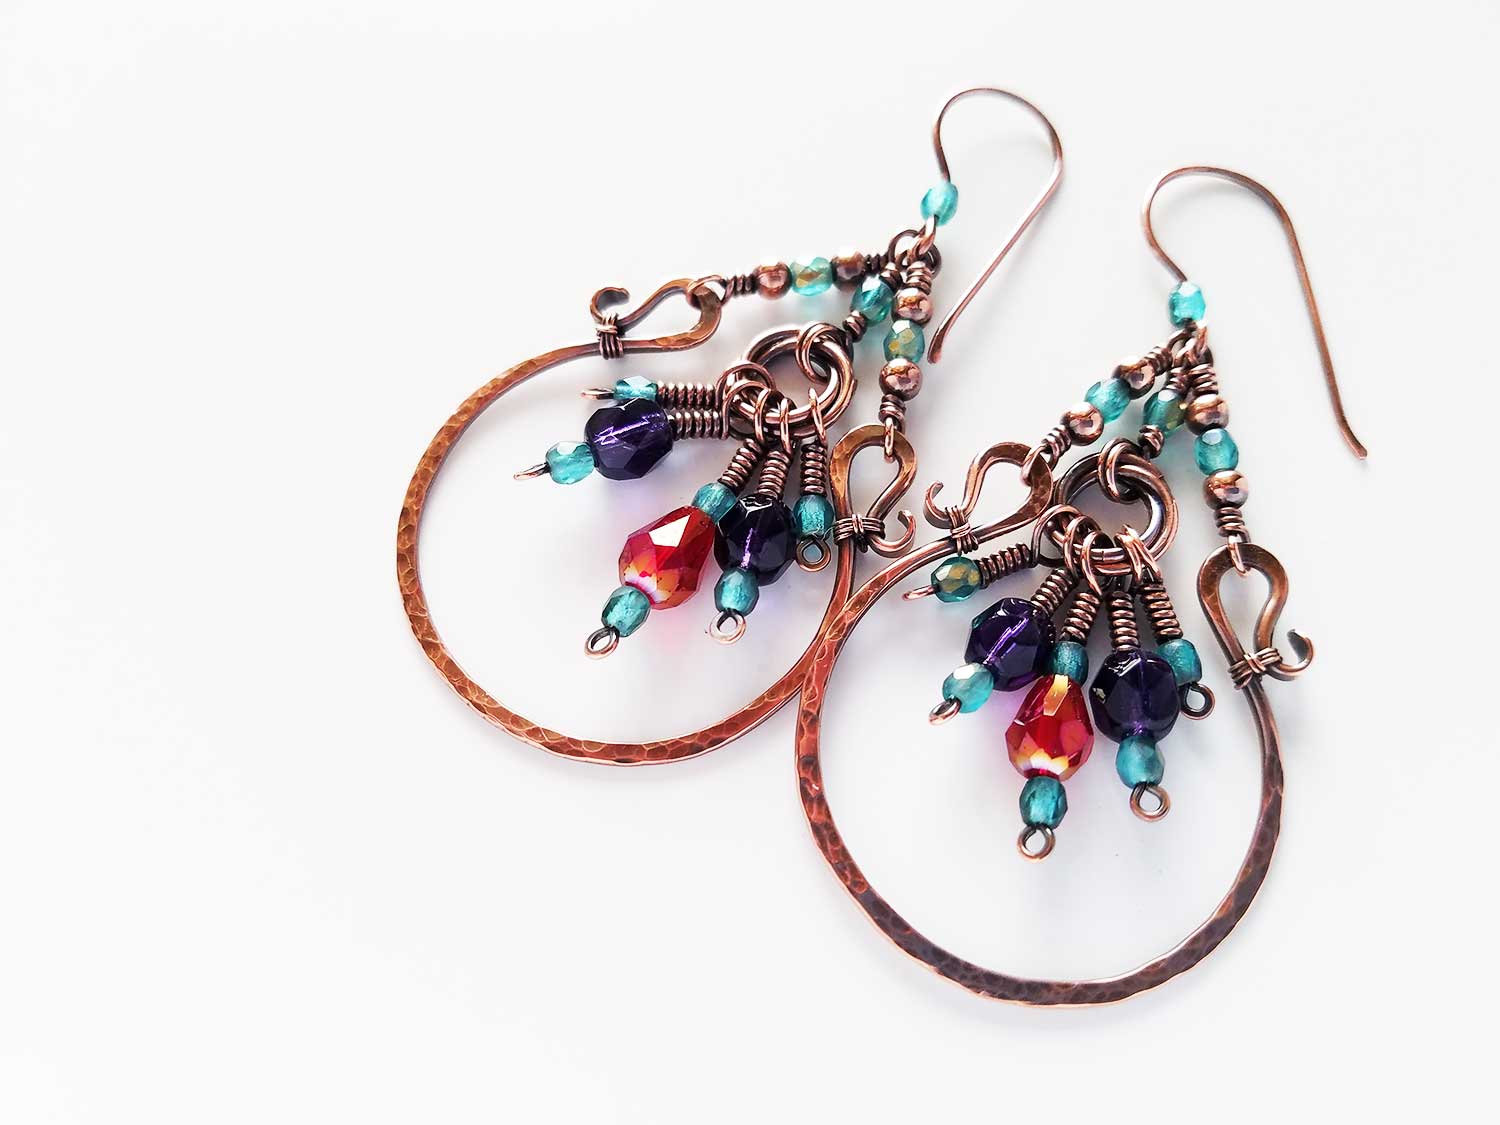
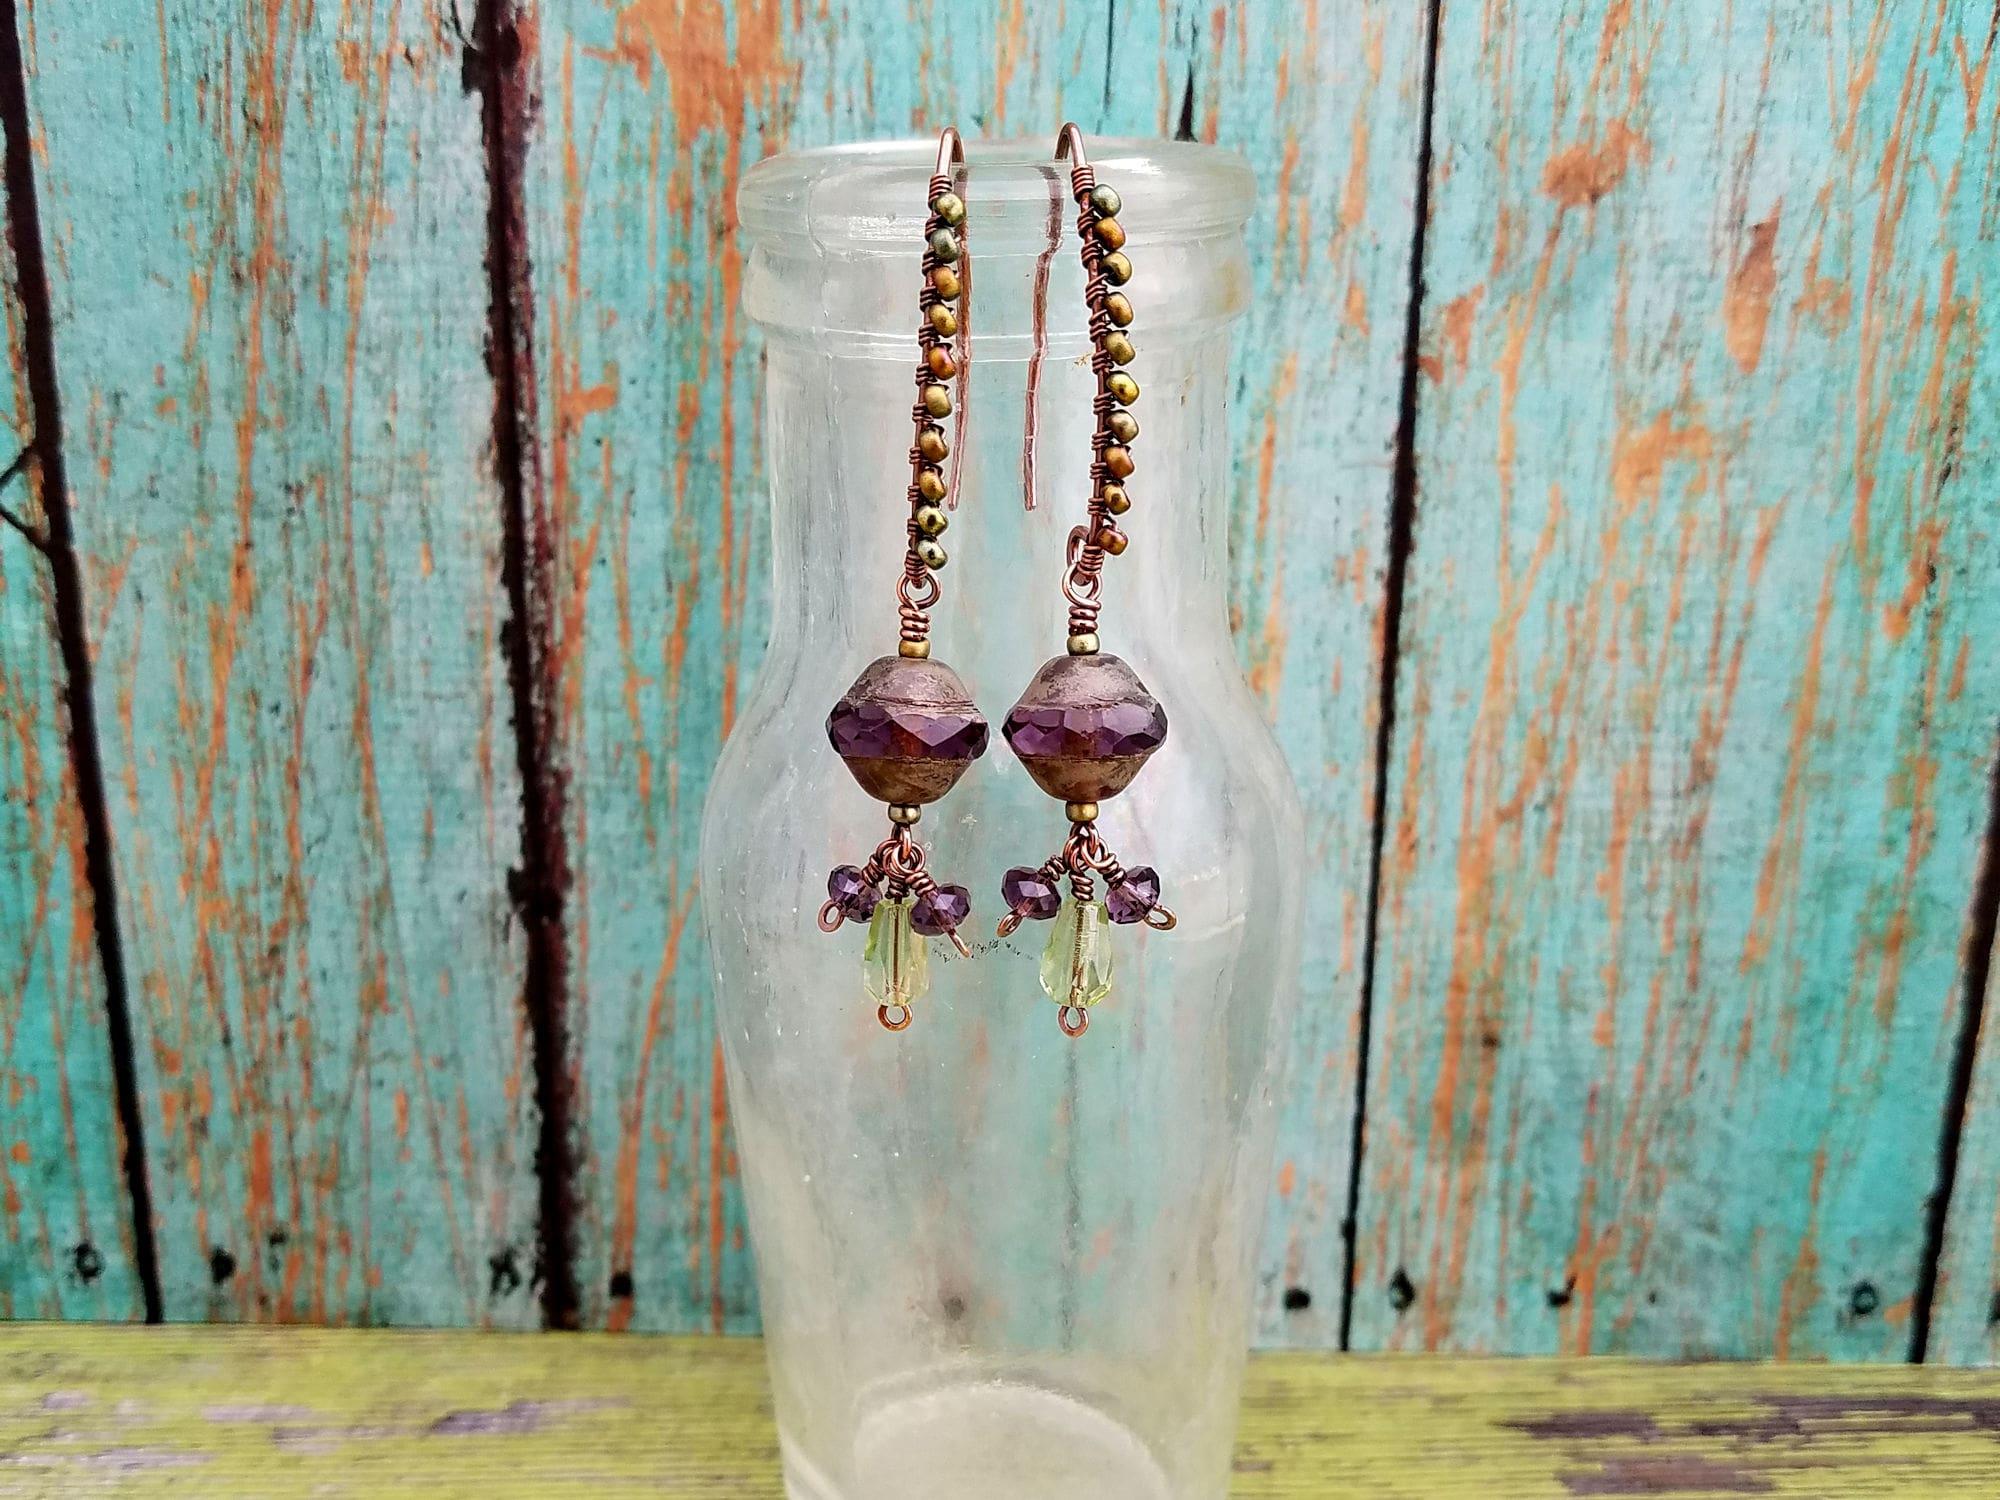
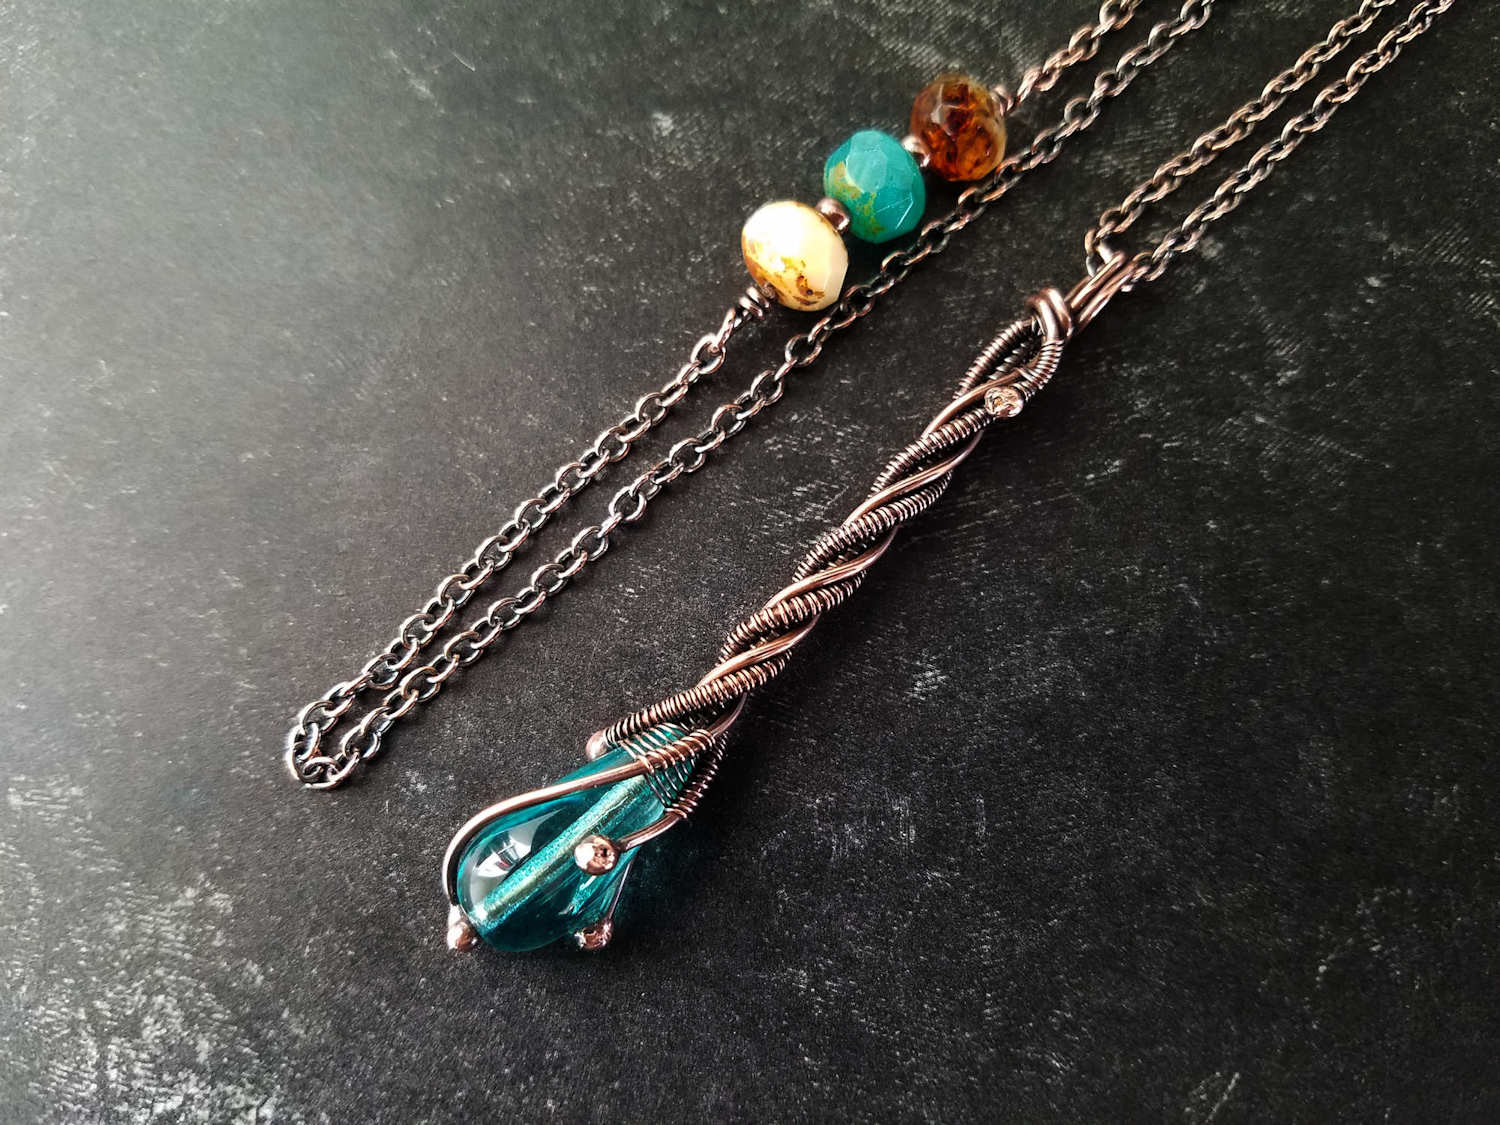
The Twig Pendant is by far my most popular design. So it seems appropriate to convert it to a video make-along series first. This design has a distinctly organic feel to it. It’s also unique in that no two Twig Pendants will ever be exactly alike. Yet, its construction is deceptively simple. And with added video support, both beginner and intermediate wire weavers alike are sure to make this pendant successfully.
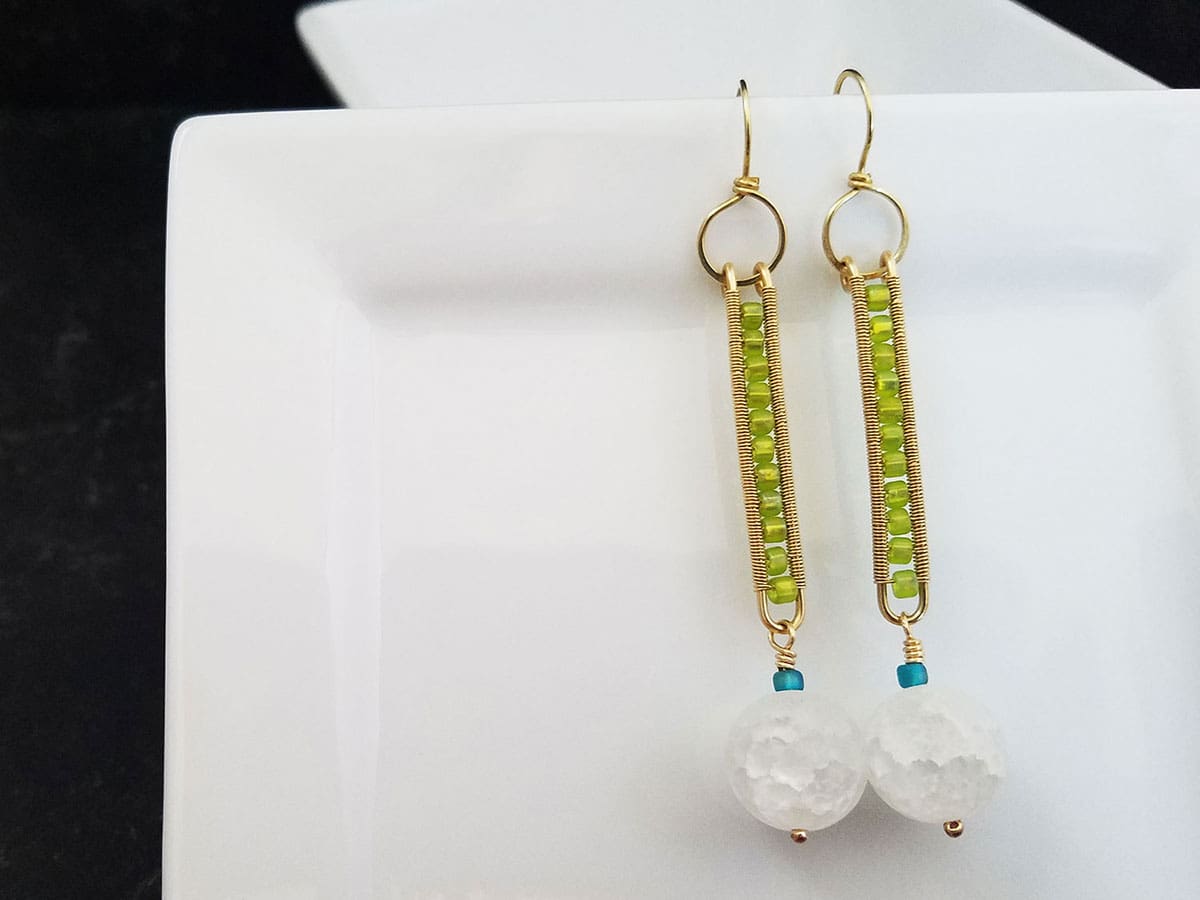
The beauty of this design is that it adapts well to a variety of different bead shapes and sizes. And it’s super simple to customize the length of your pendant to suit your tastes.
How the Twig Pendant Make-Along Works
For a limited time, you can save 25% on the Twig Pendant MAL Companion Workbook. That’s just my way of saying thanks for participating in this wire jewelry make-along!
Download the Full Tutorial and Save!
Save 25% off the regular price when you download the printable Twig Pendant Make-Along Companion Workbook today!
Step 1 – Download the Free Twig Pendant MAL Starter Guide
If you opted not to buy the full Twig Pendant Tutorial offered above, I’ve created a FREE Project Starter Guide for this make-along, which you’ll find in my resource library. That guide contains all the basic information you’ll need to make this project successfully (for free) using just the video instruction alone. There, you’ll find a complete list of all the tools and materials you’ll need for both the original and the torch-free variations of this design. You’ll also find some helpful notes about the design, such as finished size and skill level recommendations, along with links to additional tutorials and resources that you might find helpful.
Do you need a password to get into my resource library? No problem! Just complete and submit the form below (or the one at the bottom of this page) and you’ll receive a password instantly.
Join my newsletter & get a password instantly!
Get the FREE Twig Pendant Project Starter Guide (#105)
If you’d like a more comprehensive printable tutorial that contains full written instructions for completing this project, upgrade to the Twig Pendant MAL Companion Workbook, which contains all of the information included in the free starter guide plus detailed step-by-step instructions for making the Twig Pendant. The project workbook contains even more additional resources to help you create this design successfully, including tips and tricks that aren’t included in the free video tutorials.
Do you prefer to work from written instructions? Or do you like to take notes while watching video tutorials online? Either way, the companion guide will surely be helpful.
If you bought the original Twig Pendant tutorial, you may be wondering, what’s changed? Do I really need the upgraded guide?
Well, as far as the pendant construction goes, not much has changed. I’ve clarified some details in the instructions, I’ve updated several of the images, and I’ve created space for you to record notes on any modifications you’ve made to the design. But I’ve also added a lot more helpful tips and instant access to additional training resources. Such as the Figure 8 Weave and the Torch Basics videos. These skills are essential for the Twig design. But one of the issues with the original tutorial is that I couldn’t find great outside references for those skills. So, I had to create my own!
Download the Twig Pendant Make-Along Companion Workbook today and save 25%!
Download the Full Tutorial and Save!
Save 25% off the regular price when you download the printable Twig Pendant Make-Along Companion Workbook today!
Step 2 – Gather Your Tools and Supplies
You’ll find shoppable links to most of the tools and supplies that you’ll need for this project below. Wherever possible, I’ve linked to the same sources that I use myself. I’ve also linked to at least one alternative source for each item as well. Just in case you can’t find what you need through my primary source. Or maybe you simply prefer to shop elsewhere.
This post may contain affiliate links. If you click on a link and then make a purchase, I may earn a small commission (at no cost to you). As an Amazon Associate I earn from qualifying purchases. To learn more, please see my full disclaimer.
Tools indicated with an asterisk (*) are the tools that are listed in the MAL Companion Guide. These tools are essential for creating the Twig Pendant, as written in those instructions. But I’ve also listed some additional tools that I used in the video-guided tutorials. Just in case you’re wondering what those tools are and where I got them.

Tools & Materials
- Wire Cutters*
- Stepped Bail-Making Pliers*
- Ring Clamp
- Nylon Jaw Pliers*
- Ruler*
- Fine-Point Permanent Marker*
- Order from Amazon
- Kumihimo Bobbin
- Sanding Boards
- Only available from Rio Grande
- Butane Torch*
- Stainless Steel Cross-Lock Tweezers*
- Safety Glasses*
- Pickle Pot*
- Quenching Bowl* – any sturdy heat-proof bowl will work for this purpose. Just choose something you can dedicate to jewelry work.
- Heatproof Surface* – large baking pans or cookie sheets work well for this purpose.
- 18ga Dead Soft Wire – about 16-1/2 inches (42 cm) per pendant
- Rio Grande – 1-pound spool or 4-ounce spool
- Etsy – Copper wire by the foot
- 28ga Dead Soft Wire – about 60 inches (152 cm) per pendant
- Rio Grande – 1-pound spool or 4-ounce spool
- Etsy – Copper wire by the foot
- The necklace chain that I use for my Twig Pendants comes from Rio Grande
- Gemstone or Glass drop bead
Where to Shop for Beads
My first recommendation for beads is to support your local bead shop first. This past year has been devastating for so many small business. So, see if you can find beads for your Twig pendants there before you shop online.
The next best source for beads is Etsy. Many small business owners with brick and mortar bead shops also run Etsy shops to help keep the lights on and the doors open in their Main Street stores. So I’ve gathered some of my favorite drop beads on Etsy that are perfect candidates for Twig Pendants.
I bought the Czech glass rondel beads that I used to accent my Twig Pendant at one of my favorite sources for Czech glass beads, Arte Bella Surplus.
Finally, I buy a lot most of my gemstone beads from Cherry Tree Beads. They always have a great selection of gemstone beads, and their site is well organized and easy to navigate. They even have their beads grouped by shape. So you can find exactly what you’re looking for quickly.
Skills Needed to Make the Twig Pendant
This design requires two very specific wirework skills, and I’ve created tutorials for both of those skills for you. First, you’ll need to know how to ball the ends of jewelry wire with a torch. Secondly, you’ll need to know how to do the Figure 8 Weave over thee base wires.
Step 3 – Let’s Make a Twig Pendant Together!
Now that you’ve downloaded your free MAL Starter Guide and/or the MAL Companion Guide and gathered all the tools and supplies that you’ll need, let’s get started! Just click the video thumbnail below to watch Part 1 of the Twig Pendant Make-Along series.
In this video, we’ll begin assembling the Twig Pendant. We start with balling the ends of the core wires, and we’ll weave the core wires together.
Part 2 of the Twig Pendant Make-Along is also available now. In this video, we’ll finish the Twig Pendant that we started in Part 1 of this series. We start by completing the twist, which is the key to this design. Then we’ll finish off the pendant by securing the core wires into place and making the pendant bail. I also demonstrate exactly how wire weaving tension can change the outcome of this design. So be sure to watch that video as well!
Would you prefer to make your Twig Pendant without using a torch? I’ve got you. Be sure to watch Part 3 of the Twig Pendant Make-Along where I demonstrate a fun and easy torch-free variation of my popular Twig Pendant design!
Don’t forget to grab the free Project Starter Guide, which provides all the specifications for this design, along with some additional helpful resources. You’ll find the free guide in my resource library, which is password protected.
Need a password? Just complete the form below and you’ll receive your password instantly!
Join my newsletter & get a password instantly!
Get the FREE Twig Pendant Project Starter Guide (#105)
Was this post helpful? If so, please help spread the word about Door 44 Studios by pinning this post to your jewelry making boards on Pinterest. Also, feel free to share links to my posts with everyone you know who may be interested in learning to make wire jewelry!
Discover More Behind Door 44
Thanks so much for participating in the Twig Pendant Make-Along! I hope this project resource guide and the accompanying video tutorials help you master all of the skills you’ll need to put your own unique twist on my most popular design.
Want to learn to make more versatile wire jewelry designs like this one?
I like to share useful wire weaving tips and tricks on my social media channels, and we have some great conversations about wire jewelry in my private Facebook Group. Also, be sure to connect with me @door44studios on Instagram, and Facebook to keep up with everything that’s happening behind Door 44. And if you haven’t already done so, be sure to subscribe to my YouTube channel where you’ll find new wire jewelry videos weekly.
Until next time, my friend, go make something beautiful!

Pin this Project Resource Guide for Later!