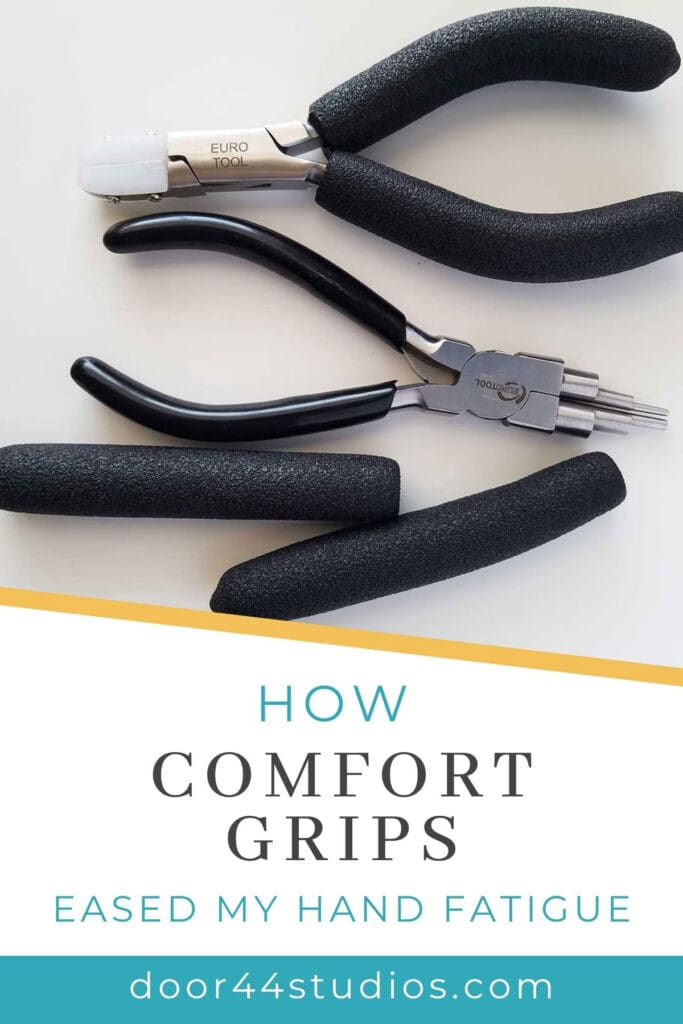
Add Comfort Grips to Your Pliers to Ease Hand Fatigue
Do you suffer from arthritis or hand fatigue that limits how much time you can spend making jewelry? I’ve started to feel the first twinges of arthritis in my own hands this year. So, I’ve been on the lookout for some helpful tools and techniques that might ease hand fatigue. And I found some amazing comfort grips. These grips have made using my jewelry pliers for extended periods of time easier and more comfortable.
This post may contain affiliate links. If you click on a link and then make a purchase, I may earn a small commission (at no cost to you). As an Amazon Associate I earn from qualifying purchases. To learn more, please see my full disclaimer.
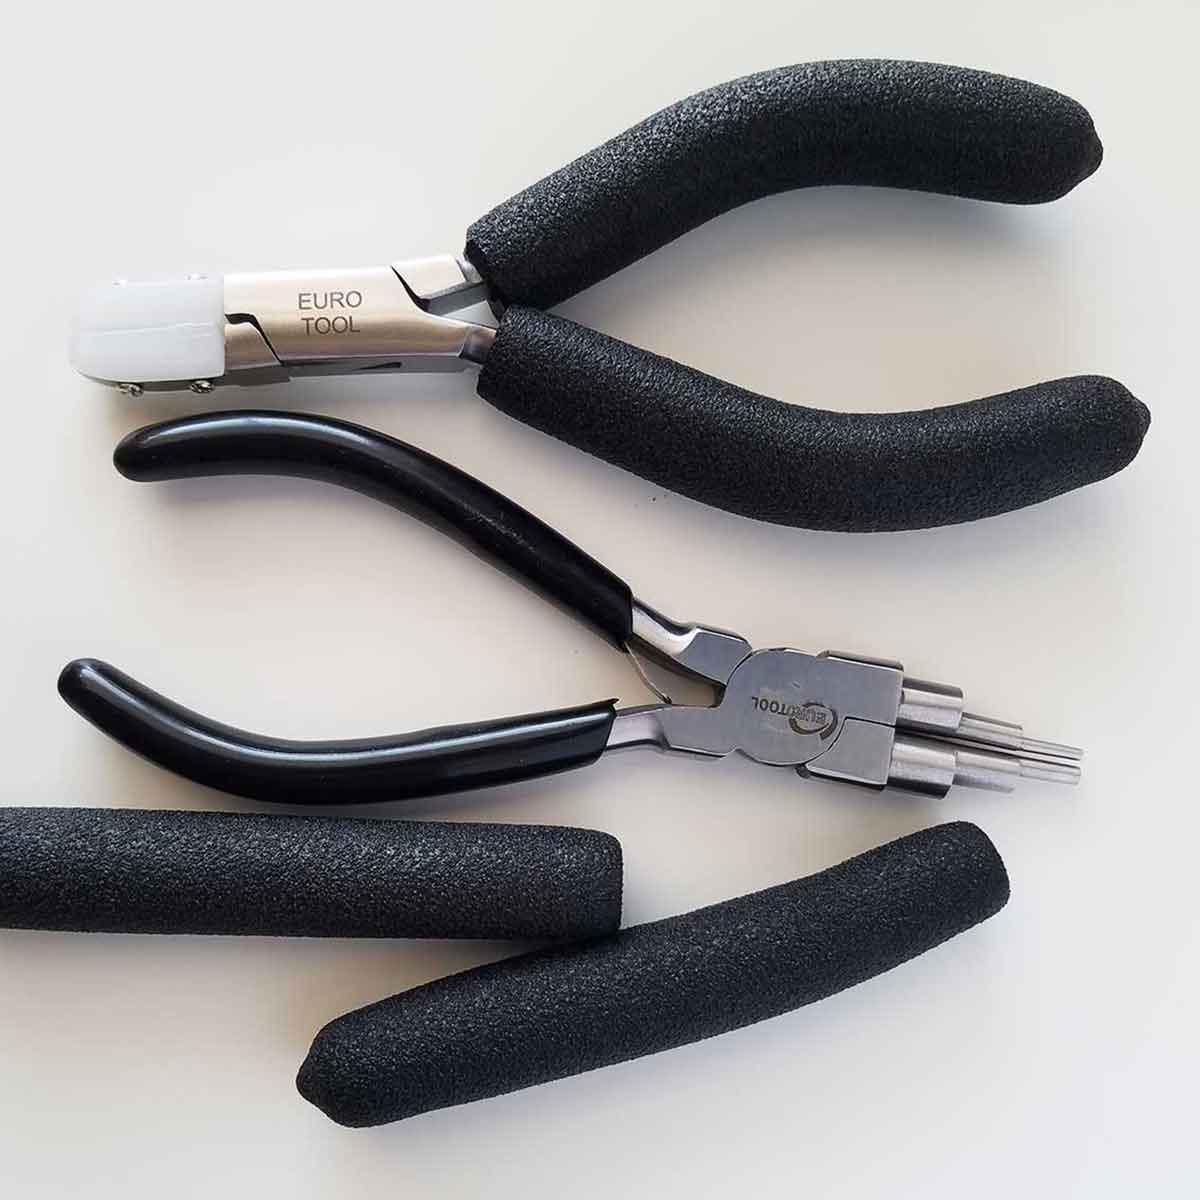
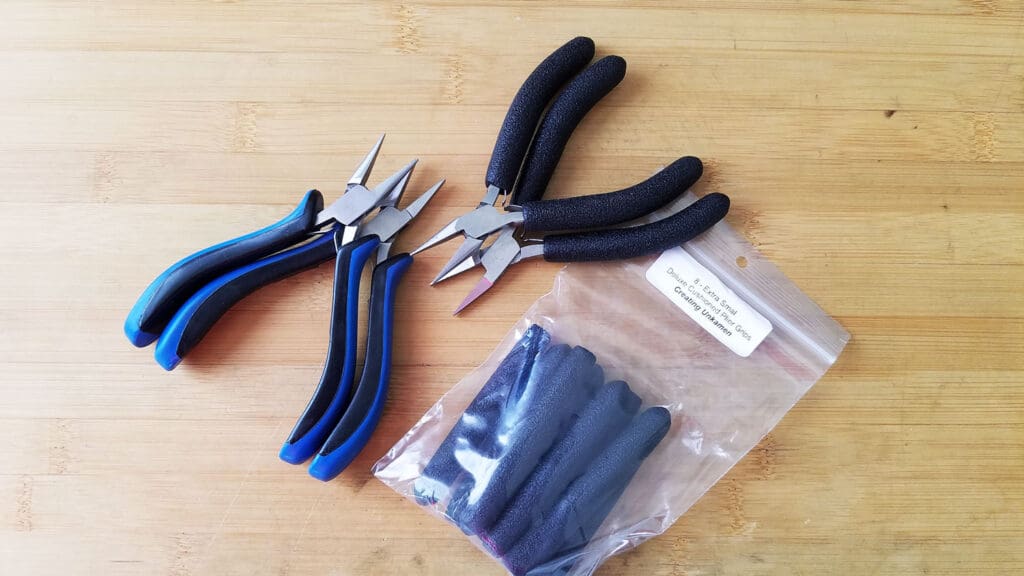
I first stumbled across these comfort grips while browsing one of my favorite Etsy shops, Creating Unkamen. And as you can see in the image above, I immediately added those grips to two of my eight most essential tools, my nylon jaw pliers and my stepped bail-making pliers.
I shared these comfort grips on my YouTube channel in the video below. So, if you prefer watching video over a reading a blog post, go ahead and watch that video now. It contains most of the same information that you’ll find in this post with one exception. When I released that video, there were only five sizes of grips available. Thankfully, the shop has since added an extra small size to their inventory of Deluxe Cushioned Plier Grips. And extra small happens to be the perfect size for my beloved OG pliers, which you’ll see below.
The latest on Youtube:
I released that video in August. So, I’ve been working with these grips for a couple of months now, and I really like them a lot. So much, in fact, that I thought I’d share some updated information about these grips with you today.
Here’s the truth about these comfort grips. They’re not for everyone. We’ll talk about the pros and cons. And I’ll also show you how to put the comfort grips on your own pliers. This is not a sponsored post. I purchased these grips with my own money. And I liked them enough that I bought three more sets of grips for my old pliers. I’ll also share the process of replacing those grips below.
The Pros and Cons of These Comfort Grips
So, here’s what I think about these grips so far. They’re firmer than I expected them to be, which is good. I was afraid they might be too soft and spongy but they have the perfect level of cushiony give. In fact, they feel quite similar to the comfort grips on my professional grade Swanstrom pliers. So, in that regard they’re perfect. But notice how much thicker they are than the Swanstrom grips.
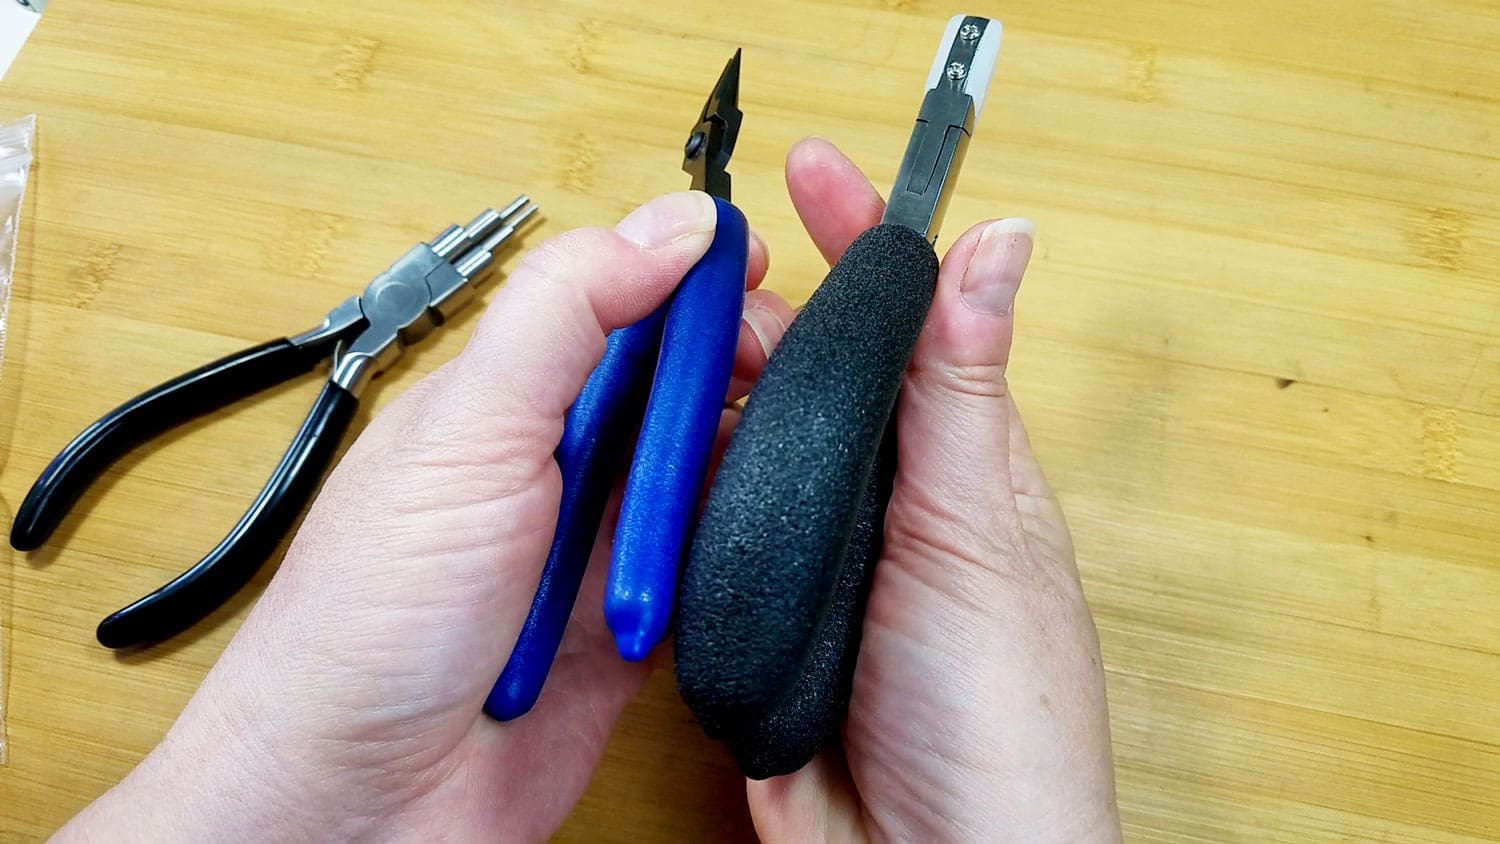
There’s a big difference there in terms of bulk. So, that’s one thing to keep in mind. If you have very small hands, these comfort grips could potentially be too bulky for you. They’ll add a significant amount of bulk to the handles of your pliers, which may or may not be helpful.
If, for instance, you struggle with your grip. Or you have a hard time closing your hands. That added bulk will be helpful because it reduces the range of motion needed to close your pliers. Basically, the added bulk makes it easier to use your pliers effectively. On the other hand, if you have very small nimble hands, these grips could be uncomfortably large for you. So, think about how you use your hands. Consider any limitations of your hands. Then decide whether or not you think these grips will be helpful or if they’ll hinder your work.
I have what I’d call average size hands for a woman. And when I first put these comfort grips on my nylon jaw pliers they felt uncomfortably bulky. But after putting them on my stepped bail-making pliers, which I use daily, I’ve quickly grown used to them. So quickly, in fact, that I can’t even remember what my pliers felt like before I added my comfort grips.
So, here’s what you need to know about these grips. They come in six different sizes. The ones that I ordered for my nylon jaw and stepped bail-making pliers are the Standard Medium size. In hindsight, I think the Small grips probably would have been a better choice as they’re not as bulky. When in doubt, chat with the shop staff. They’re very responsive and helpful, and they’ll help you figure out exactly what size grips you’ll need for your particular pliers.
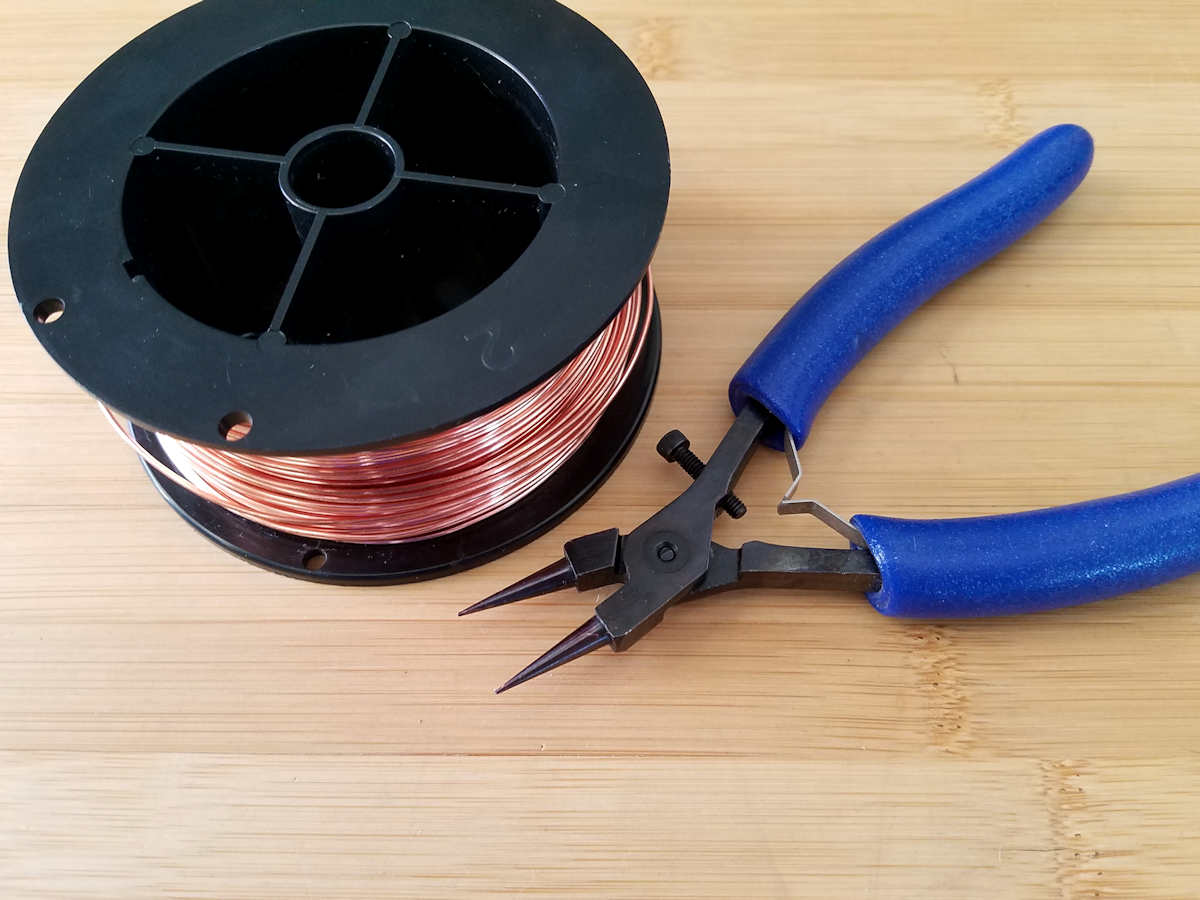
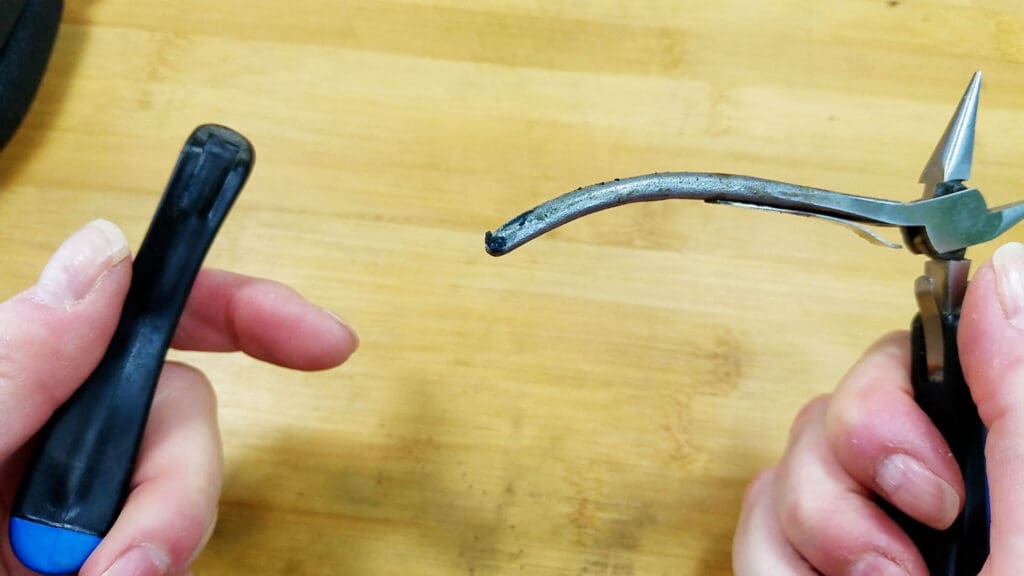
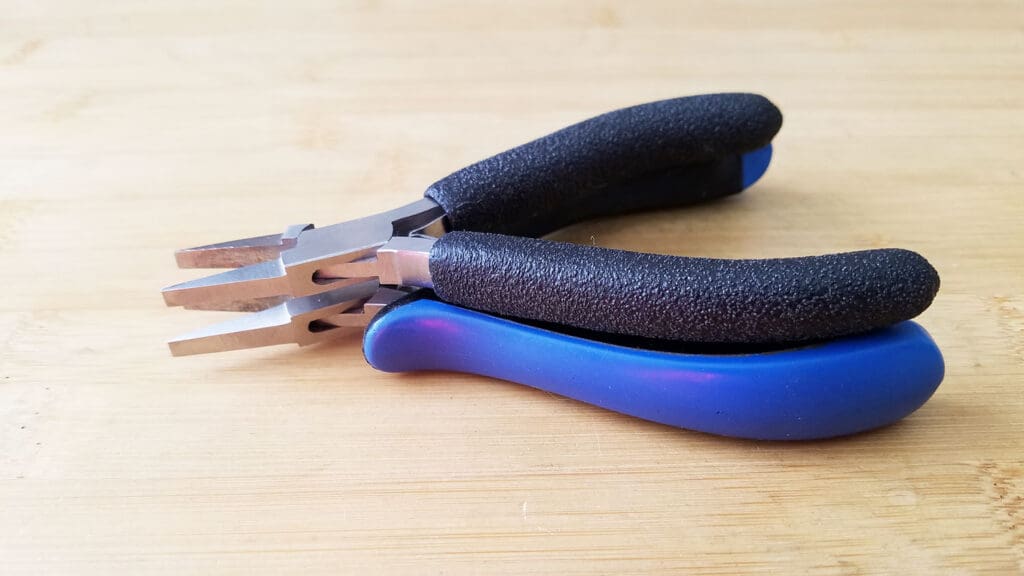
That’s actually how I figured out what size I needed for my old Euro Tool pliers. I chatted with Karen, the store owner. I bought these Euro Tool pliers almost twenty years ago when I first started making wire jewelry. And I still use them today. I’ve used them for so long, in fact, that it’s really hard to part with them. The adhesive on the original blue molded plastic grips that you see pictured below has broken down. And now those grips tend to slip and slide around in my hands. Especially when I’m doing something that requires a firm grip.
Those slippery grips got to be really annoying. So, I upgraded to a set of professional grade Swanstrom pliers a couple of years ago. Still, I hated to part with my original pliers, and I still find myself reaching for them for certain tasks. So, I decided to replace the original molded plastic grips on my old pliers.
Initially, I ordered the small size, thinking they might fit those pliers. But it turned out that the small size was still too big for my needs. So, that’s when I contacted the owner of the store. I asked if I could get a refund, thinking there was no smaller size option for my Euro Tool pliers. That’s when she realized she hadn’t included the Extra Small size comfort grips as an option in the product listing.
Karen offered to exchange the small grips that I ordered for some extra small grips. And sure enough, the extra small size fit my pliers perfectly. So, I recently ordered two more sets of four grips for the rest of my old pliers with molded plastic grips.
Creating Unkamen offers six different sizes of comfort grips. That means they have a size that should fit any pair of pliers that you have in your tool collection. They come in packs of four or twenty grips. So, it’s easy and affordable to add comfort grips to any pliers that don’t already have cushioned grips.
Again, just be sure to read the product description carefully. The size information is in the listing description. It’s not actually in any of the product images. The information in the description will help you figure out what size(s) you’ll need for your pliers. And of course, when in doubt, just shoot the seller a message with your questions!
How to Add Cushioned Grips Over Hard Plastic or Rubber Grips
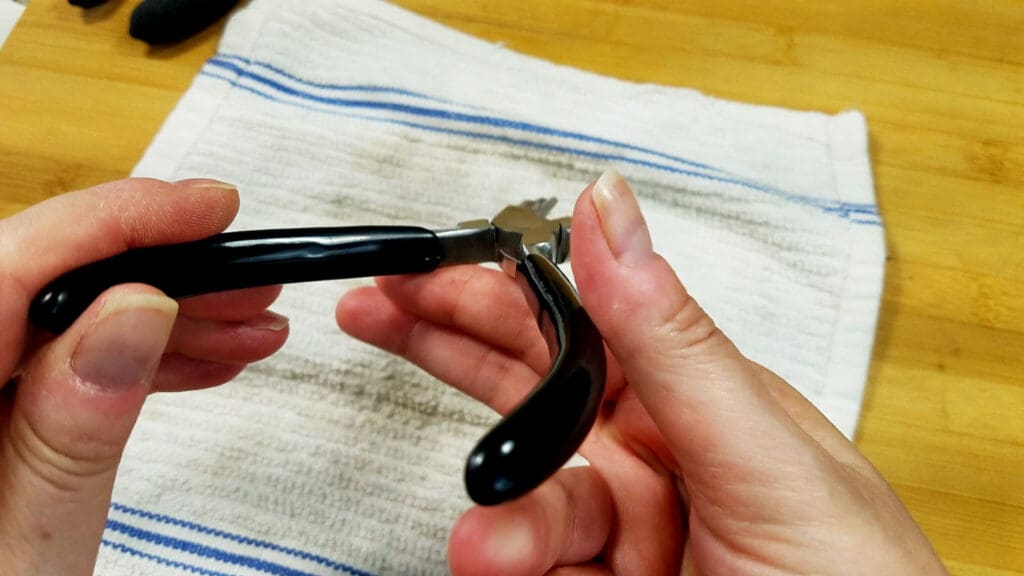
All right. We’ve learned a bit about these comfort grips. Next, I’ll show you how to add the grips to your existing tools. These grips work best on pliers that have a hard plastic or rubber grip, as shown in the image below. So, let’s walk through the process of adding your new grips over an existing grip first.
Step 1 – Clean the Original Grips Thoroughly
Before putting your new comfort grips on your pliers, clean the handles well. This will remove any dirt or grime that can make sliding the new grips on more difficult.
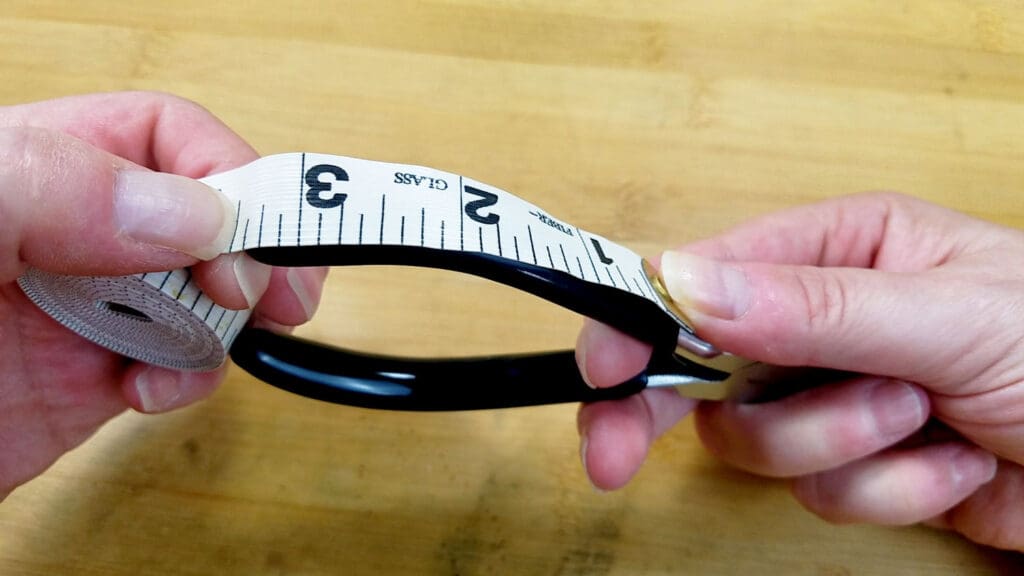
Step 2 – Measure the Length of the Original Grips on Your Pliers
Now measure the length of the original grips on your pliers. We’ll trim the comfort grips to that length before sliding them onto the handles of your pliers.
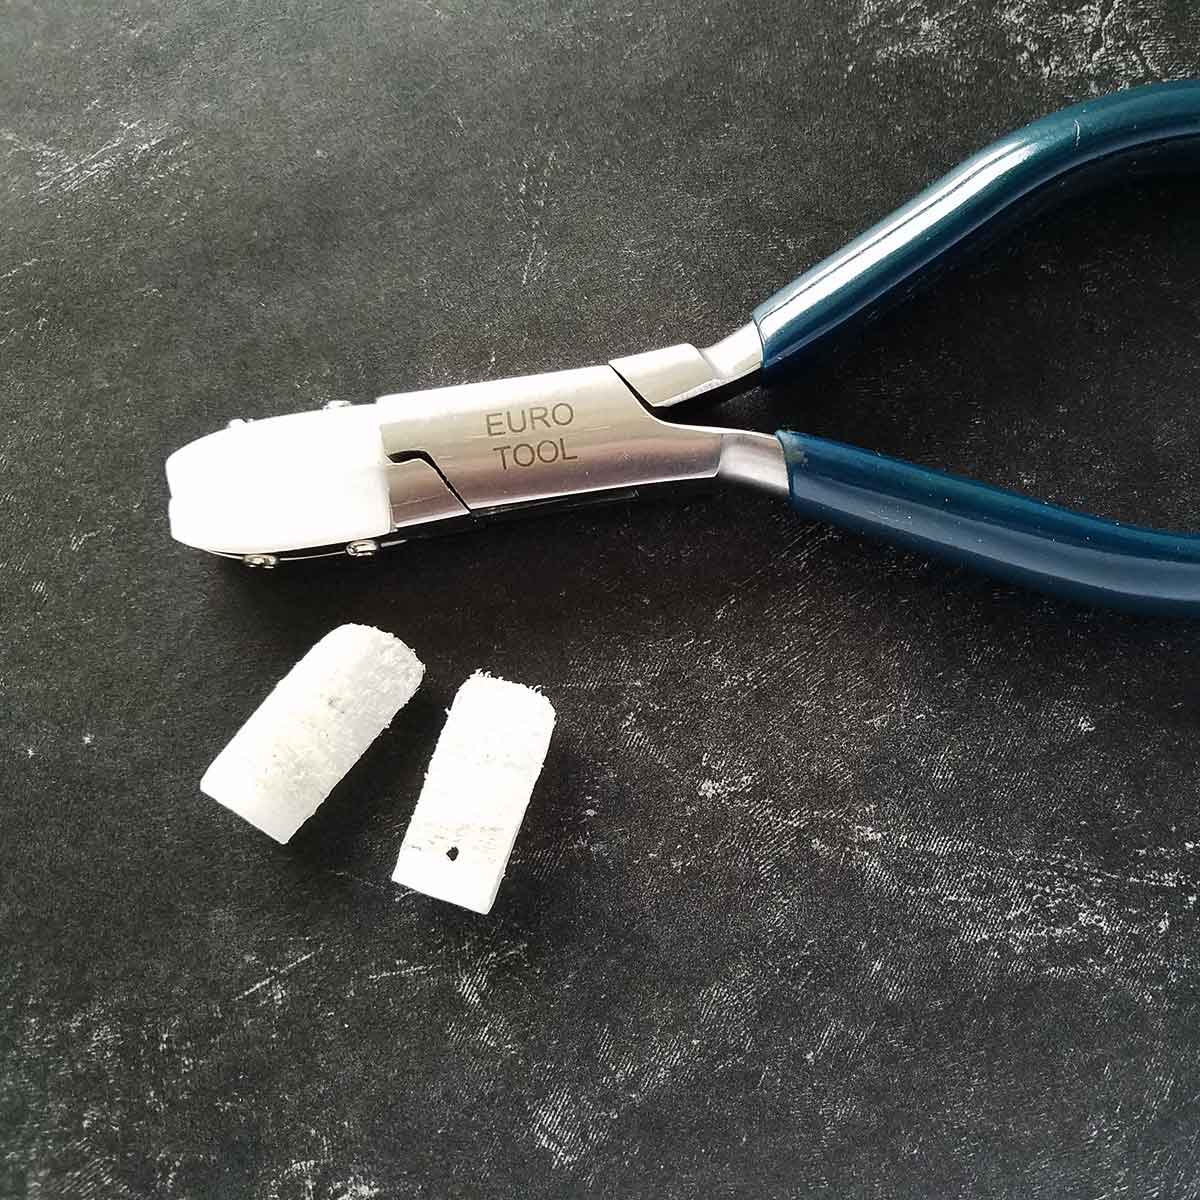
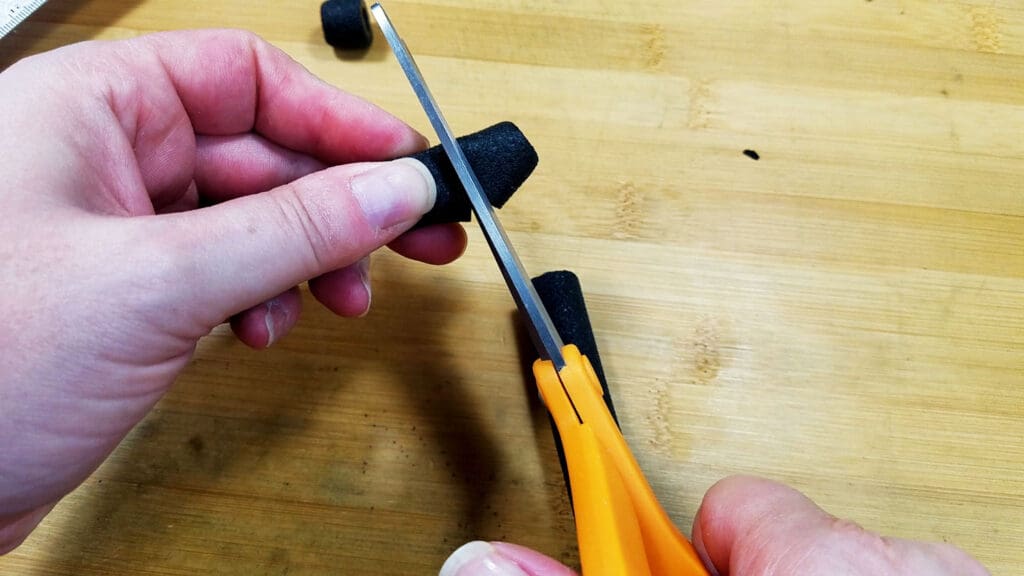
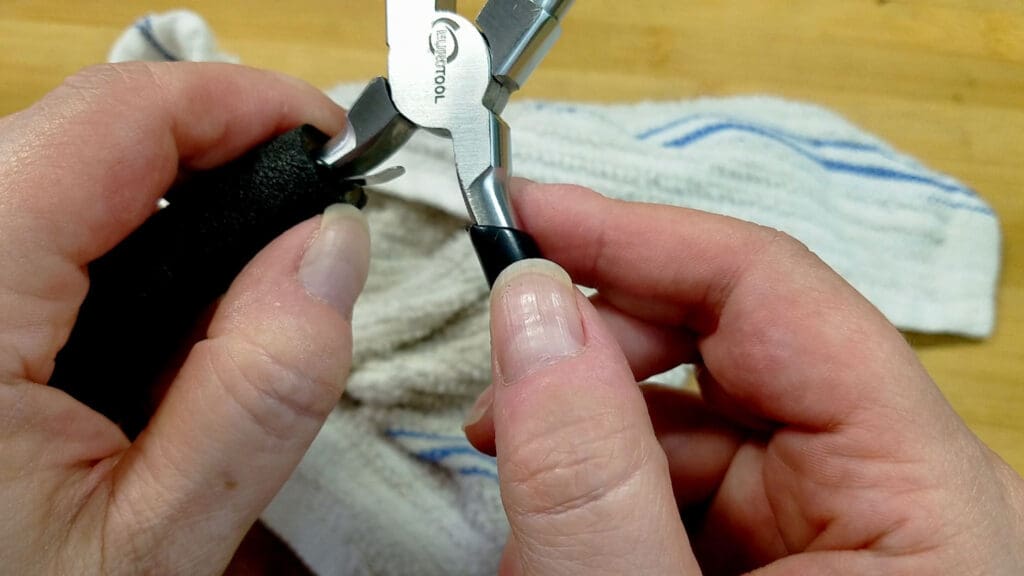
Step 3 – Trim Your Cushion Grips to the Correct Length
You can easily cut these cushion grips with scissors. Just measure from the closed end of the grip to the finished length you measured in Step 2. Then trim the excess length from the open end of your comfort grips, as shown below.
Step 4 – Moisten Your Existing Grips with Water
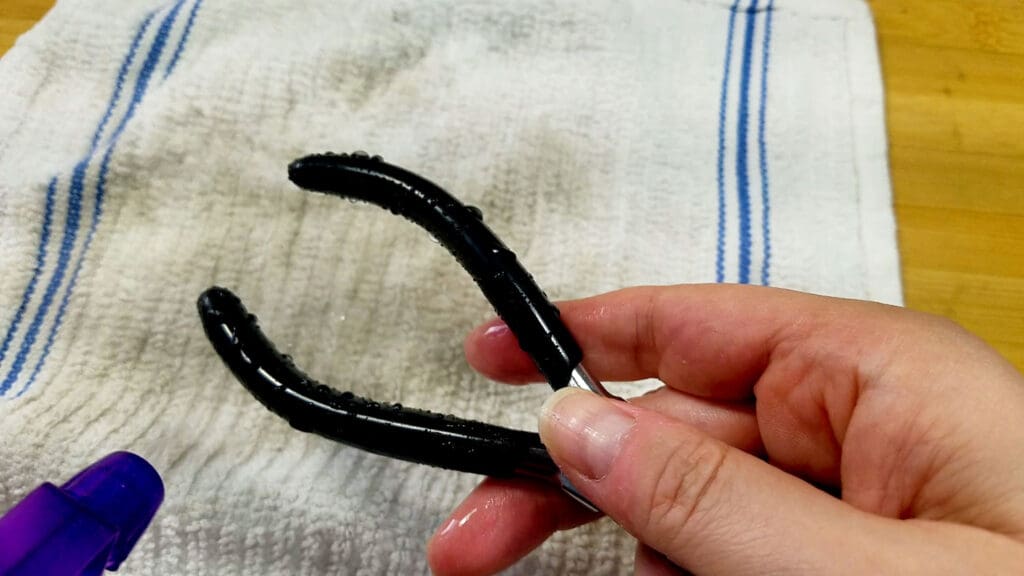
We’re going to use plain tap water as a lubricant. This will help the comfort grips slide over the existing rubber grips. I used a spray bottle to moisten my grips, as you can see in the image below. But you can also just run them directly under the tap or dip them in a shallow bowl of water.
Try to wet the rubber handles only. You shouldn’t have to worry about rust if you dry your tools well after putting on your new grips. But it’s always best to minimize contact with water for steel tools.
Step 5 – Slide the New Comfort Grips Onto Your Pliers
Now you just need to slide on your new comfort grips. Depending on how snug the fit is, this can be quite challenging. It takes some hand strength, determination, and patience. Just go slowly. And use a towel to get a better grip if you have trouble sliding the grips over the your plier handles.
I was able to get these grips on myself. But if you don’t quite have enough hand strength to do it yourself, ask someone with stronger hands to help.
Be careful to avoid pushing the grips up over any springs on your pliers. That will limit the range of motion of those springs, which will alter the performance of your pliers.
In this case, these old stepped bail-making pliers have a broken spring. See where it’s missing on the right handle? I still use them, and they work fine for me without it. But these types of springs help your pliers open automatically as you relax your grip. And that’s very helpful from an ergonomic standpoint as it allows you to do less work.
Adding Comfort Grips over Bare Steel Handles
So, that’s how to add the comfort grips onto pliers that have hard plastic or rubber grips. But what if your pliers have thick molded plastic grips like those shown below on my old Euro Tool pliers?
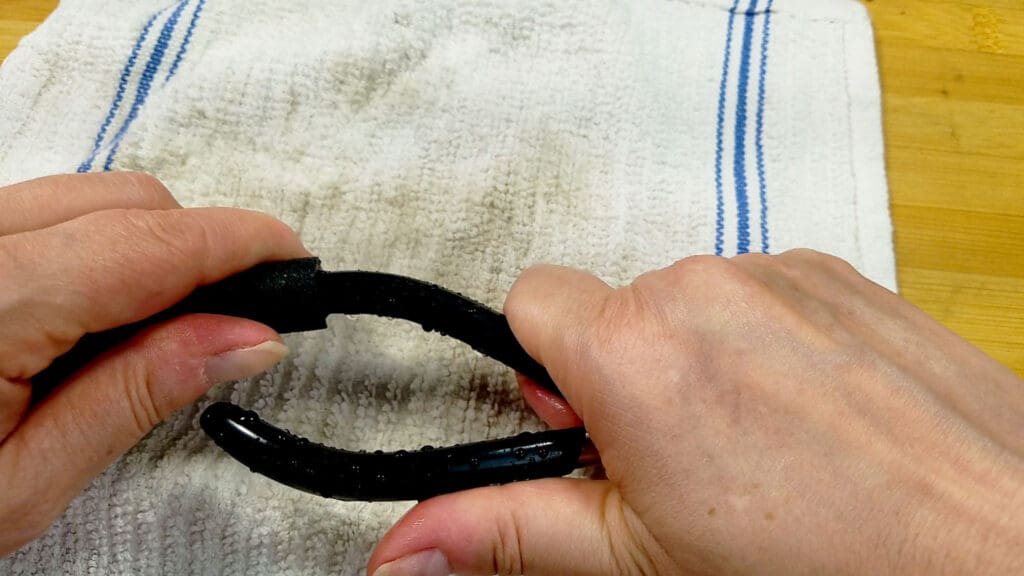
In my case, the adhesive on those grips broke down over many years of constant use. So, I can easily pull the old grips off, as I demonstrated earlier in this post. There’s no need to replace grips that are firmly adhered. Unless, of course, you want your handles to be less bulky. In that case, just twist the old grips off. It may take some effort to release the adhesive. But it will eventually let go if you keep twisting the grips until they work loose.
Next, measure the portion of the steel handles that you want to cover. Just like we did in Step 2 above. Then trim your comfort grips to the correct length and slide them on. I didn’t need to use water to get the Extra Small grips on the steel handles of my old pliers. But if you find it difficult to get your grips to slide on, moisten the handles with water. Just like we did in Step 4 above.
And that’s it! Every pair of pliers that I use to make jewelry now have deluxe cushioned grips. And my hands thank me for the softer and more stable grips every day.
As you can see in the image below, the extra small comfort grips aren’t as bulky as the original molded plastic grips on my pliers. Just as with the thicker grips on my nylon jaw and stepped bail-making pliers, this felt strange at first. But I’ve quickly grown used to the slimmer handles. And I’m very happy to be rid of those old slippery grips.
If you’d like to try these grips yourself, click here to shop now.
Until next time, wire weaver, go make something beautiful!
Discover more behind Door 44!
Thank you for joining me today. I hope this post is helpful. If not, let me know what I can do better to serve you. If so, share this post with your fellow jewelry makers. I have lots more helpful tool tips like this one for you to explore.
Also, be sure to check out my Etsy shop for the latest ad-free printable PDF wire jewelry tutorials. Also, I’d love to see what you’ve made and hear your ideas and suggestions for new tutorials and blog posts. You can connect with me @door44studios on Instagram, and Facebook. And be sure to join my private Facebook Group where you can ask me questions anytime!
Until next time, go make something beautiful!

Pin this Post for Later
Don’t you just hate it when you read an article about a product, and then you can never find it again when you need it? I’ve got you. Just pin the image below to your jewelry tools board. And it will always be there for you when you want to find this post again!